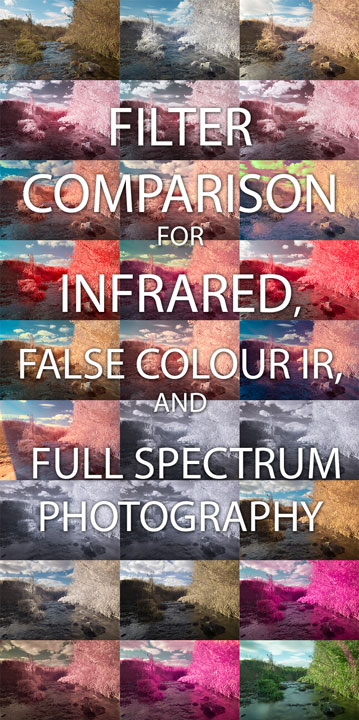
Inspired by the infrared work of Okavanga, I decided to compare various filter combinations for infrared photography. The main point was to look at:
- How does use of a neutral density filter affect the image when capturing infrared and part of the visible spectrum?
- How does using a polariser affect the image?
- Are there interference patterns when you use a polyester filter behind a polariser?
- Is there any difference between glass and plastic filters in terms of IR transmission?
- How do different coloured filters affect the image?
To test these, I took photos of a scene using a variety of filters that only pass a limited spectrum of light:
- B+W 486 UV IR cut filter - visible light only. This is mainly just as a reference for how the scene appears to the eye.
- No filter - Full Spectrum
- Lee Dark Green polyester lighting filter - mix of visible and IR
- Lee CTB polyester lighting filter - mix of visible and IR
- Lee #12 Deep yellow (minus blue) polyester lighting filter - mix of visible and IR
- Hoya #25a Red glass filter - mix of visible red light and IR
- Lee #25 Tricolour red polyester filter - mix of visible red light and IR
- Hitech 720nm Infrared resin filter - mainly IR with a small amount of visible red
- Lee 87 730nm Infrared polyester filter - pure IR
- Welding glass shade 9 - I don't have a glass ND filter, so I decided to see how this 'DIY big stopper' affected the image
For each filter I took 3 shots:
- Filter only
- Filter plus Hitech ND0.9 (3 stop) resin neutral density filter
- Filter plus B+W Käsemann circular polarising filter rotated to make the sky as dark as possible
Additionally, for some of the polyester filters I took photos with the polyester filter behind and in front of the polariser. According to Lee, you should always place these filters in front of the polariser. Otherwise the polarised light can cause the camera to see interference patterns in the polyester filter. So I wanted to see whether this was actually an issue or not.
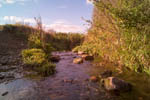
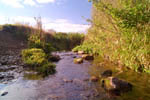
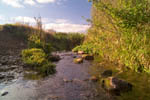
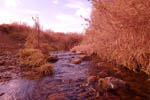
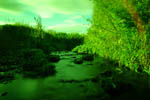
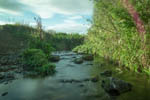
For the test scene I wanted something that included foliage, the sky, and something that strongly absorbs IR (e.g. a road or water). I couldn't really stand by the edge of a road for ages, blocking the footpath with my tripod, so I went for a river instead (actually it's more like a stream at the moment).
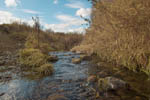
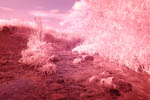
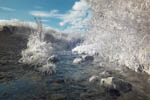
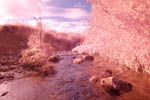
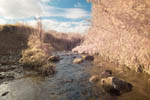
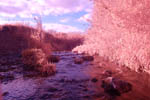
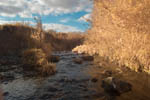
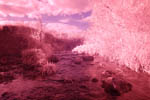
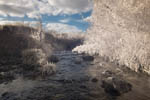
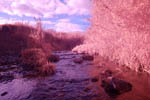
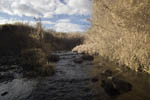
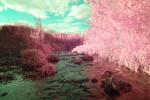
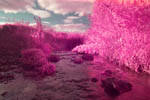
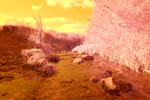
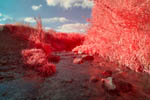
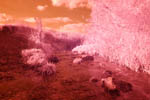
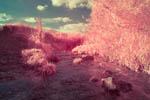
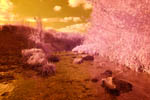
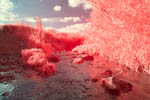
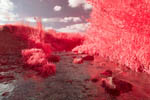
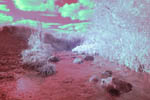
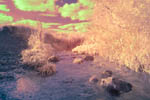
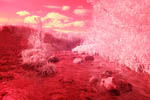
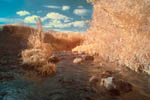
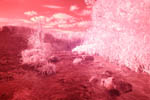
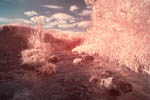
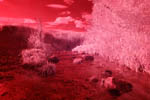
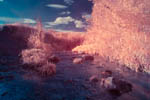
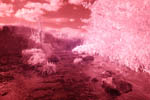
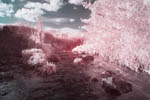
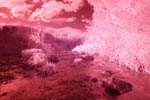
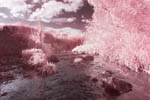
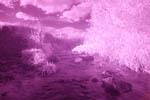
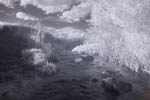
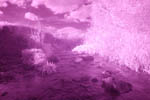
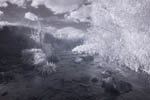
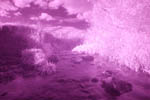
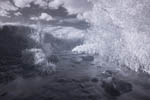
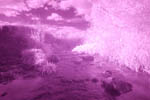
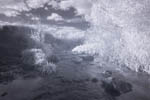
All the test photos were taken at an aperture of f/8 and ISO 200. I've included the shutter speed below each unedited image so you can see what difference the different filters make to the exposure time.
Clouds kept moving in front of the sun while I was taking these photos. I did try to wait for the cloud to clear the sun before I took each photo, but in some shots the sun may have just been shining through a thin piece of cloud. So the exposure times are not 100% comparable, but should give you a general idea of how much light a particular filter combination lets through.
In processing the images I had two choices - process them all the same to make them comparable, or process them each as I see fit. I went with the second option, but I've also included the SOOC images so you can compare them with no processing at all. I didn't see the point in processing them all the same, as it might might make one image look good and another bad, while a simple tweak to the white balance could reverse the situation. Of course, what looks good and bad is all subjective anyway.
I've also uploaded the RAW files if you want to play around with converting an image taken using a using particular filter yourself and see how it would come out with your own processing. To download a RAW file, right-click on the thumbnail, then choose 'open link in new tab'. This will open the medium size jpeg image in a new tab. Delete the -unedited.jpg or -edited.jpg bit off the the end of the url and replace with .RAF, press enter, and then your browser should download the RAW file. (You can also download the ACR conversion settings I used by adding .xmp at the end instead of .RAF).
A couple of the images I processed through CornerFix, these are indicated with a 'CF'. As I mentioned in a previous article, the lens I'm using has a very gradual IR hotspot like effect. A couple of the images where I used a polariser I found suffered quite badly from this, and so I ran them through CornerFix to correct for this.
Use of a polariser with Infrared Photography
I have tried using a polariser a few times before for infrared photography, but never really liked the results. However, I noted that Okavanga had had some success (Circular Polarisation and Infra-Red Photography), so I decided it would be worth looking at again.
Going from these results, I am still unconvinced as to the use of a polariser for IR photography, however the results are better than in my previous tests. I think what I may need to do is try going out for a walk and taking a variety of shots with and without a polariser to really make up mind.
The thing with infrared photography is that the sky will be darkened anyway. A polariser will darken the sky further, but in an uneven manner. If I need a darker sky I can usually just paint it with negative exposure in ACR. Although it didn't show up in this test, I have found in previous tests that using a polariser to remove reflections from foliage when photographing in IR is not beneficial either - the specular highlights are what help the pieces of foliage stand out from one another. With the reflections removed the foliage just turns into an area of grey.
So, the jury is still out on the benefit of a polariser for IR work as far as I'm concerned. One for more testing.
Use of a polariser with Polyester filters
It is a fact that using polyester filters with polarised light can cause issues, hence why Lee state that their polyester filters should be used in front of a polariser, not behind it. However, I see no difference in my test images whether the polariser is placed in front or behind the polyester filter. It's much more convenient for me to have the polyester filter behind the polariser, so I am happy to see this result.
Use of a plastic ND filter when shooting IR
Okavanga mentions in one of his posts (Red Infrared, R-IR, Photography) the use of a plastic Cokin neutral density filter to enhance the IR in a shot that contains visible light + IR. The way this works is that the plastic ND filter cuts down on the visible light, but doesn't cut down on the IR.
I thought this might be quite effective for full spectrum photography, where foliage can often just look 'muddy'. And indeed, it does work very well. Unfortunately the sun must have just popped behind a cloud as I took the full spectrum photo with no filter, so it's not directly comparable with the other images. But hopefully you can tell that the use of the ND filter has a dramatic effect in bringing out the IR reflectance of the foliage. This was with a 3 stop ND filter, so you could choose a weaker filter (or stack filters for a stronger effect) depending on your preference.
Because there is a lot of IR in sunlight, the use of a plastic ND doesn't result in slow shutter speeds either.
Glass or Plastic filters?
Referring back to Okavanga's post Red Infrared, R-IR, Photography, he mentions that there is a difference between glass and plastic filters. I realised that plastic filters pass some Infrared (hence the introduction of IR cut neutral density filters), however I wasn't aware quite how much IR they pass, or that glass filters blocked IR.
From my tests it seems that my plastic (resin) Hitech ND filter passes virtually 100% of IR light. Unfortunately I don't have any glass ND filters to compare, but I did test with a piece of Welders glass, and this passes virtually 0% of IR light.
My red glass filter however, seems to pass virtually all IR light, and gives images almost identical in terms of exposure and look to using a red polyester filter. So it seems likely that glass Neutral density filters do not transmit IR light, but glass coloured filters do. And all plastic filters transmit IR light (other than those specifically designed to cut IR).
How do different coloured filters affect the image?
I have used the #25 red filter for quite a bit of infrared photography in the past. I like this filter because it lets through red light as well as infrared, which lets you achieve stronger colours when channel swapping for a false colour infrared photo.
The #12 yellow filter I've only discovered recently, but I like the false colour effect this creates for infrared images too.
The standard 720nm infrared filter gives quite a nice result, but I generally prefer the stronger colours of the red and yellow filters.
The 730nm infrared filter gives a pure infrared image, so when you set the white balance, you're essentially just left with a black and white image.
I don't have 'proper' blue and green filters, but I decided to try out some lighting gels just to see what effect they gave. The blue filter seems to have little effect, and the resultant images are quite similar to full spectrum images.
The green filter gives a result somewhat similar to the yellow filter, except no channel swapping is required for this result. Simply adjusting the white balance allows for a blue sky with magenta foliage.
With all filters (except pure IR) you can make a variety of different coloured interpretations, depending on what white balance you set, how you mix the channels, and any RGB curves adjustments you apply.
I think the red filter remains my favourite, though I'd like to do some more work with the yellow and green filters. And probably full spectrum plus plastic ND filter too.

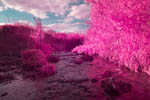
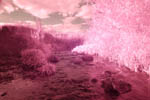
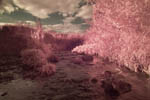
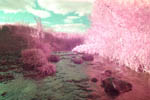
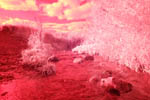
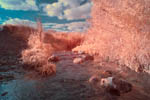
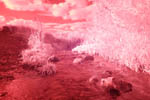
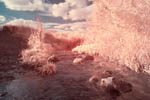
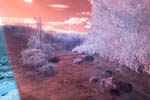
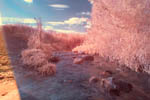
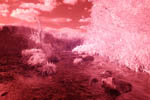
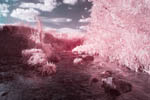
Many thanks for this link to your work on your blog on filters for IR and FS images. And many thanks indeed for the kind mentions. I’m posting these comments here, and on your blog – or at least I shall attempt to post them on your blog!
There has clearly been a great deal of patient study of the effects from various combinations of polarising, ND, IR, and colour filters upon the image obtained. In very general summary, my impression is that parts of your study, with the “plastic” Hitech ND 0.9 (3 stop) filter in particular, confirm my observations that IR light is allowed through (effectively 100% in your view) while visible light is diminished. So, the effect is not confined to Cokin ND filters.
I note also the welder’s glass experiment and I’m not surprised that there is no IR light transmitted. While open to further testing, I’m sticking with the view that glass ND filters will not transmitted much or any IR light, as the substances used to reduce visible light (metal oxides and/or carbon) will also block IR light.
On the matter of polarising filters, you seem to have partial success I seeing effects, but remain unconvinced on any benefit in IR work. This is a fair enough assessment from the work done, but I would make two points. First, I am not sure about the position of the Sun during the experiments. I seems to have been on the left and moderately high in the sky, but I’m guessing. With polarisation effects the position of the Sun is normally critical. It needs to be a right angles to the direction of the shot. Ideally, this means having the Sun shining from low on the horizon towards your left or right shoulder. If this is the case, rotating the polarising filter will cause the sky to darken if there is some colour present, and glare and reflections to disappear. Now, the true comparison is between the two extremes – maximum and minimum effects from turning the filter. When I have carried this out I usually get a substantial change in IR shots, just as with visible light. Sometimes, I get odd effects that I have not satisfactorily explained. For example, Some reflected light seems to be affected, but other such light is not. Possibly, the angle of polarisation for reflected IR versus visible light is different. However, I do not really know. Secondly, the use of a polarising filter for creative effects is always a matter for the photographer. I came across a professional once who just did not believe in the use of such filters at all (in visible light) – to him they did nothing! Fair enough – that was his view. But, to me, the effects in early morning light in visible and IR light can be very striking.
I have heard of the issue about placing plastic filters in front of a polarising filter, but I’m not surprised by your result that it makes no difference. I think that the issue arises because the plastic used can itself cause some polarisation of the light as it passes through – stress polarisation. So, in principal, there might be odd effects from polarised light being re-polarised. But, I doubt that in practice this is a problem.
Finally, I note all the various colour filter experiments, some results of which look very interesting, for example the Lee 25 red polarised edited (#43) and the Lee 12 yellow polarised SOOC (#29) appealed to me. However, we are again into the realm of creative expression and personal tastes.
I have managed to buy a set of coloured filters and graduated colour filters from Amazon (ca. £30) with an even wider range of hues than you have looked at – so I guess I have some experimentation to do to follow up this valuable contribution.
Many Thanks
David
From looking at your test images, it is obvious that your polarizing and ND filters both did not have constant transmission over the whole spectrum, which caused color shifts and unpredictable results. I would suggest Edmunds Scientific filter glass for this application. These filters act like standard photo filters in visible light.
https://www.edmundoptics.com/f/uv-nir-neutral-density-filters/14850/