In this tutorial I'll cover removing lens flare from an image when shooting into the sun. This technique is most useful when you have lens flare over a detailed area, or covering a large area (where it would be difficult to remove using the clone tool).
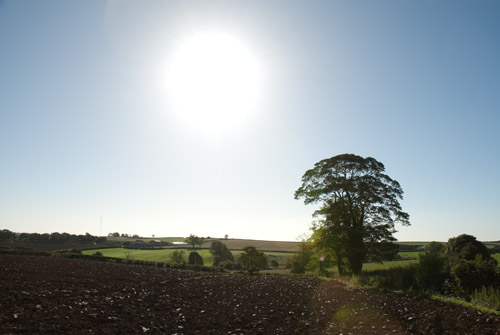
As well as the normal image, take another image where you cover up the sun to remove the lens flare:
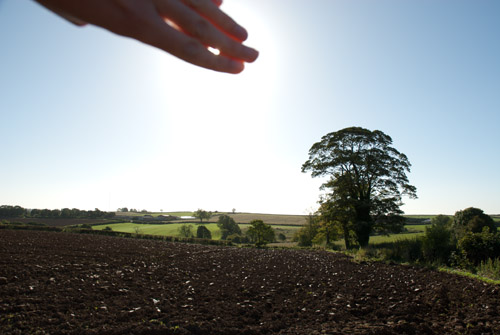
I bracket my images as well, though this isn't absolutely necessary. I then take the photos into Photoshop to blend them together. Use a layer mask on the image containing the lens flare to mask out the area with the lens flare, but keep the sun. You can see I also used layer masks to blend the bracketed images without the lens flare as well:
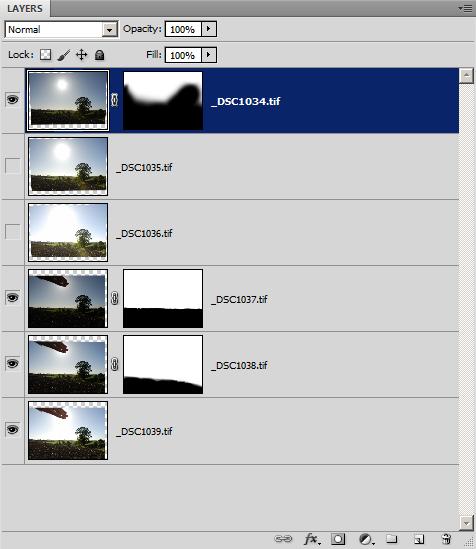
The process of masking the two sets of images together has removed the lens flare from the field, but there are a couple more bits of lens flare near the sun that need dealing with.
Removing small lens flare spots using the spot healing brush
I have a couple of small spots below right of the sun:
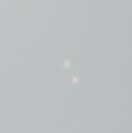
These are easily removed using the spot healing brush.

Removing lens flare from the sun using copy - paste - transform
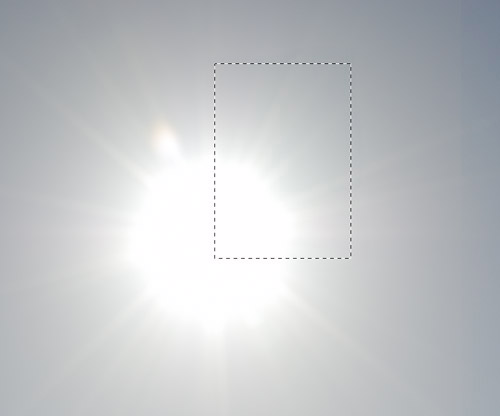
The sun has a bit of flare at the top left. To fix this I made a selection of the right side of the sun, then copied this:
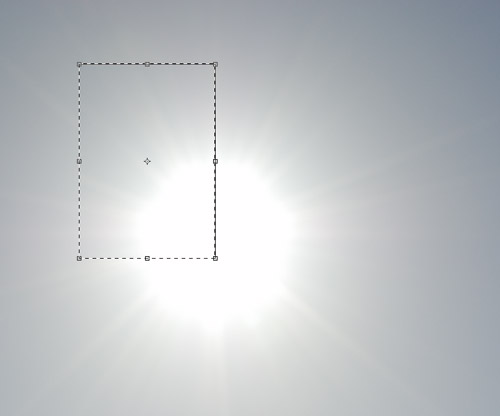
I then transformed this (Edit > Transform > Free Transform or Ctrl + T), dragging the right edge of the selection leftwards to reverse it:
When you remove the marching ants (Ctrl + D to deselect) you might find that the colour / tone of the piece of copied image doesn't match up with the area you're trying to cover:
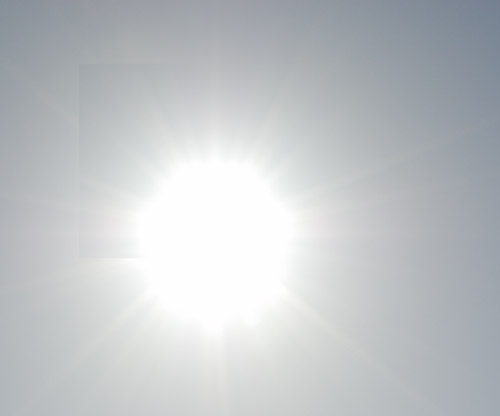
So apply a layer mask to the 'patch' layer, painting in just the area you need with a soft paintbrush, which should provide a nice blend:
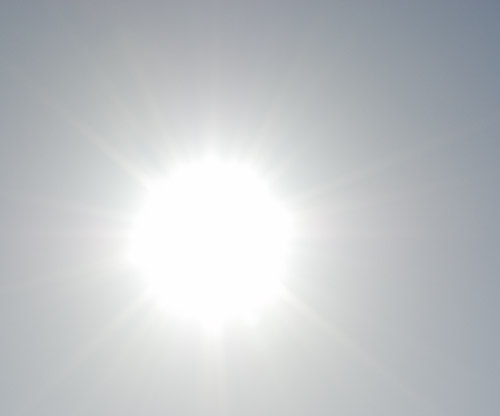
Removing lens flare using the patch tool
There was still another area of lens flare near the sun that needed removing in the image. (It's not immediately obvious, but there is a piece of slightly yellow lens flare going from the center of this crop to the center of the top edge).

To get rid of this I used the patch tool. The patch tool only works on the current layer. I always try to work non-destructively, so instead of patching the image that contained the flare, I first copied the image, then performed the patch on that:

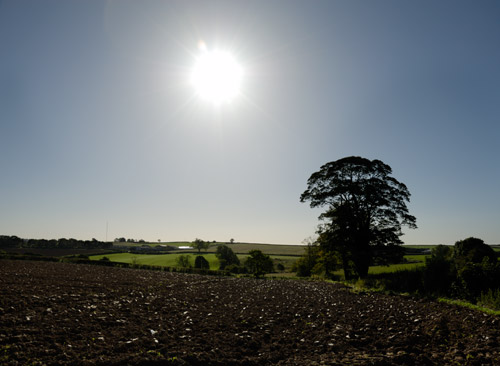
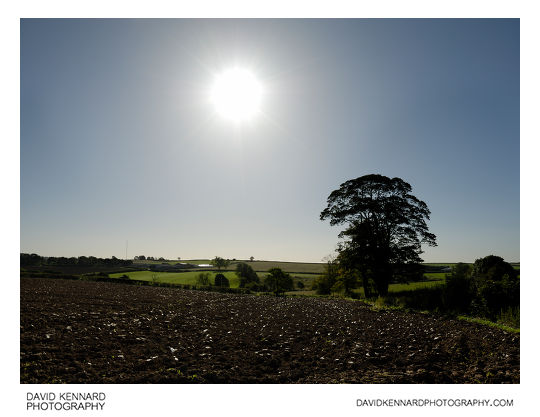
The final finished image looks like this:

Leave a Reply