In this post I'll be looking at various different white balance targets and seeing how they compare when doing an in-camera white balance for infrared photography or video. (Only actually looking at stills but if you can get the in-camera white balance set correctly for stills then it will work for video too). I'll be looking at the results when using filters that pass both visible and infrared light, one that passes mostly just infrared, and also one that passes just ultraviolet.
I'll be looking at both reflectance based targets where you take the white balance using the light reflected from the target. And also semi-transparent incident based targets where you place the target over the end of the lens and shoot towards the light to take the white balance reading.
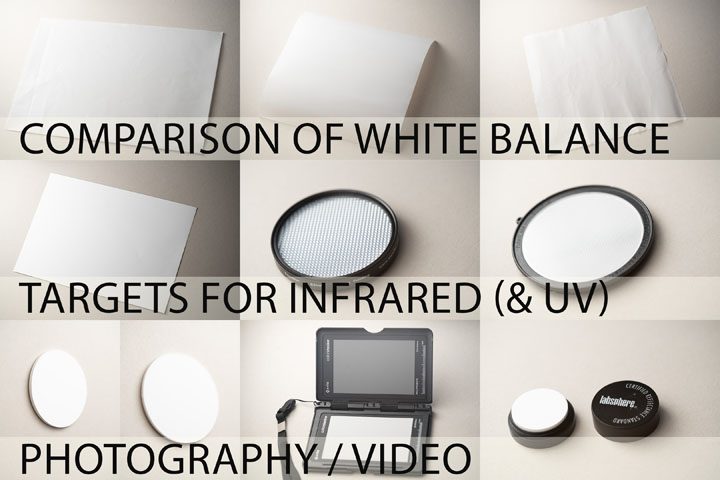
The White balance targets I'll be comparing are:
- A4 sheet of white card
- X-Rite / Calibrite Color Checker Passport Photo 2
- Labsphere Spectralon reflectance standard
- 3.5mm thick PTFE disc, as both a reflectance based and incident based WB target
- 3mm thick expanded PTFE disc, as both a reflectance based and incident based WB target
- Expodisc v2
- Expodisc v3, as both a reflectance based and incident based WB target
- 0.1mm, 0.25mm, and 0.3mm thick PTFE sheets as incident based WB targets
- Clouds
- Using white balance colour picker in post on the Clouds
When looking at the comparison images, what I am looking for is neutral gray clouds. So if I hue shift or channel swap the image, the clouds should remain neutral because the red, green, and blue channels all have the same values for the clouds.
To evaluate the results I used color sampler points placed on the clouds in Photoshop and looked at the differences in the R,G,B values. And there is also my subjective opinion on whether the clouds look neutral.
If you'd prefer a video version of this comparison, you can find that here: Comparison of White Balance Targets for IR and UV Photography or Video.
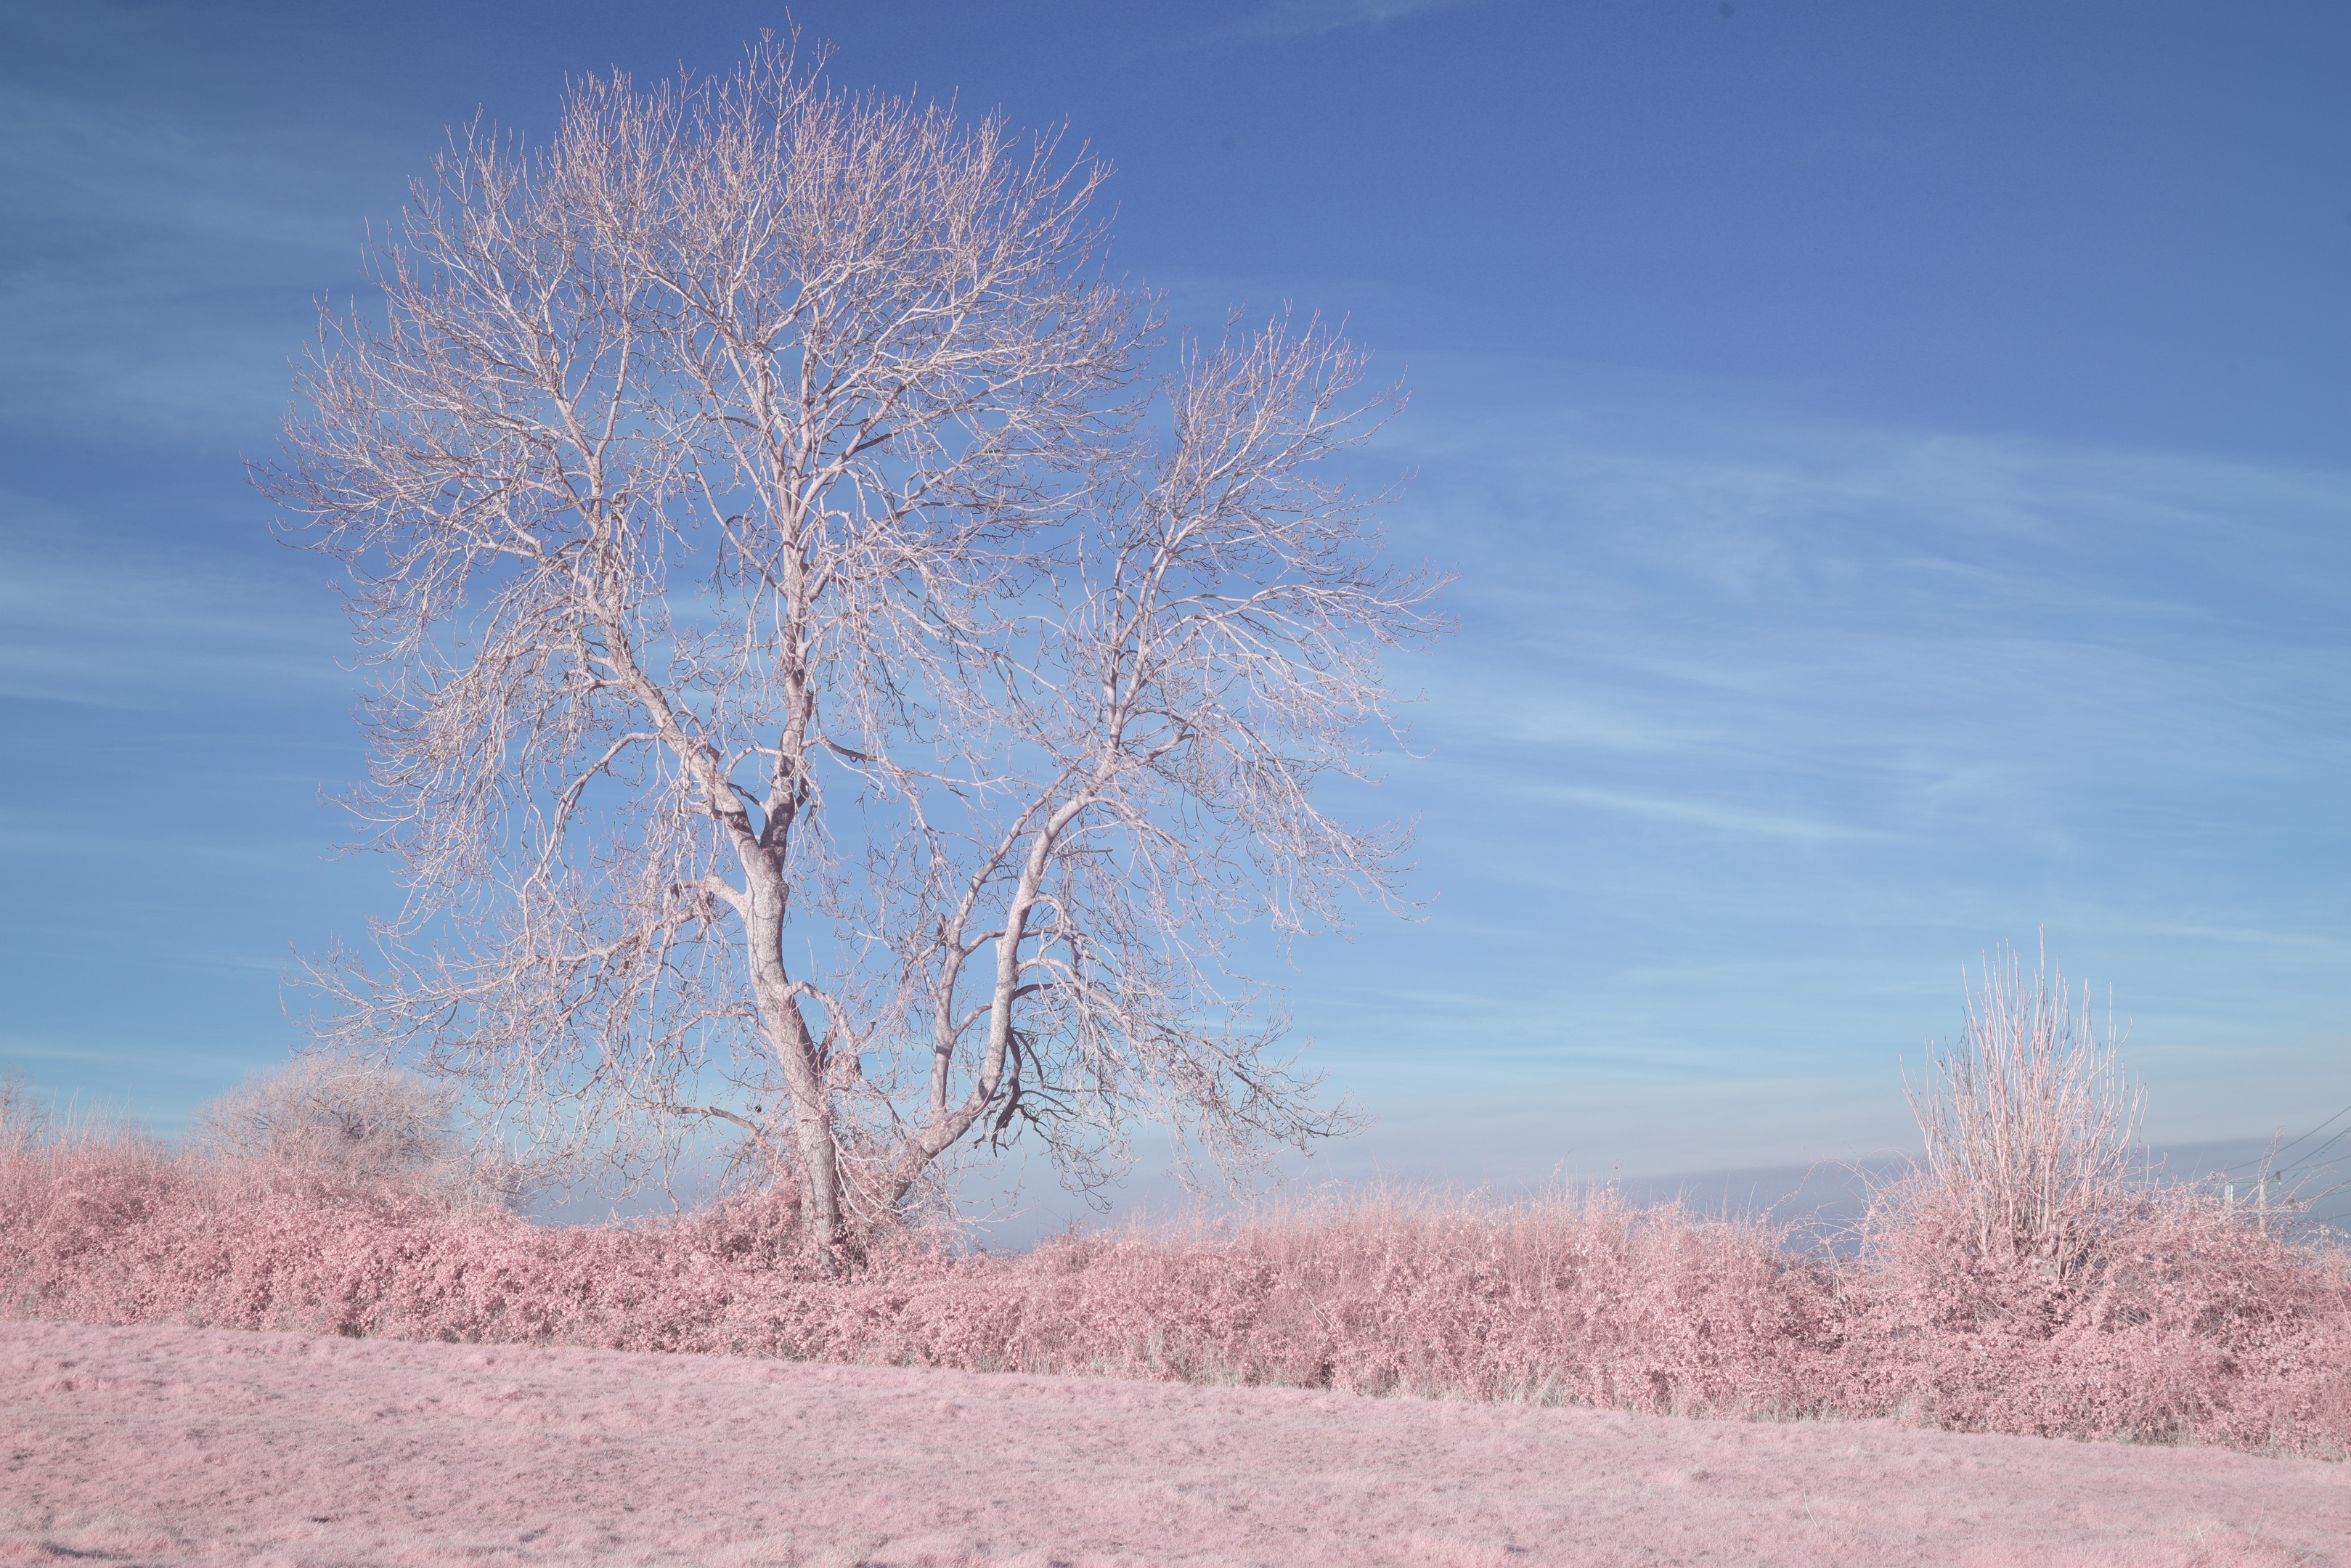
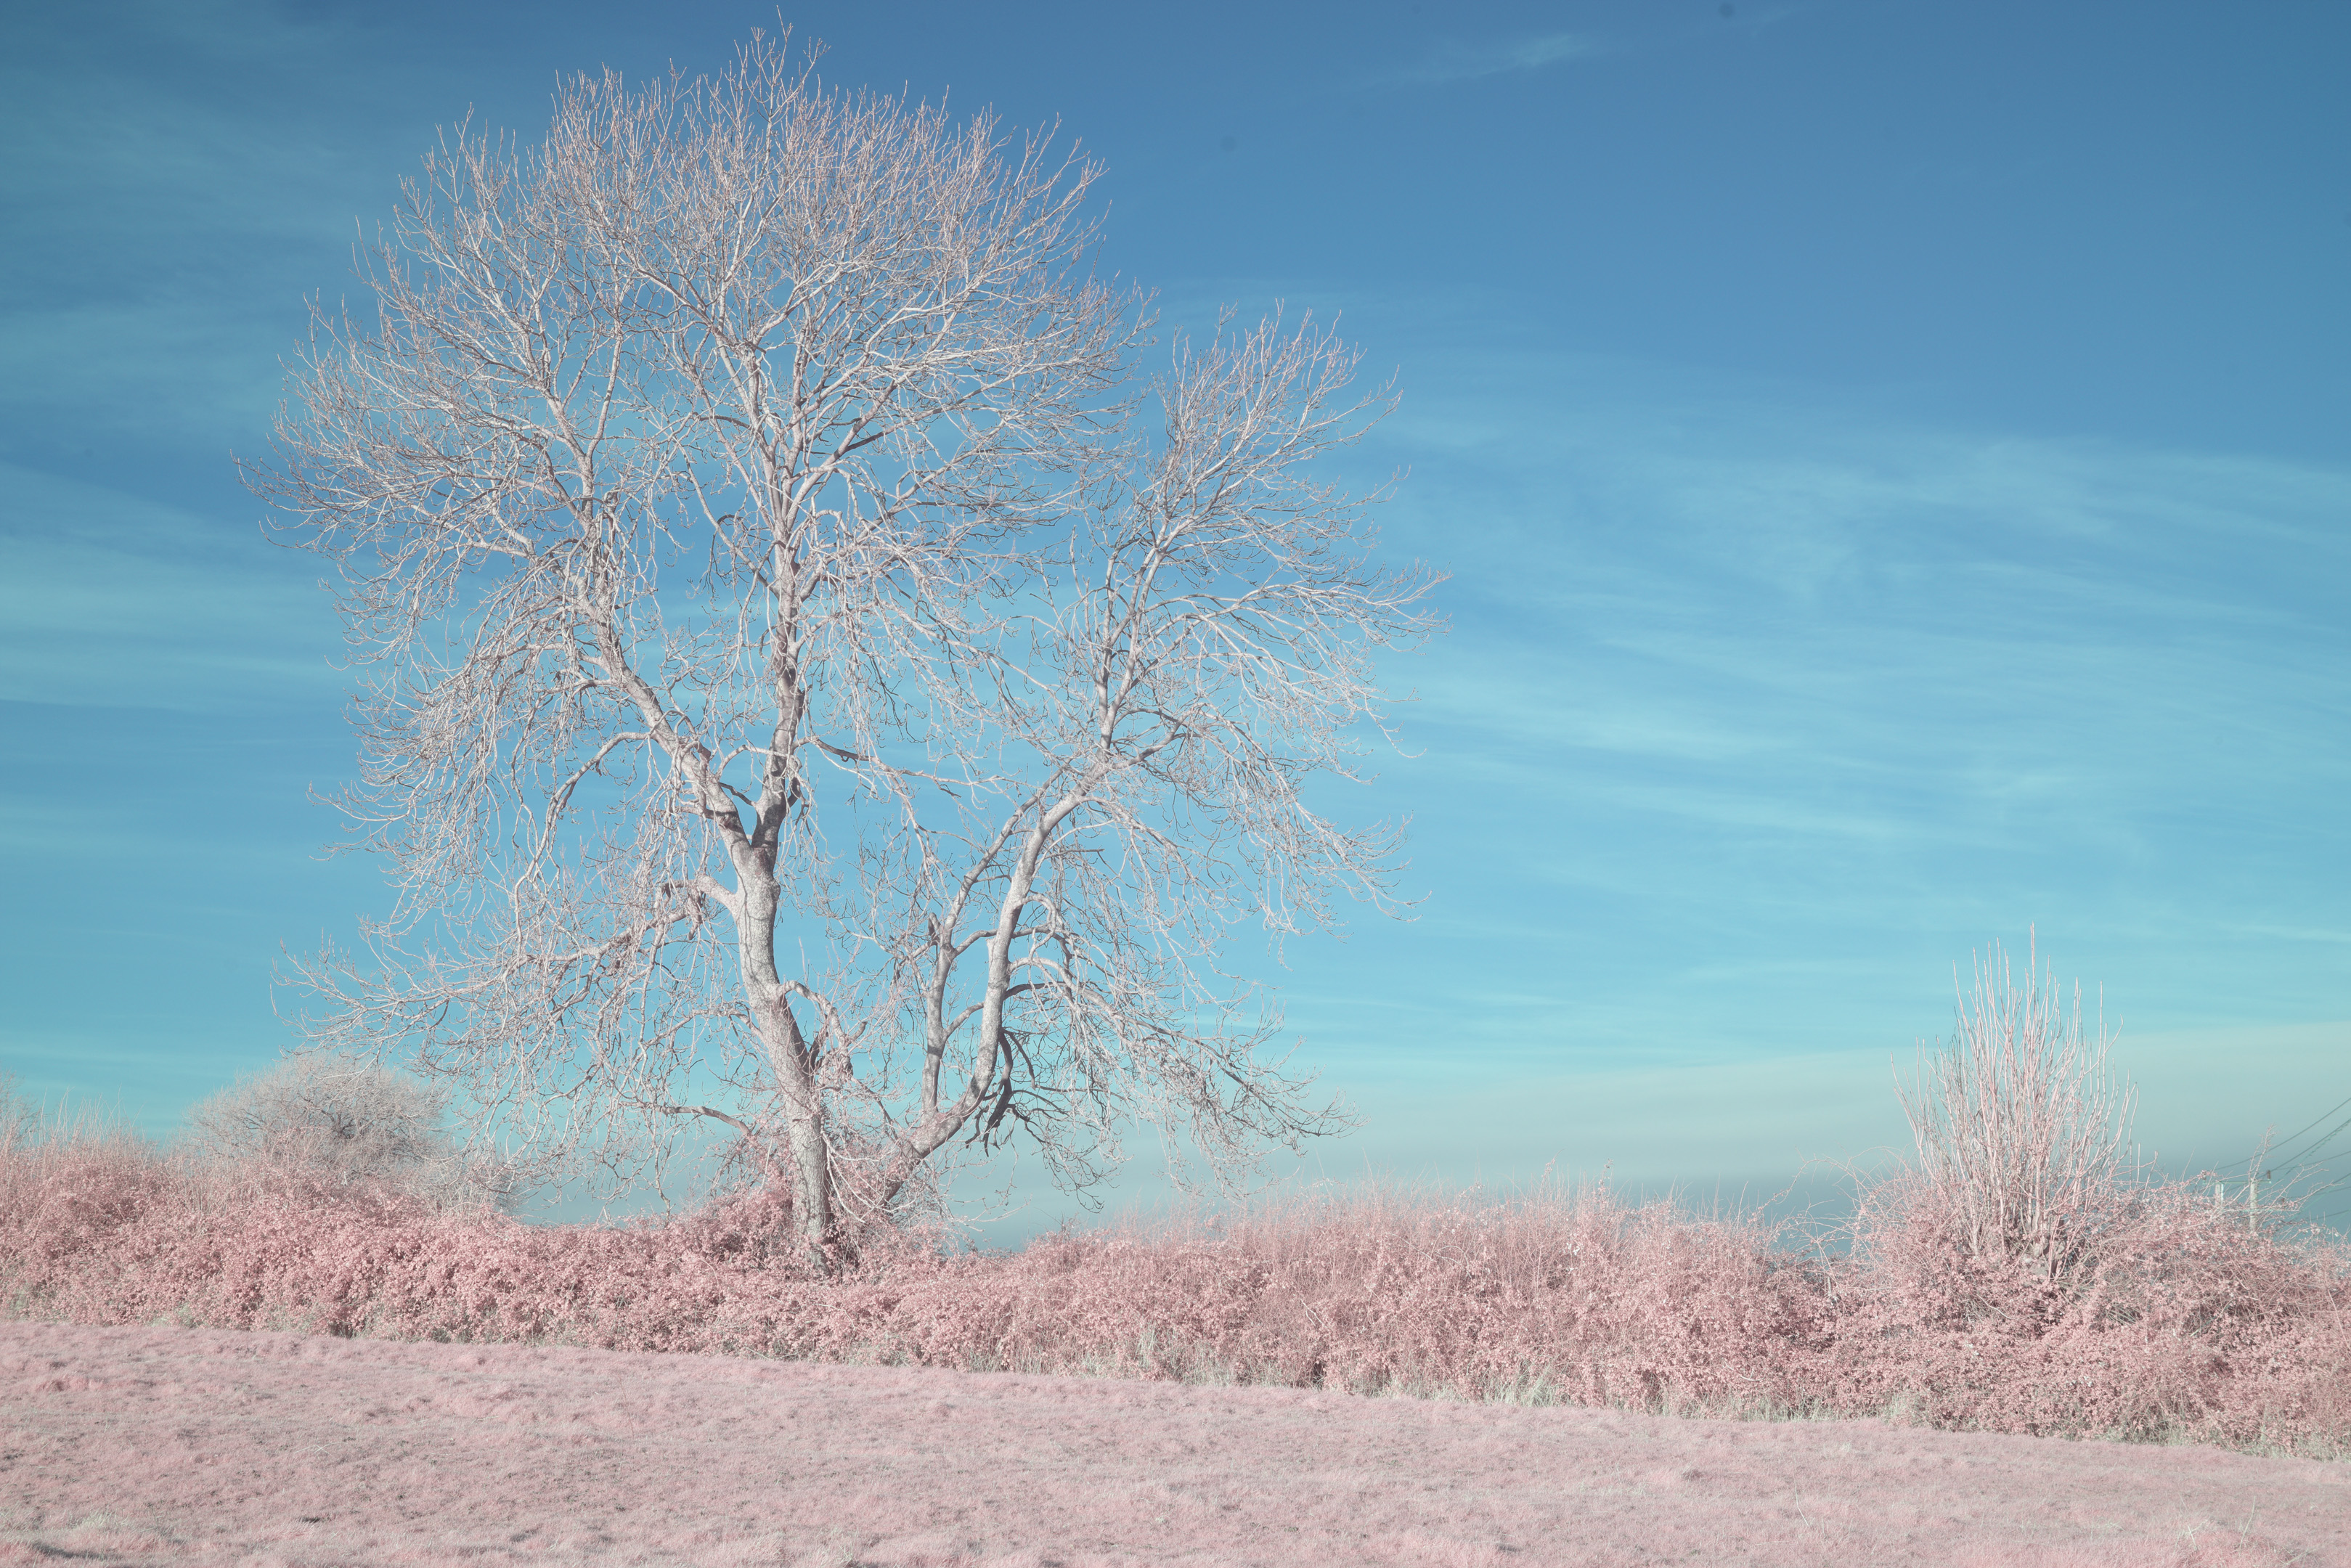
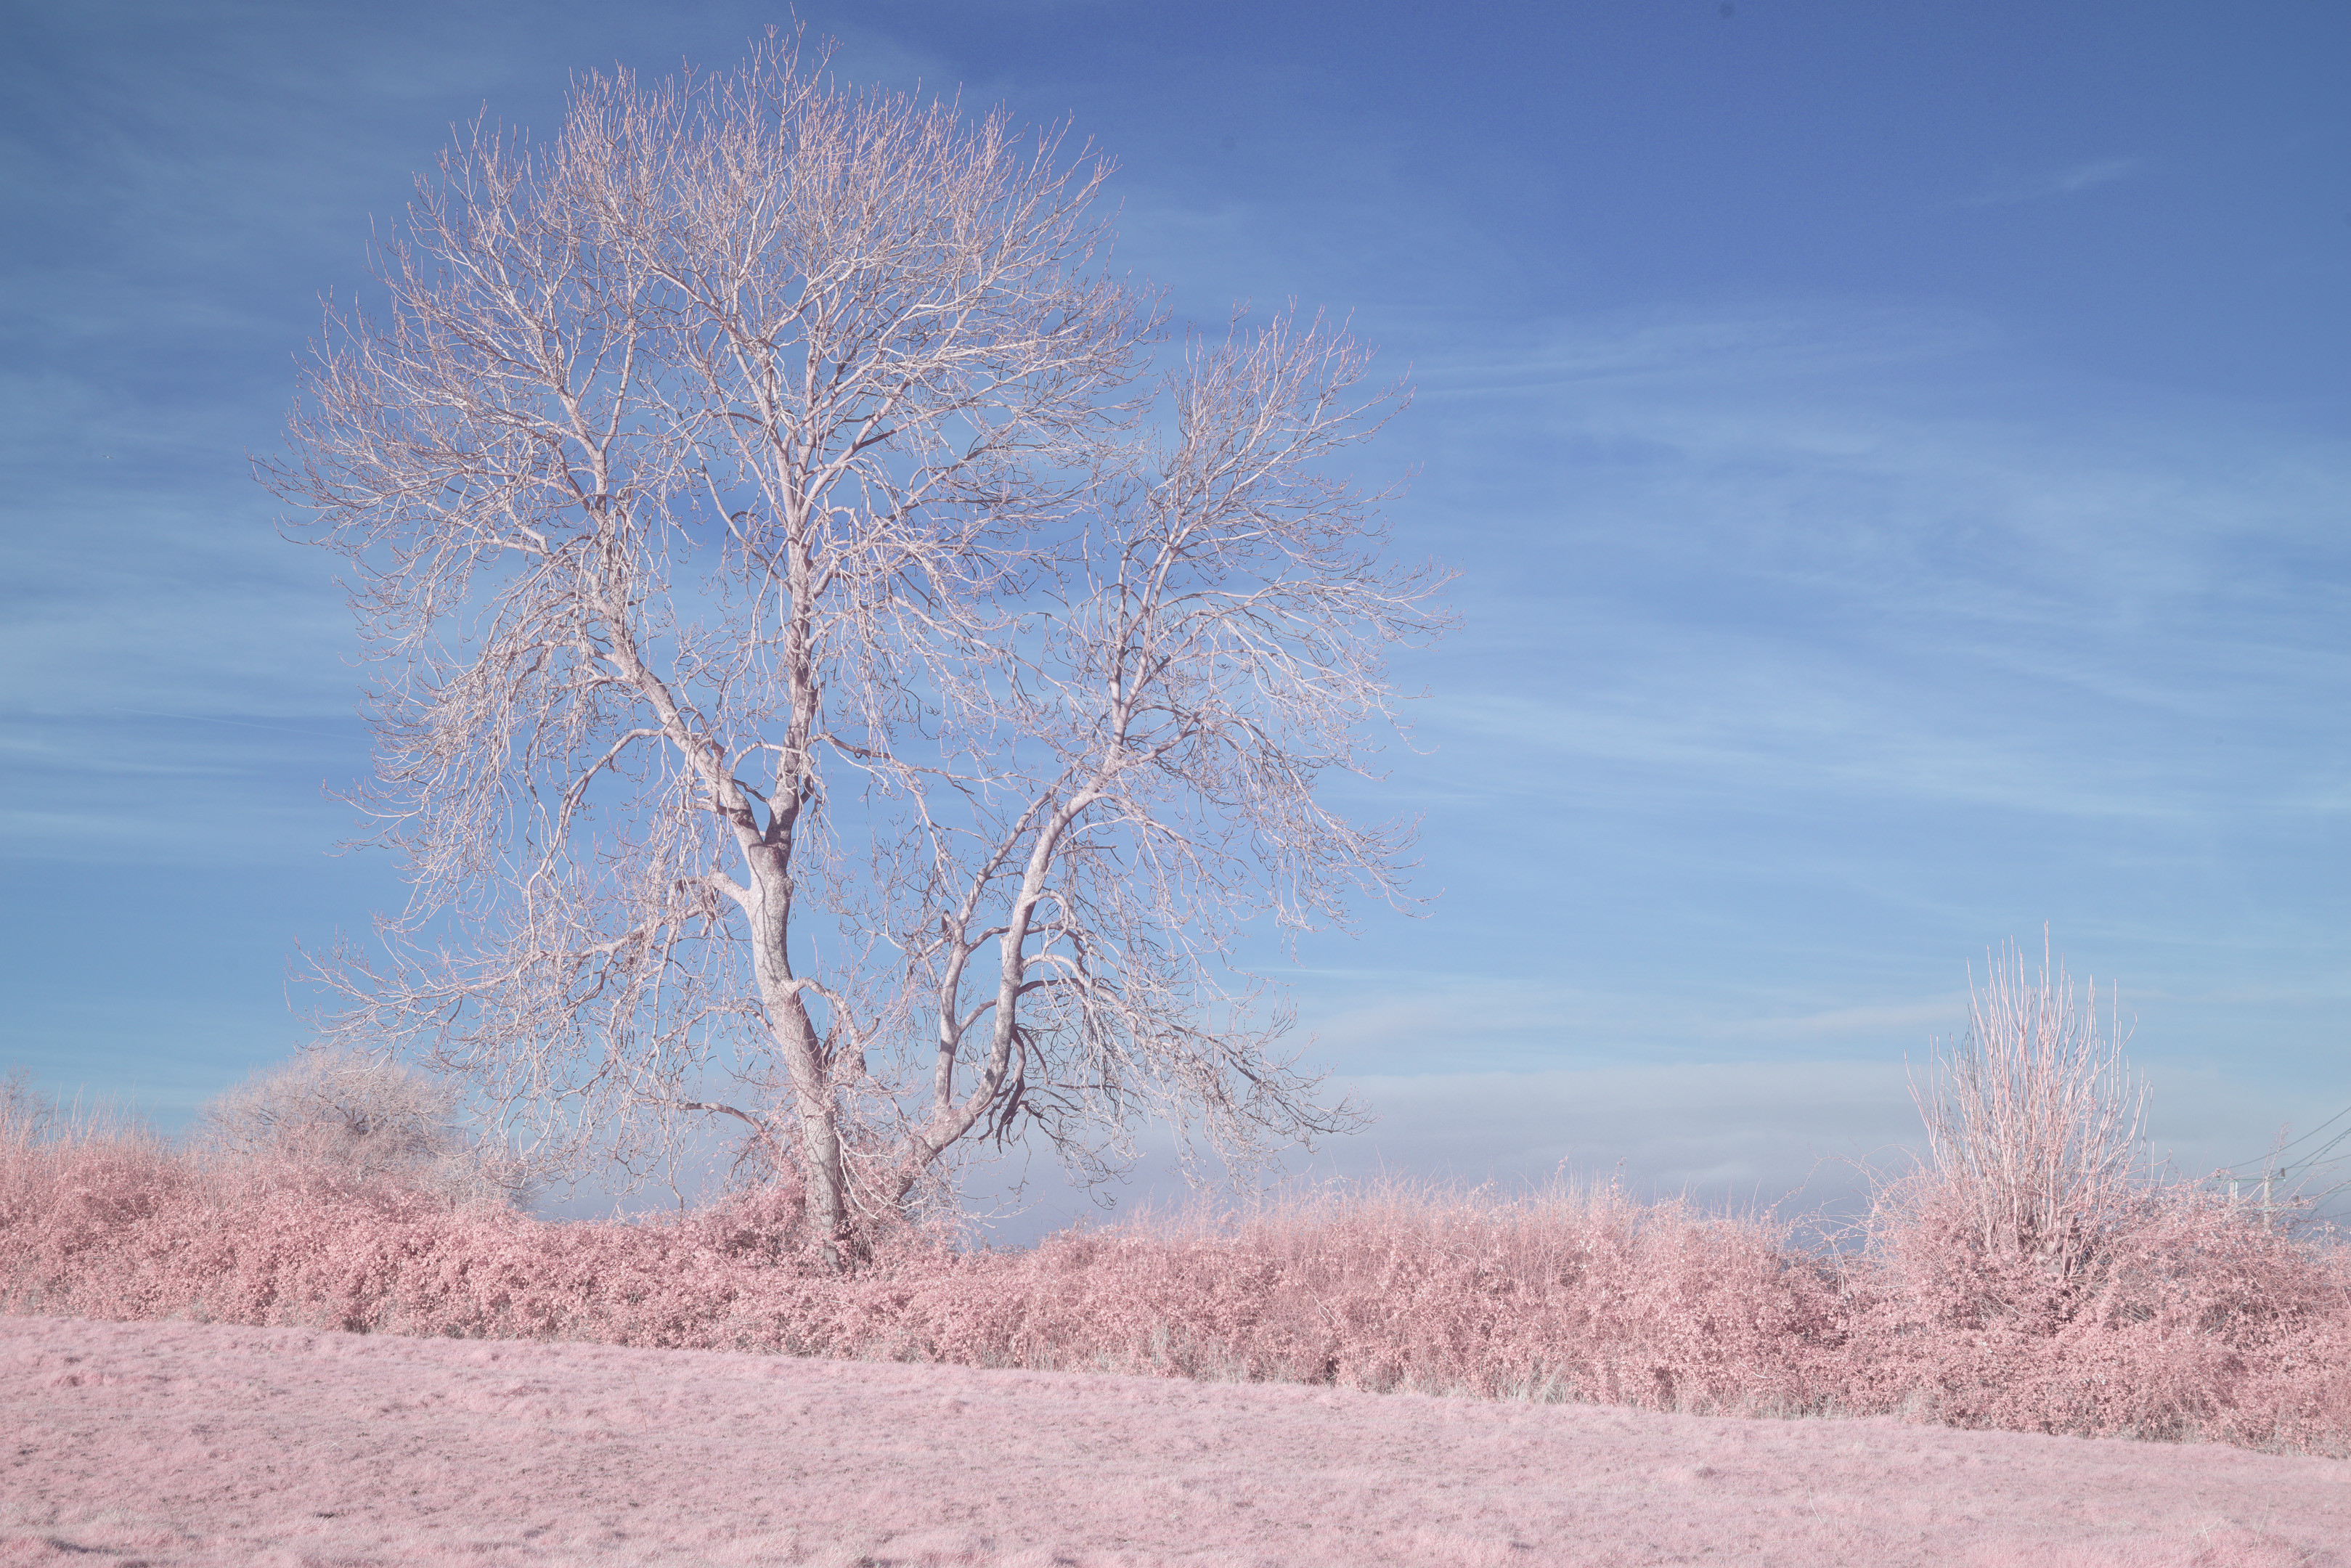
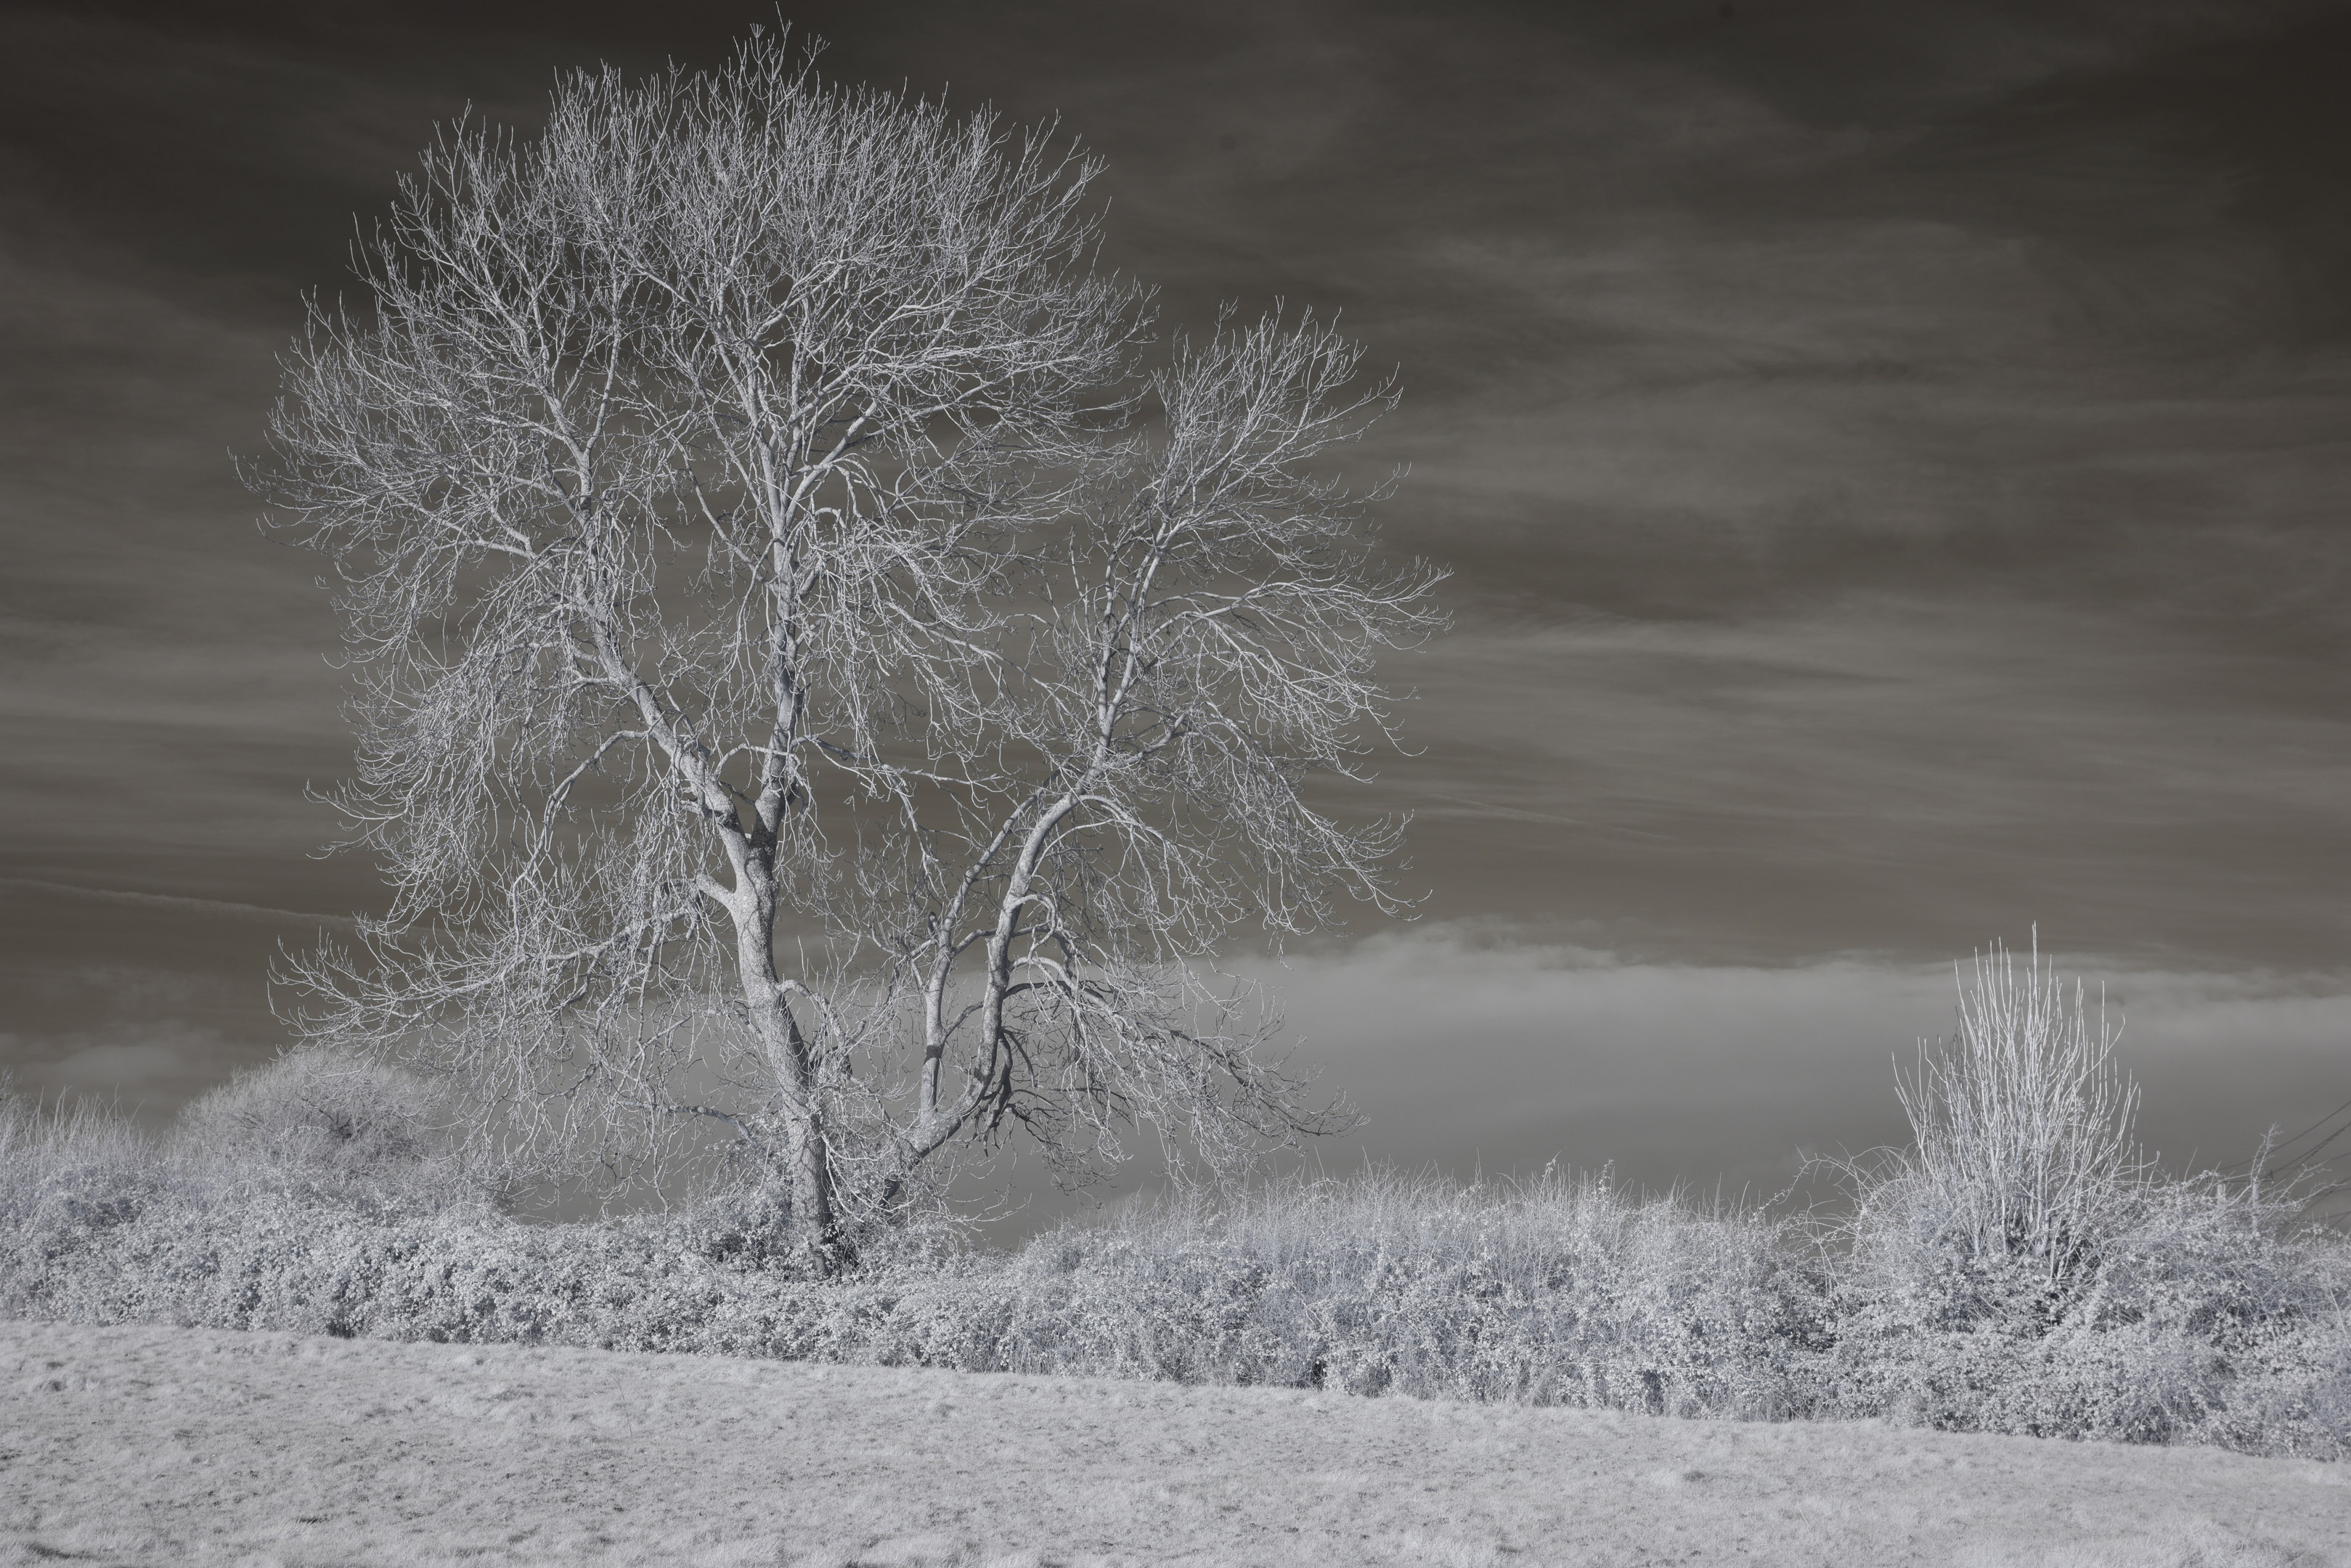
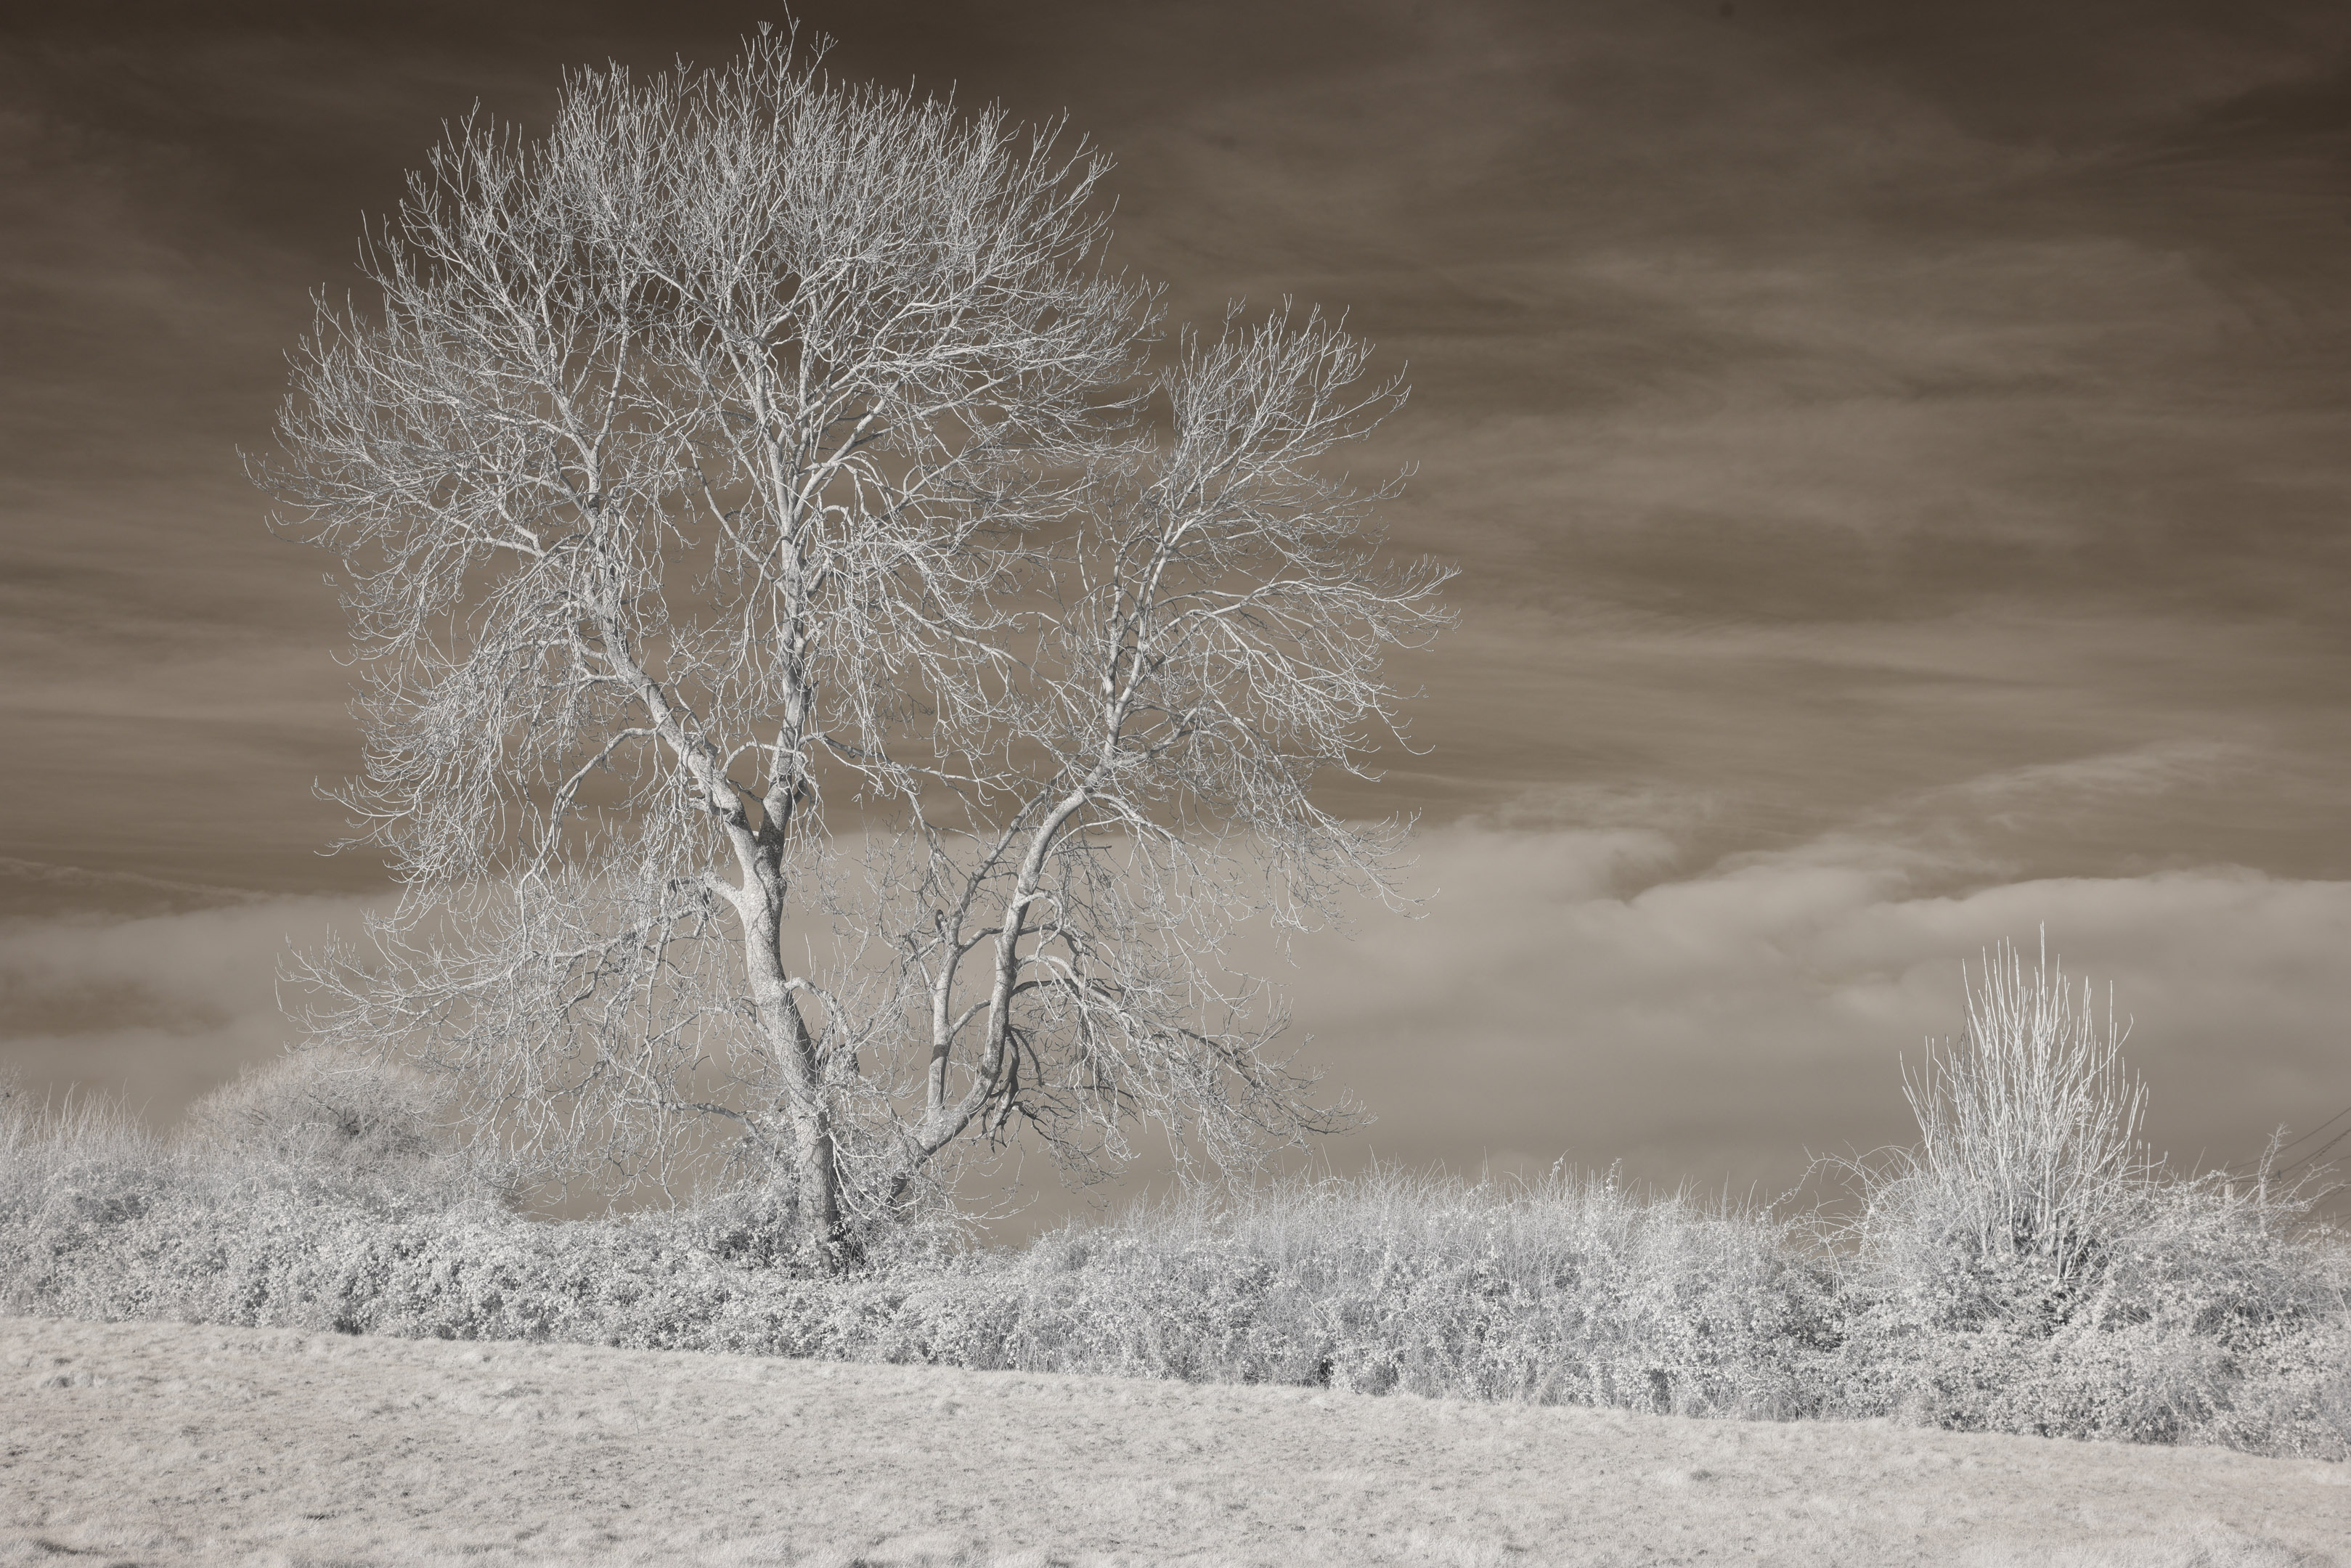
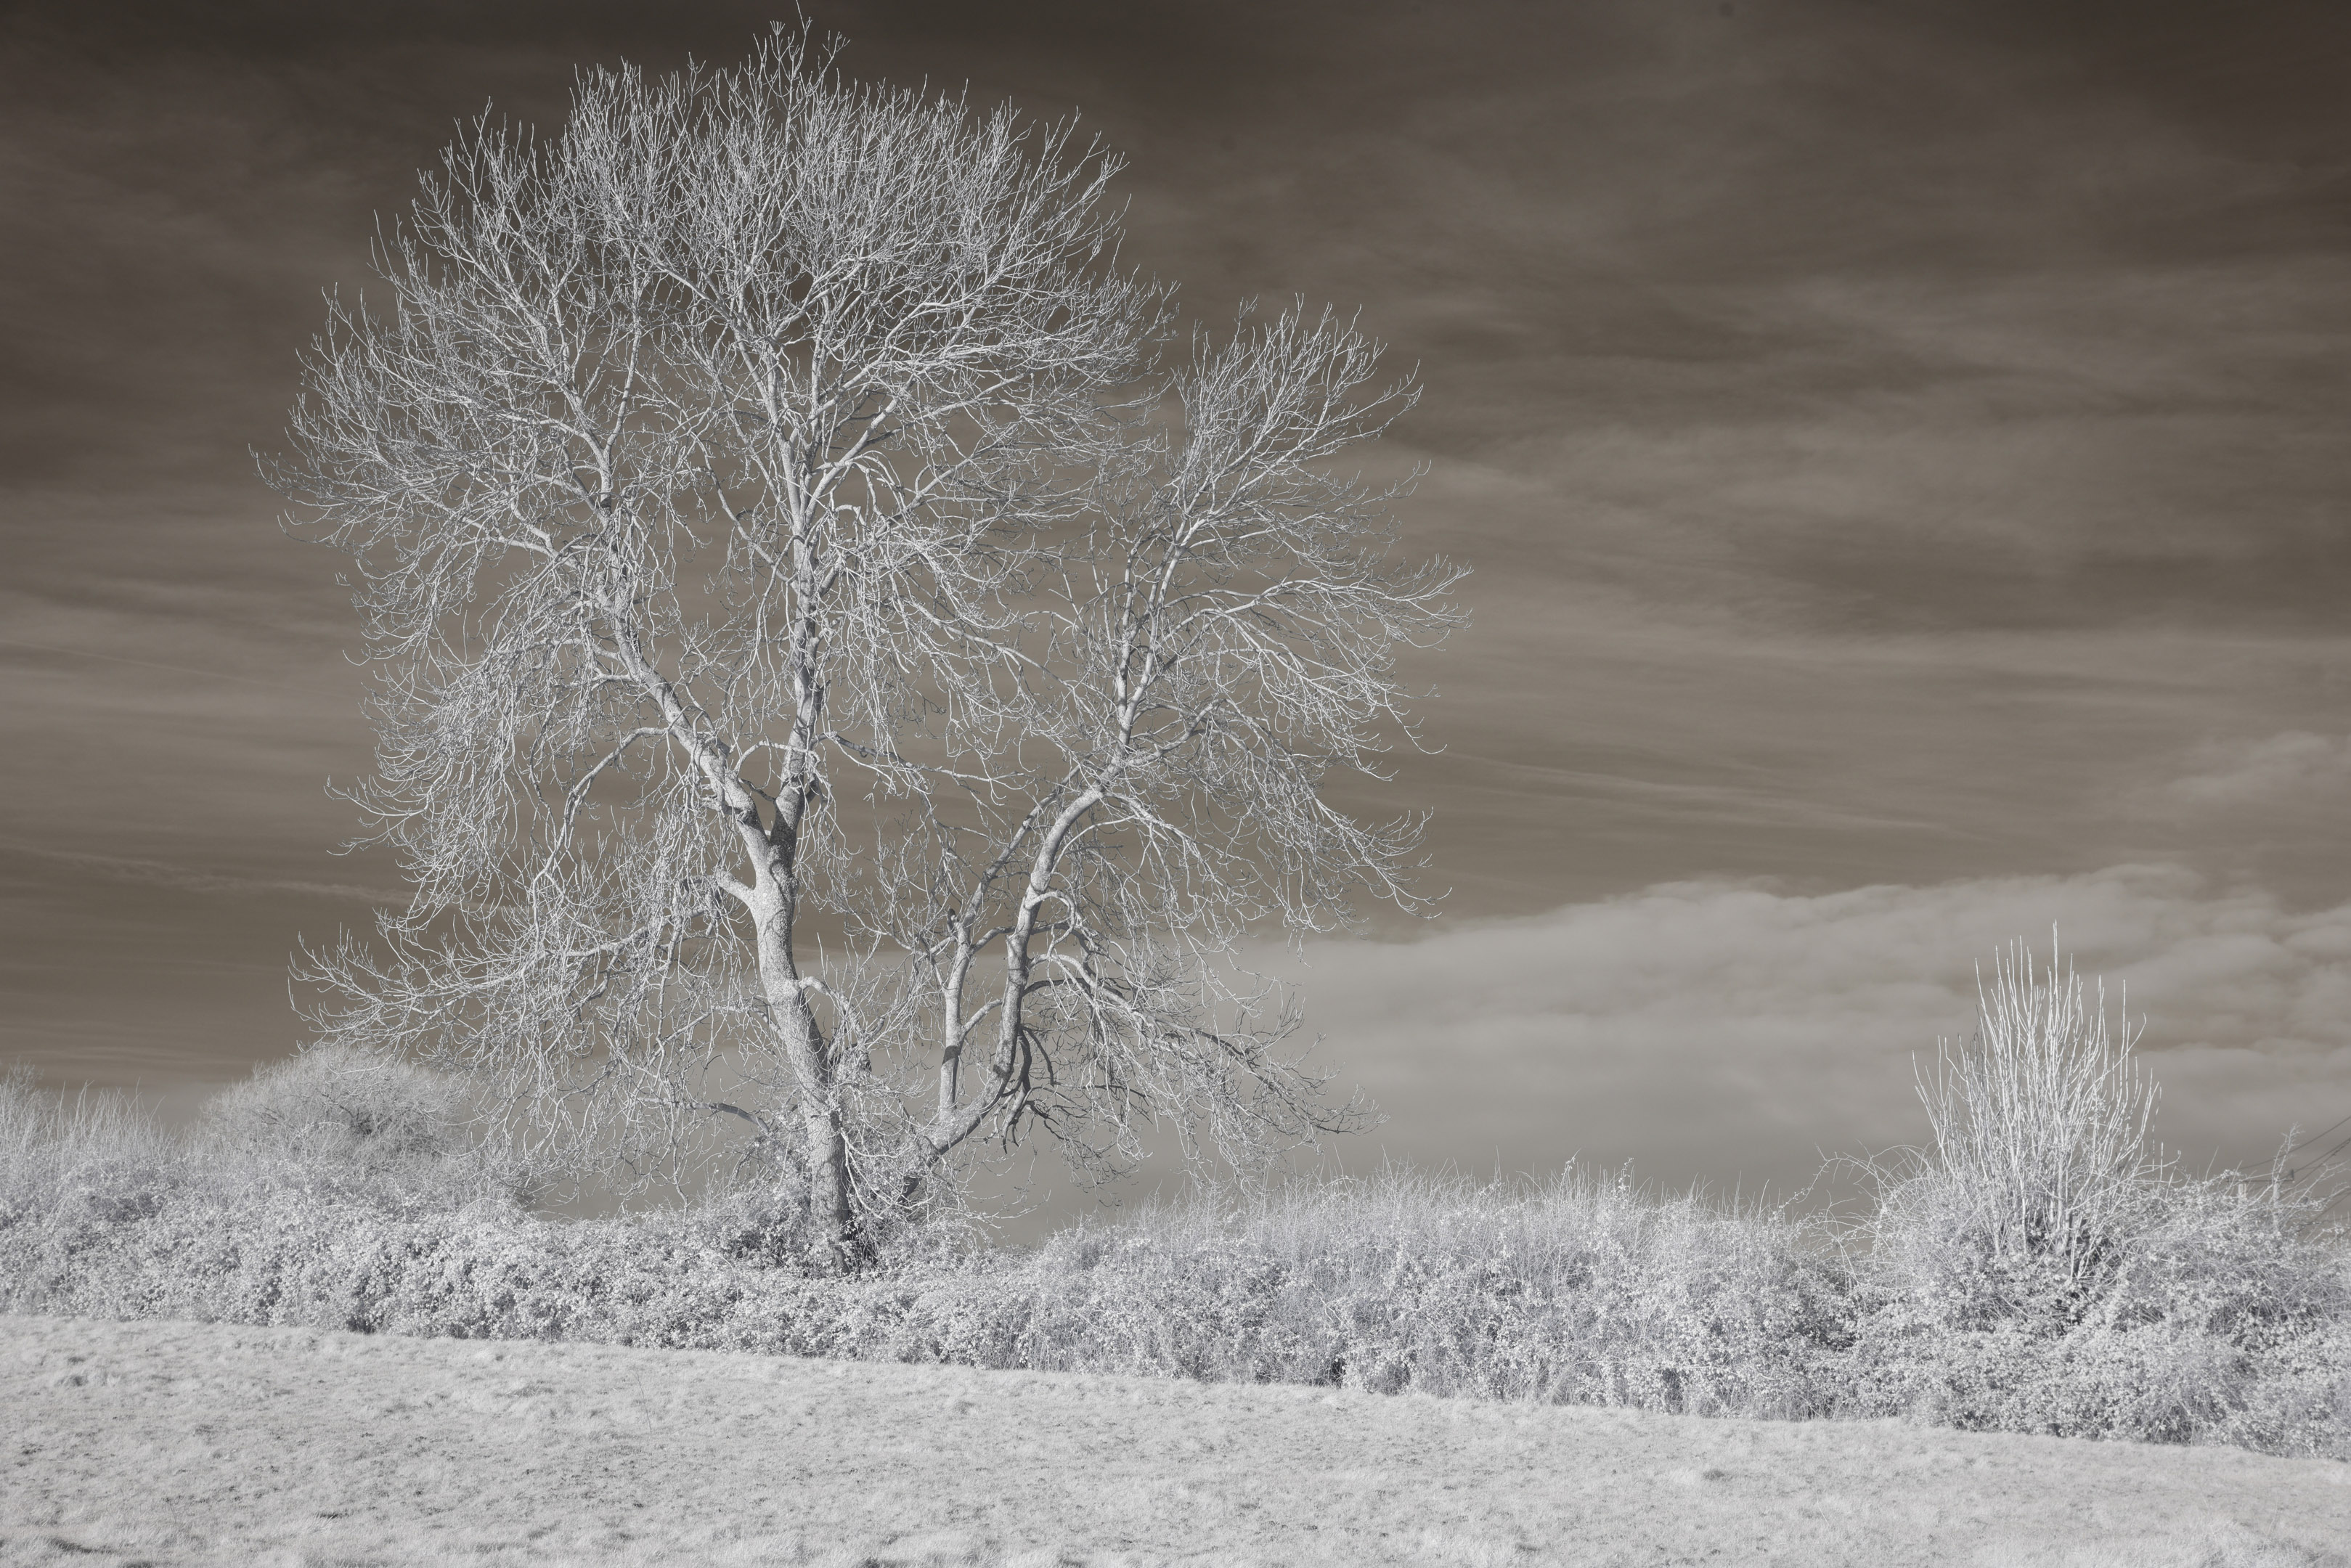
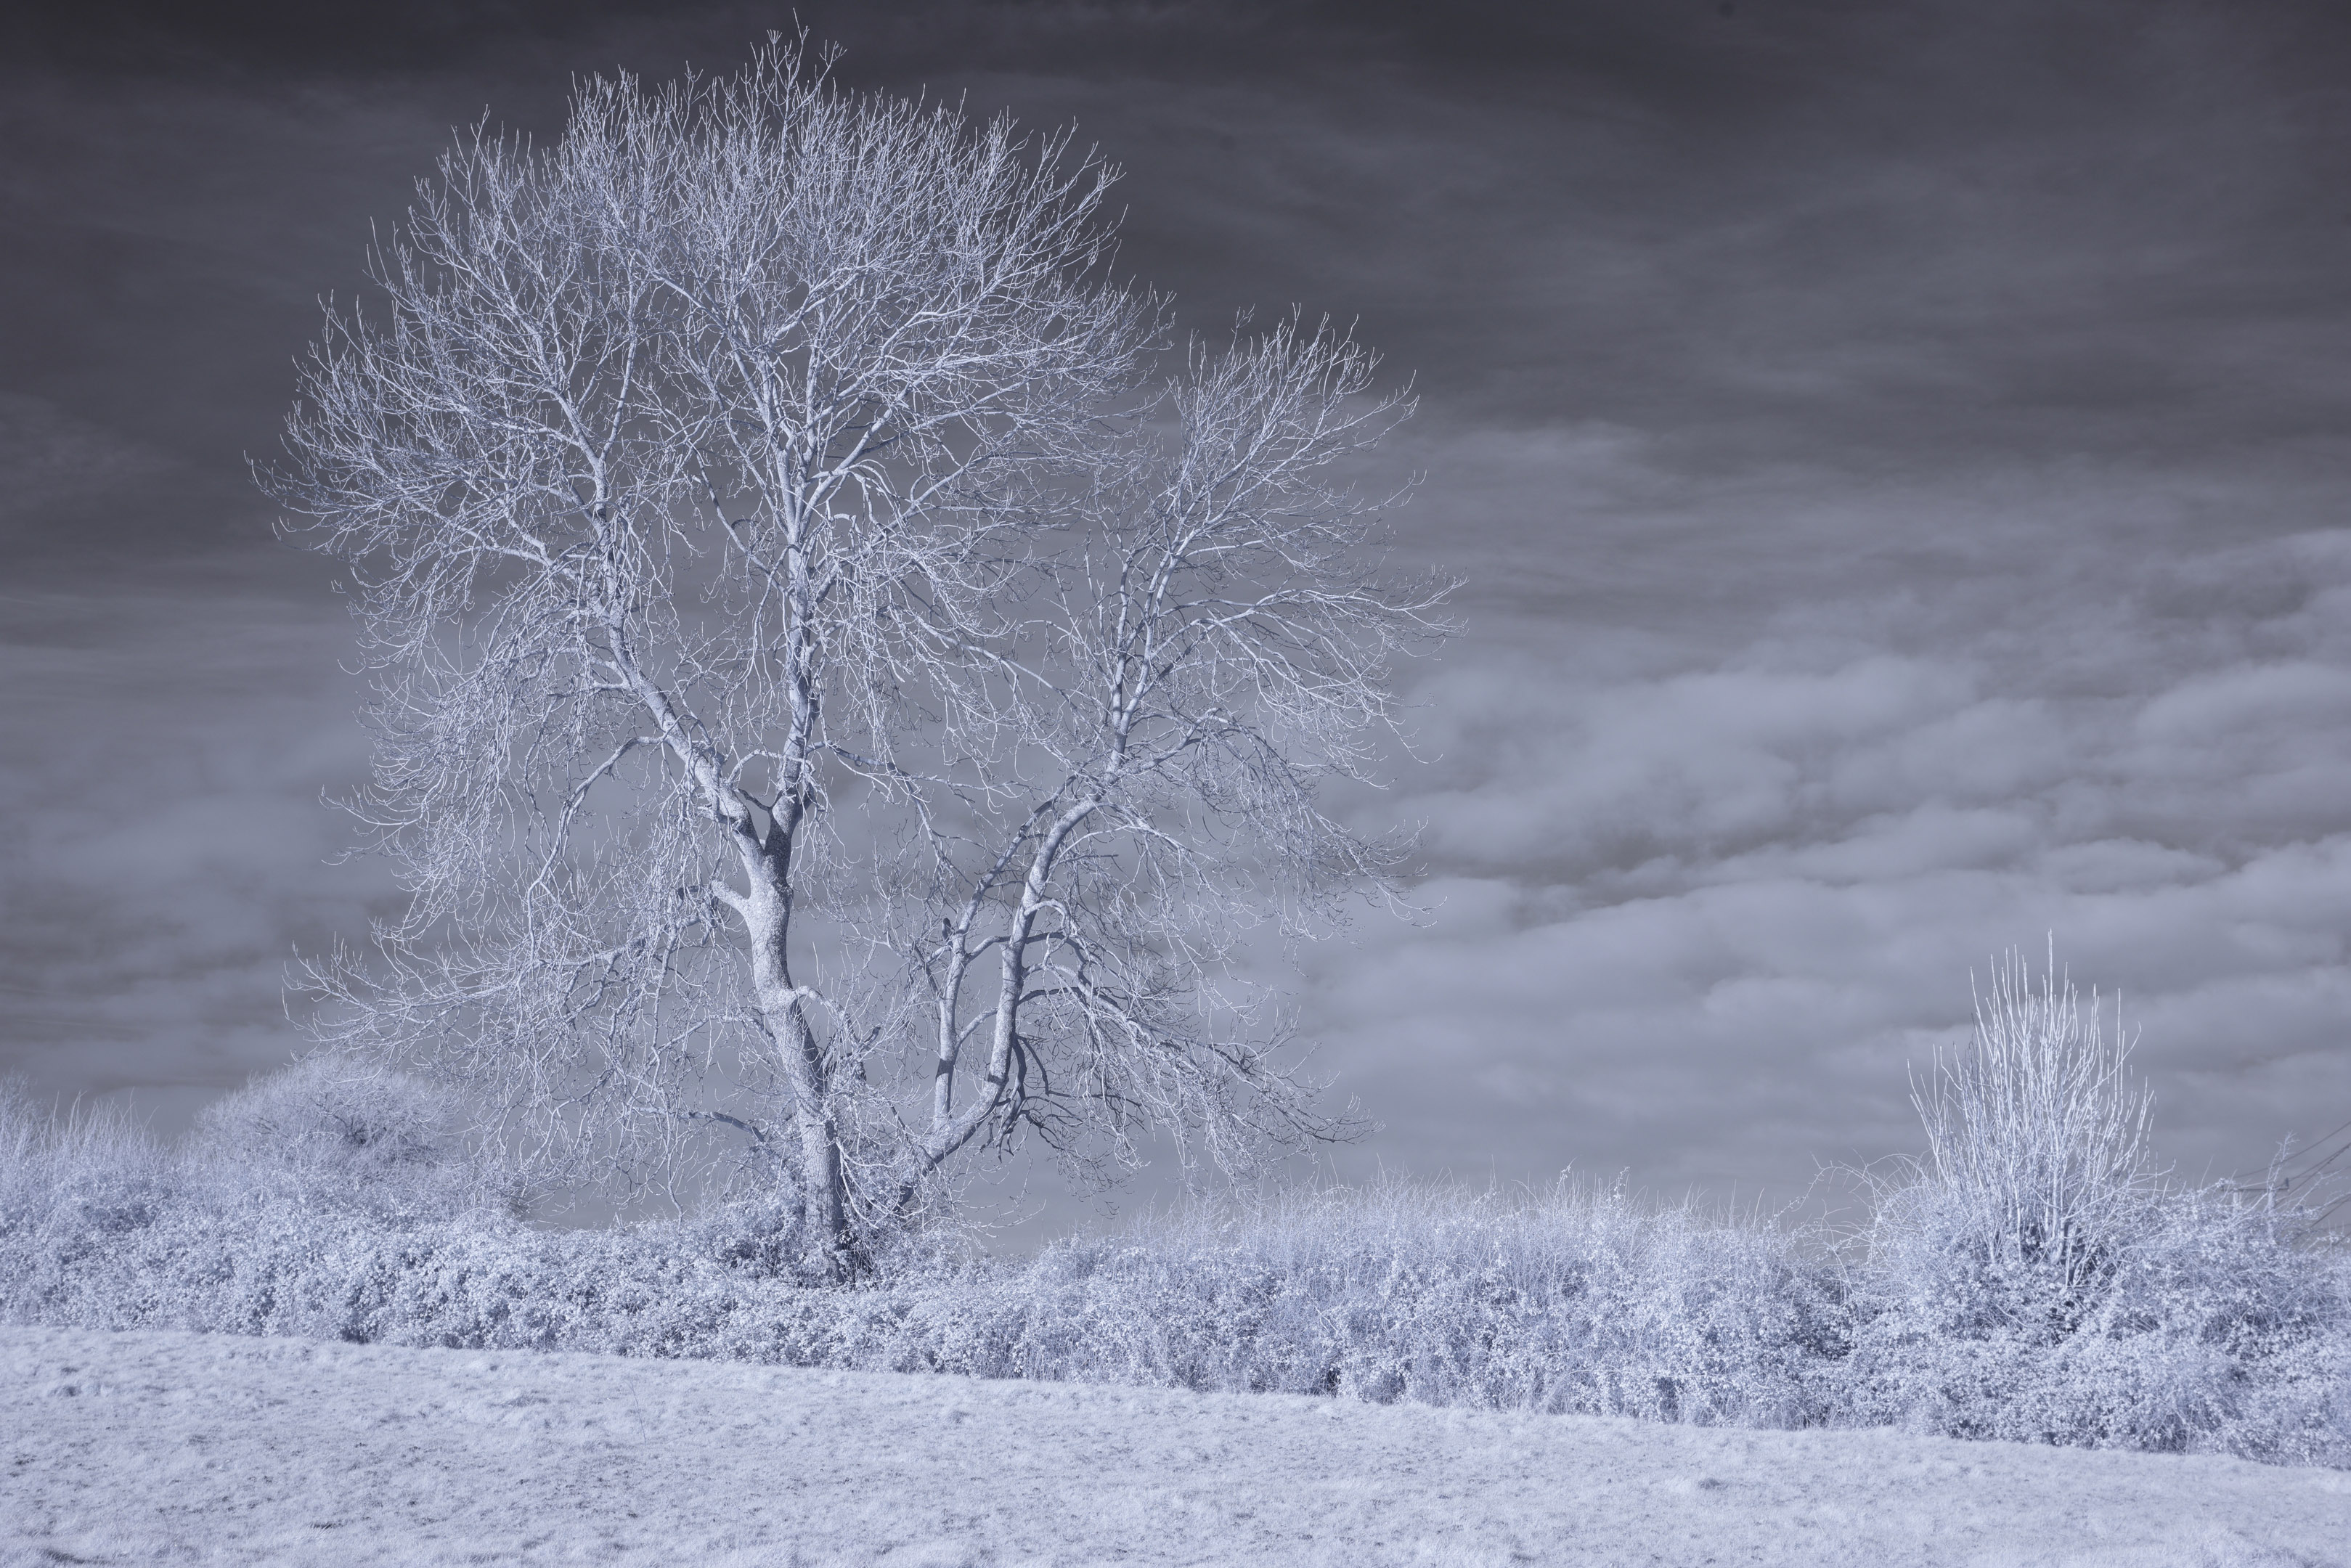
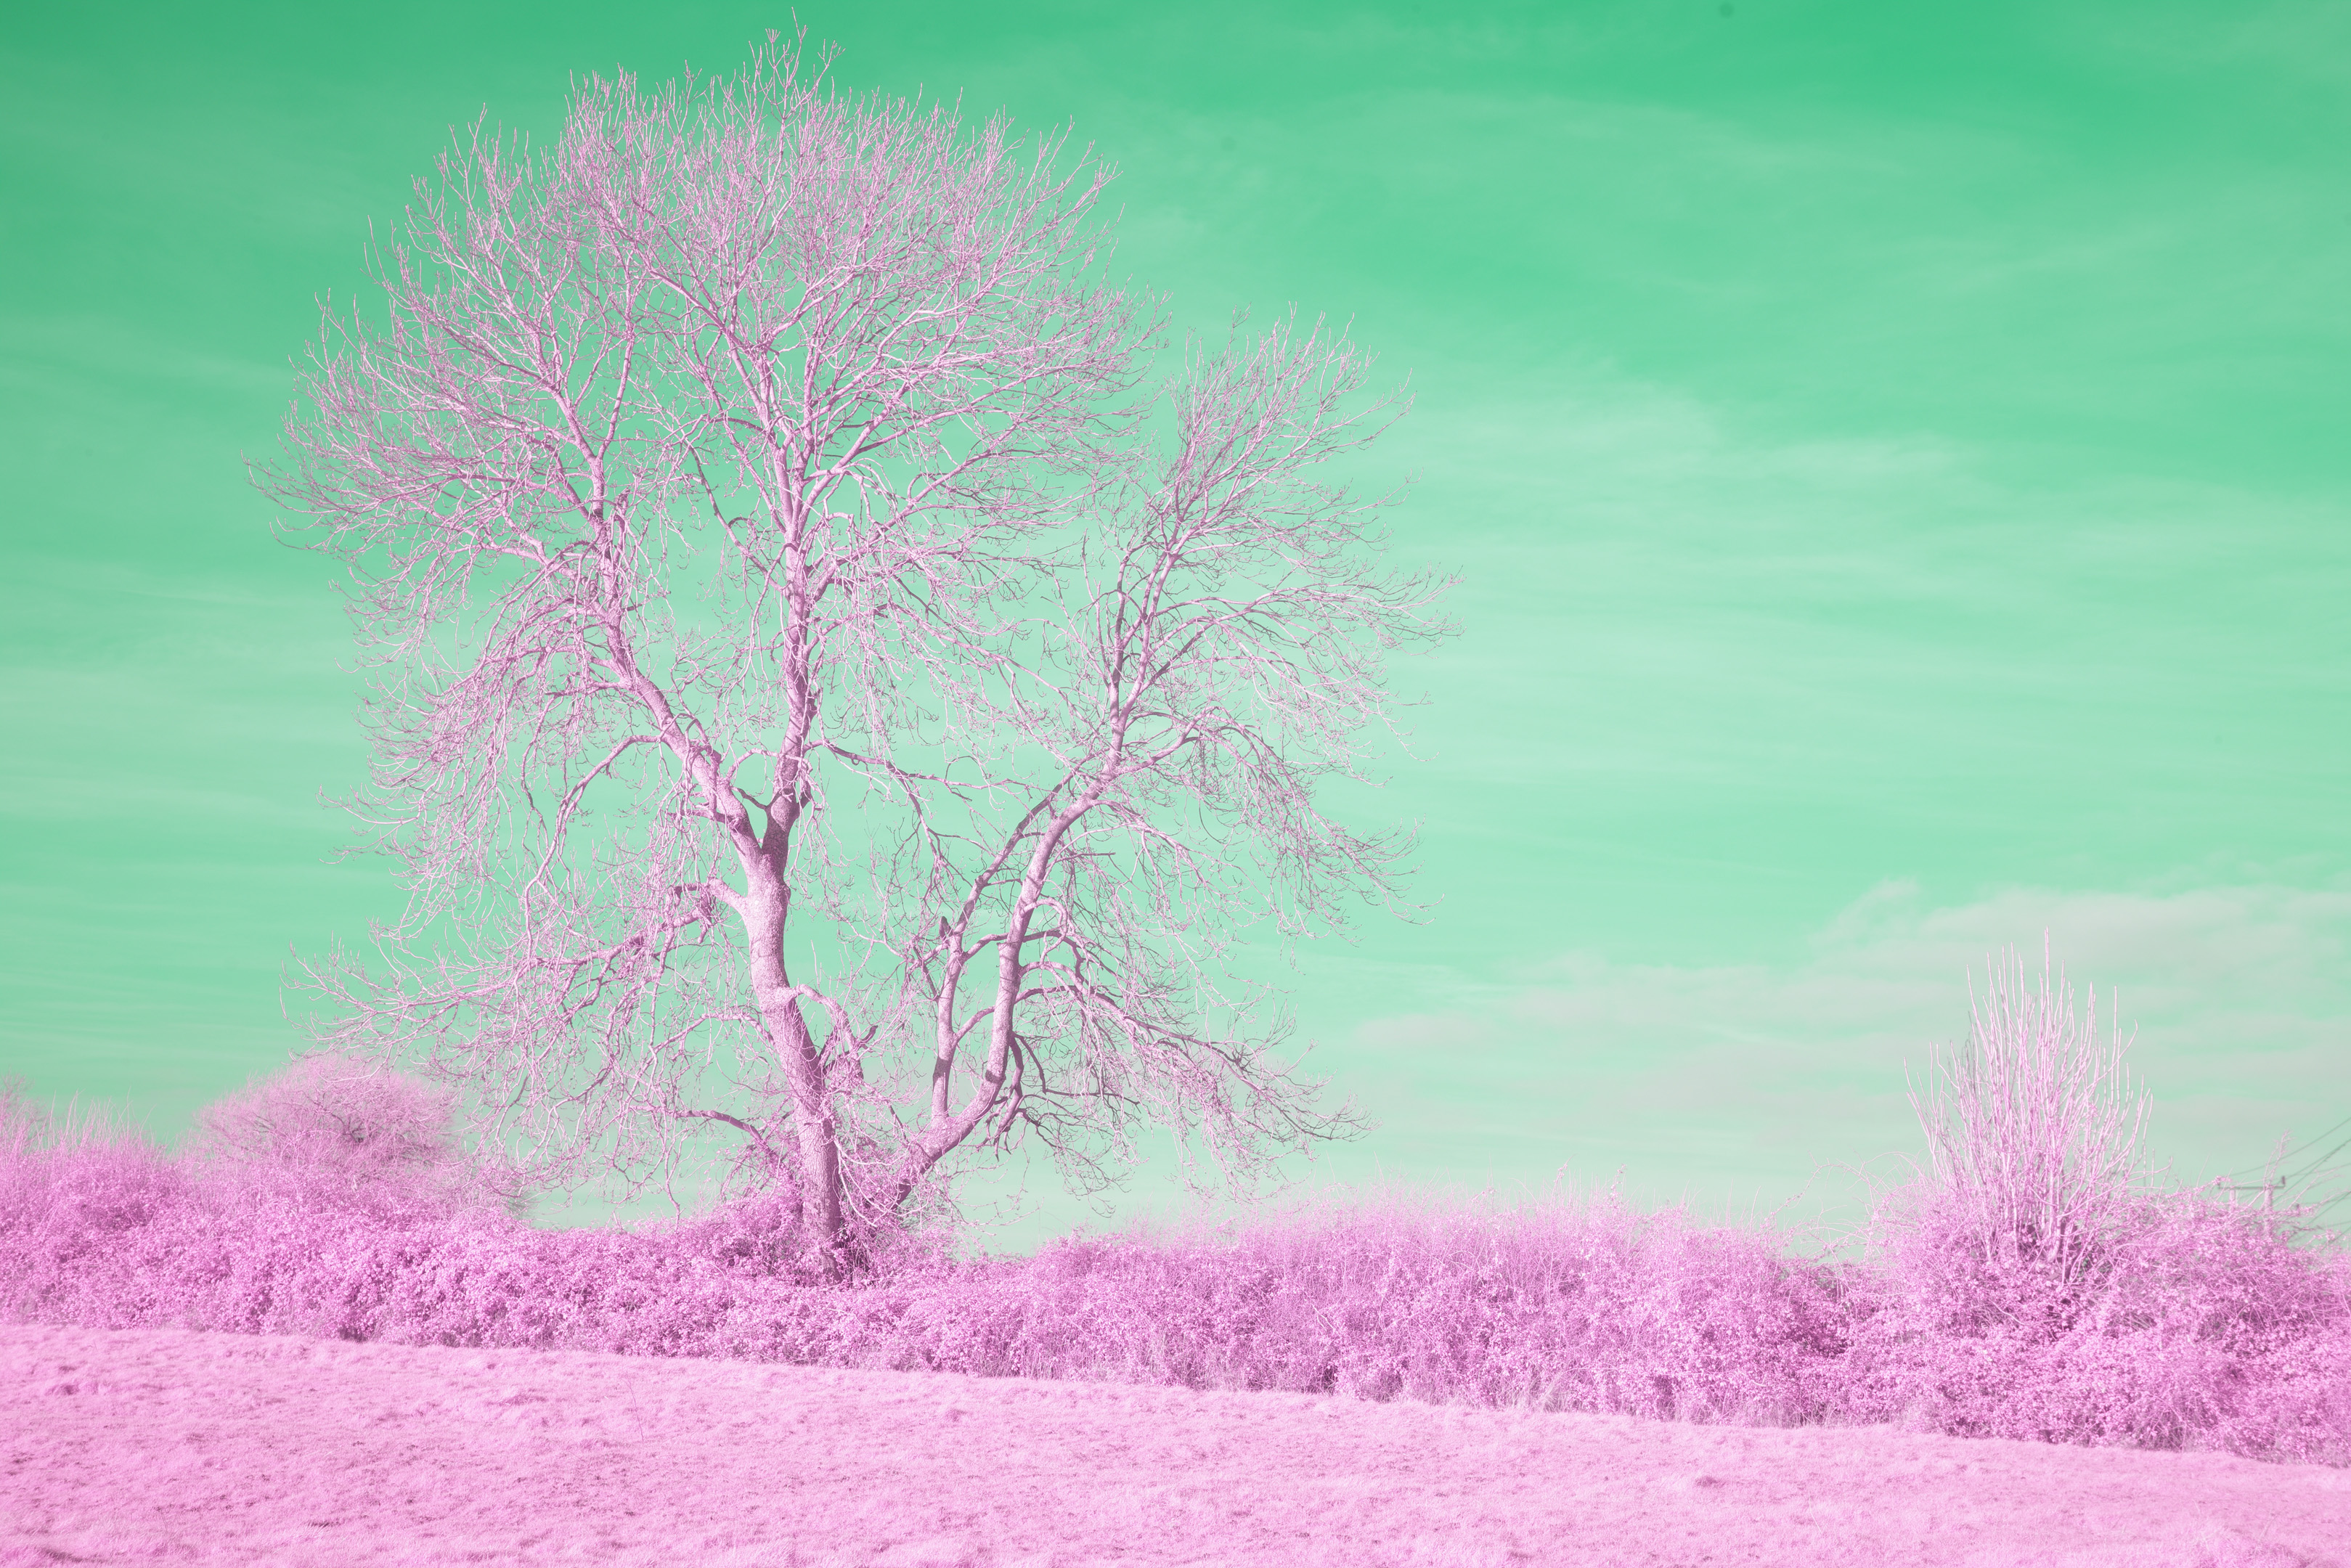
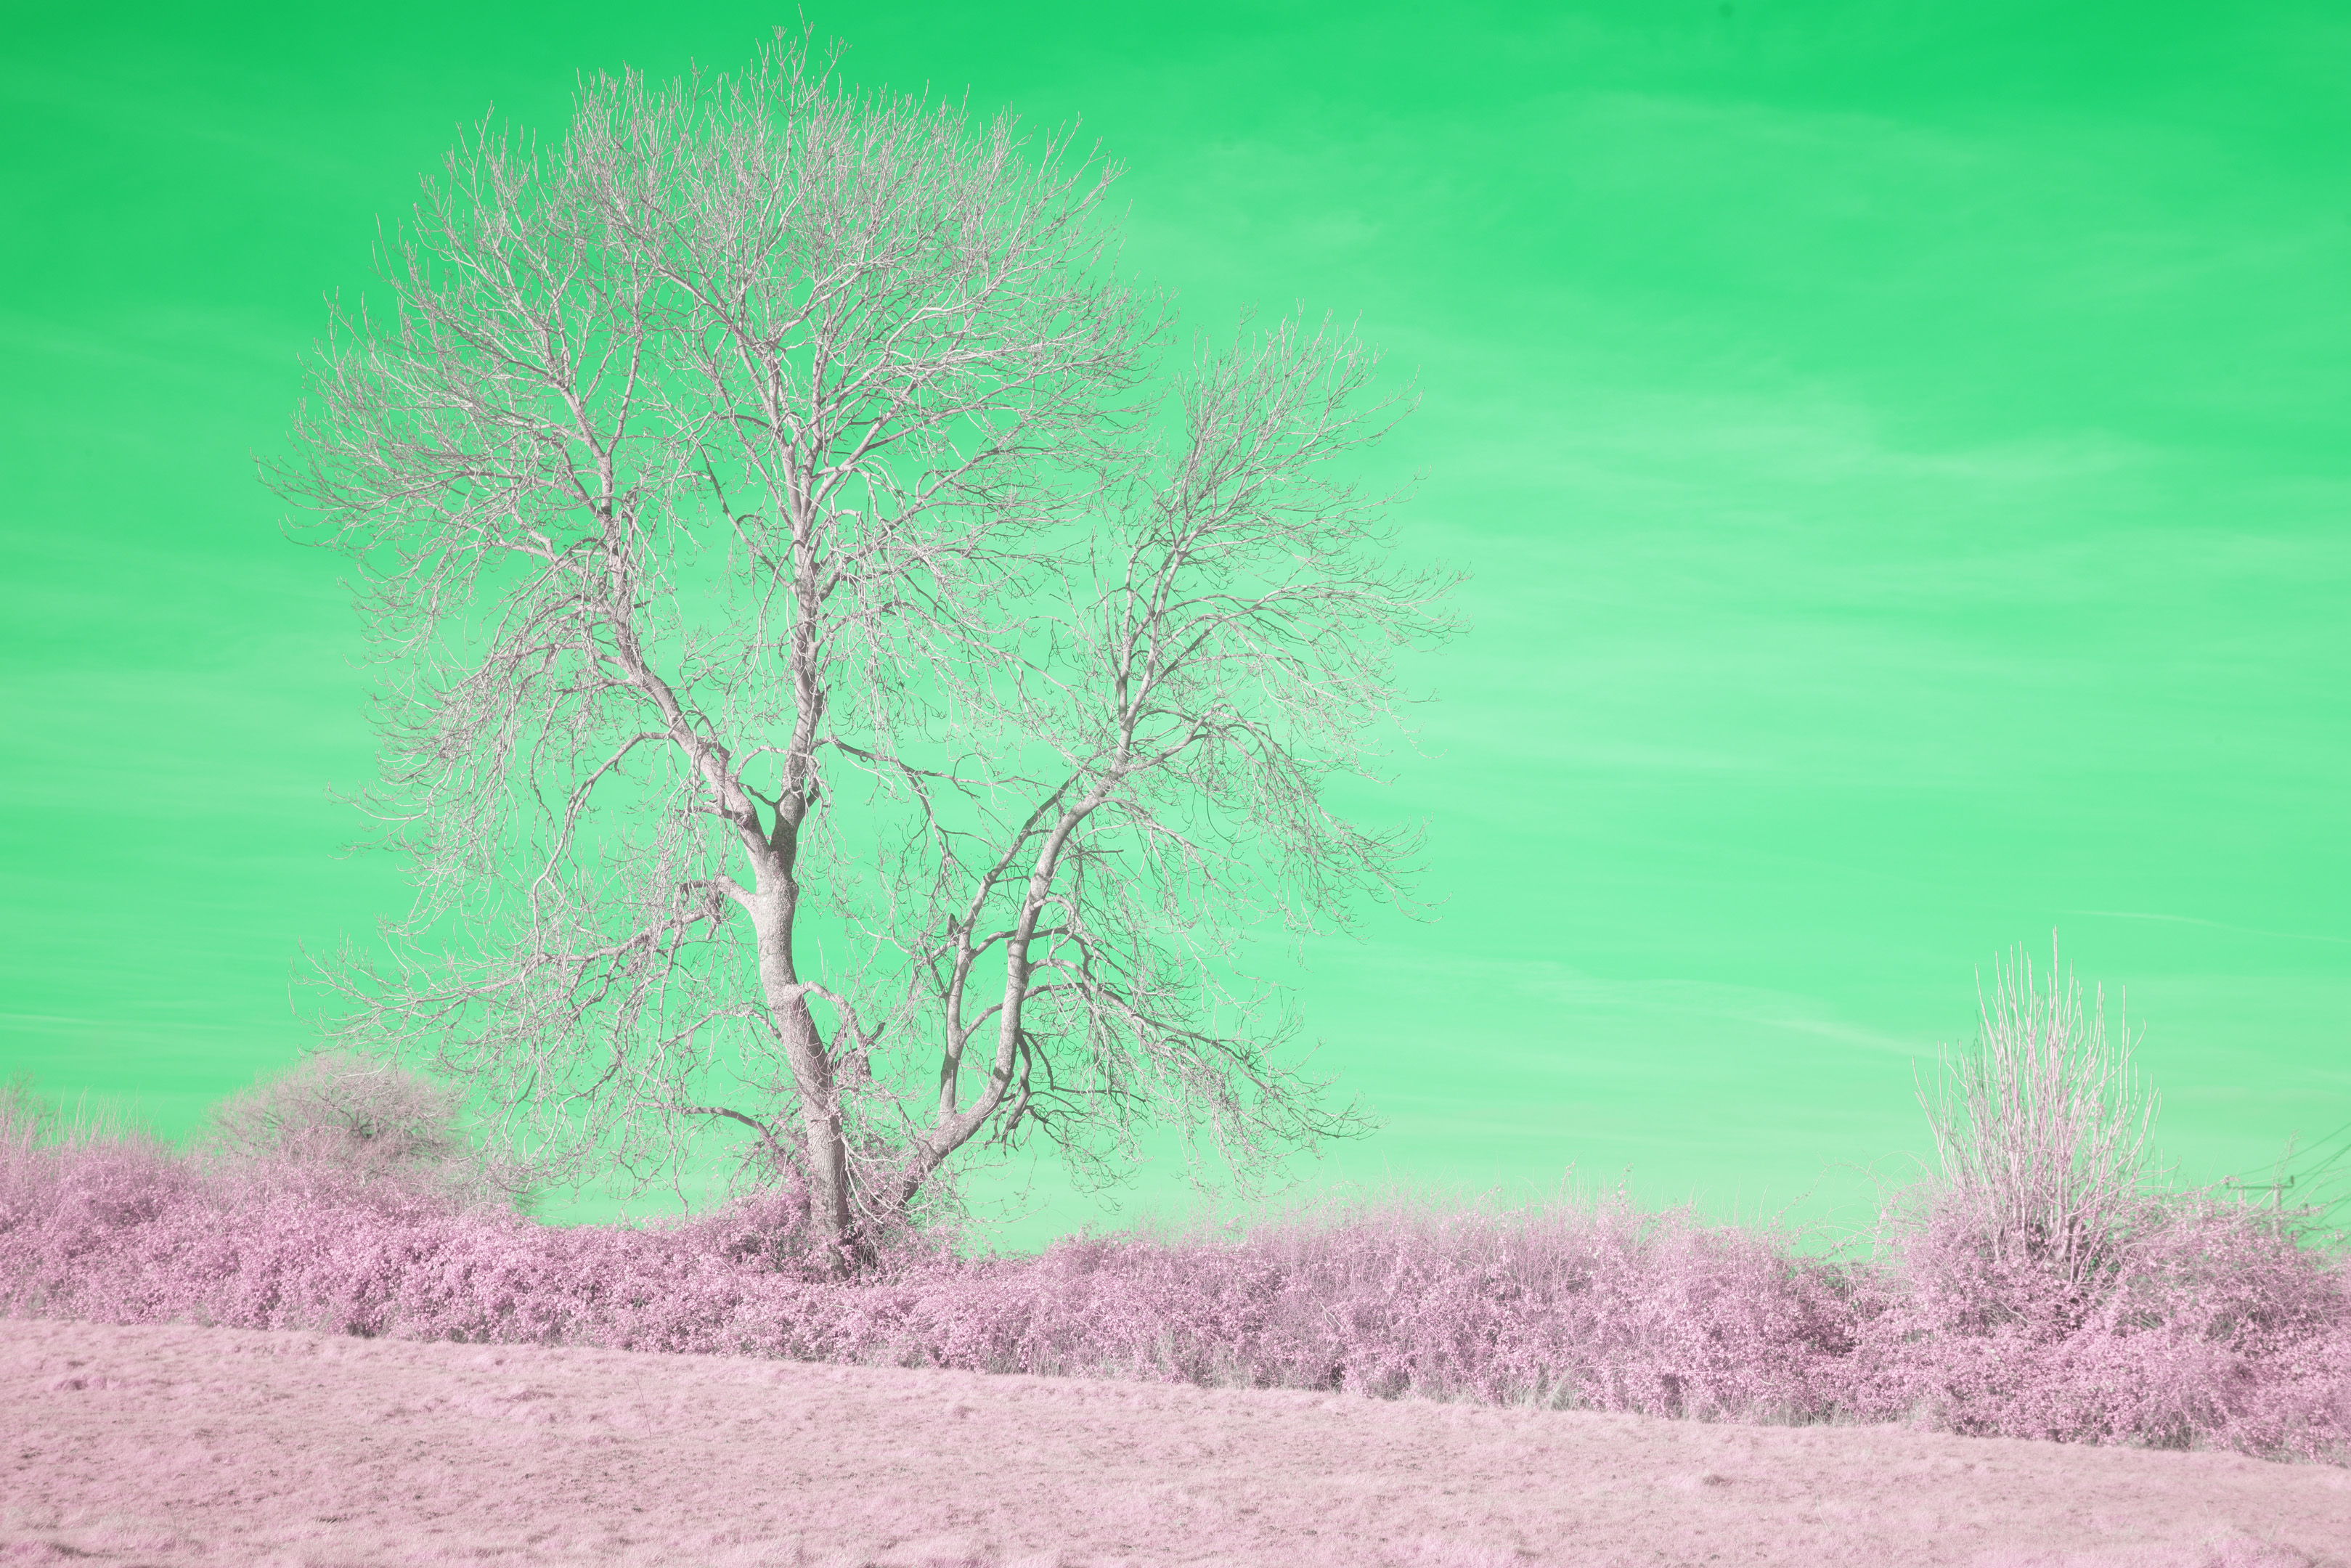
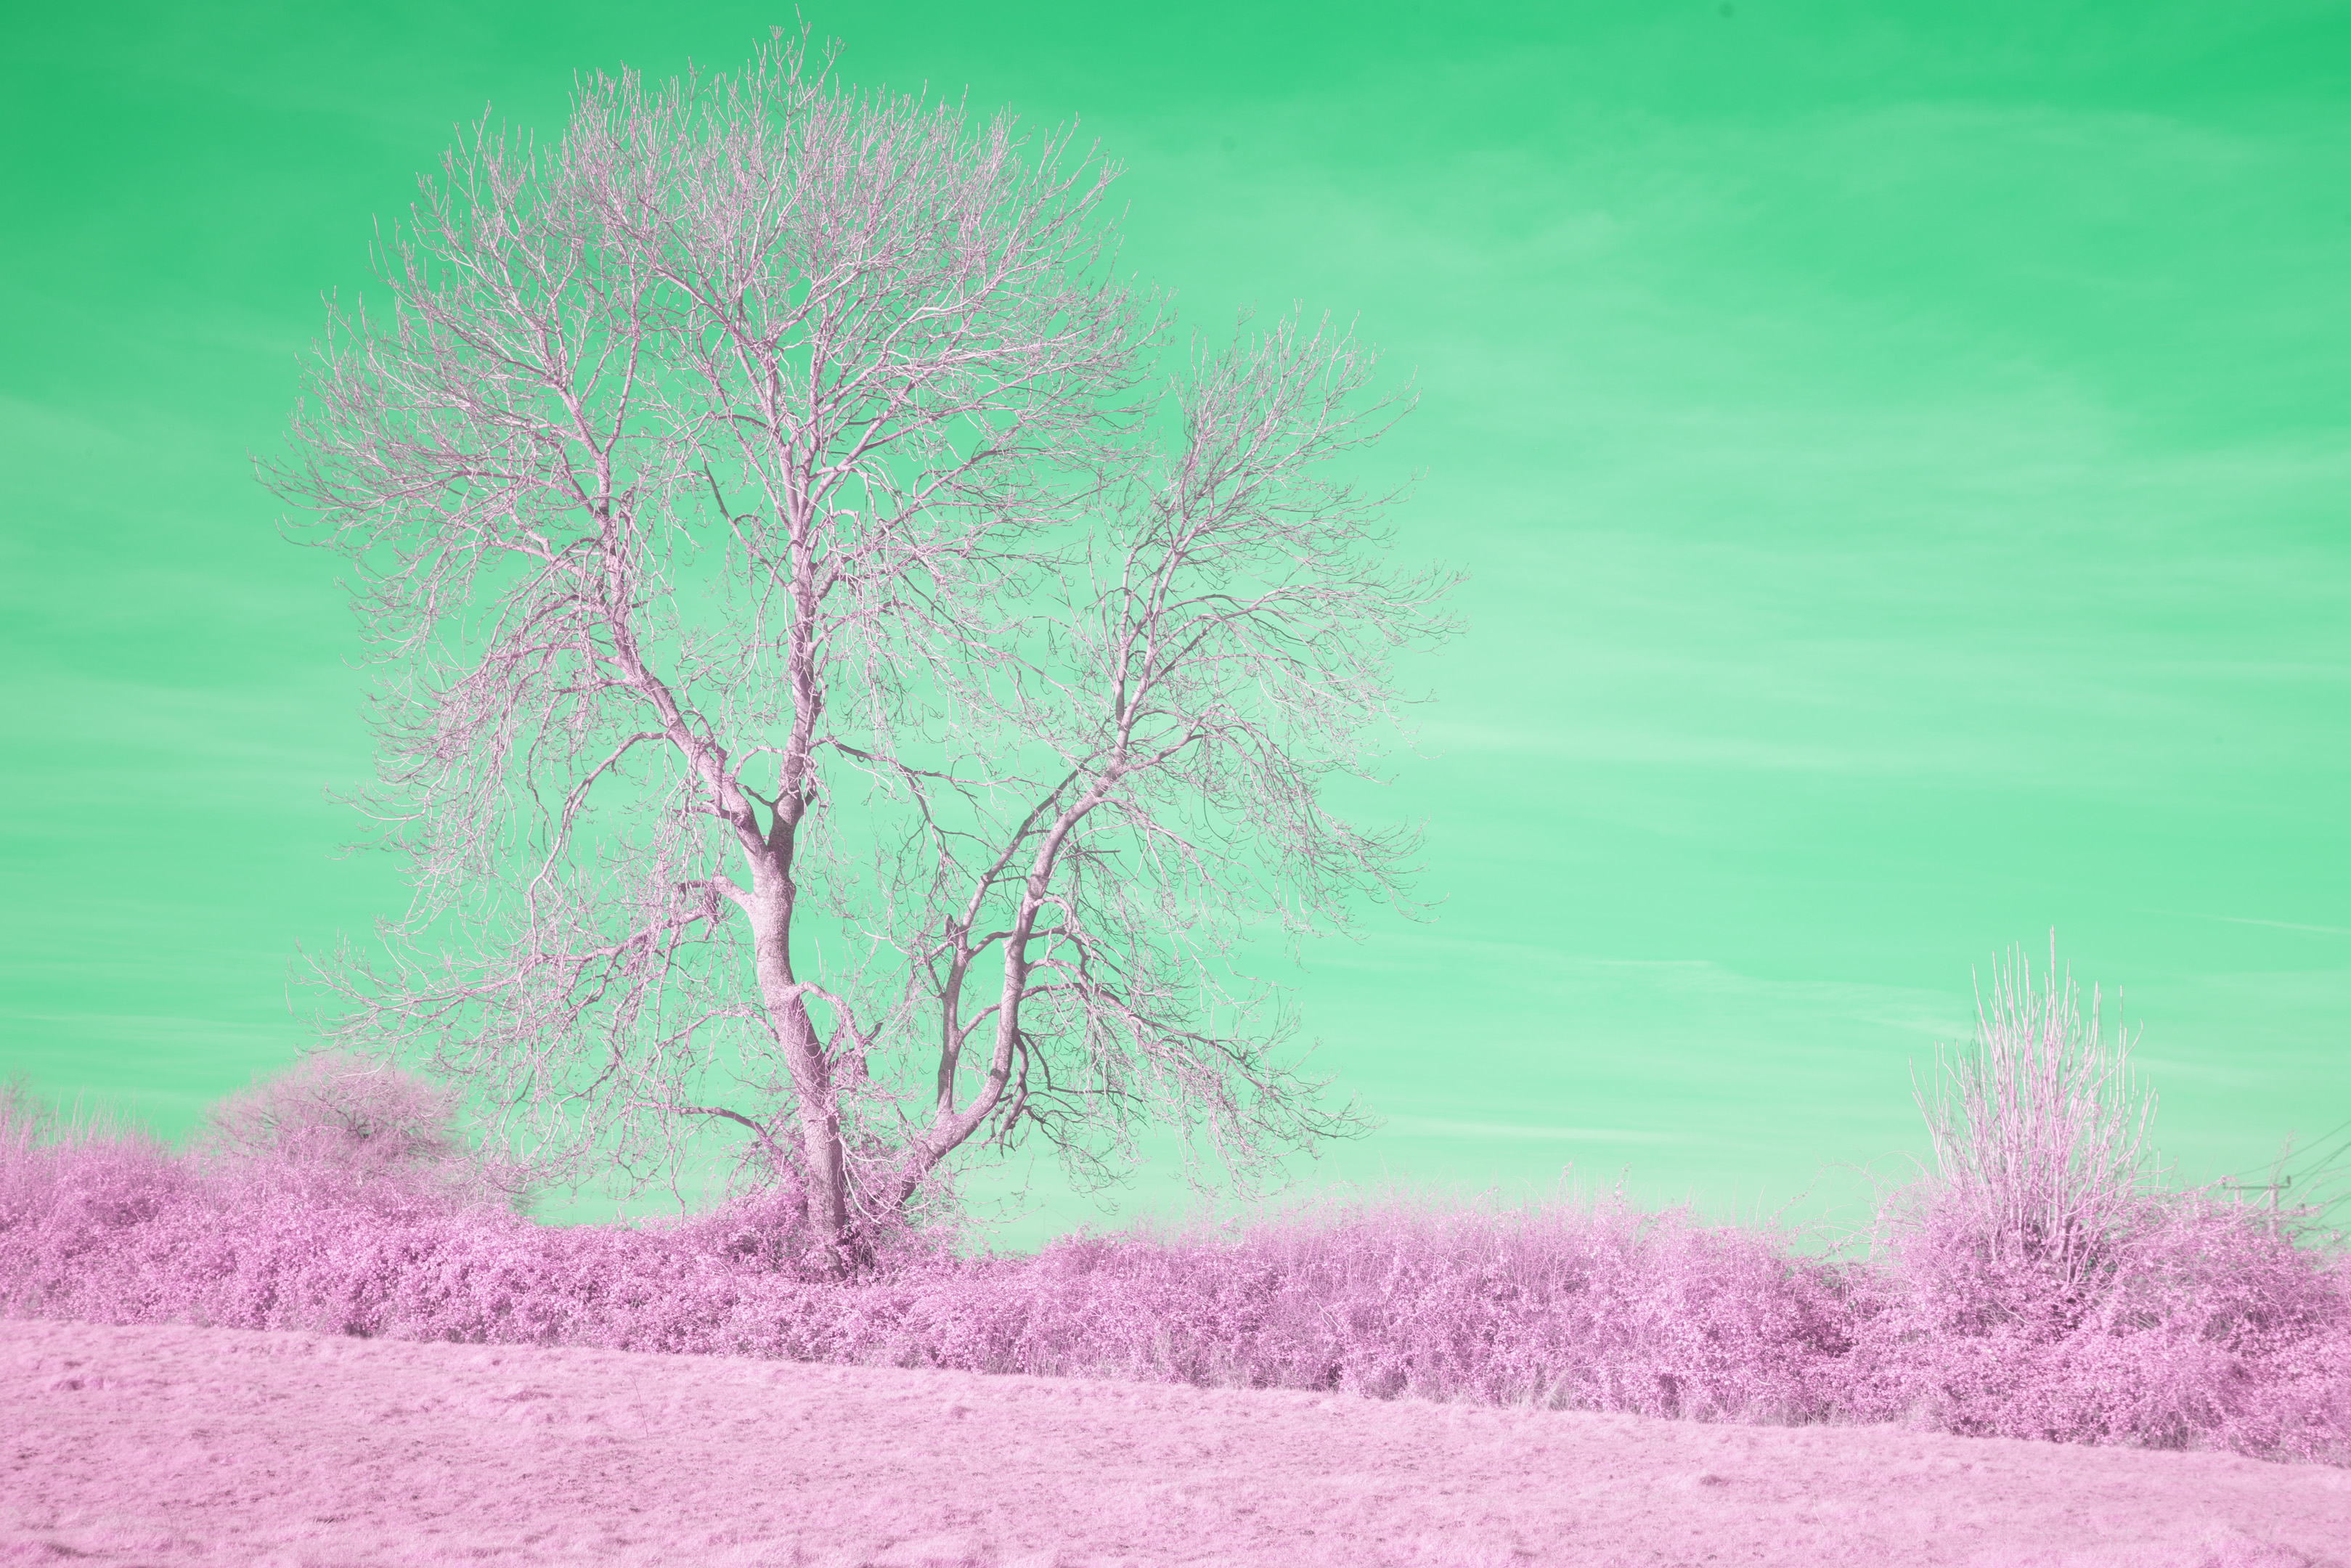
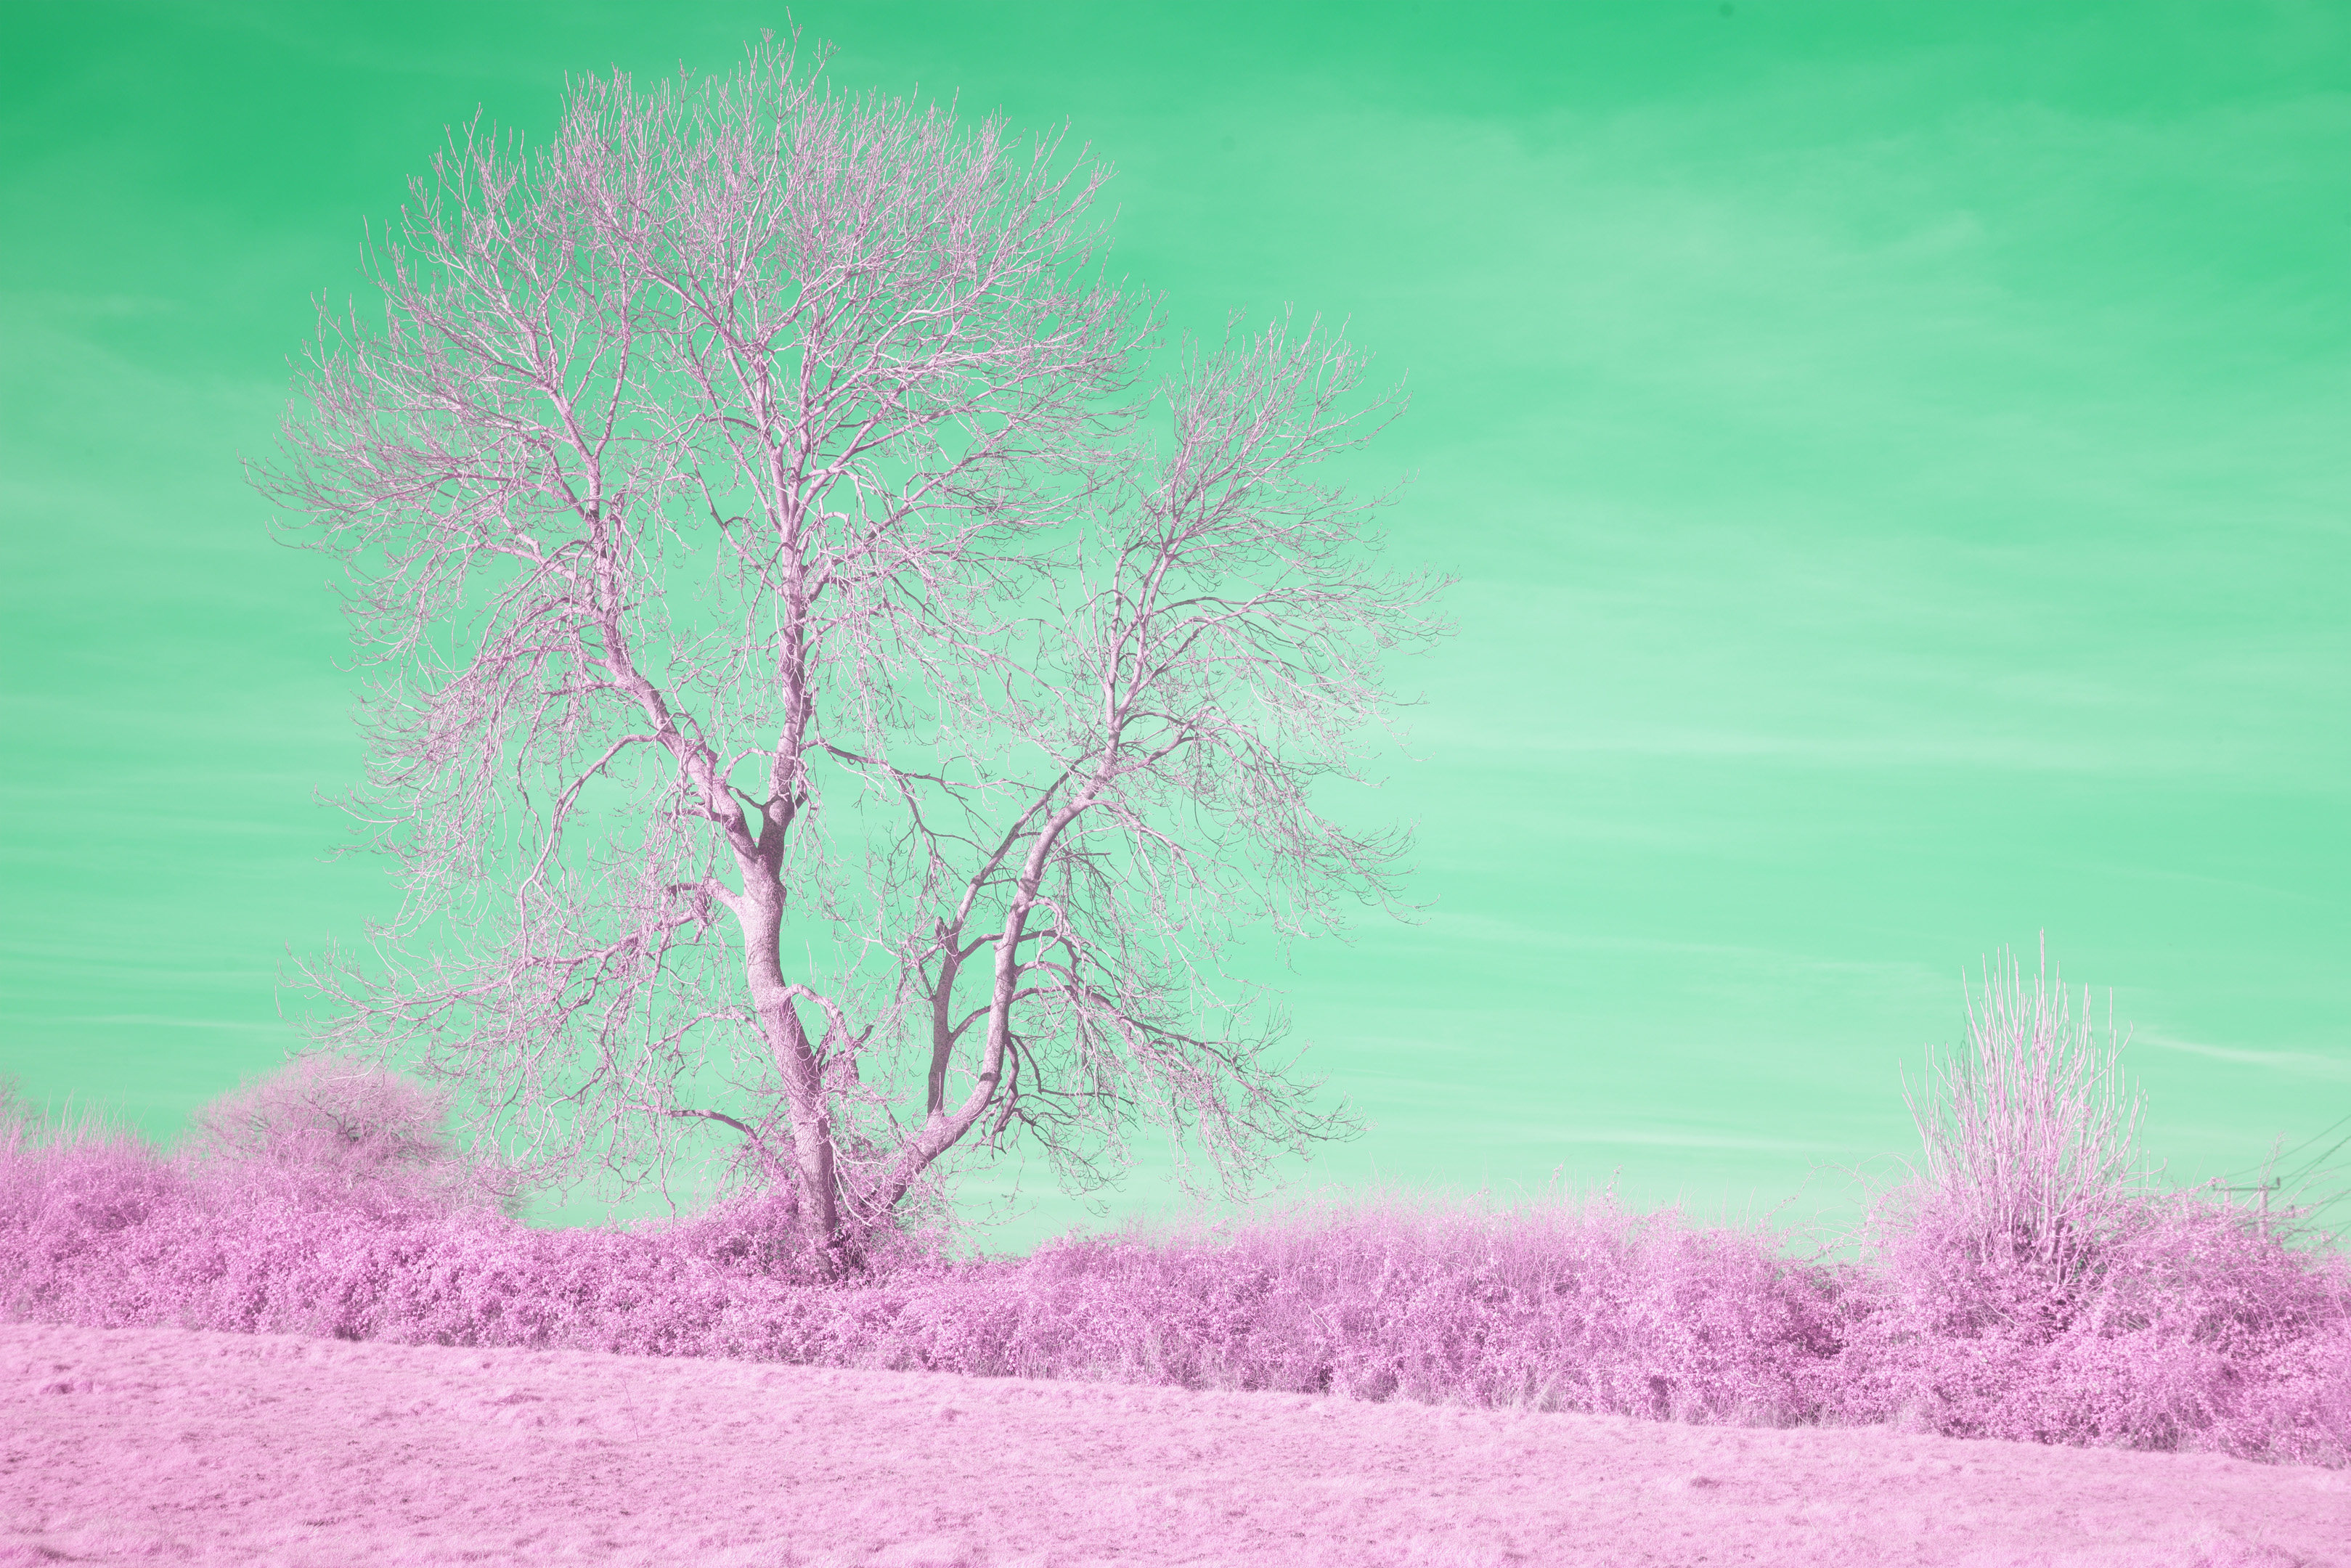
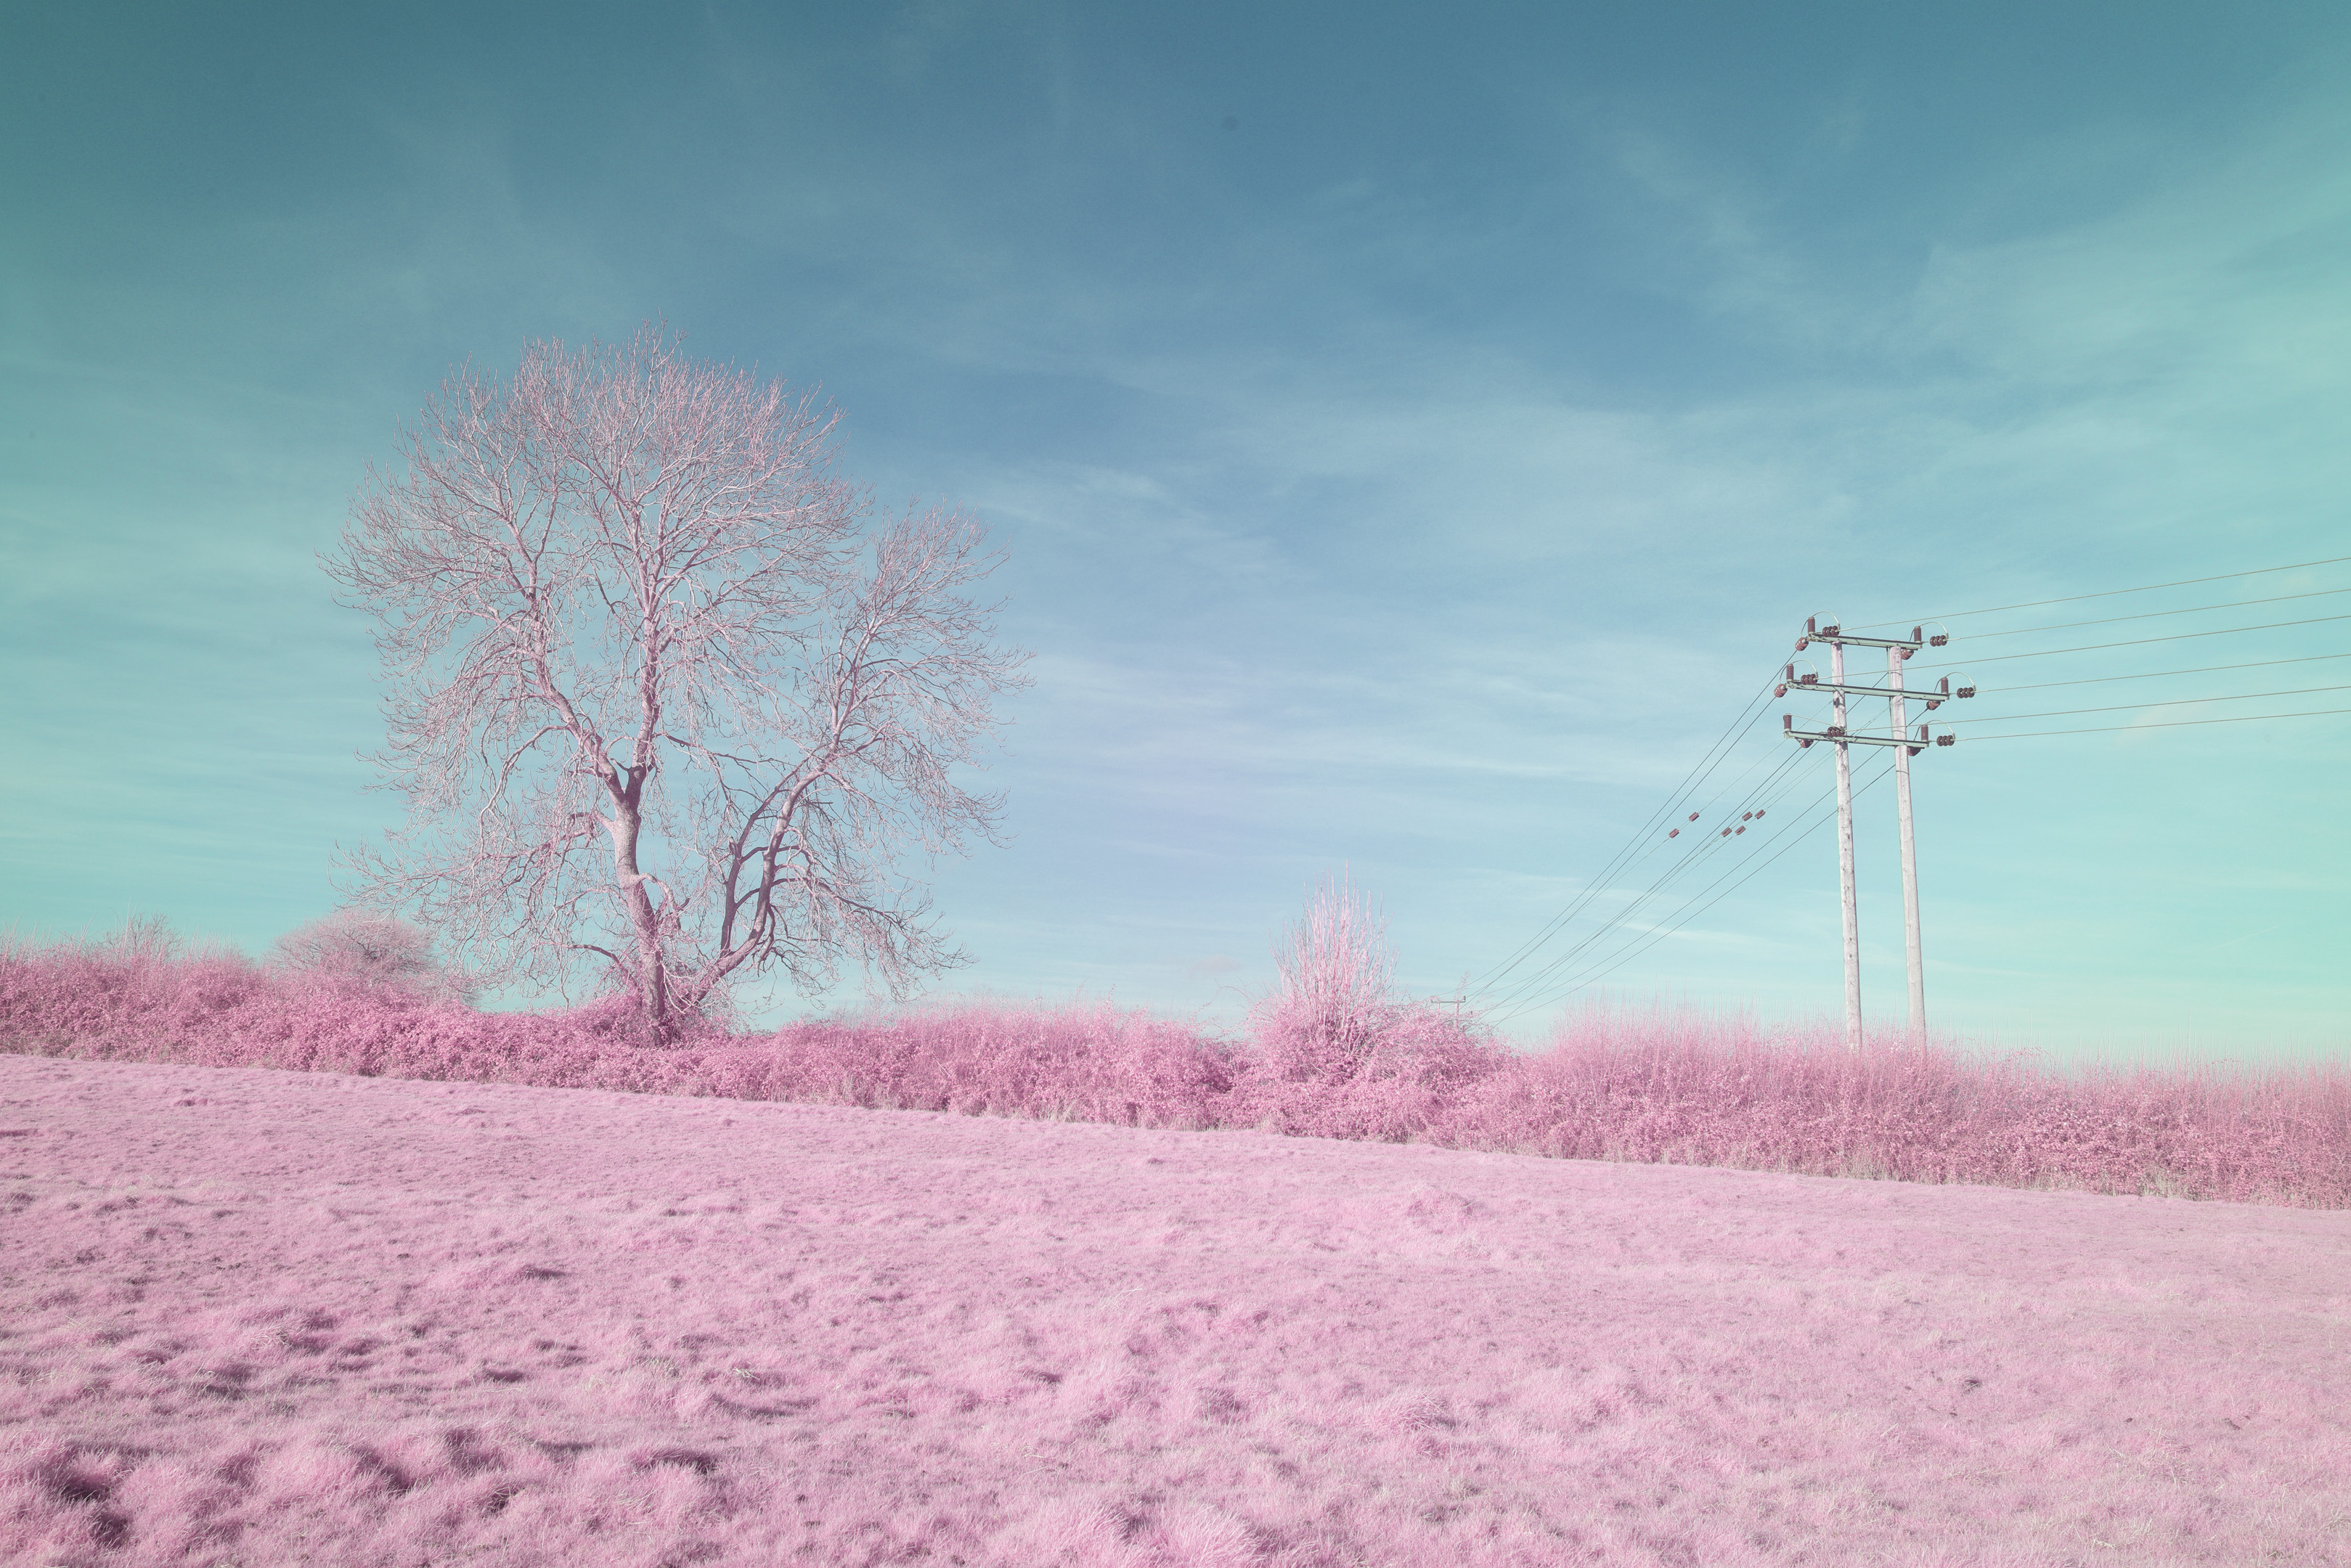
Test with Lee 101 (Visible + IR)
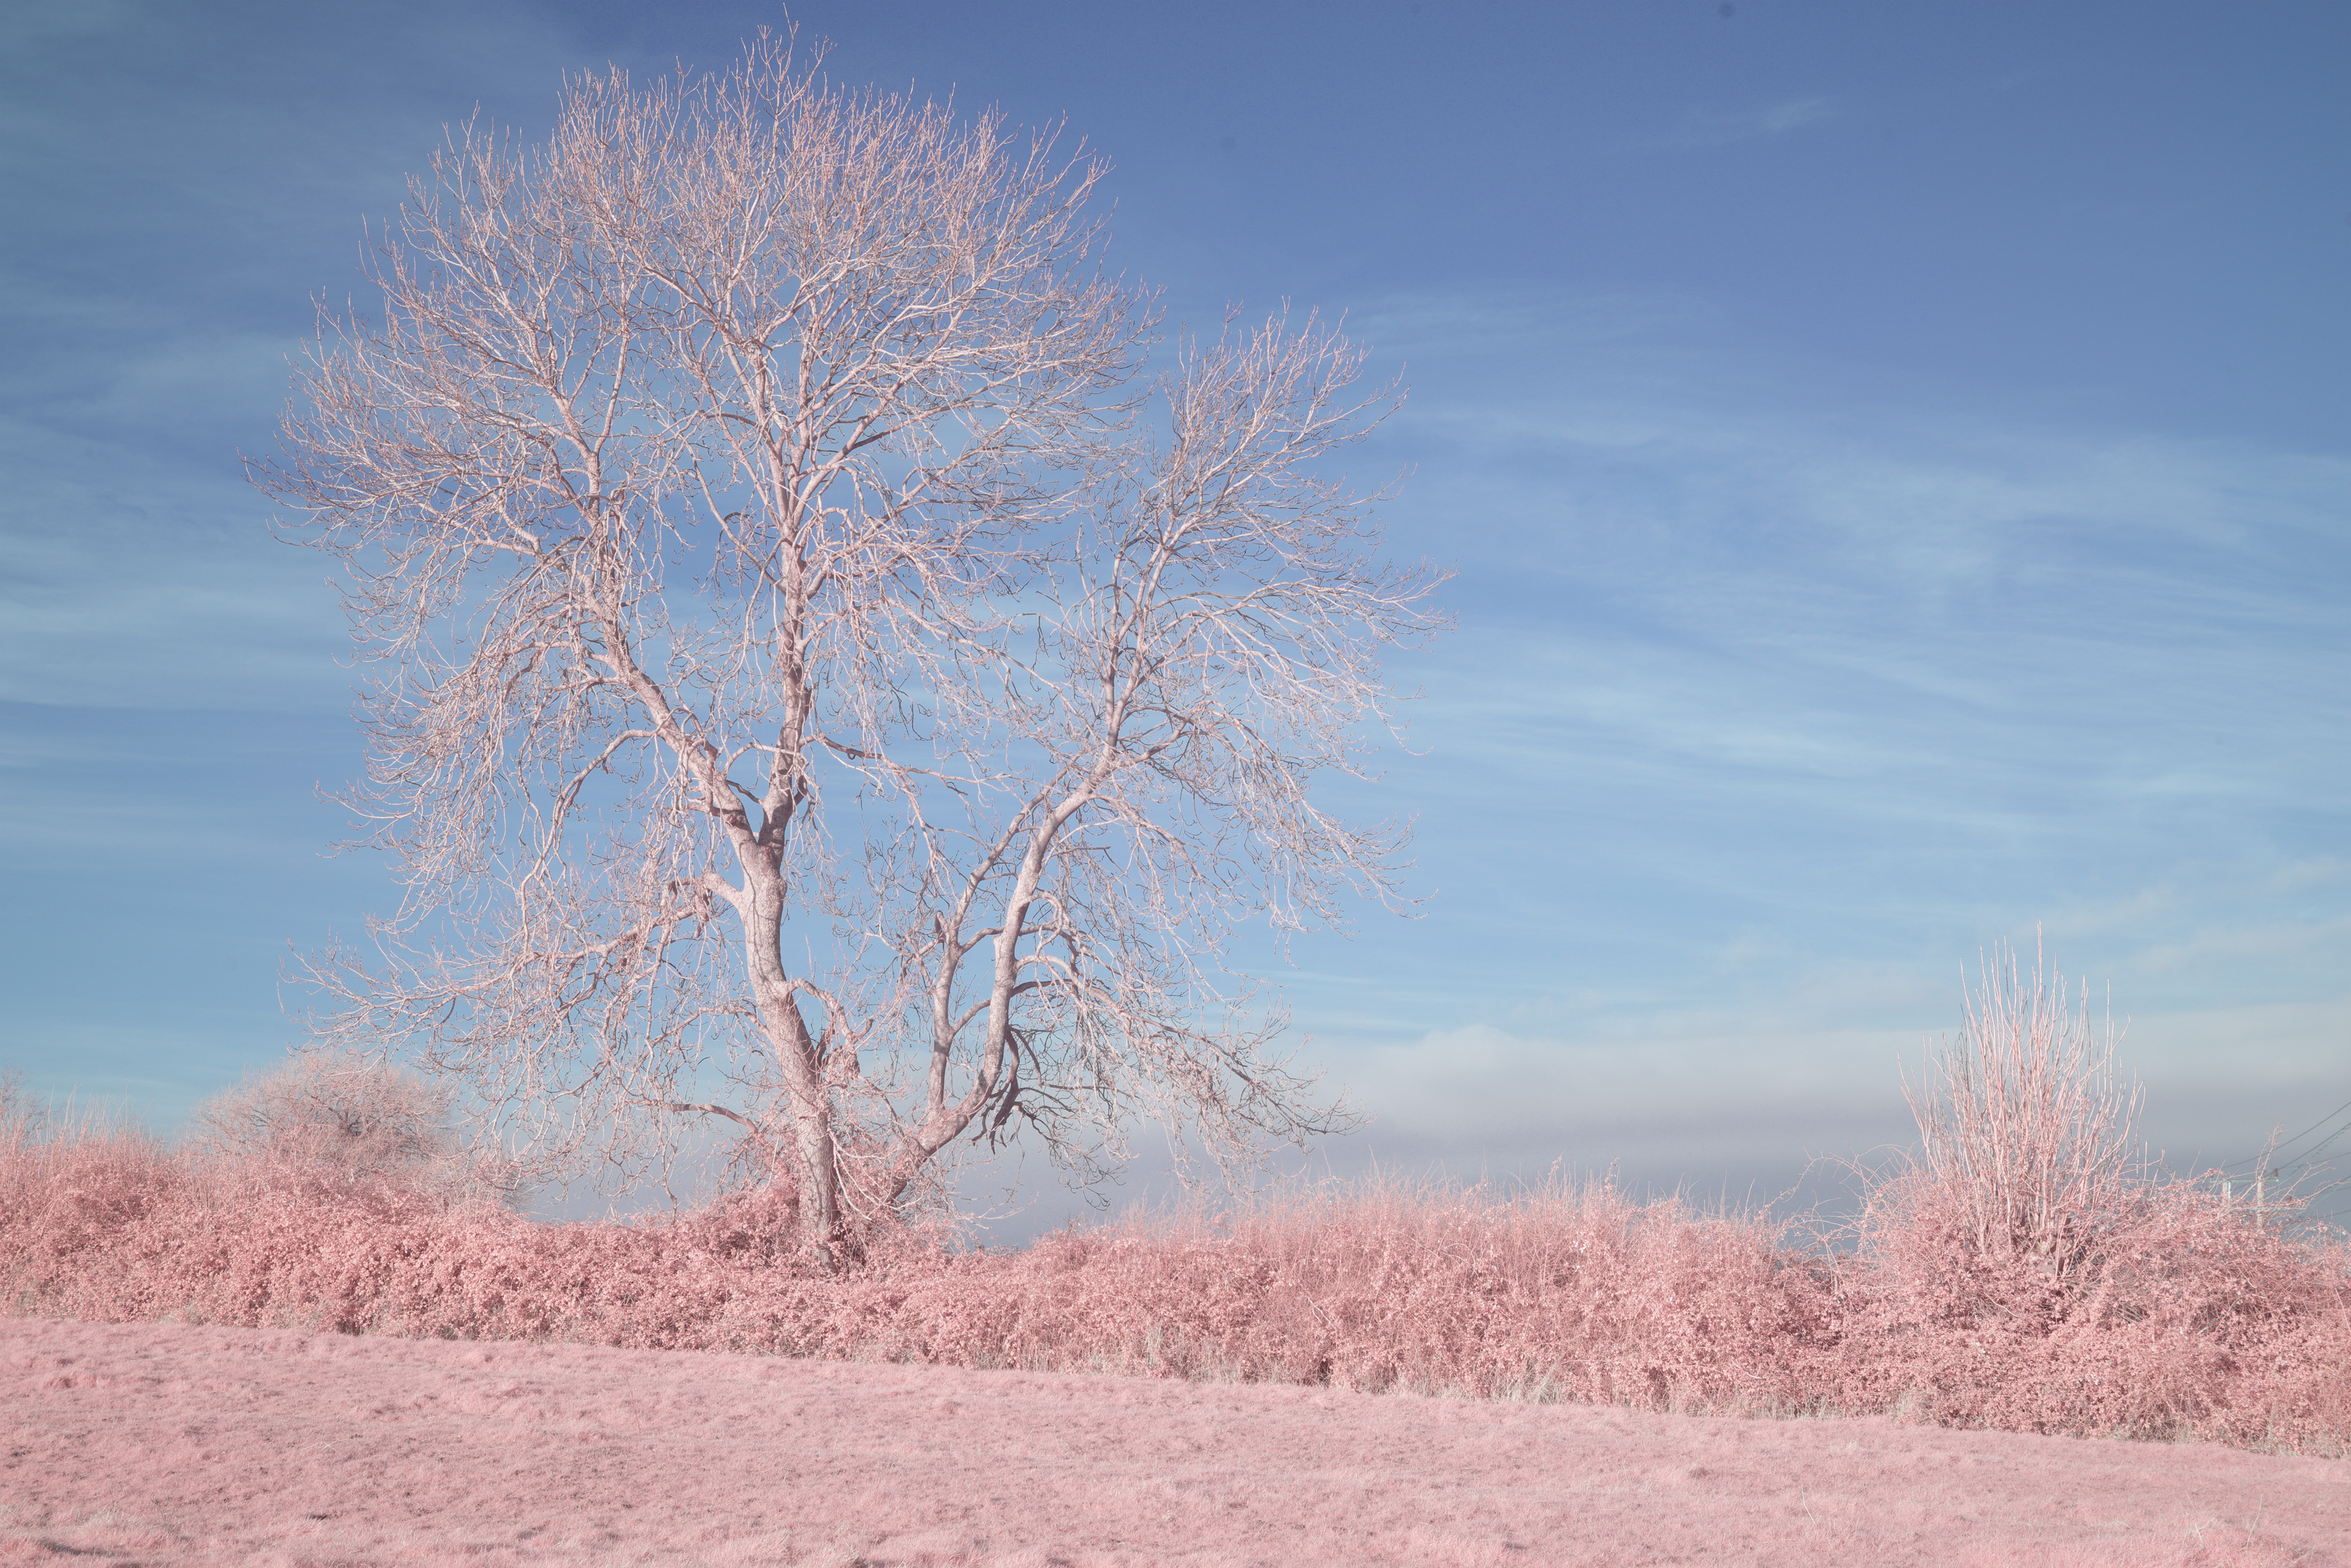
To start off, I'll compare the different white balance targets when shooting a scene with the Lee 101 filter. This filter passes a mix of visible and infrared light. White balance was set in camera using each of the different targets, and a 98° hue shift has been applied in post.
White card
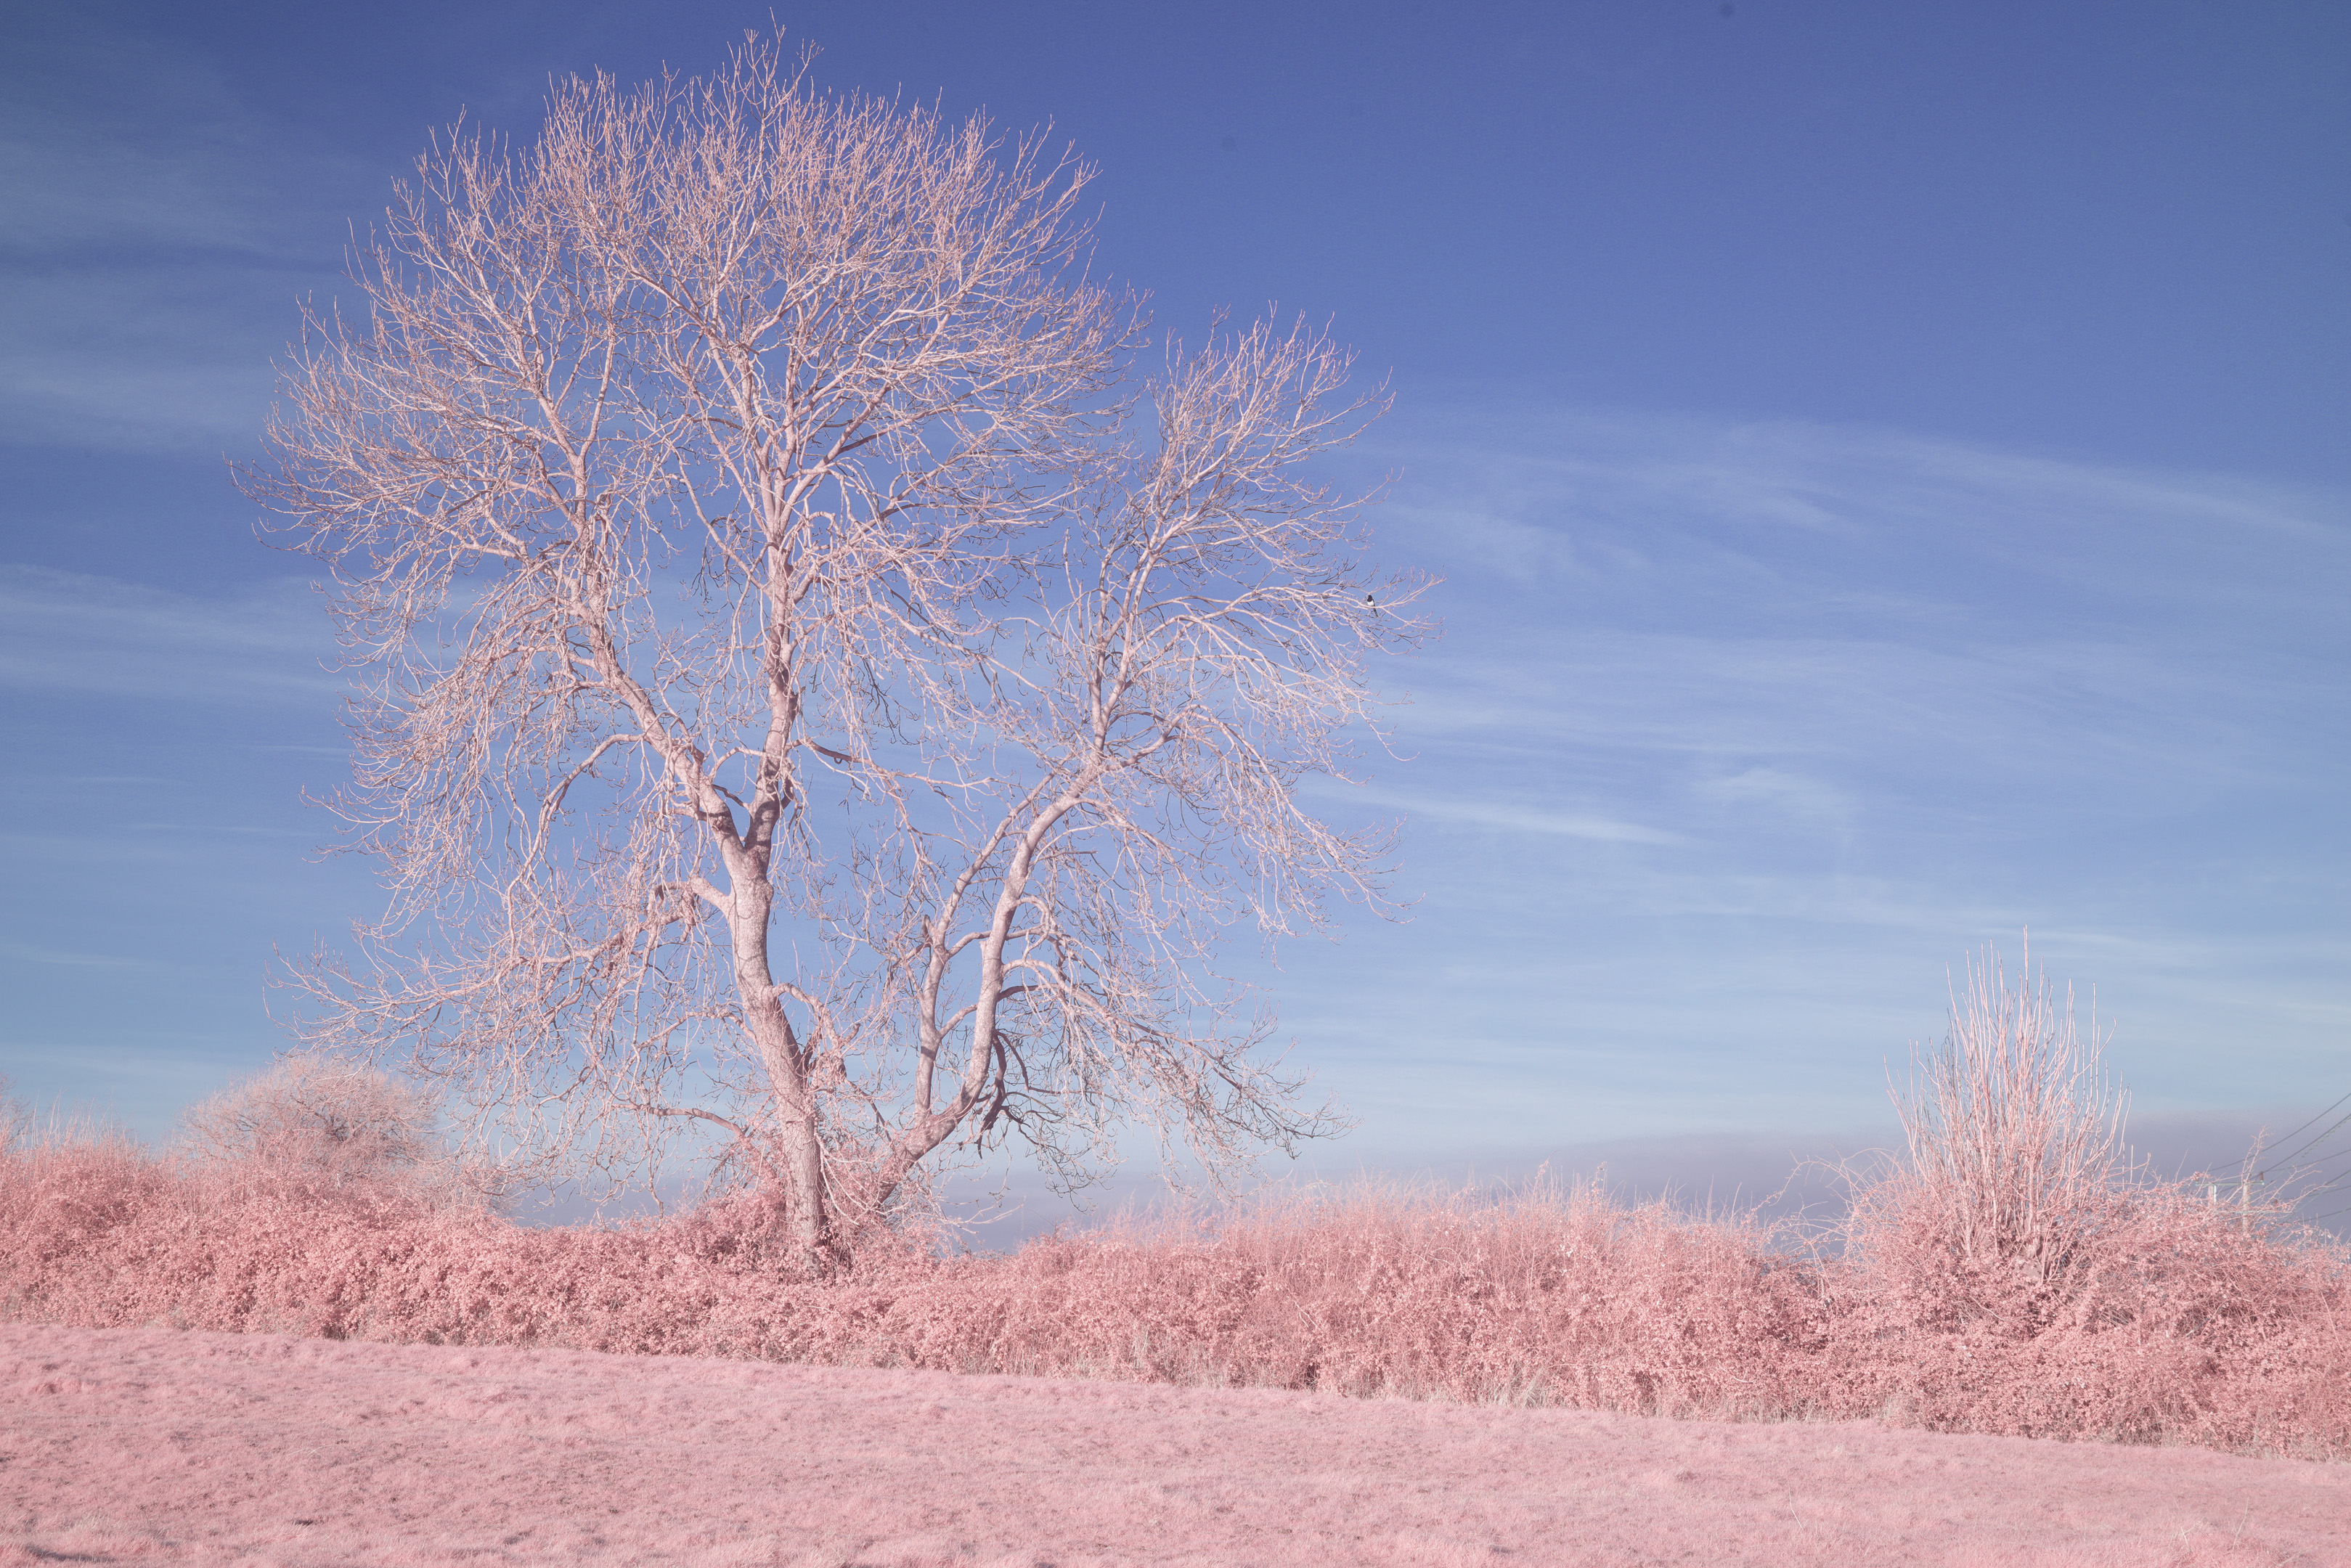
WB on clouds is off, though doesn't look too bad once hue adjusted. You have to adjust exposure when taking the white balance image to avoid over-exposing the target. (If the white balance target is over-exposed you won't be able to use it for setting white balance).
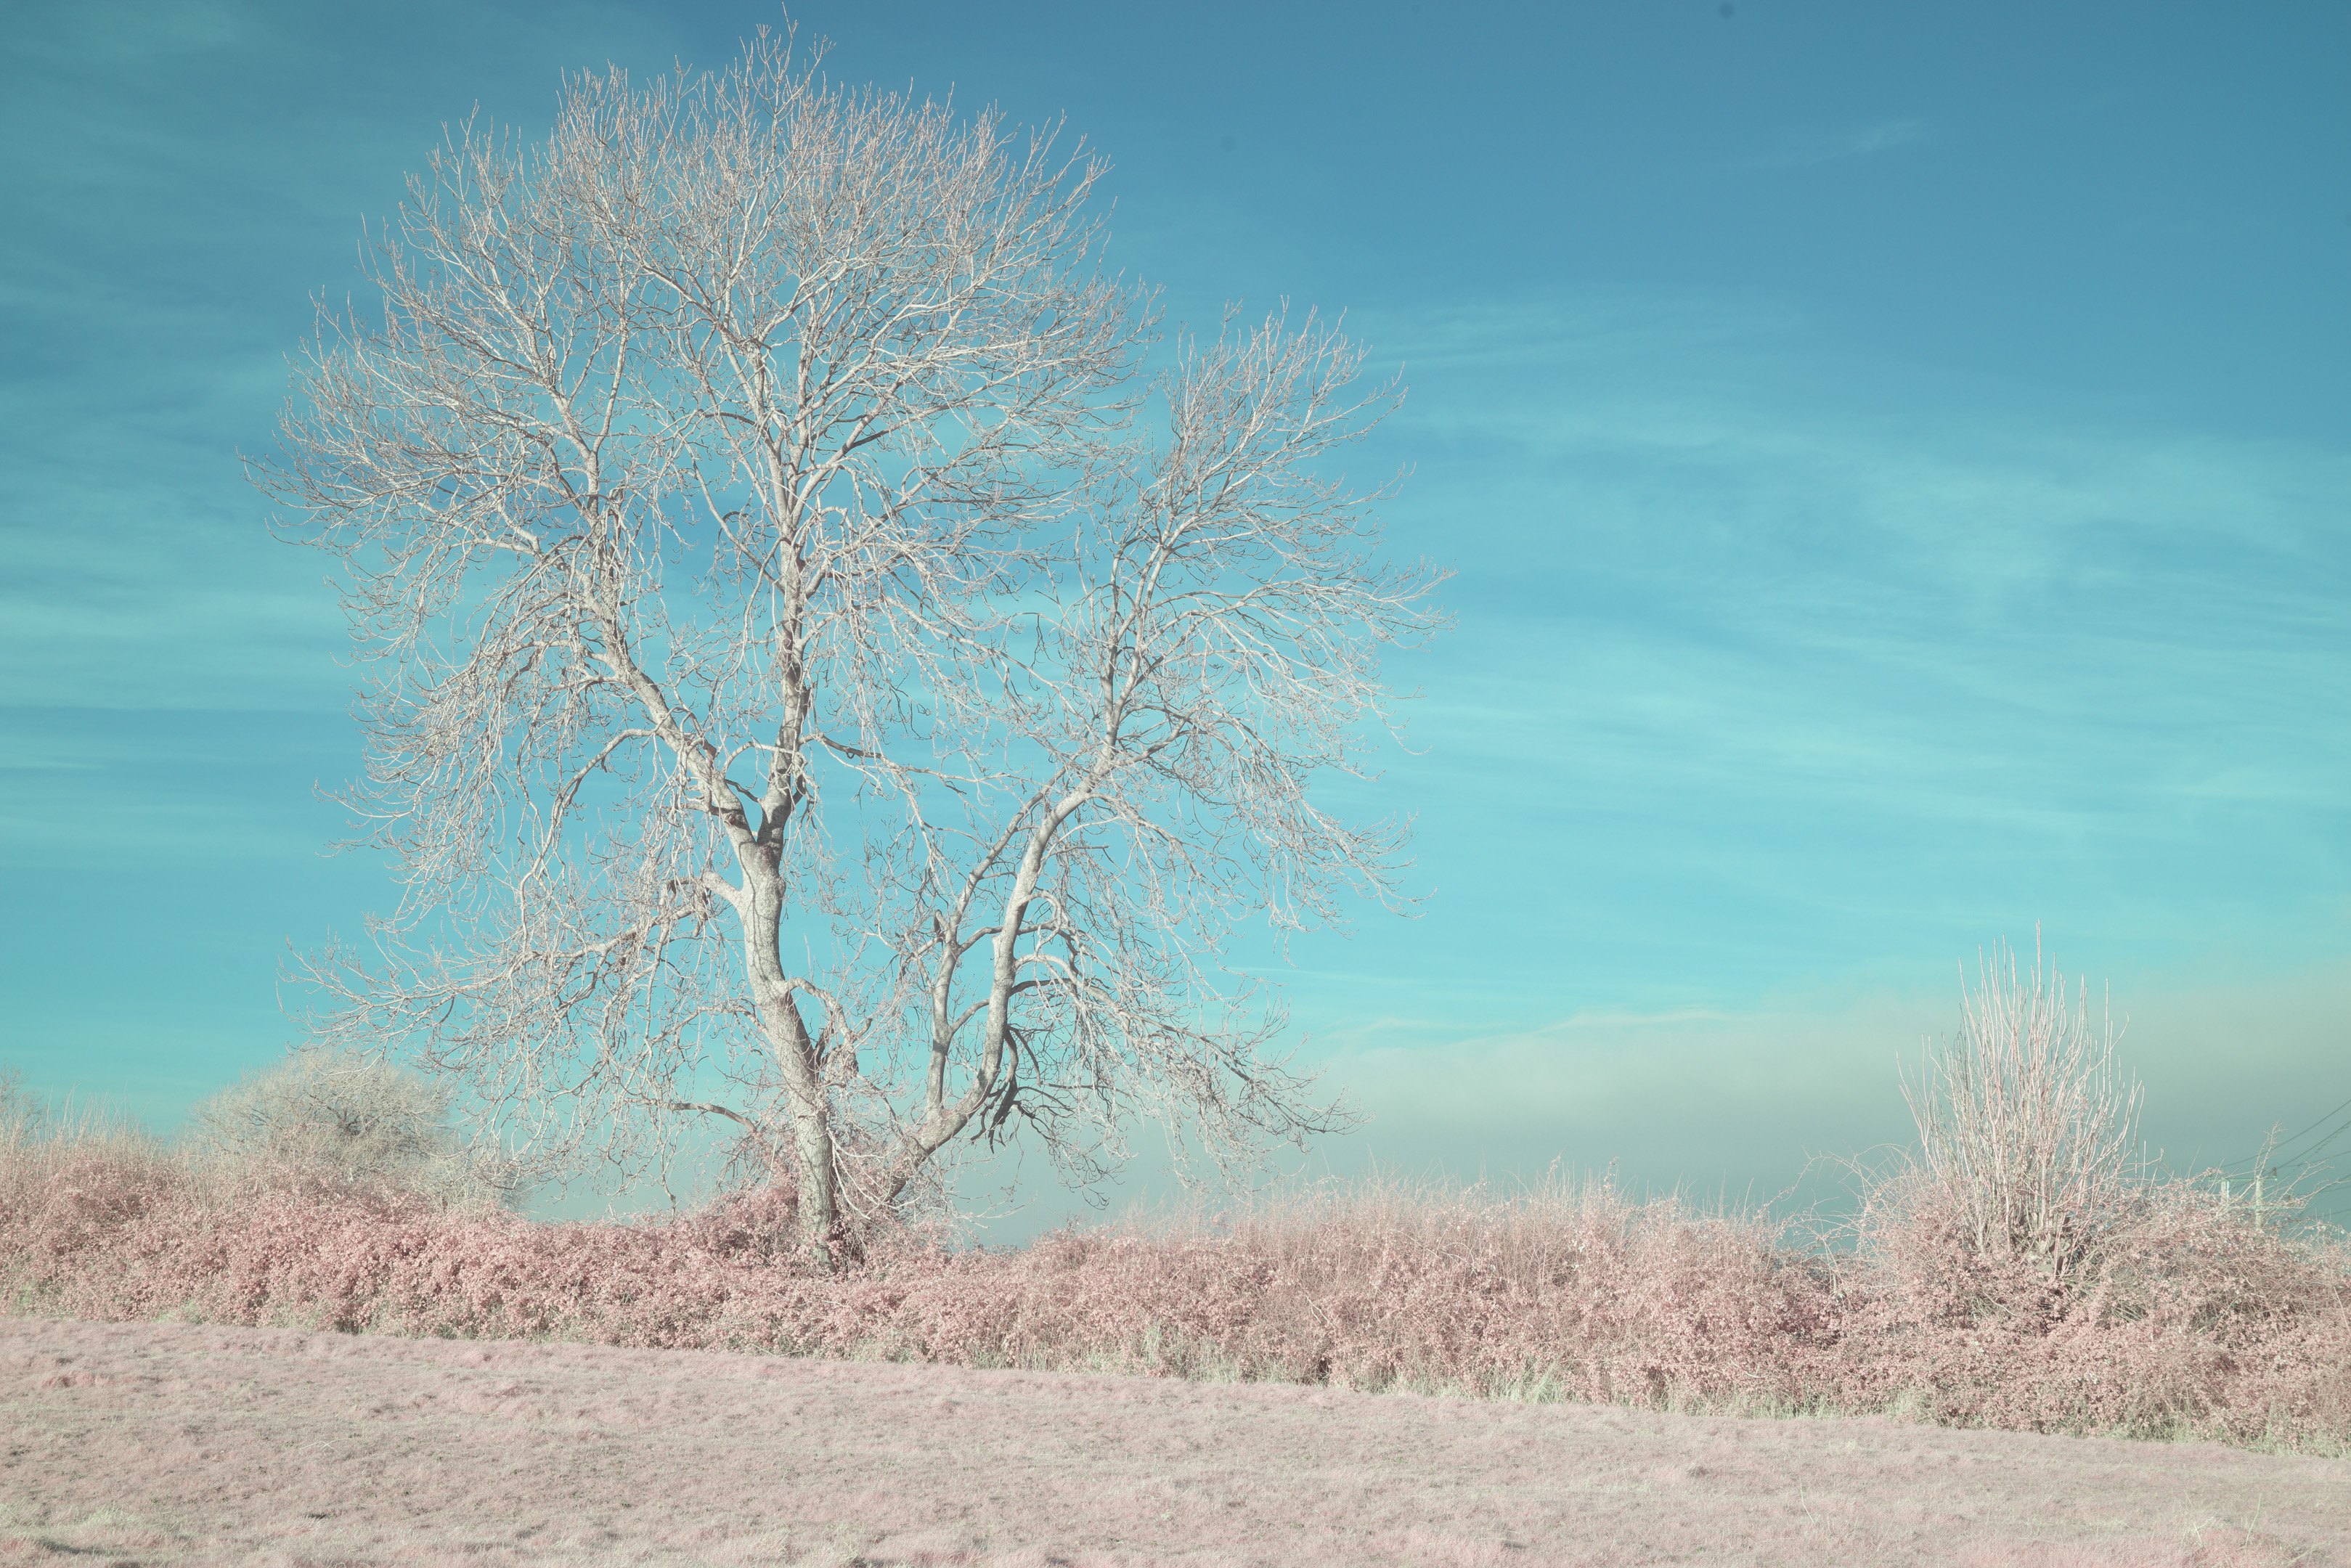
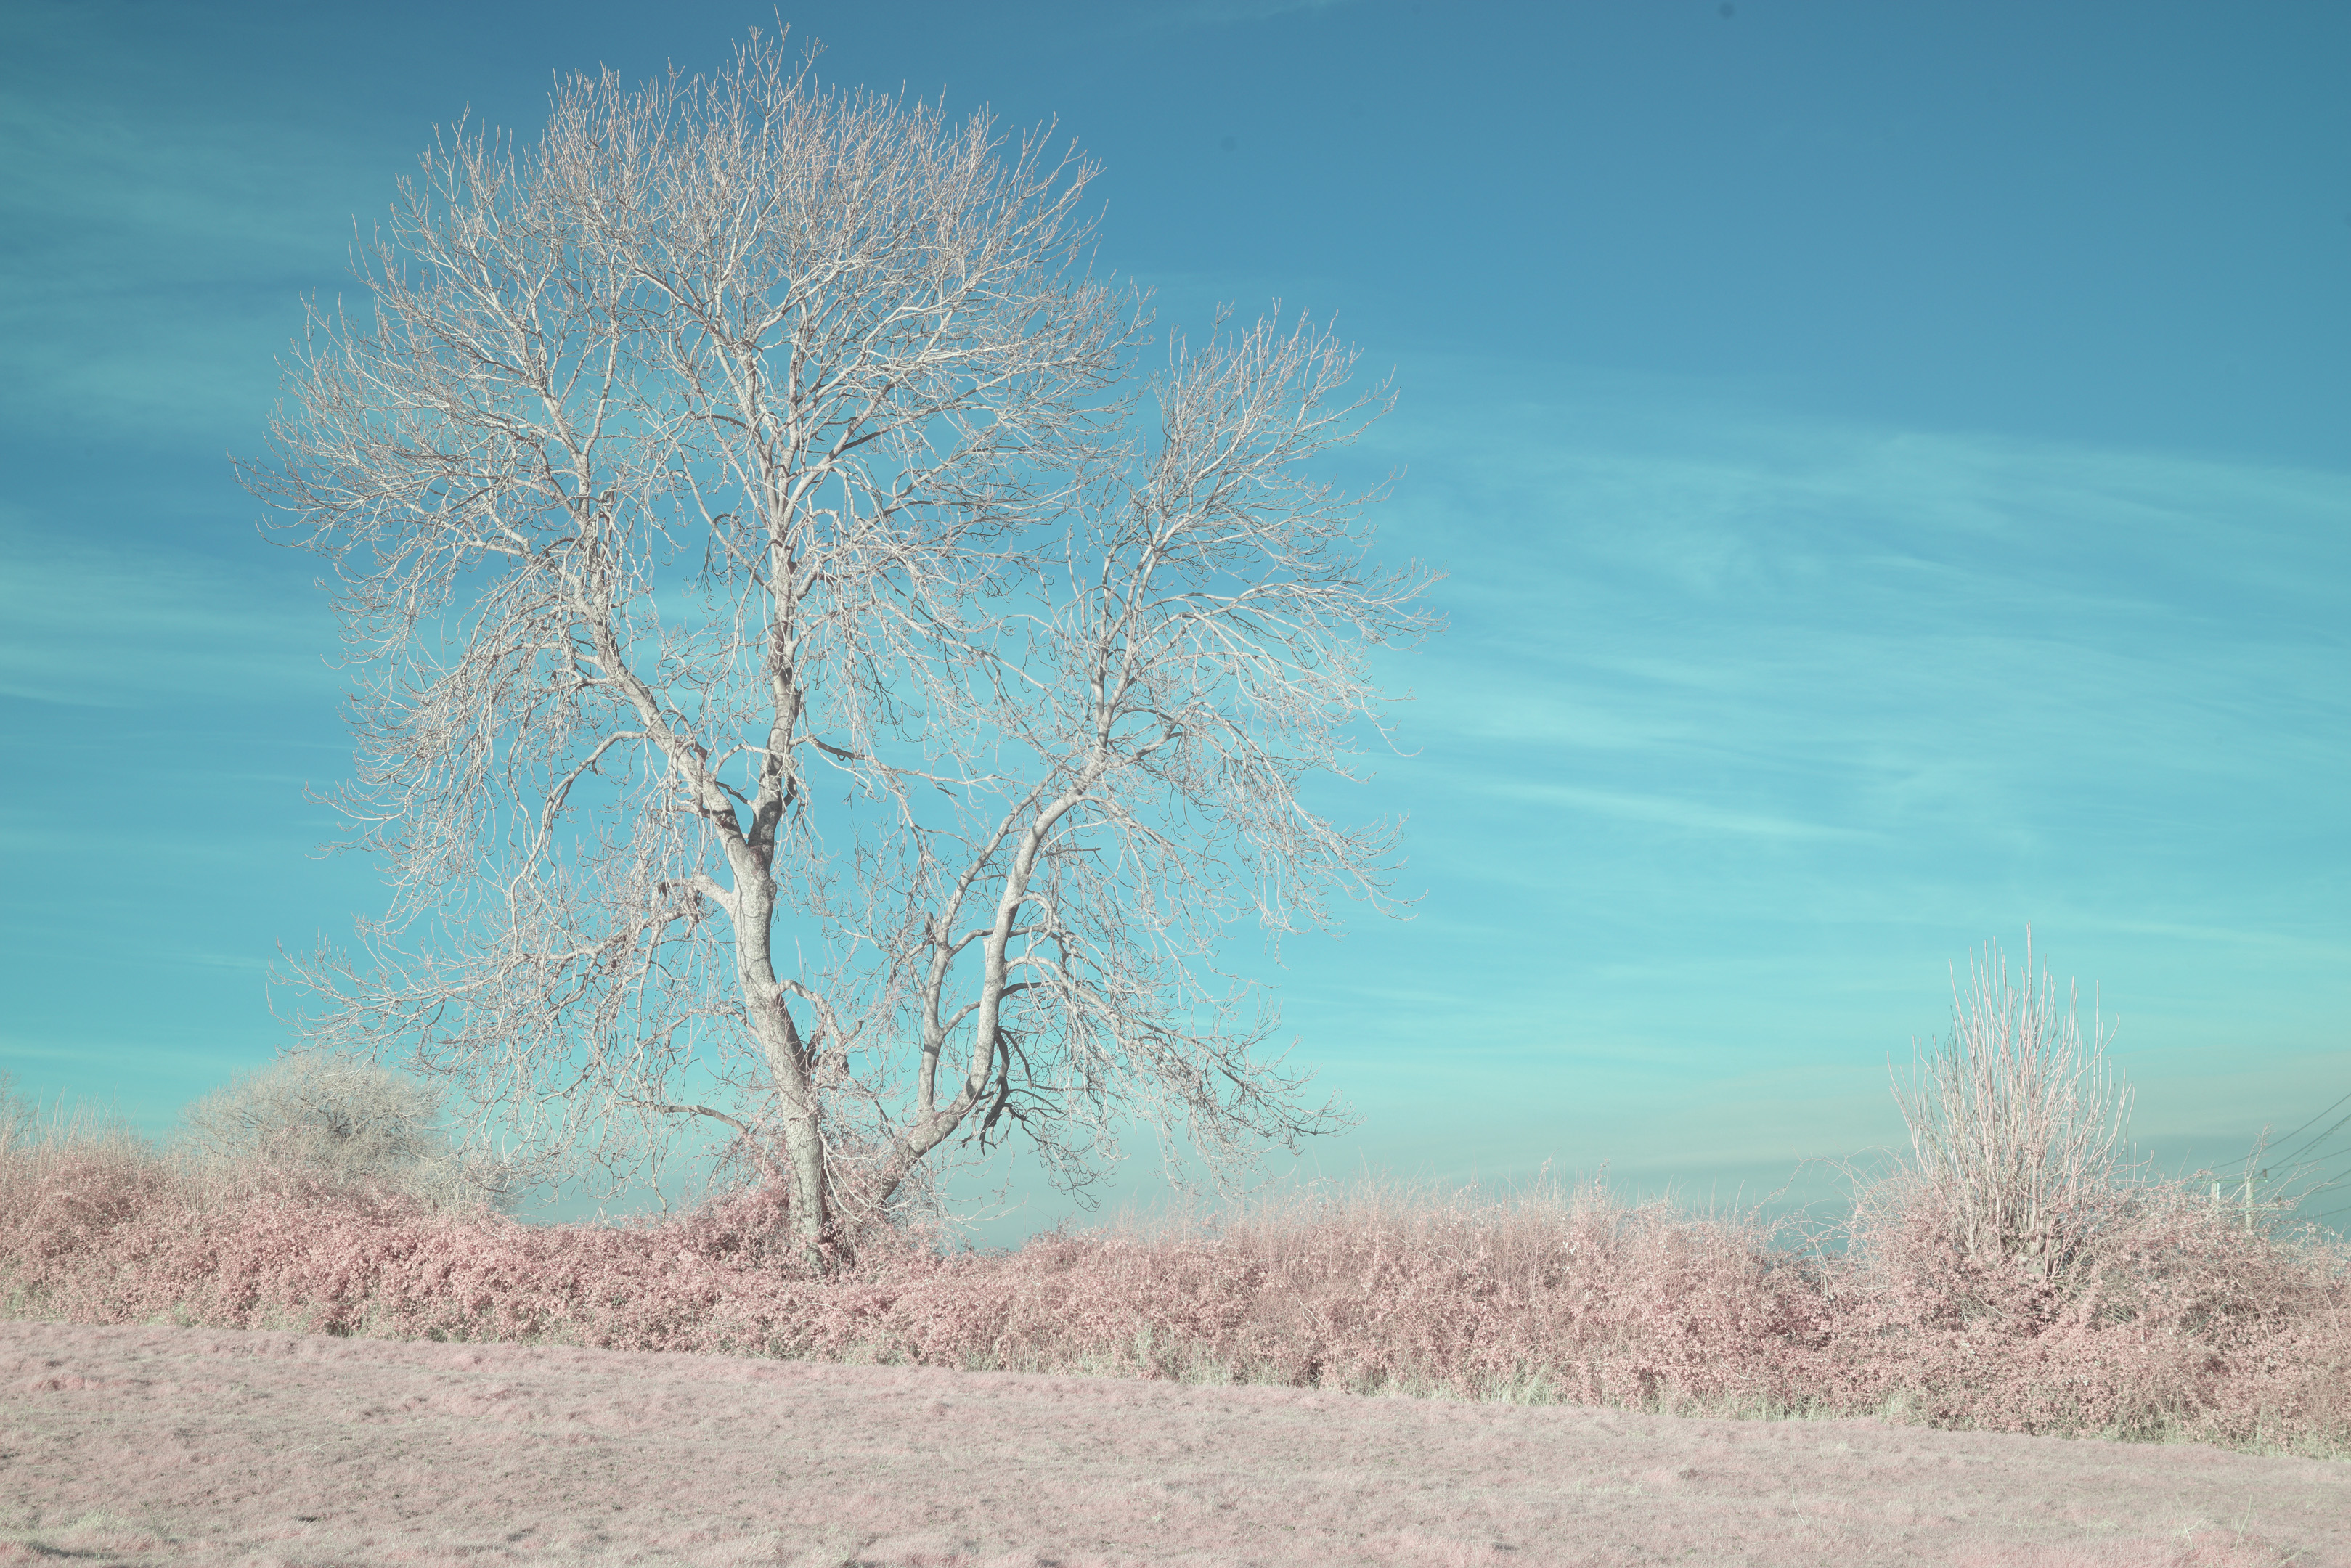
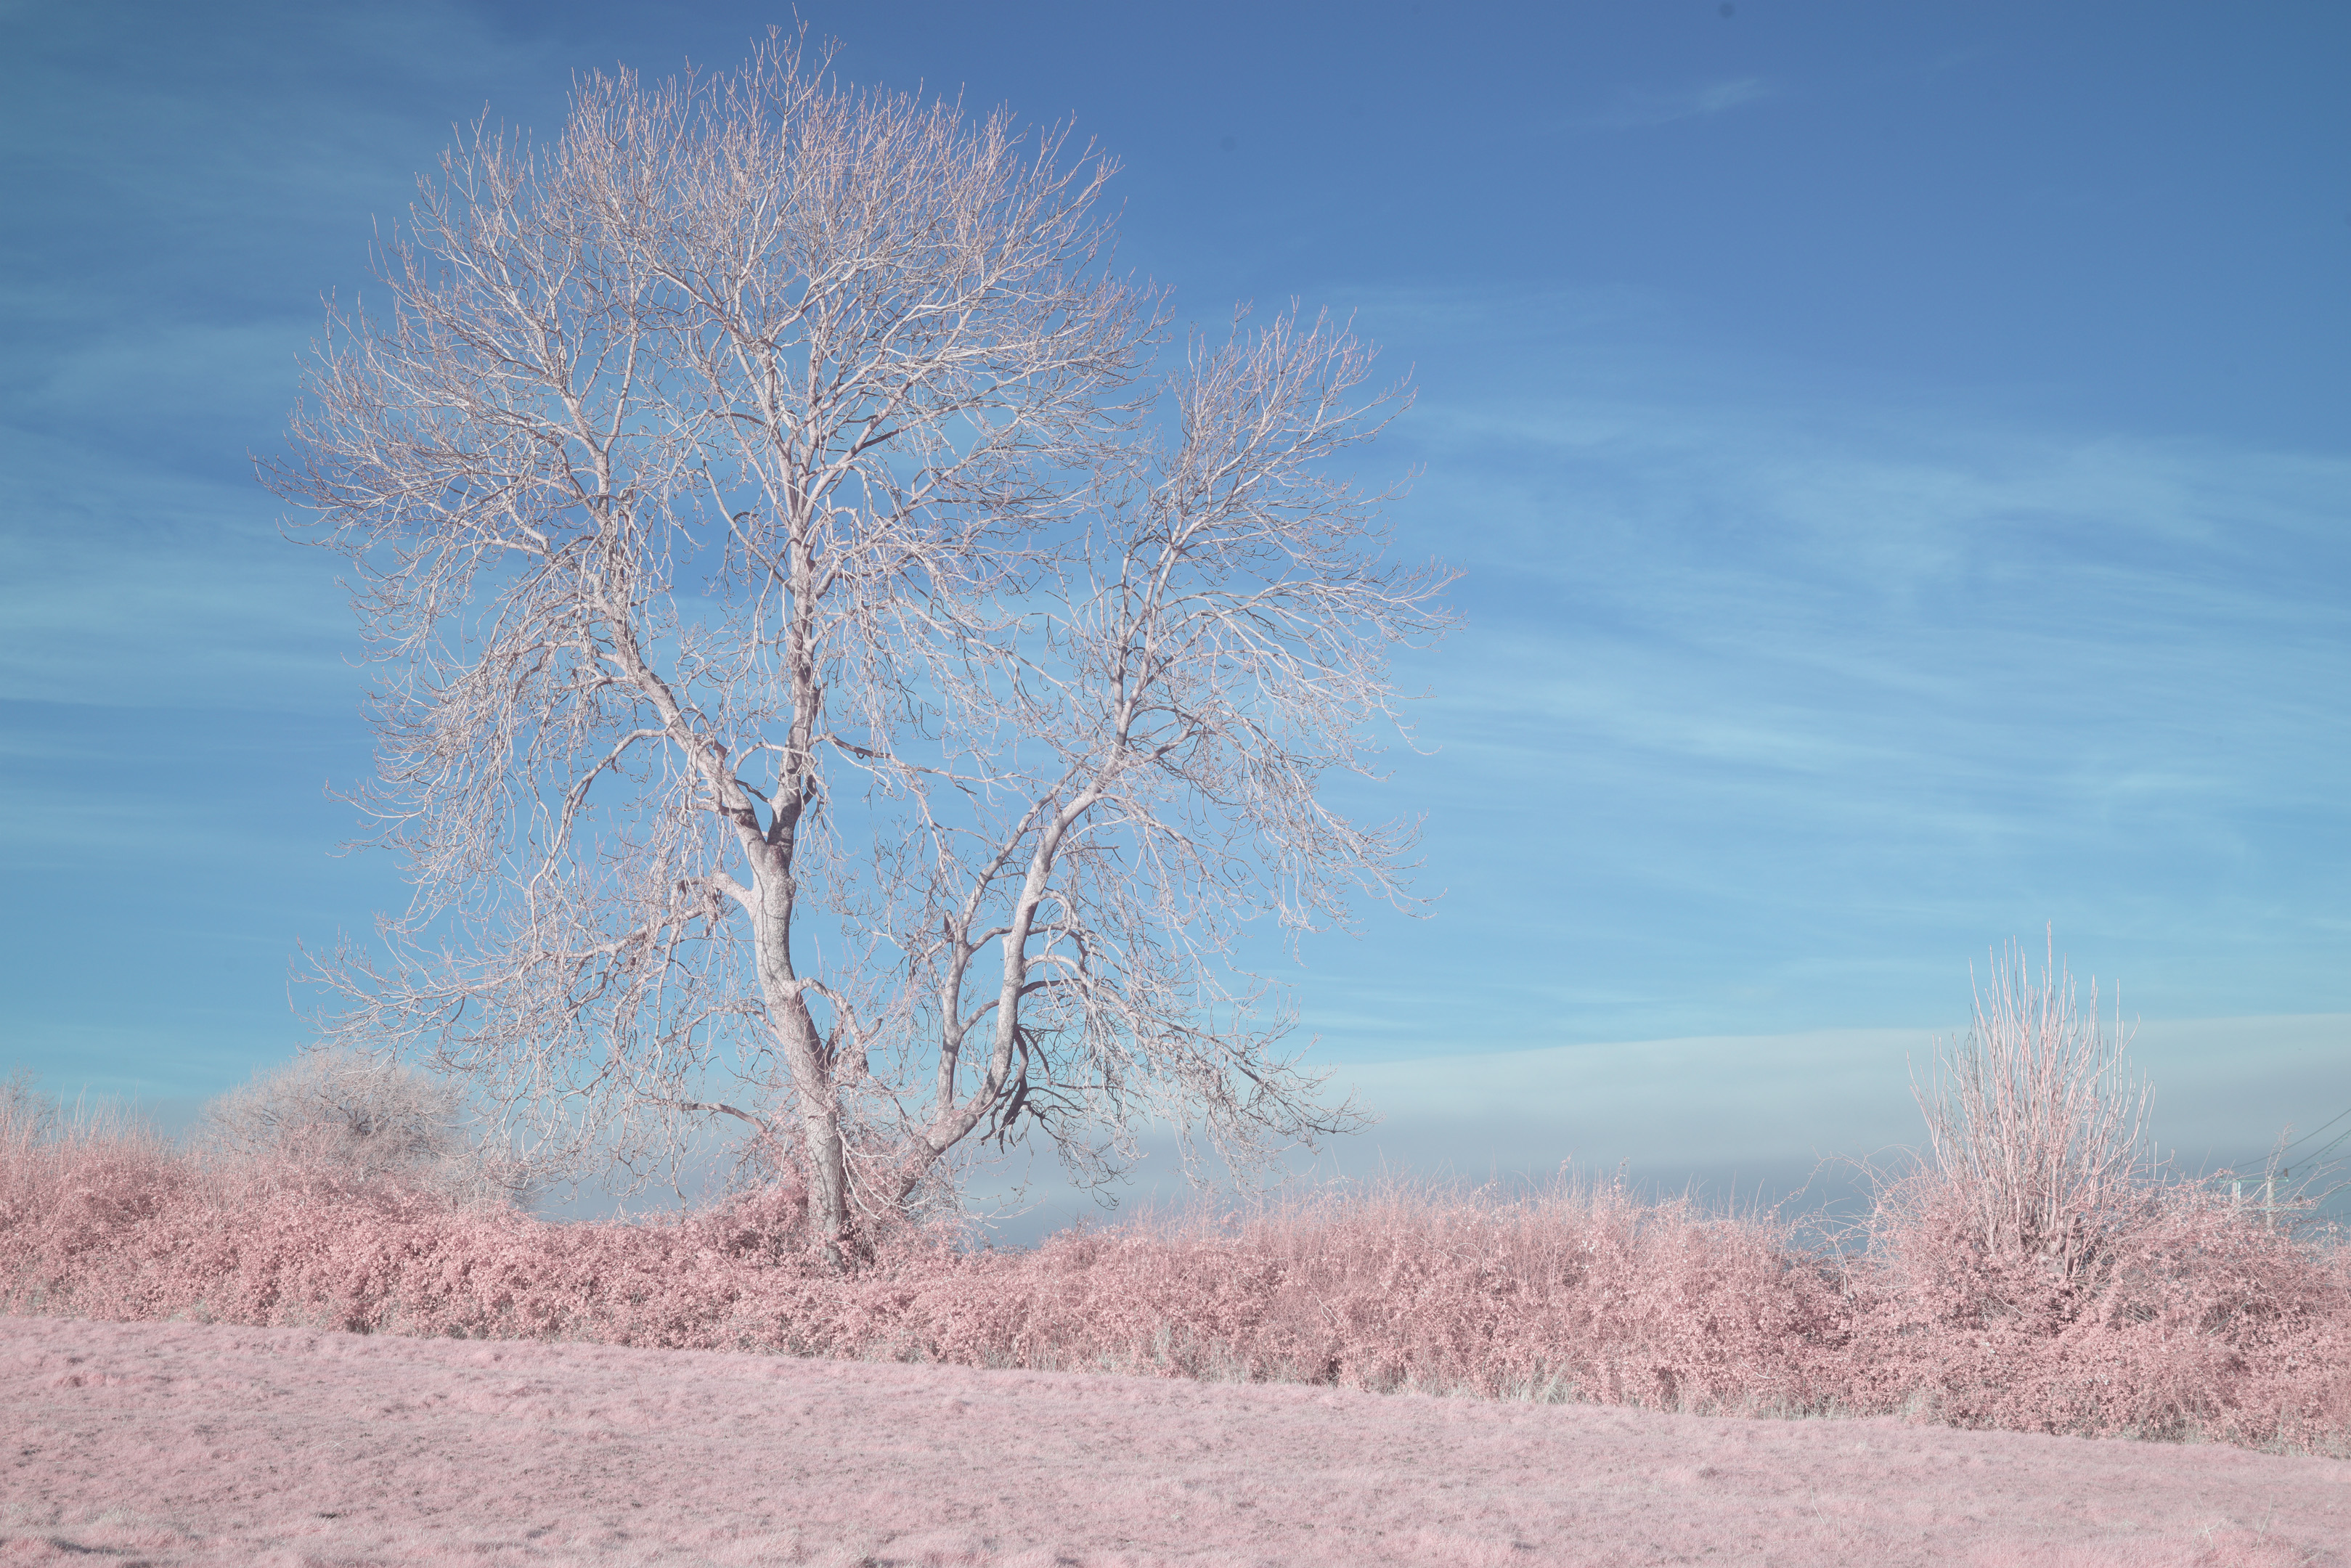
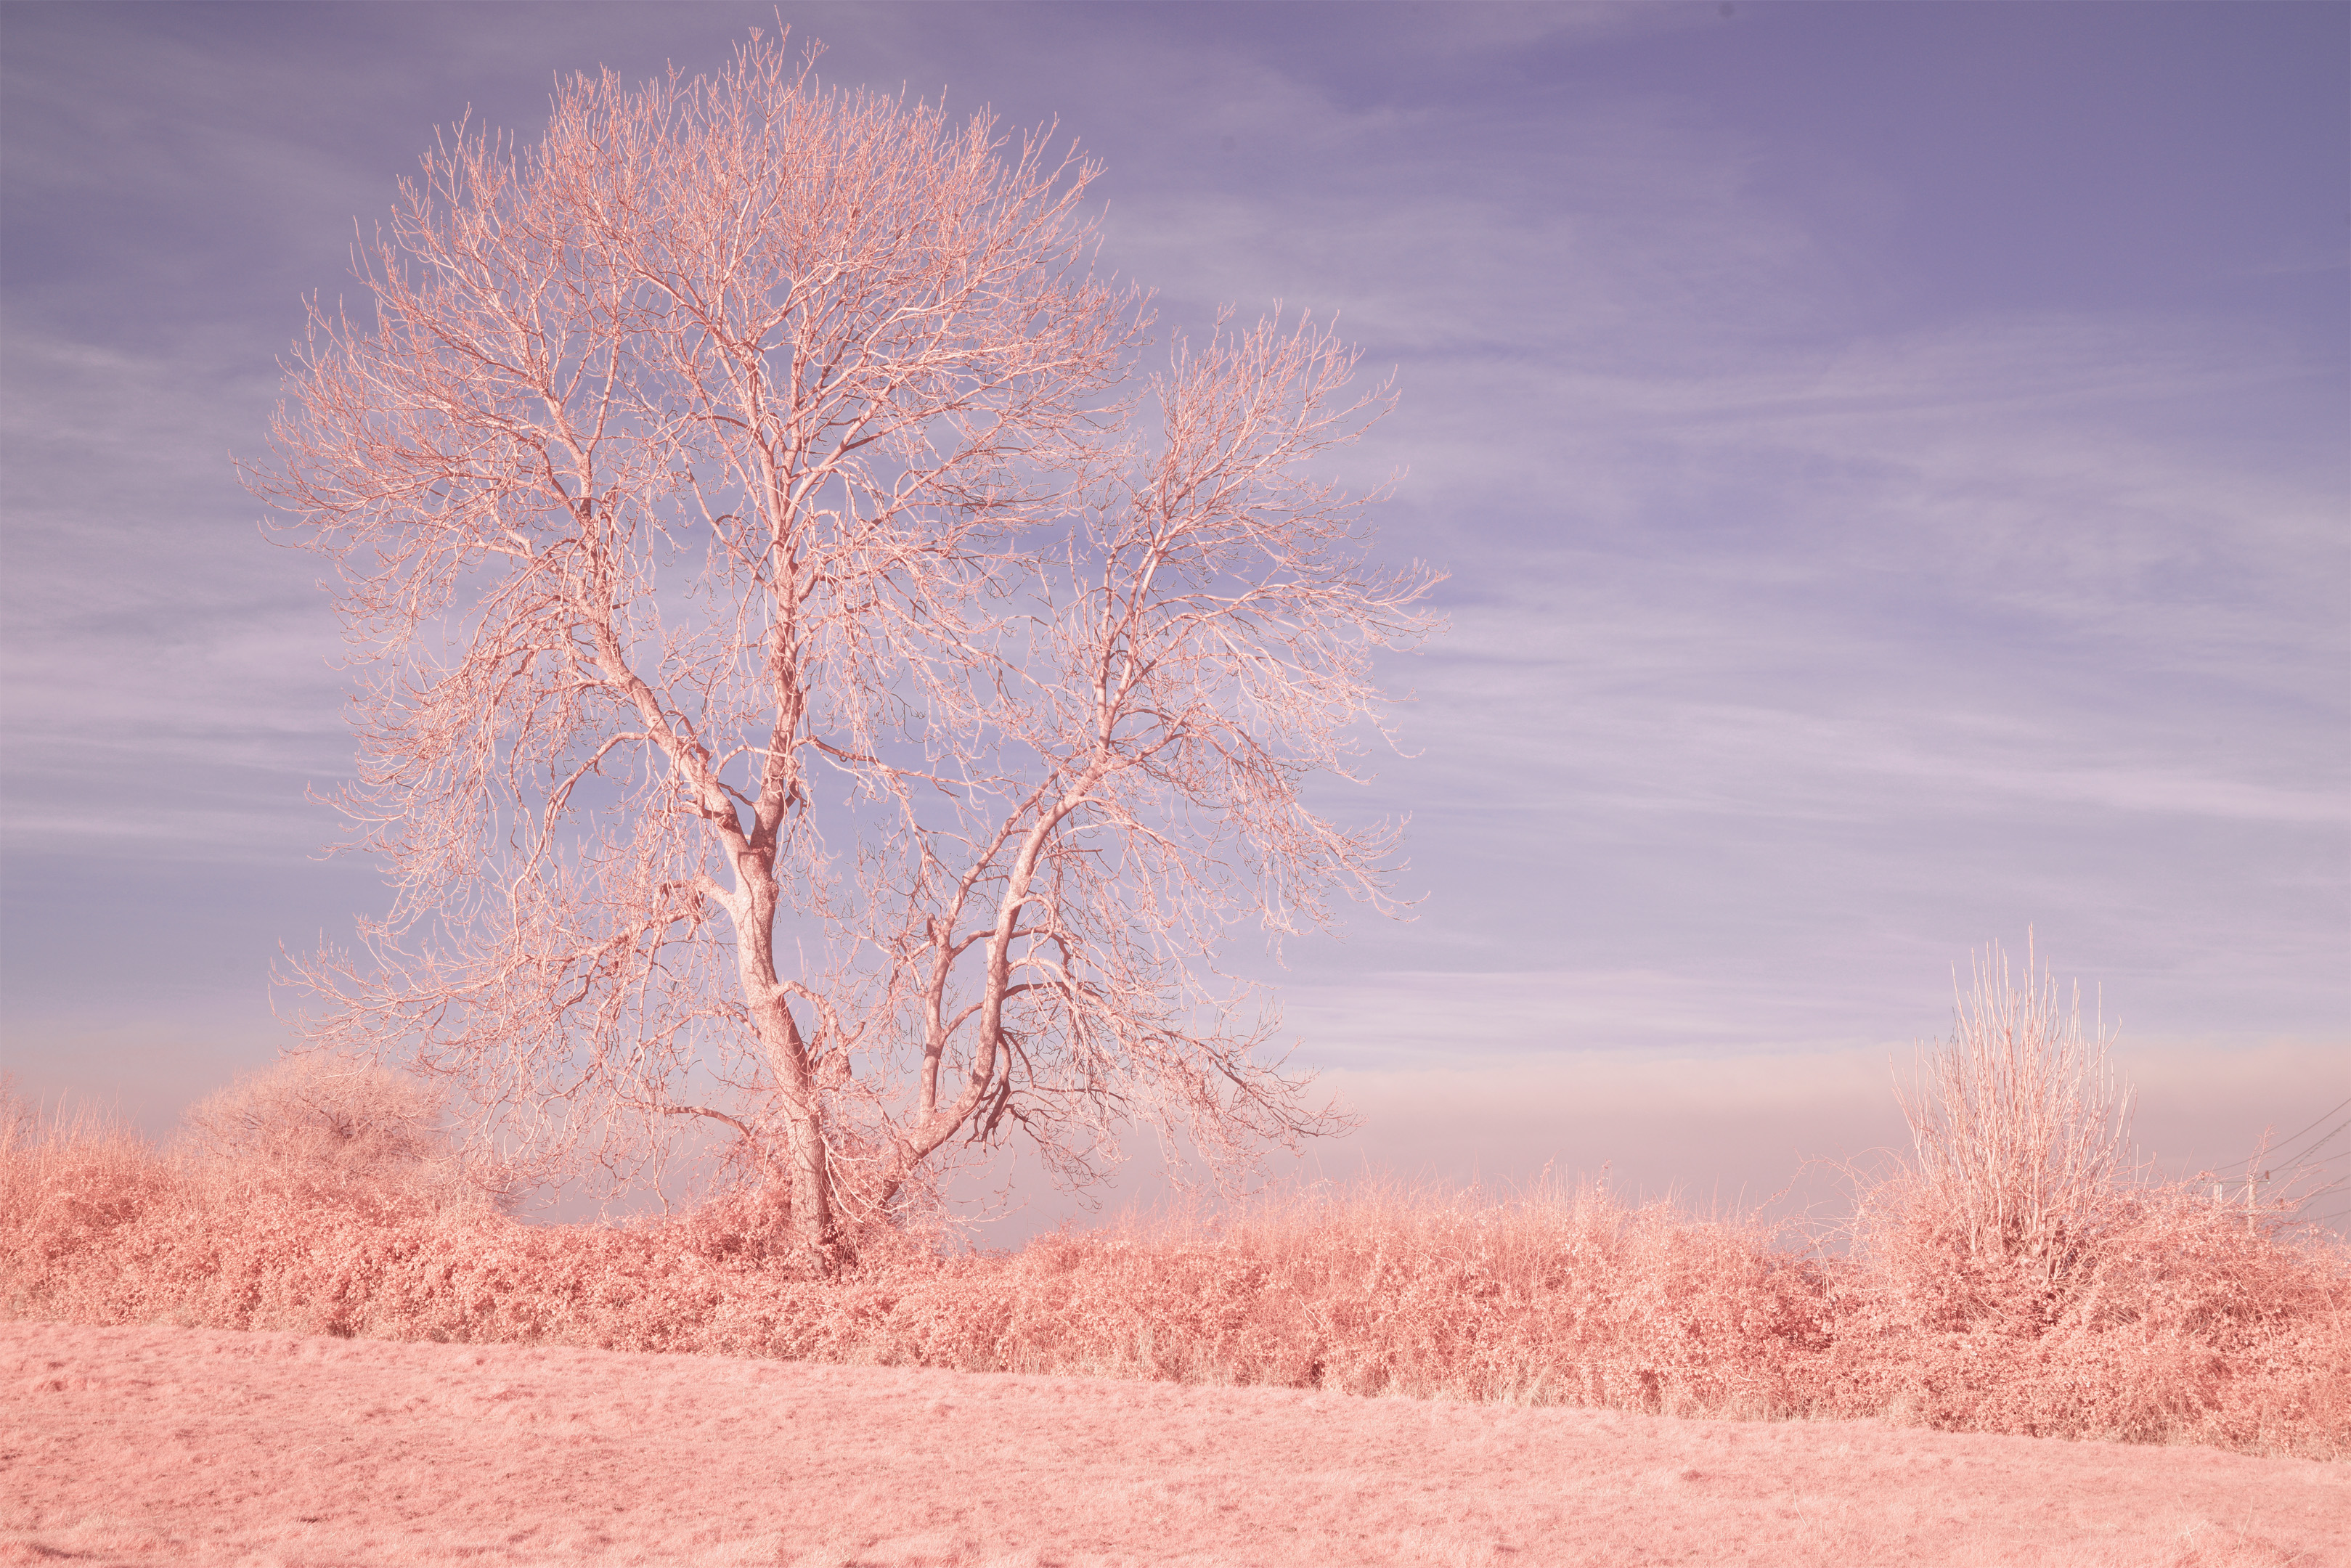
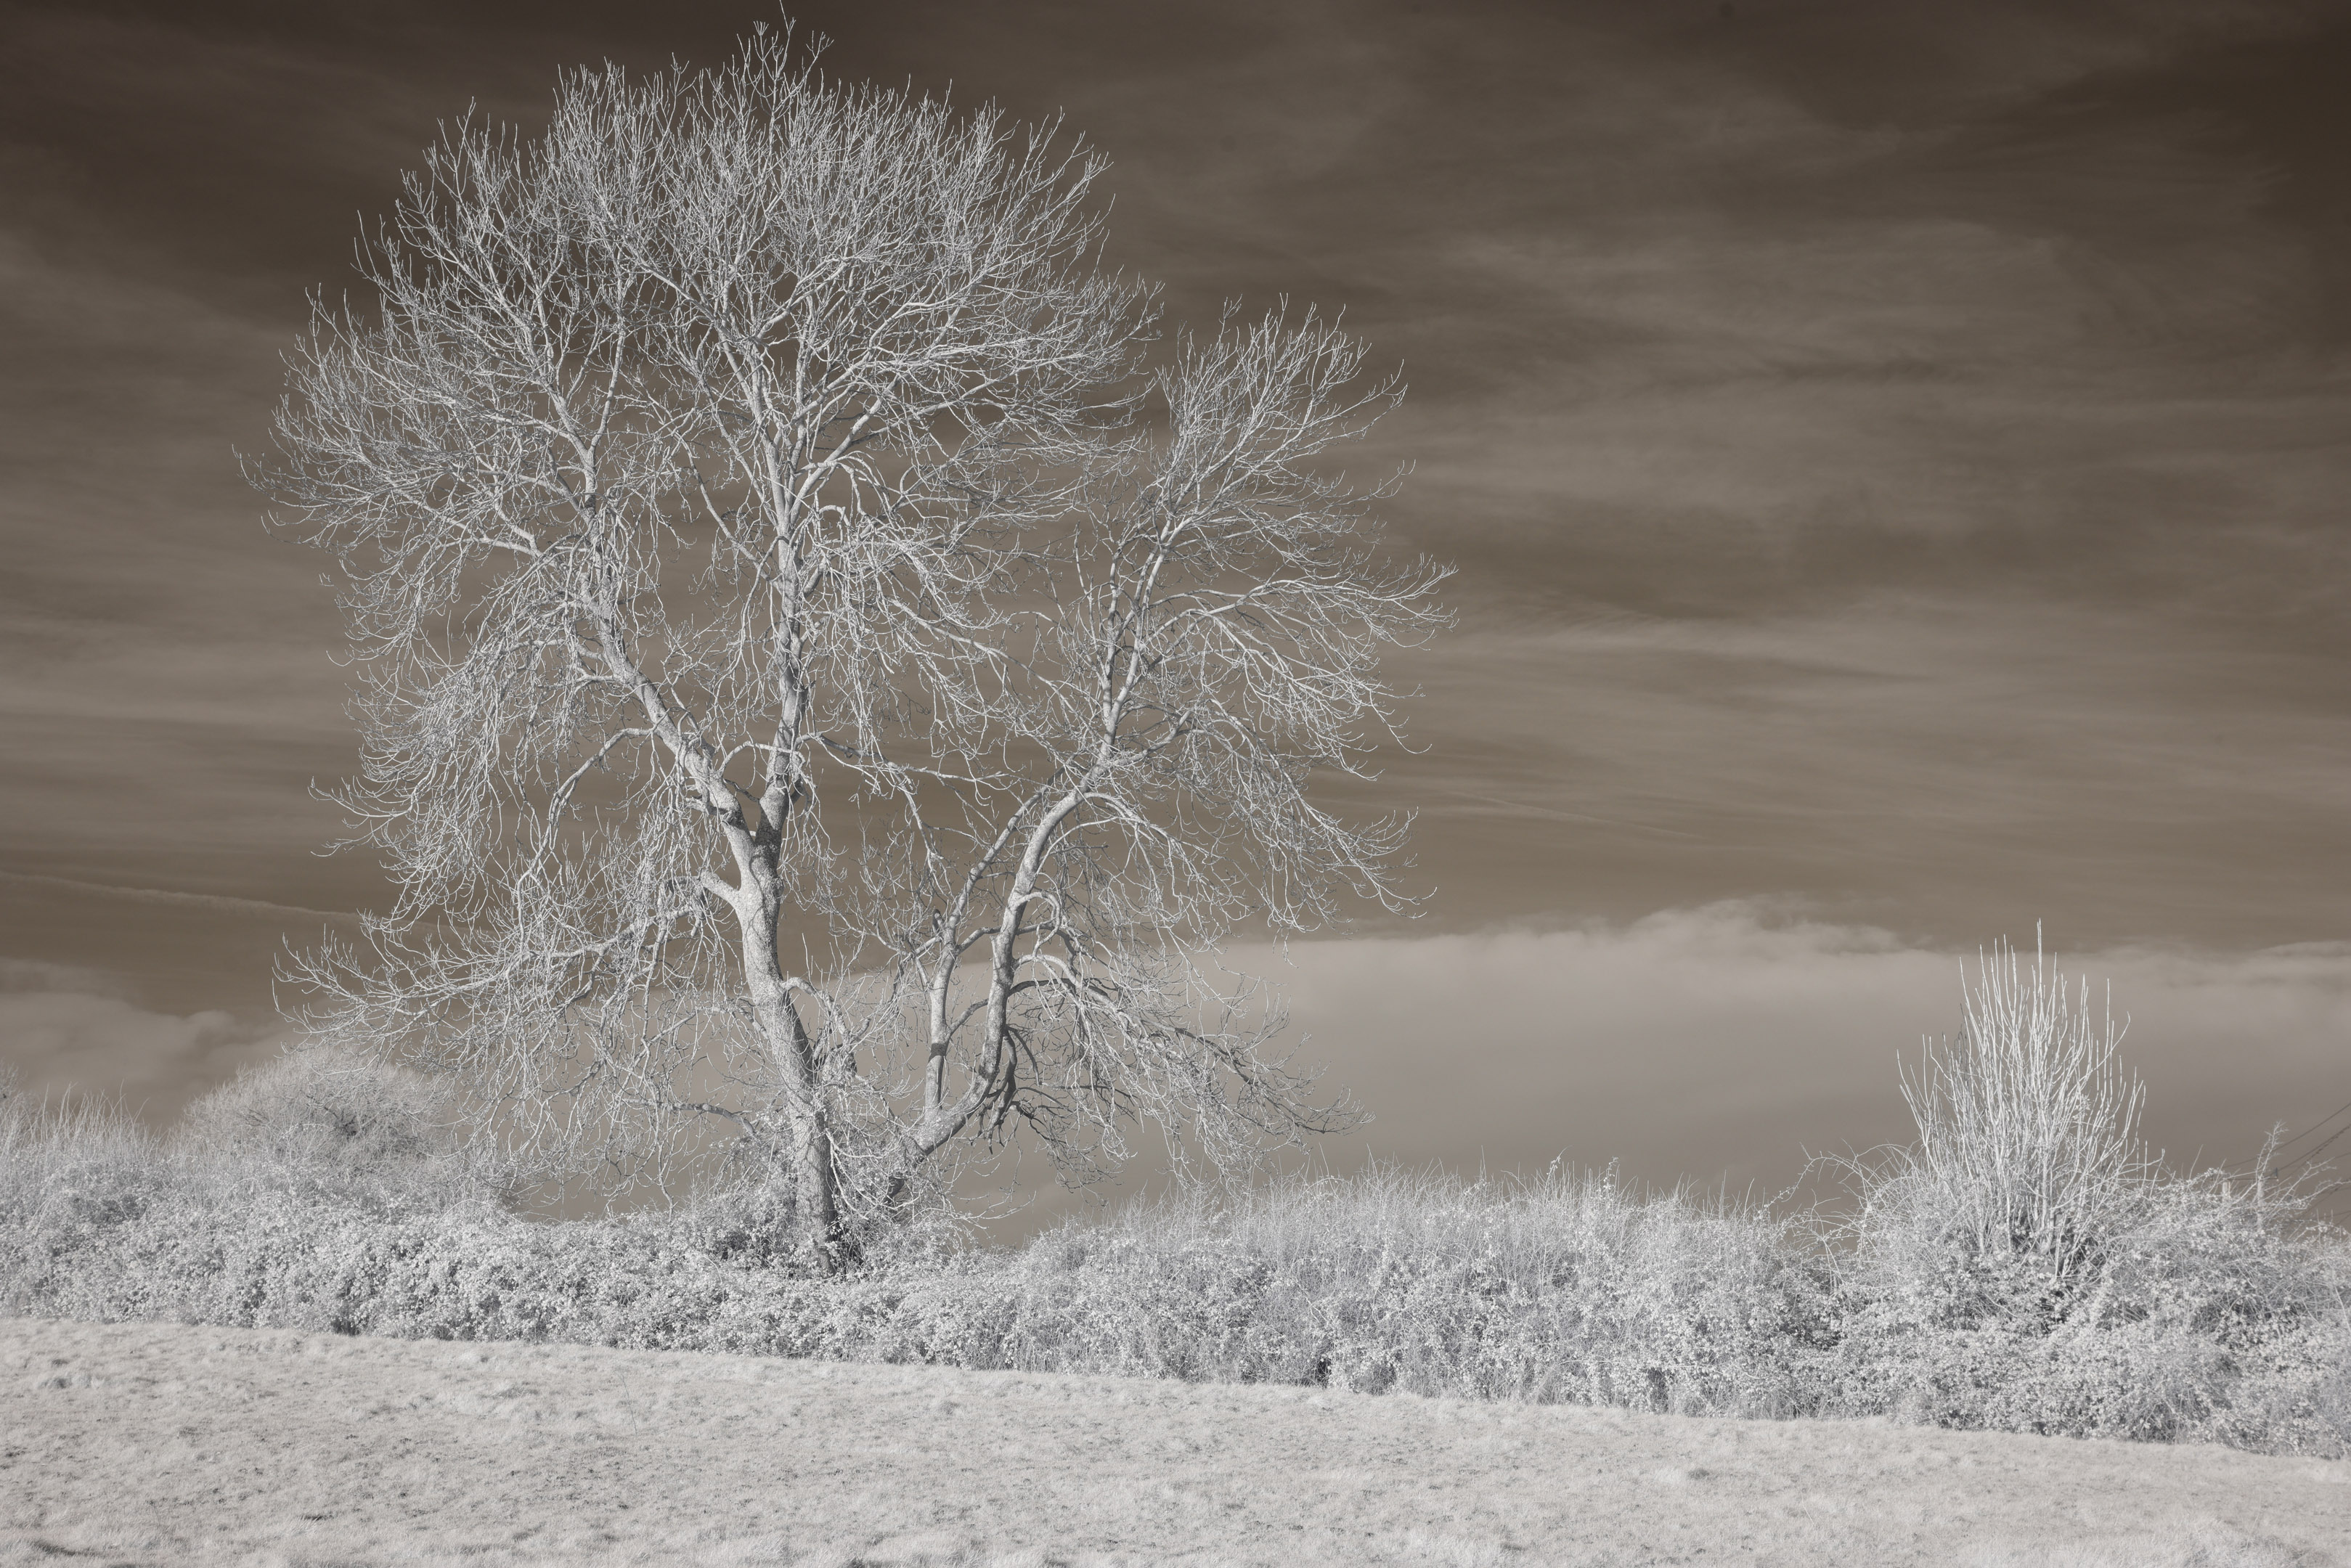
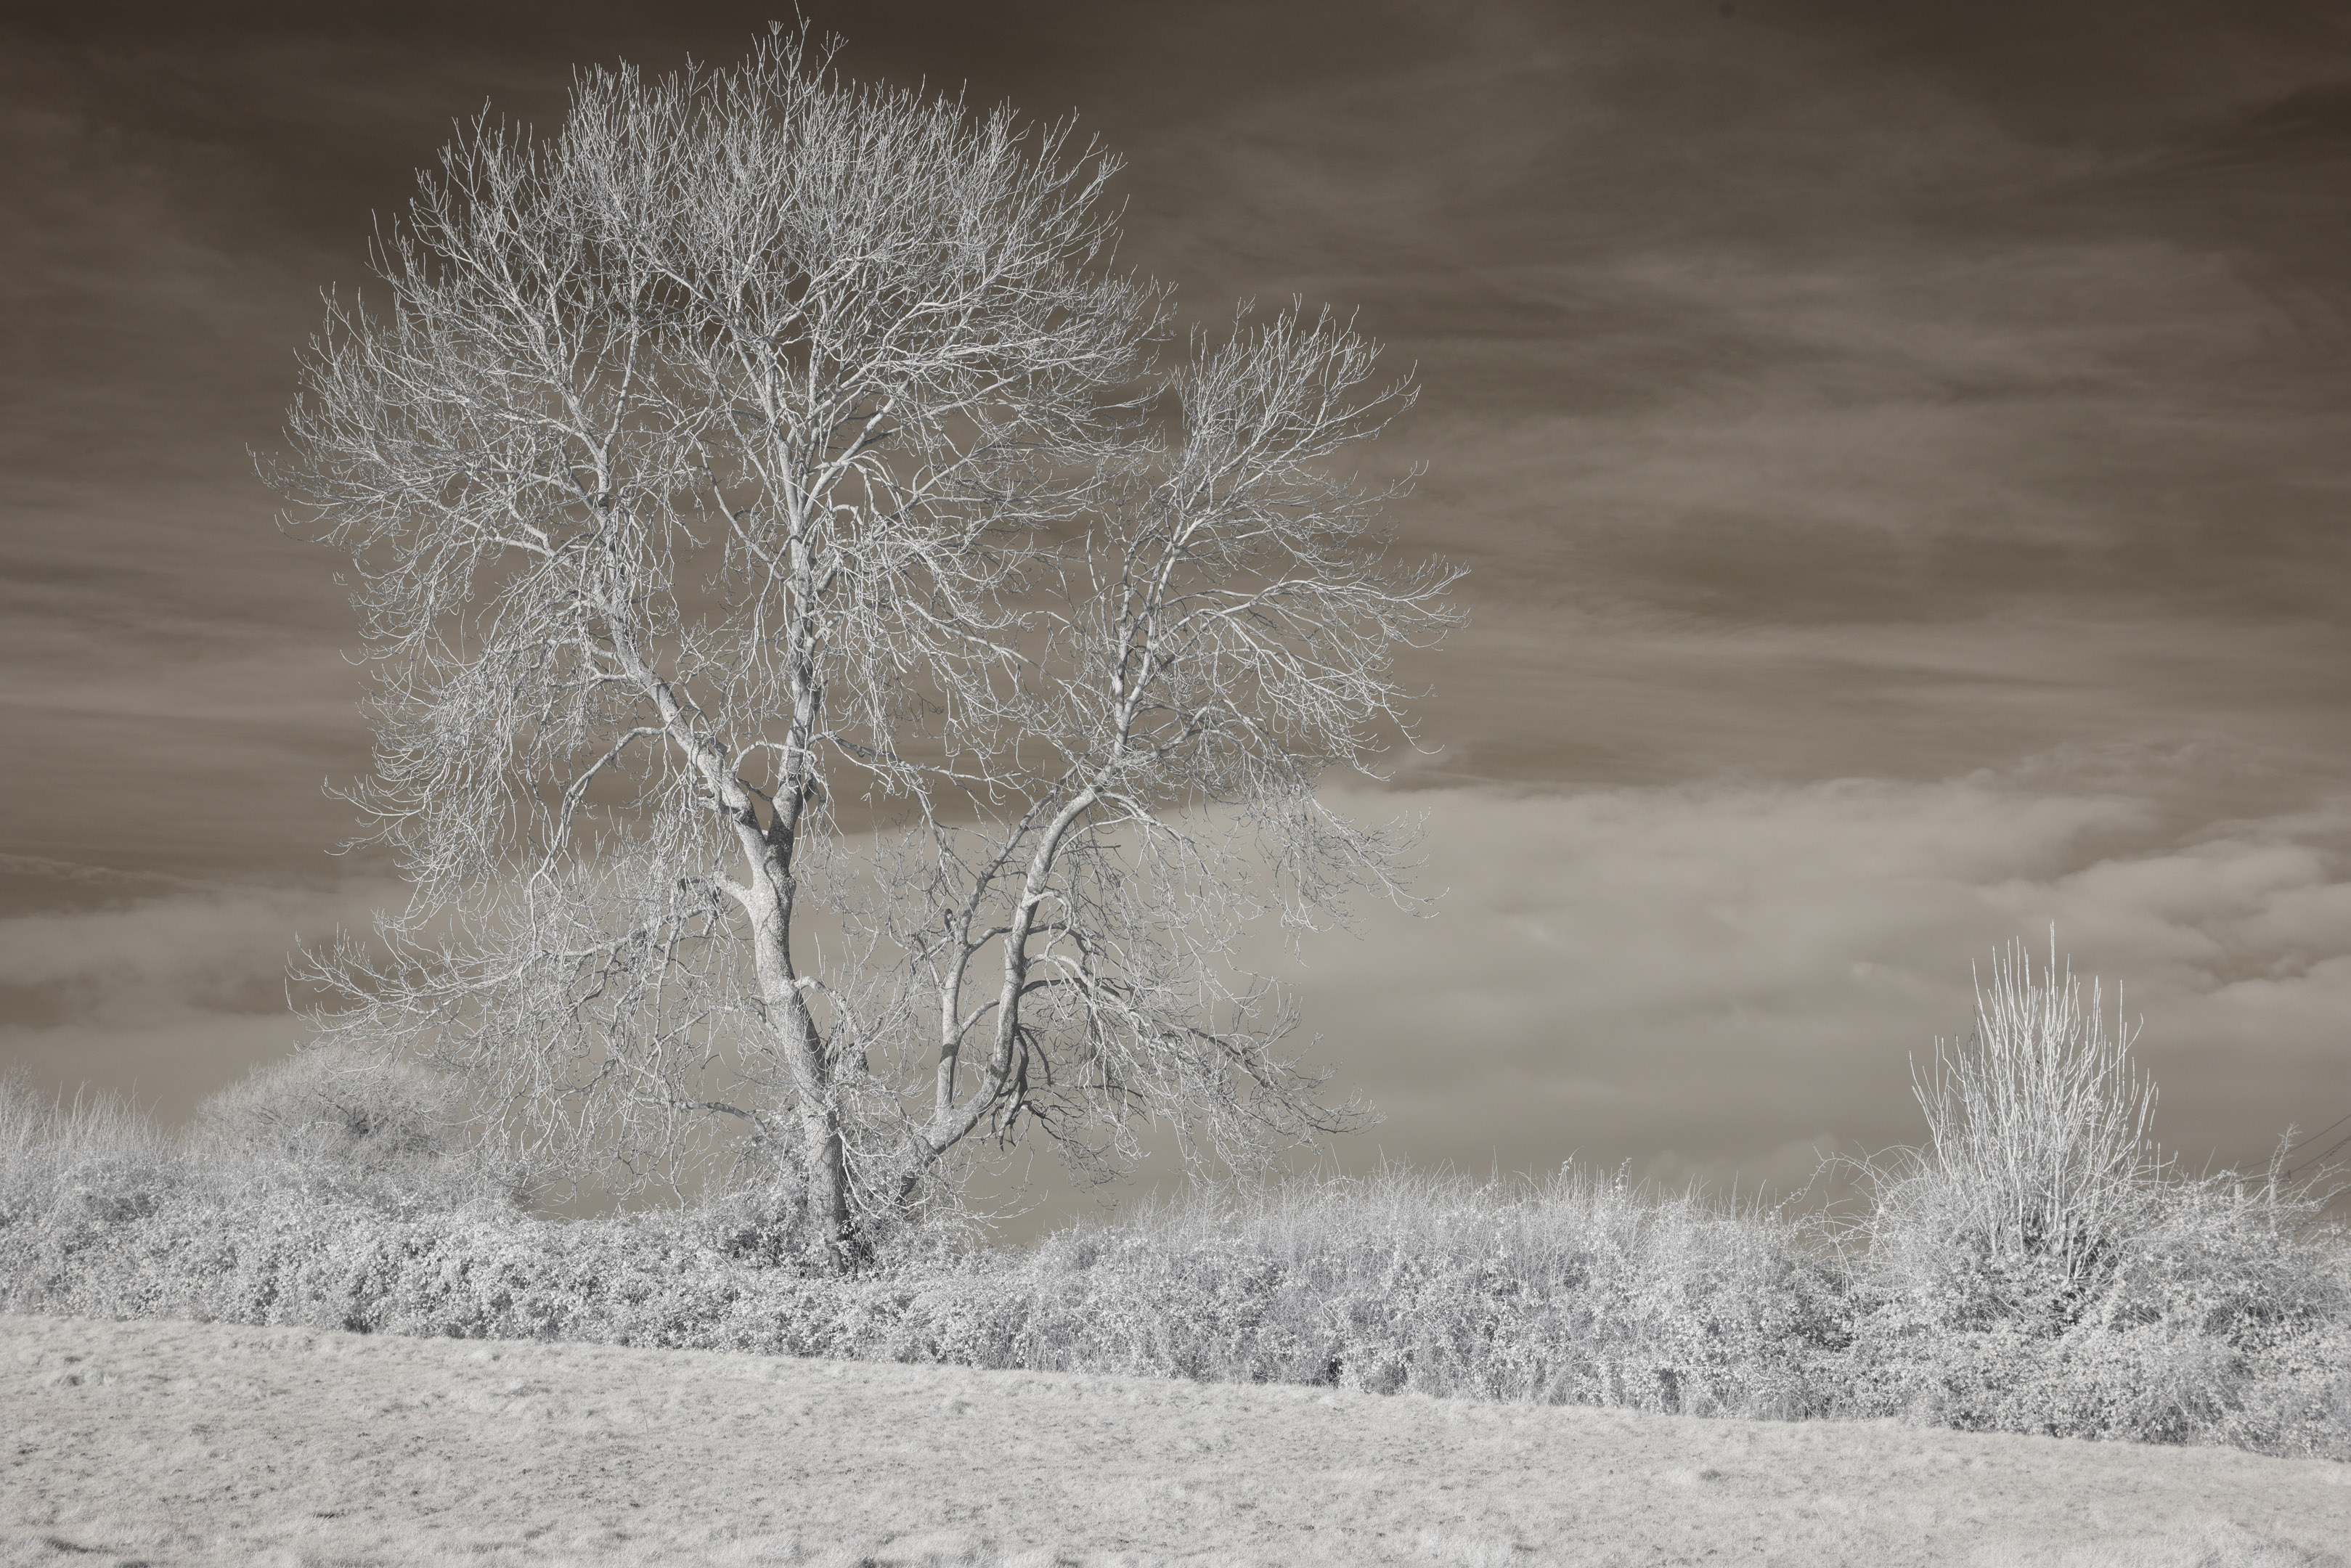
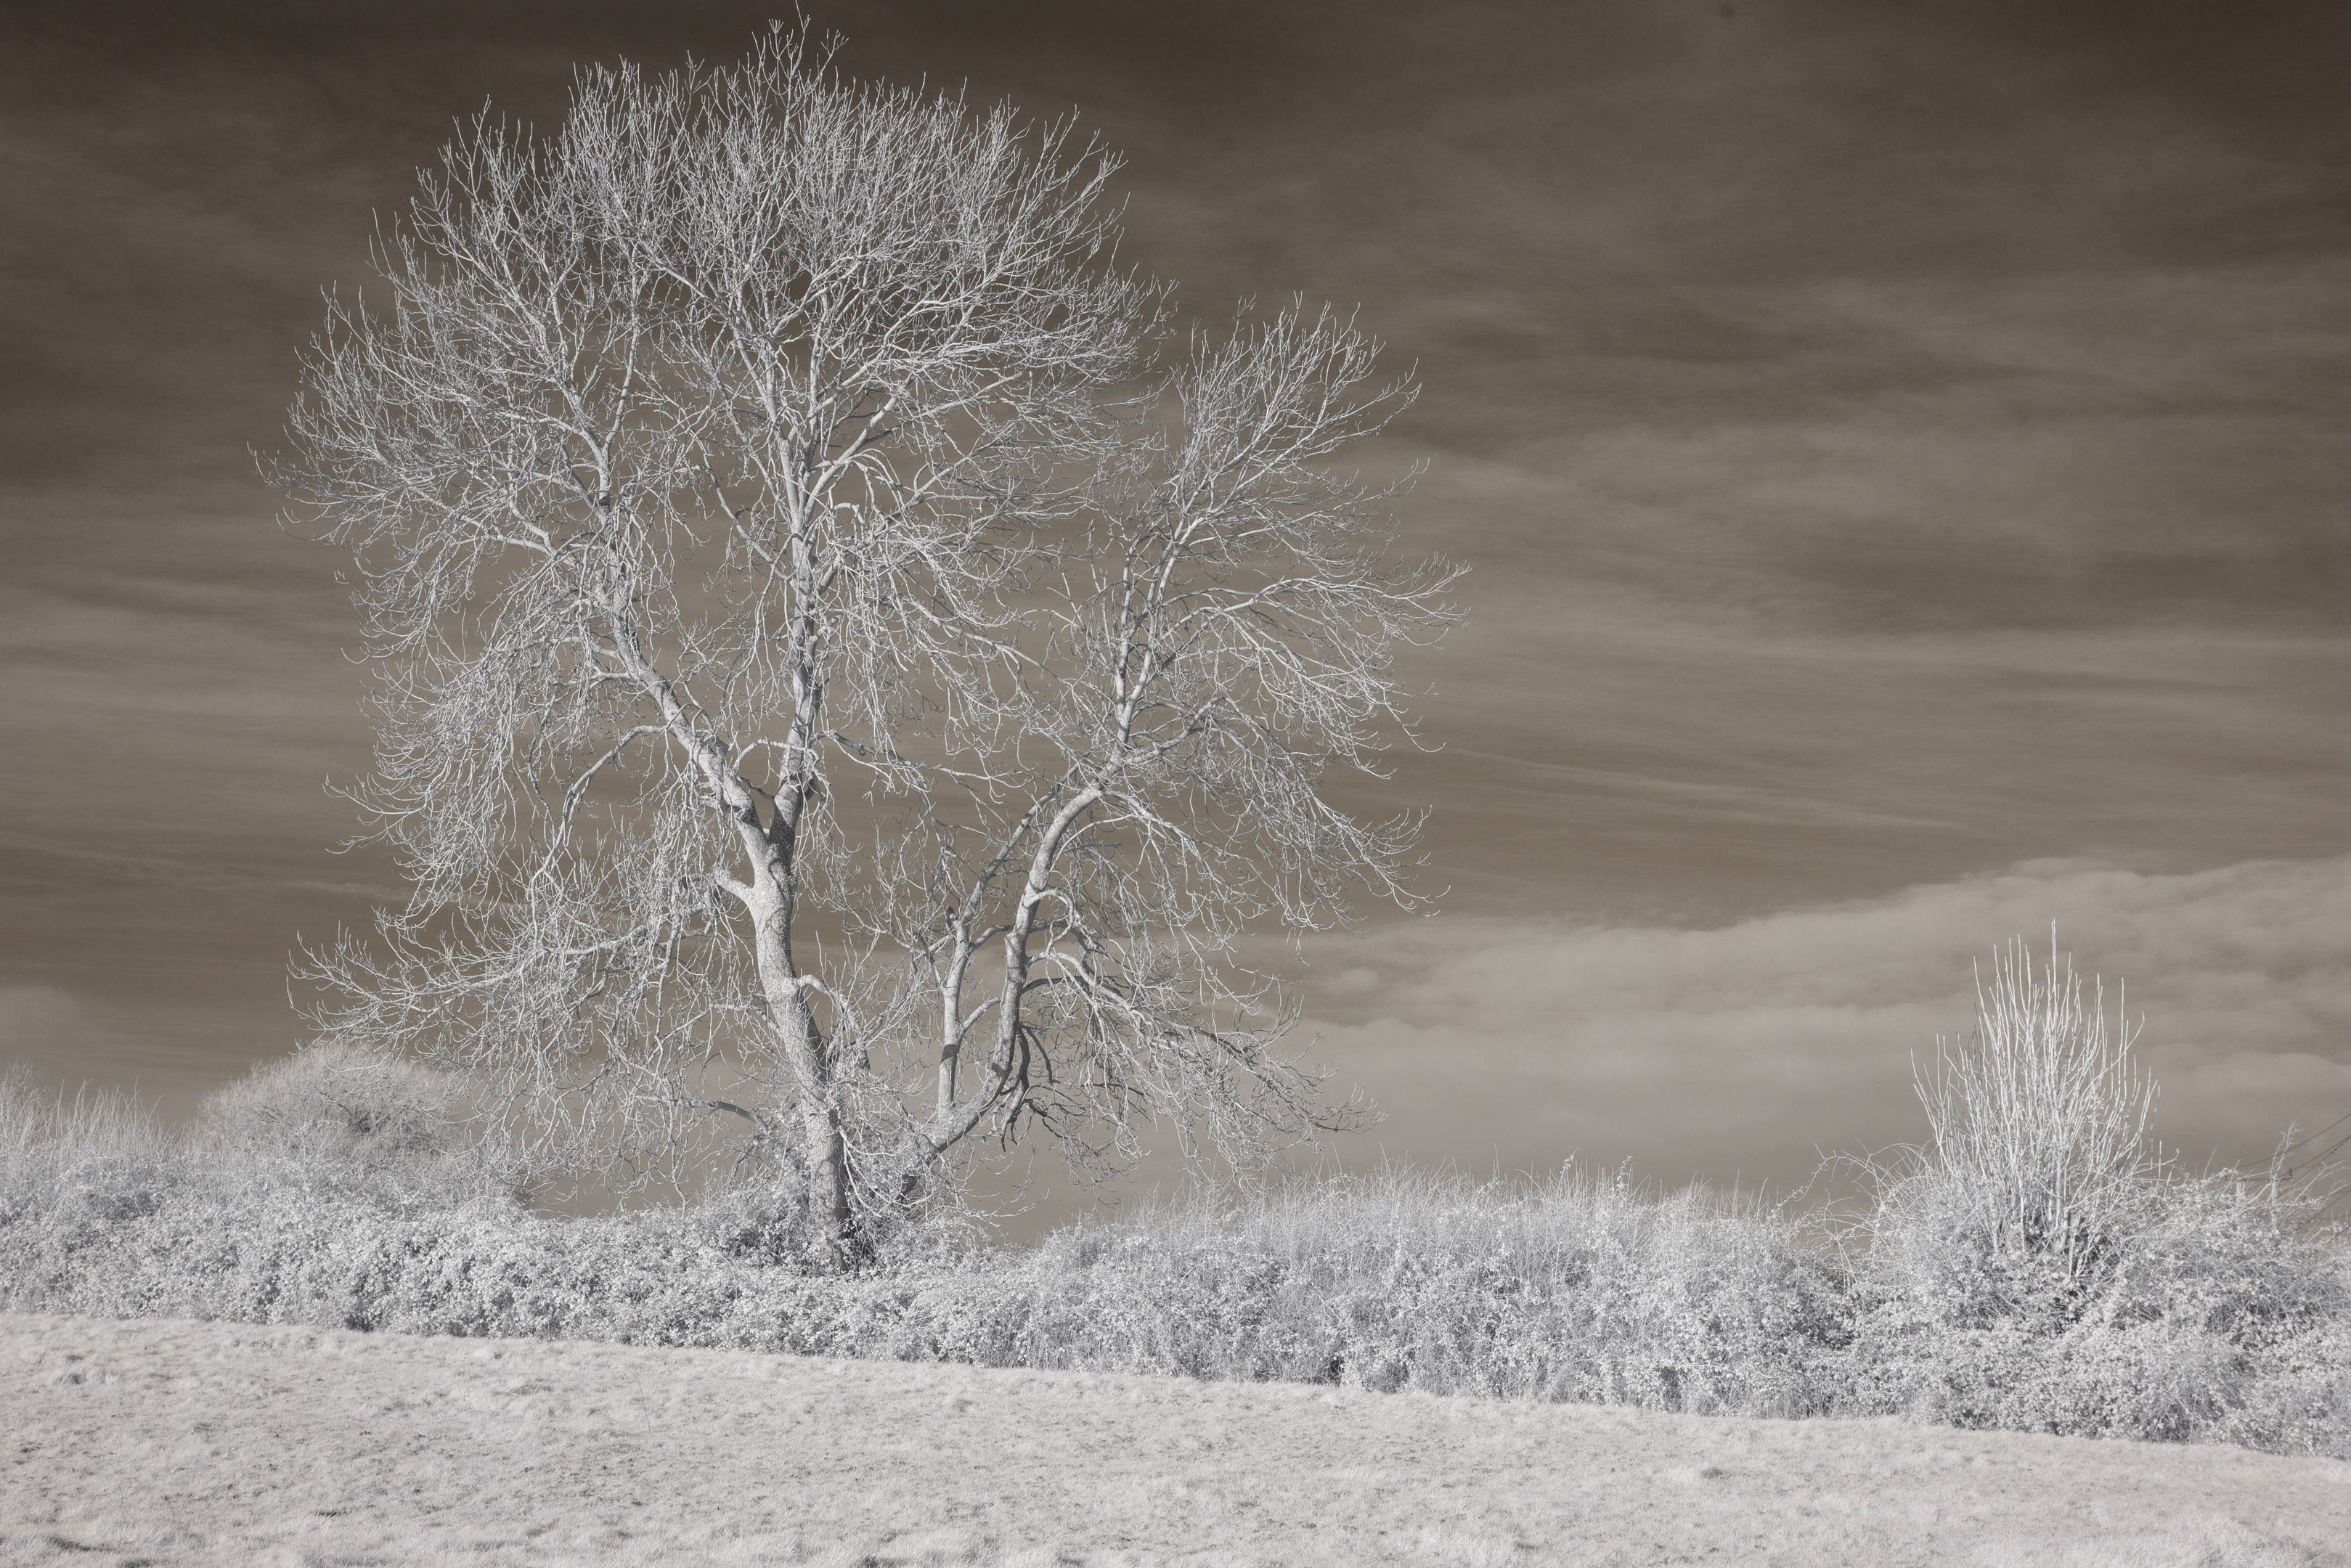
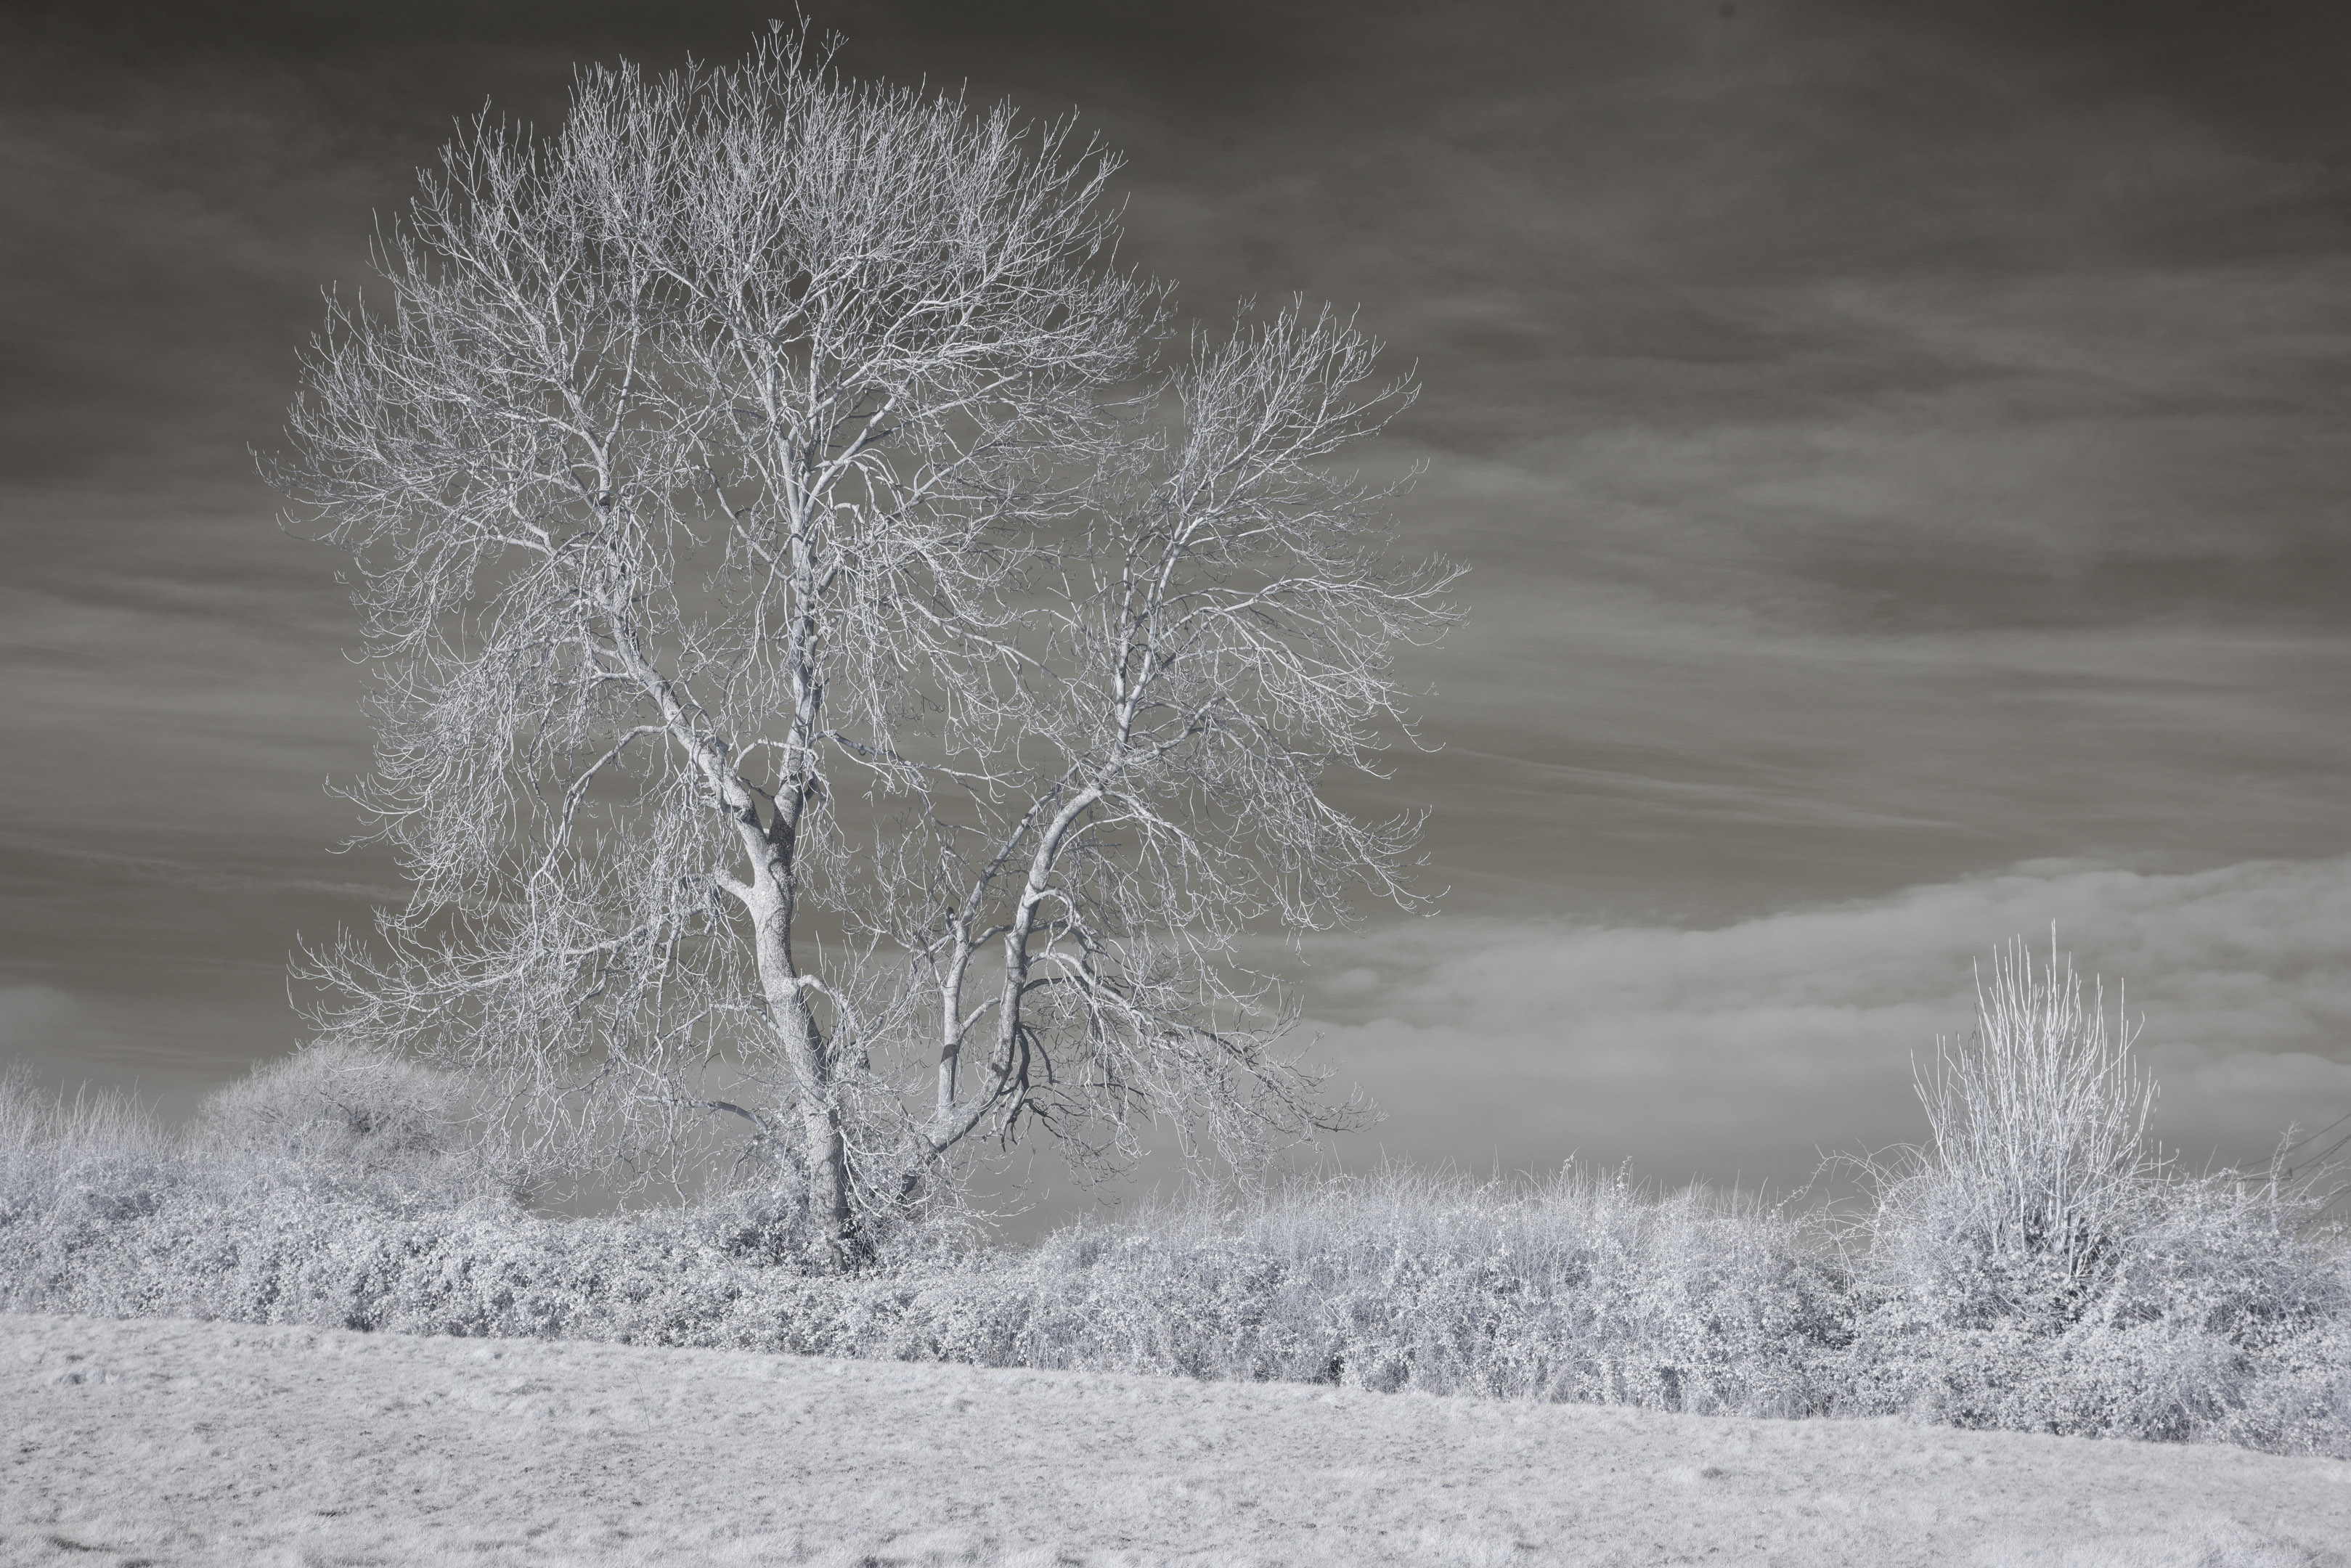
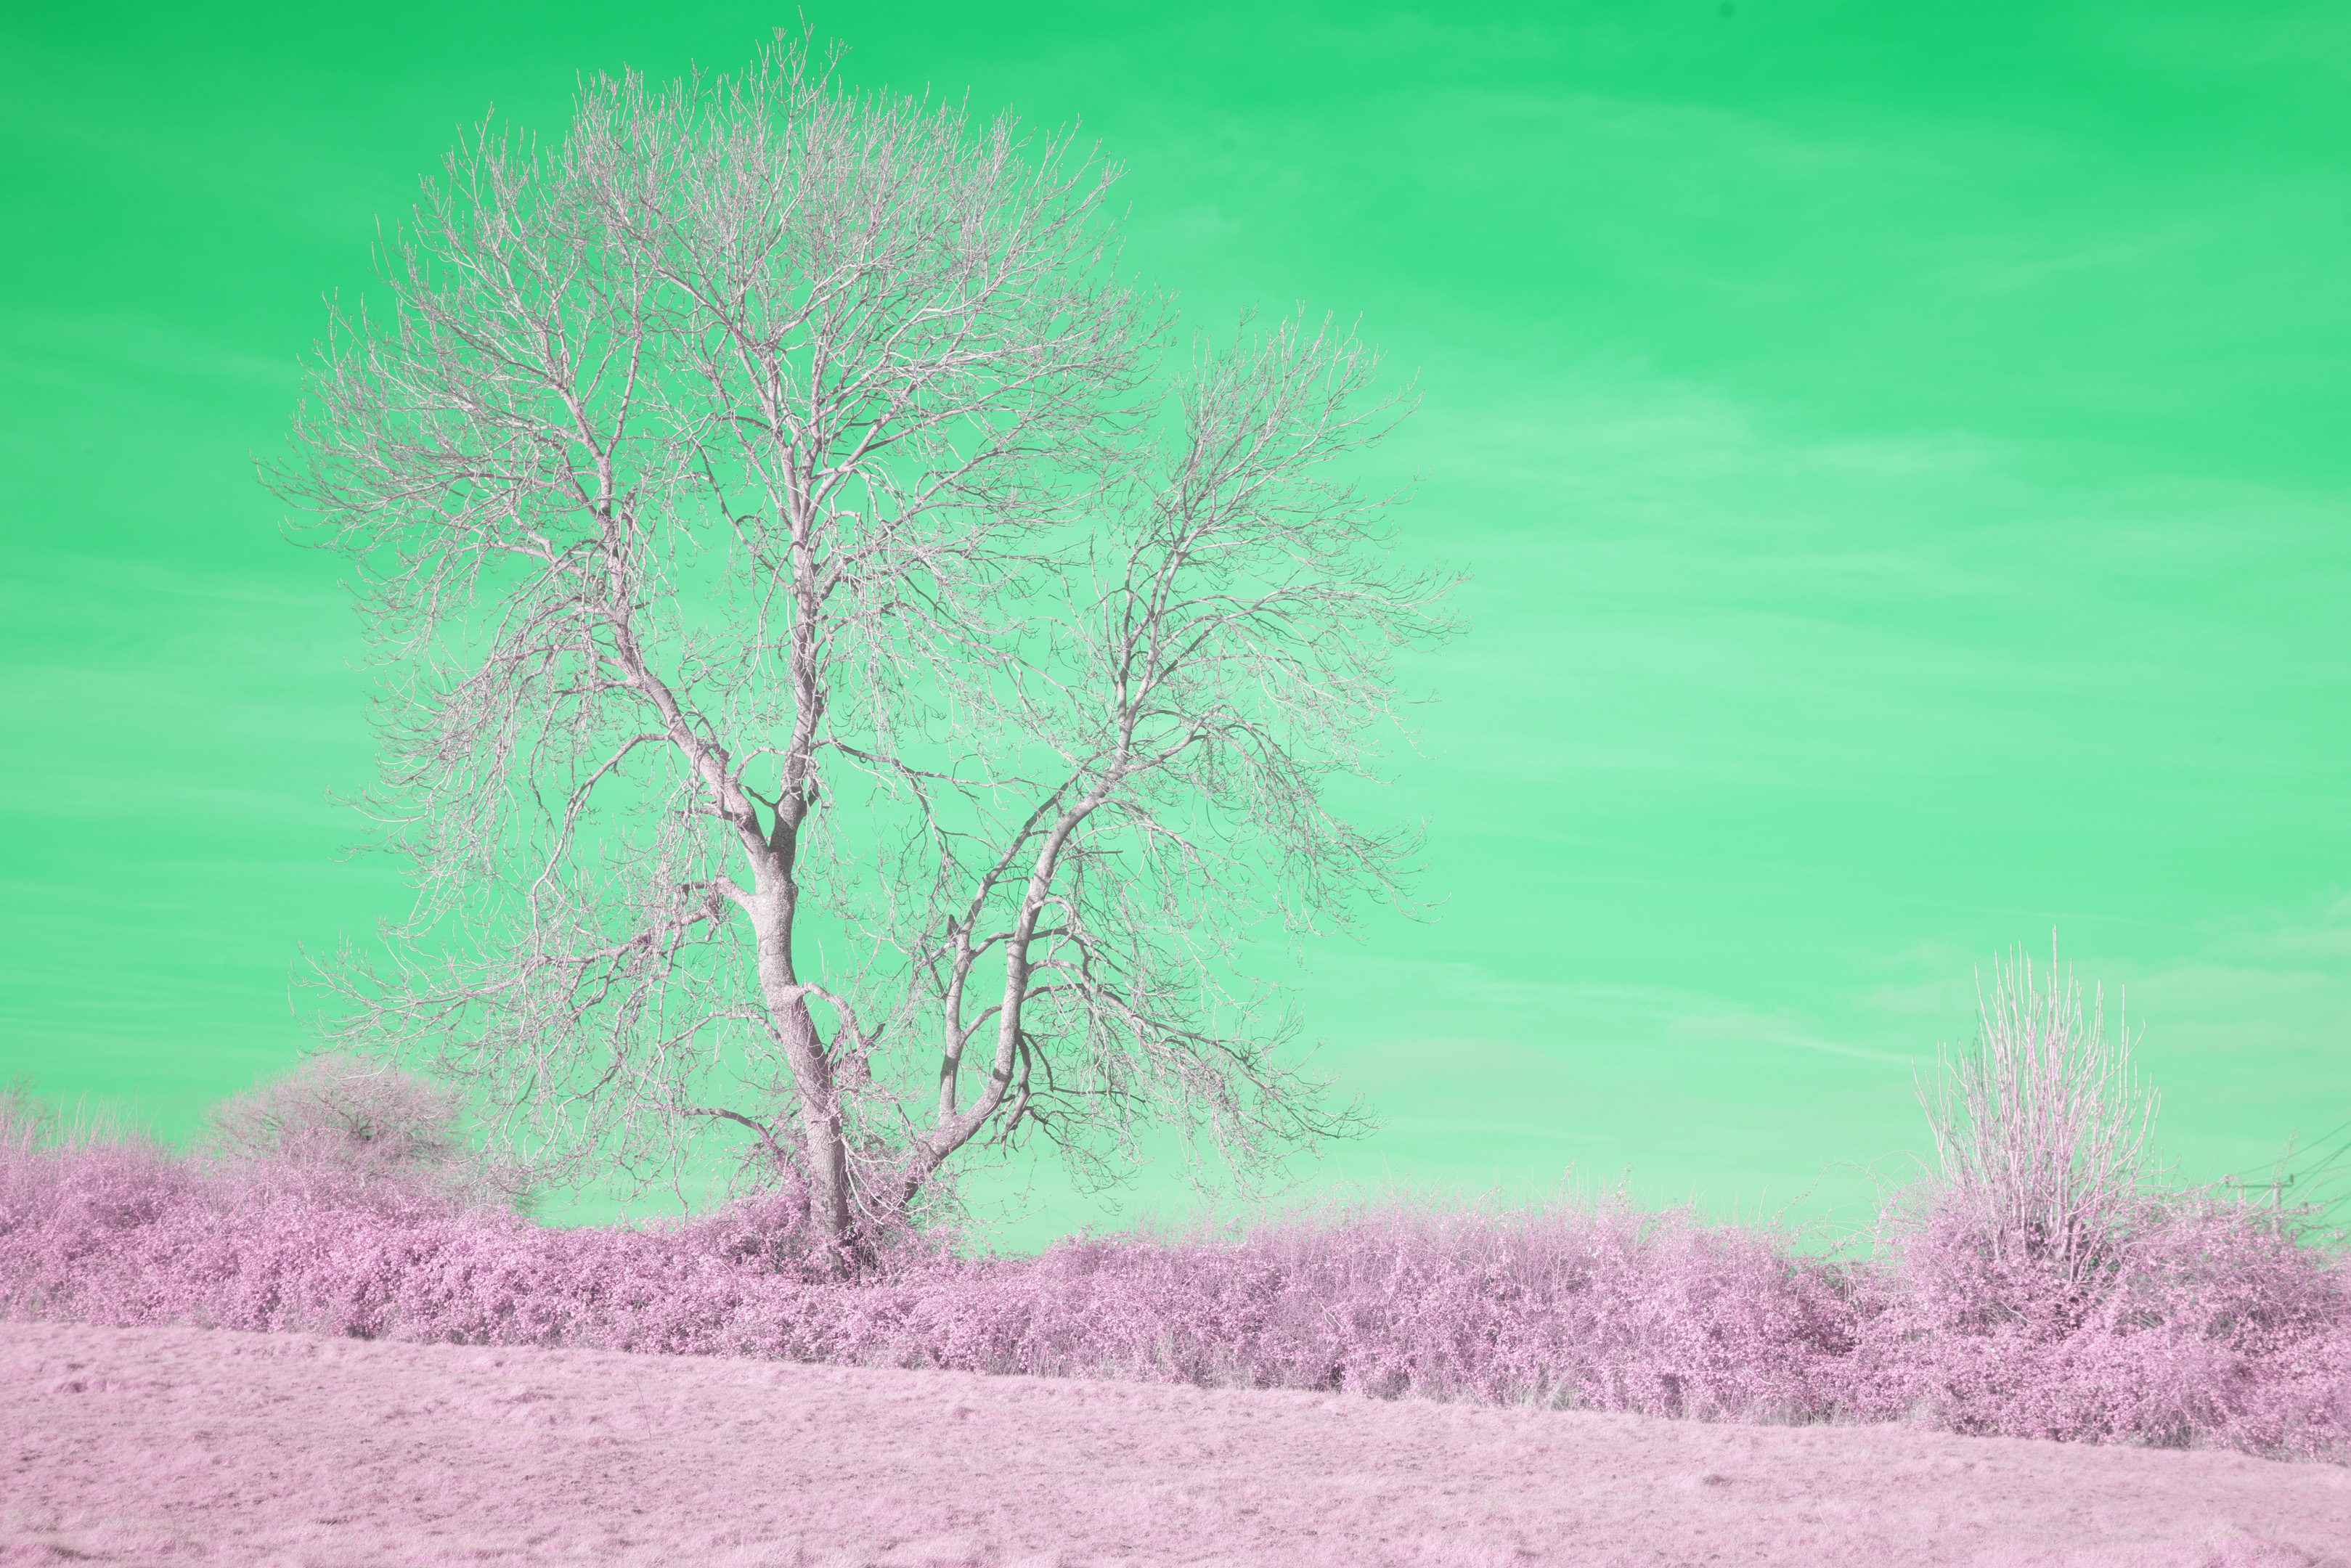
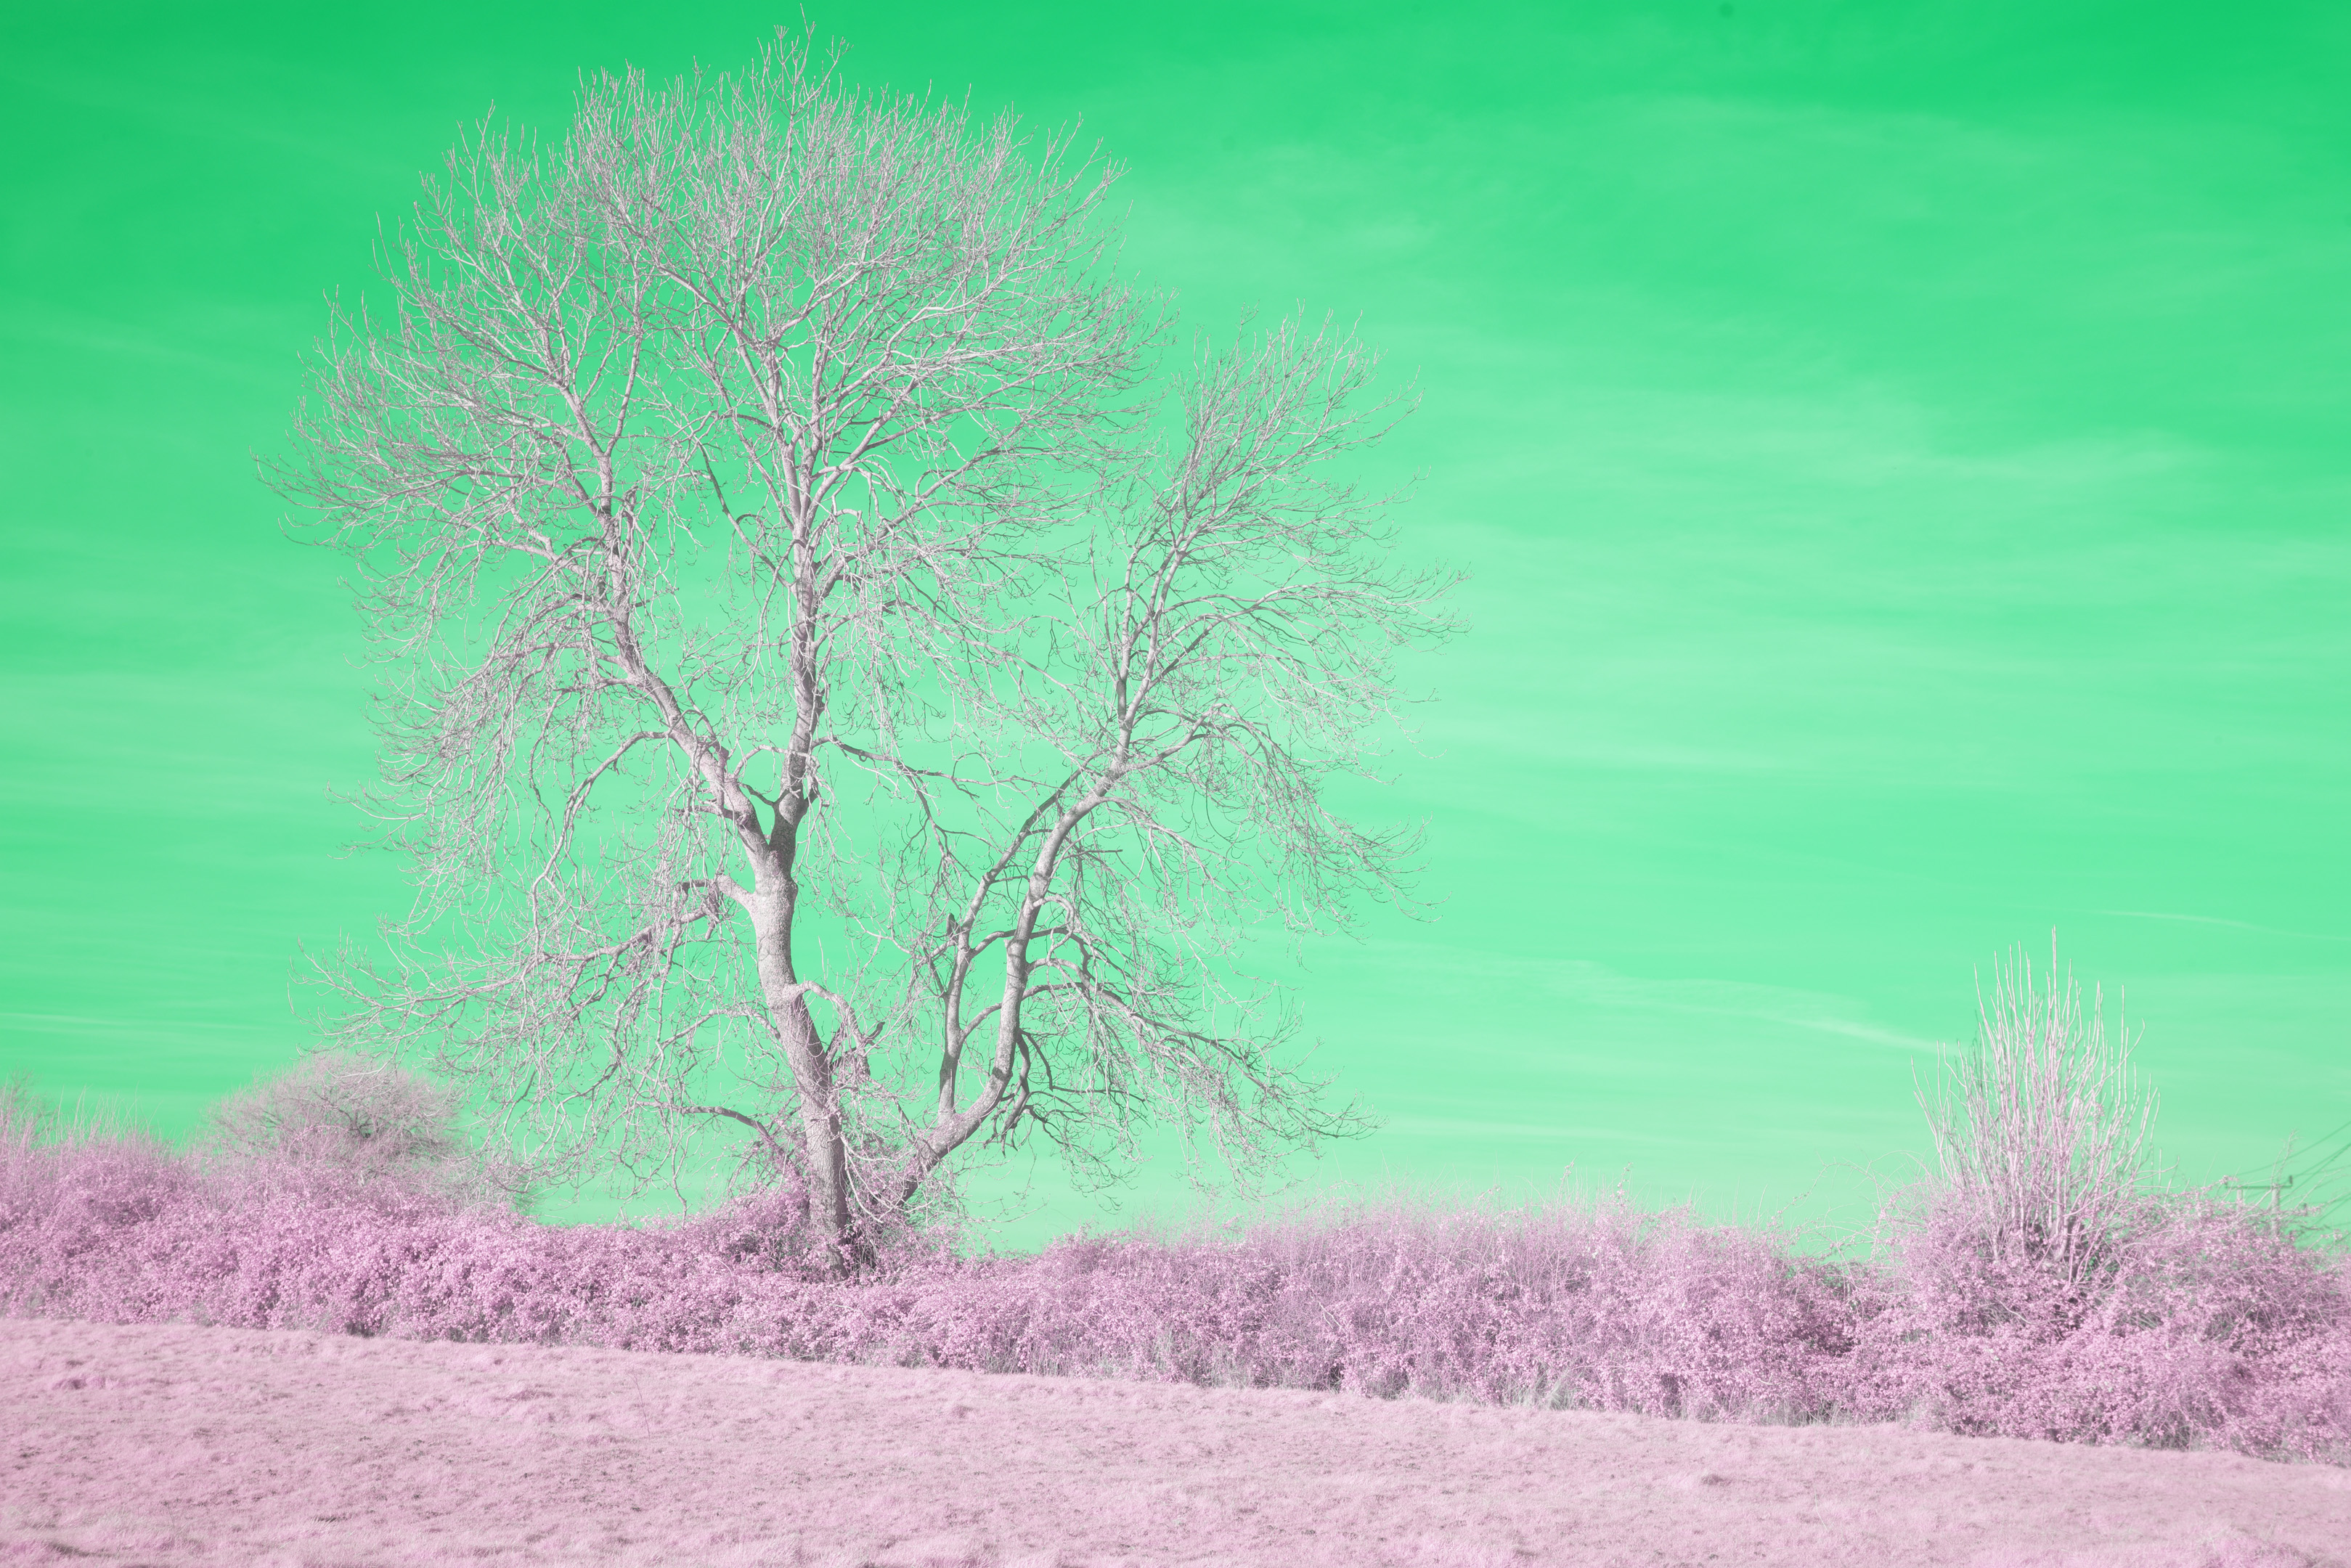
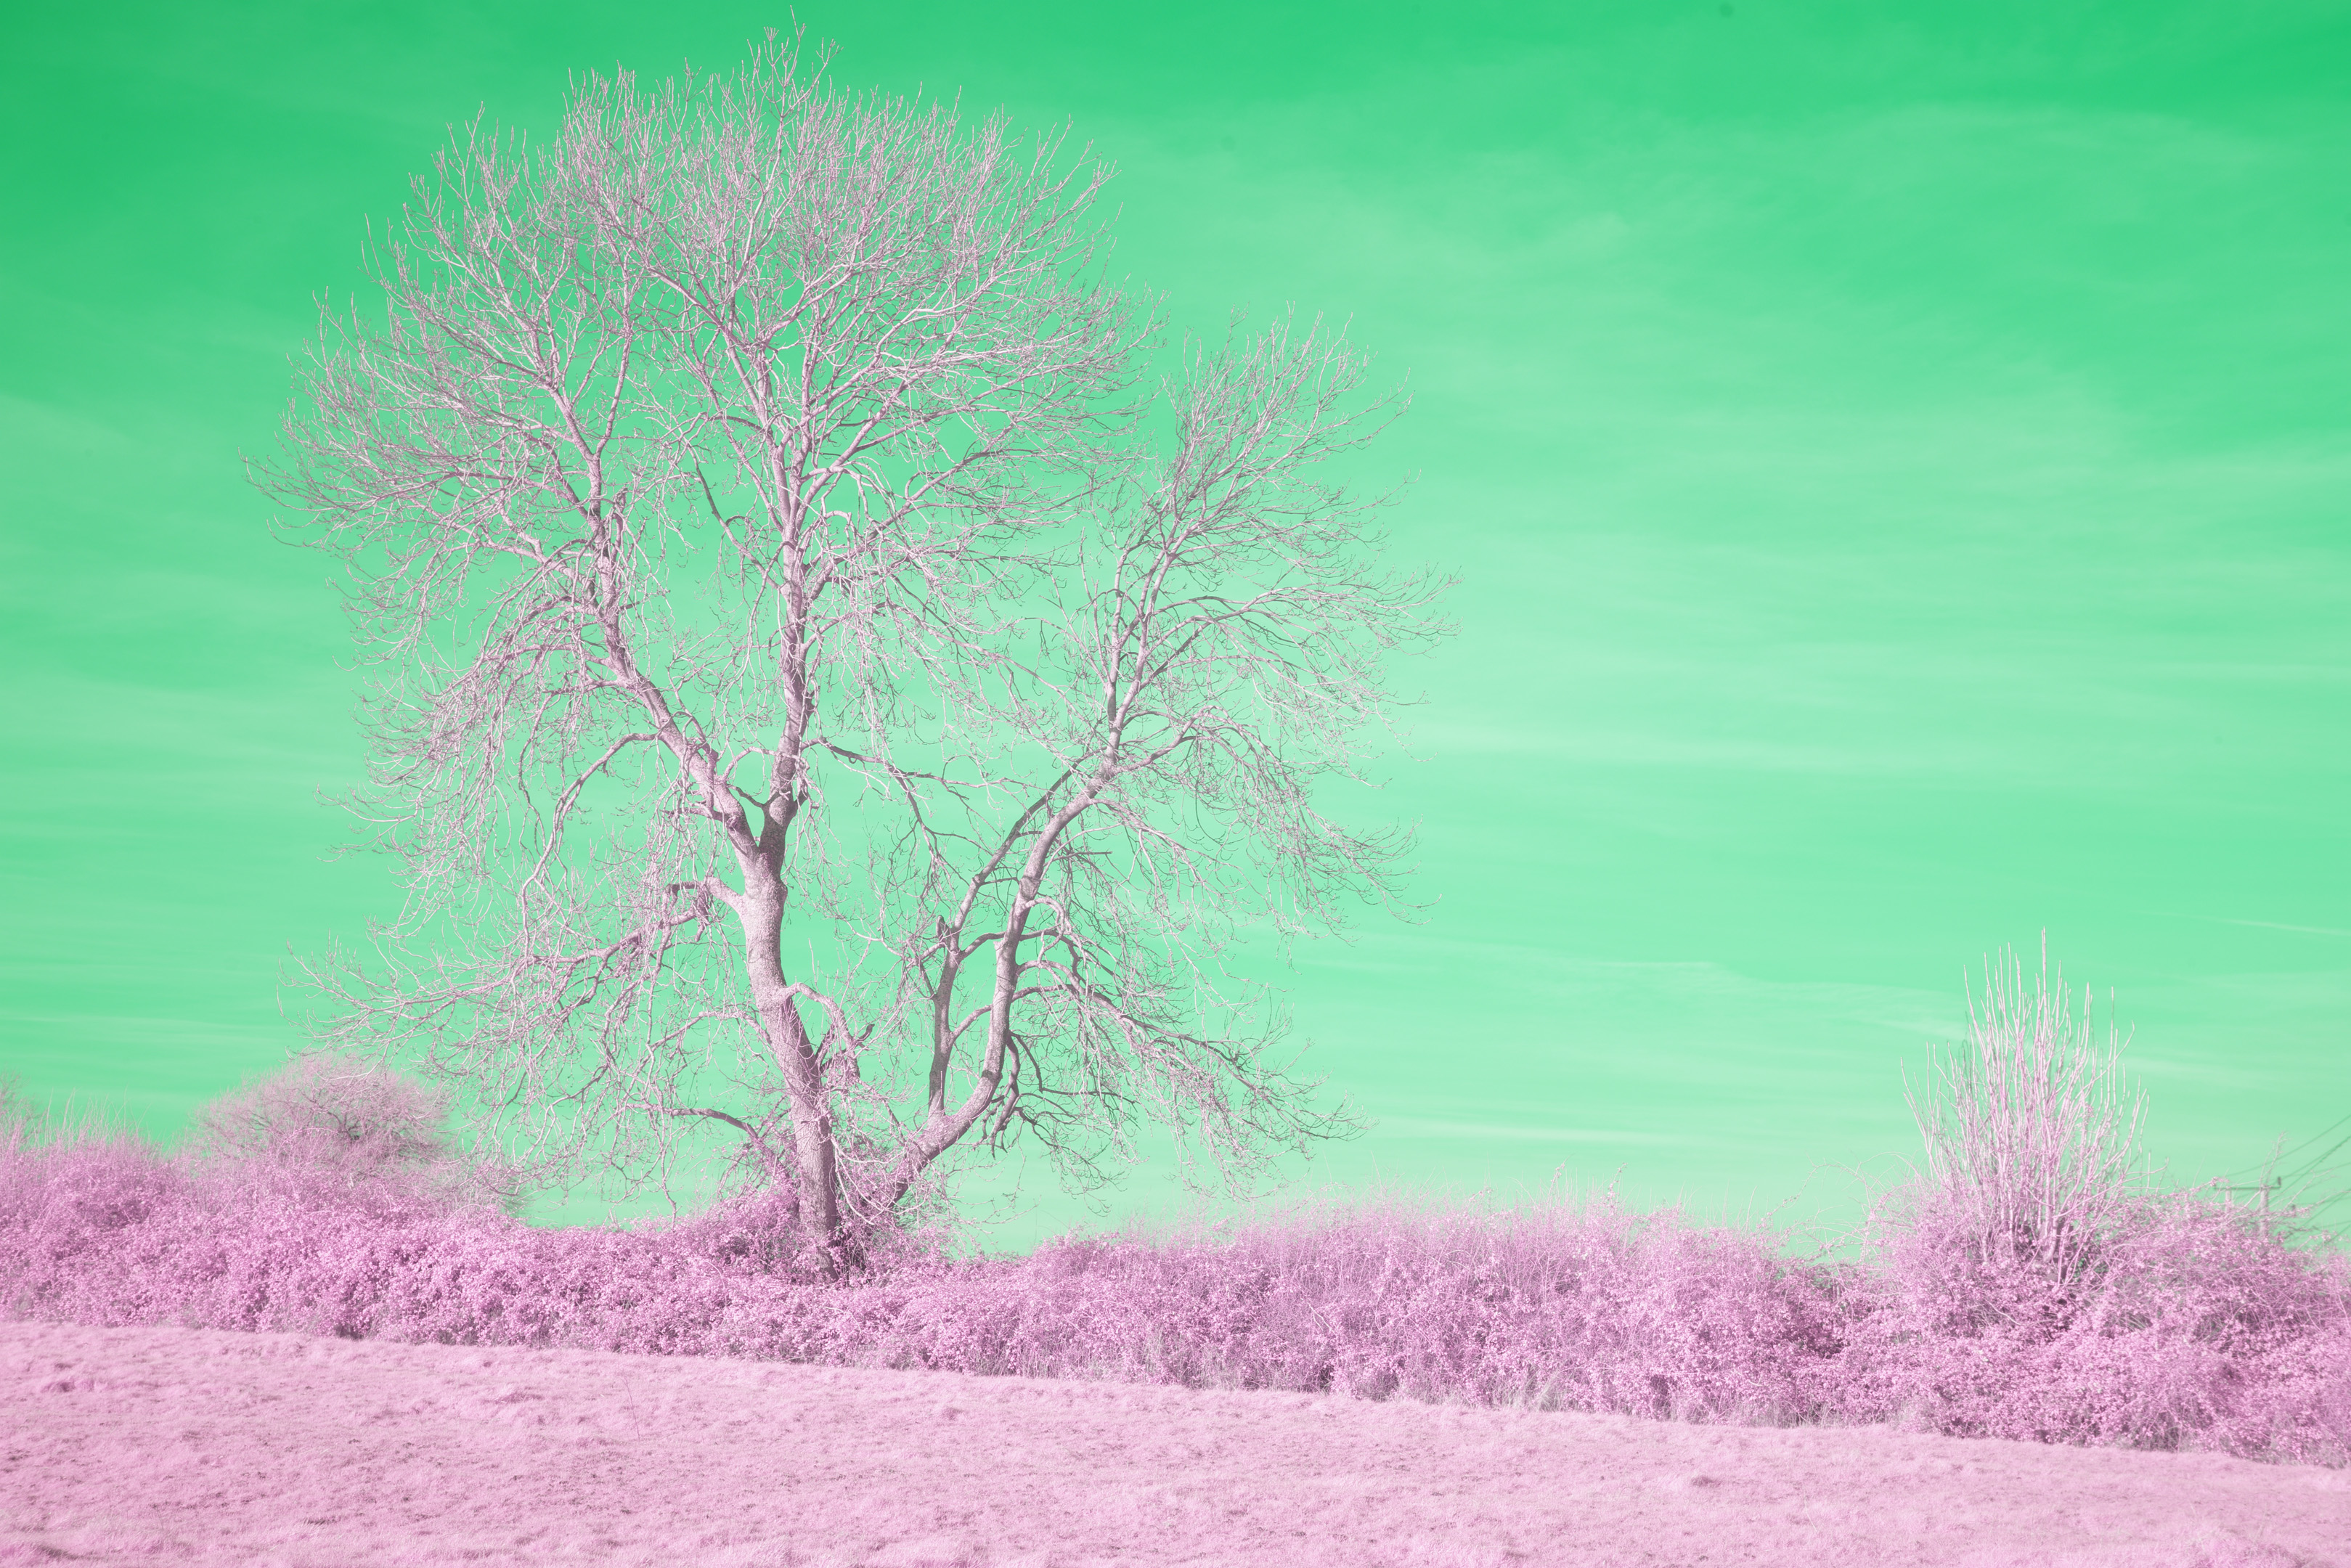
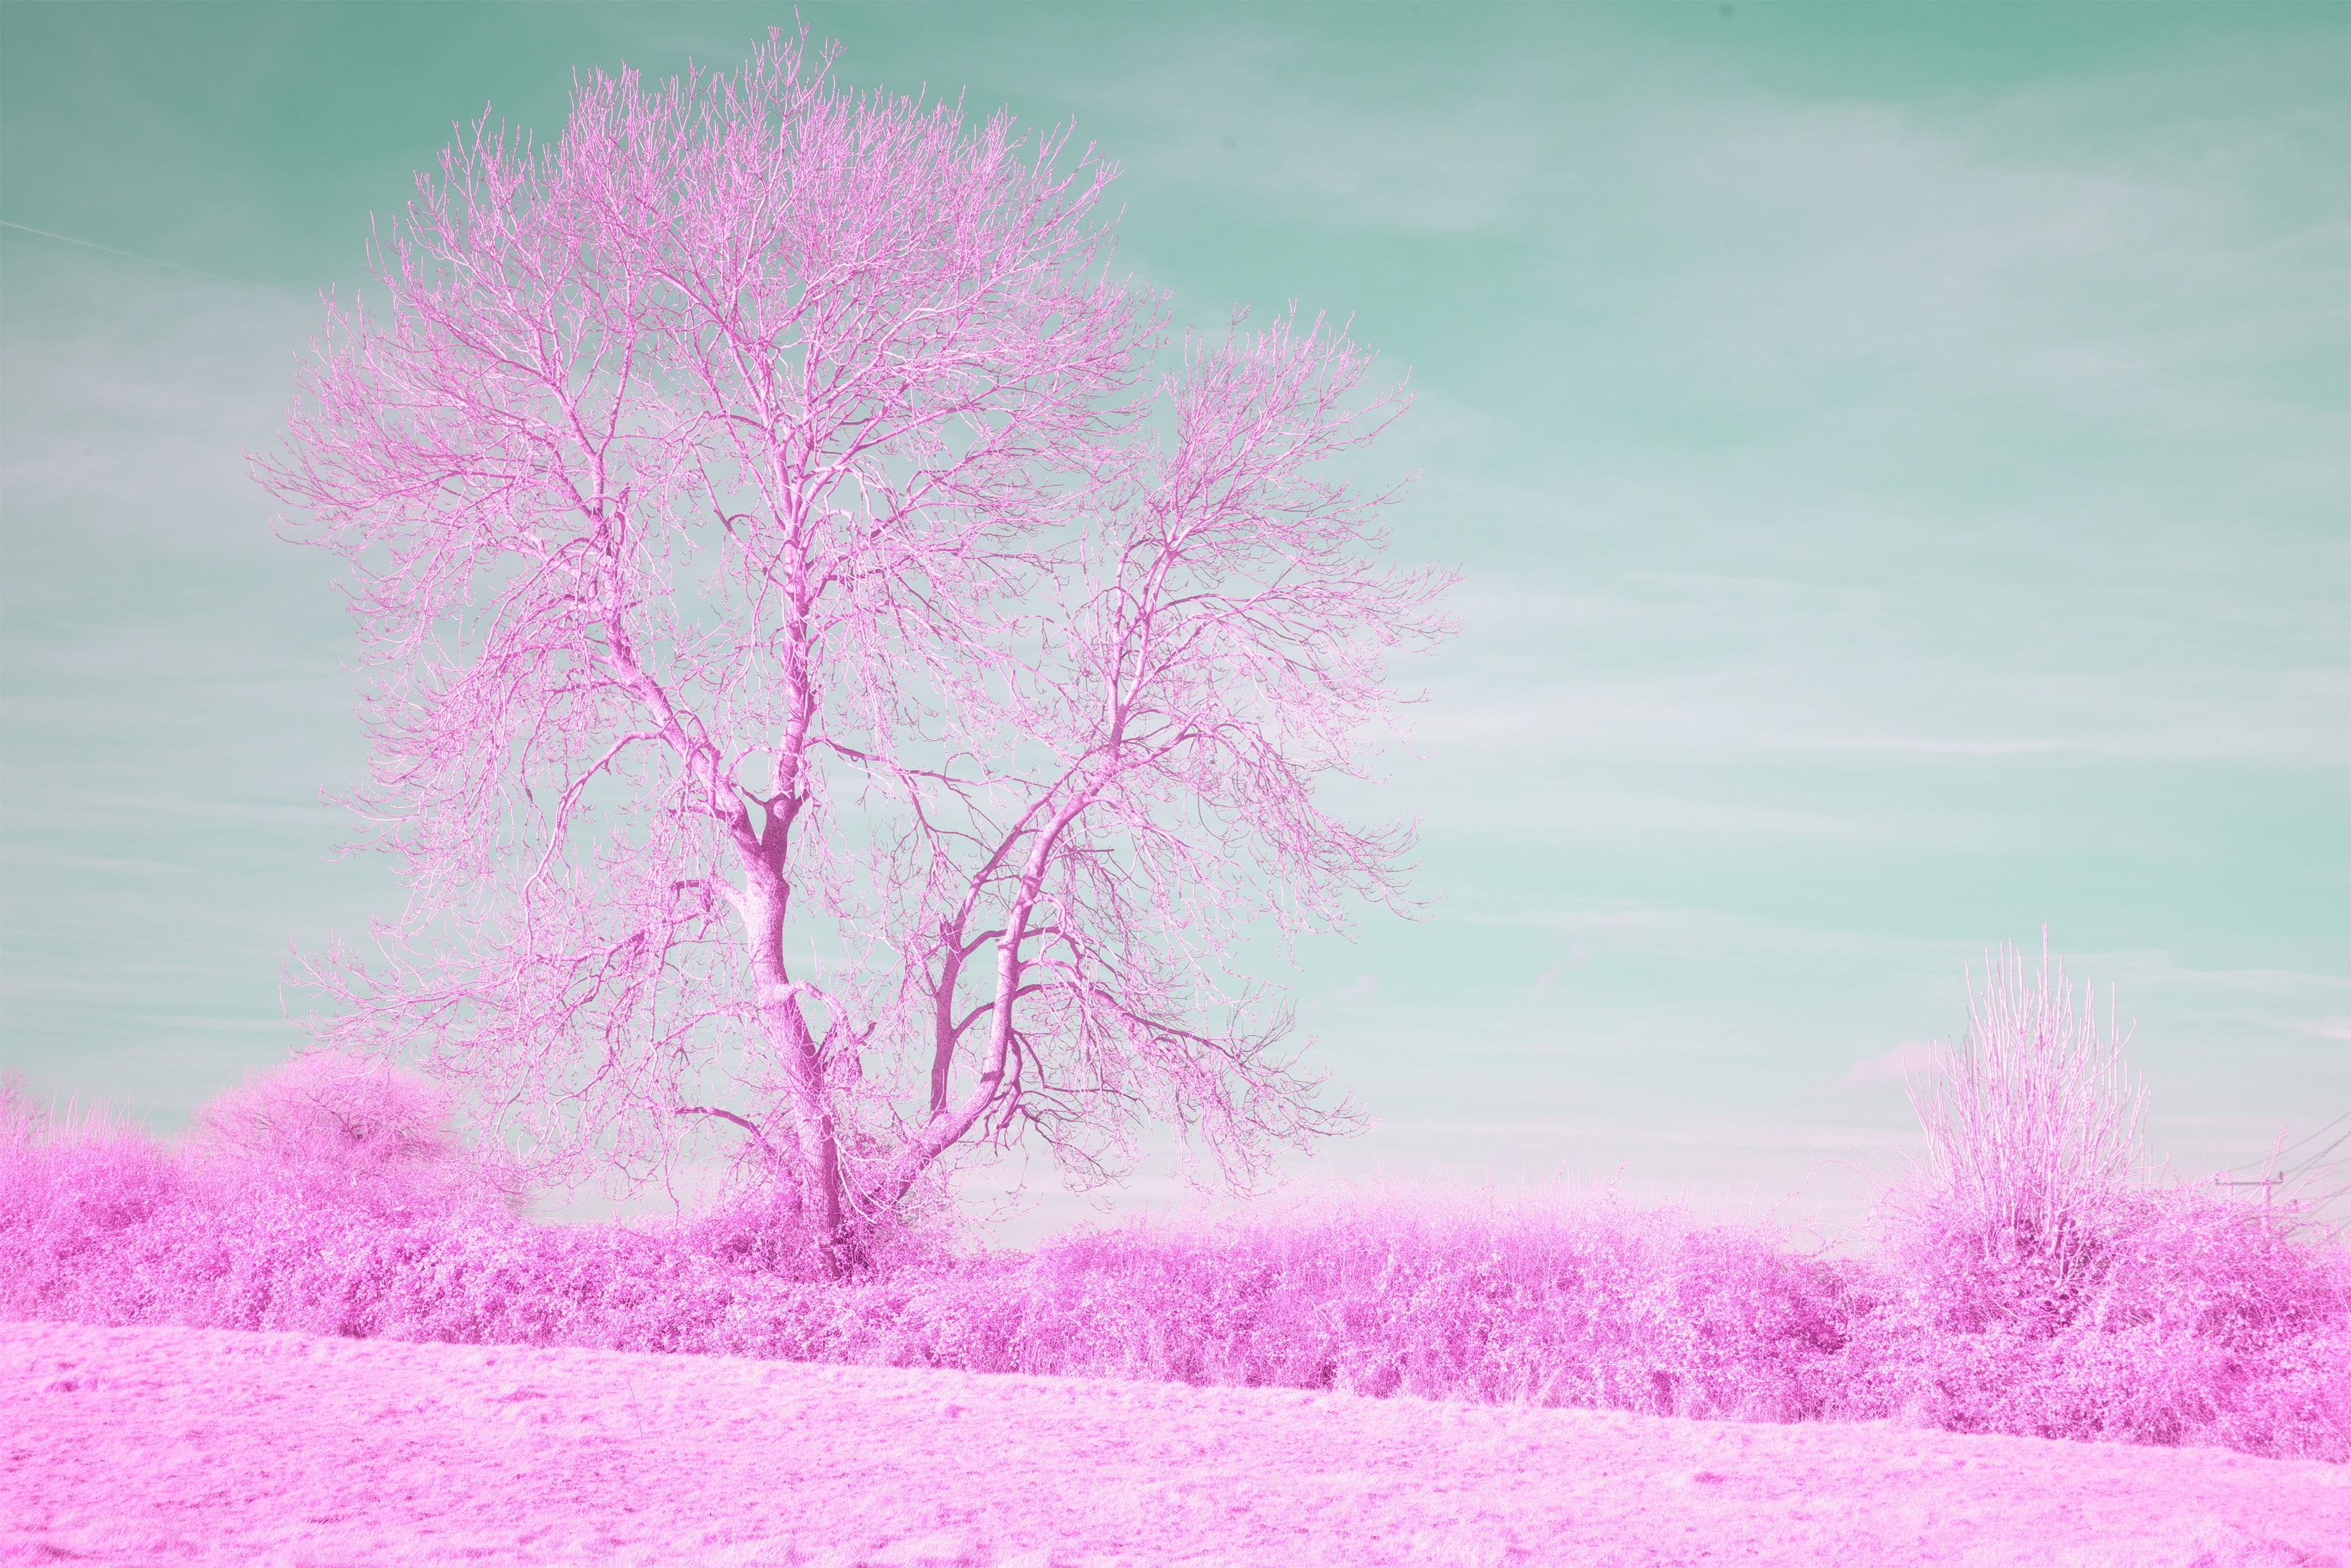
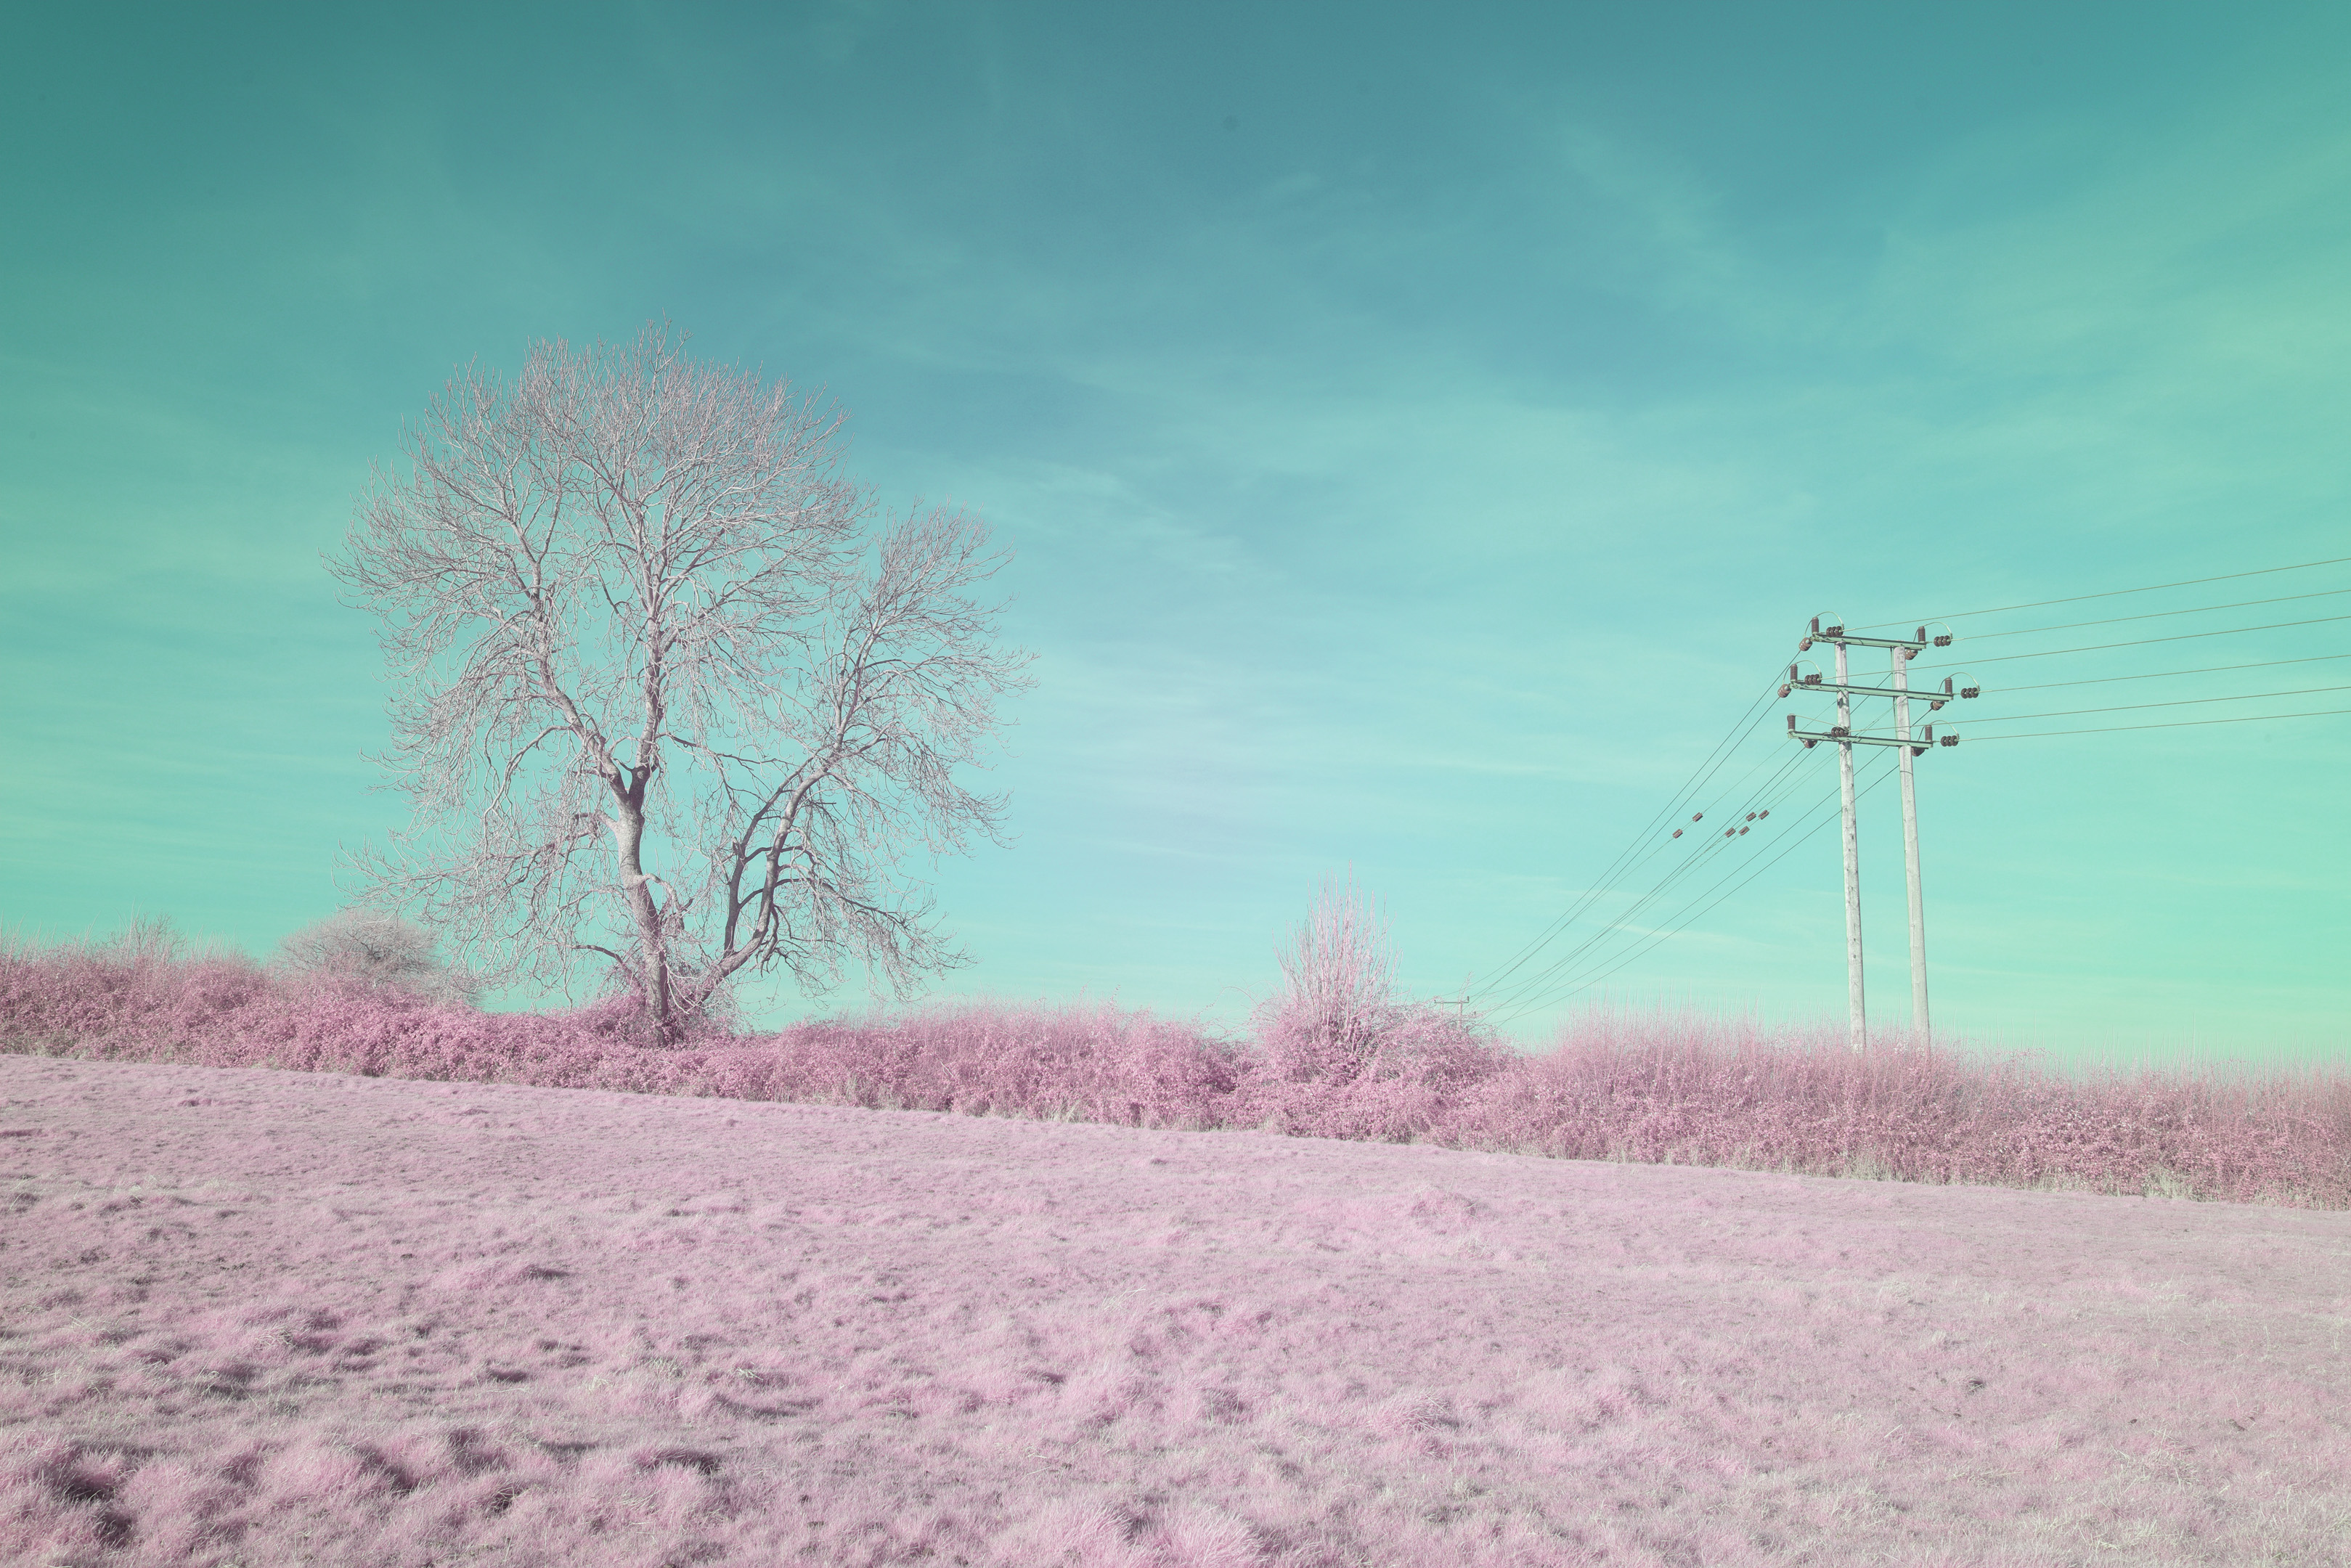
Colour Checker
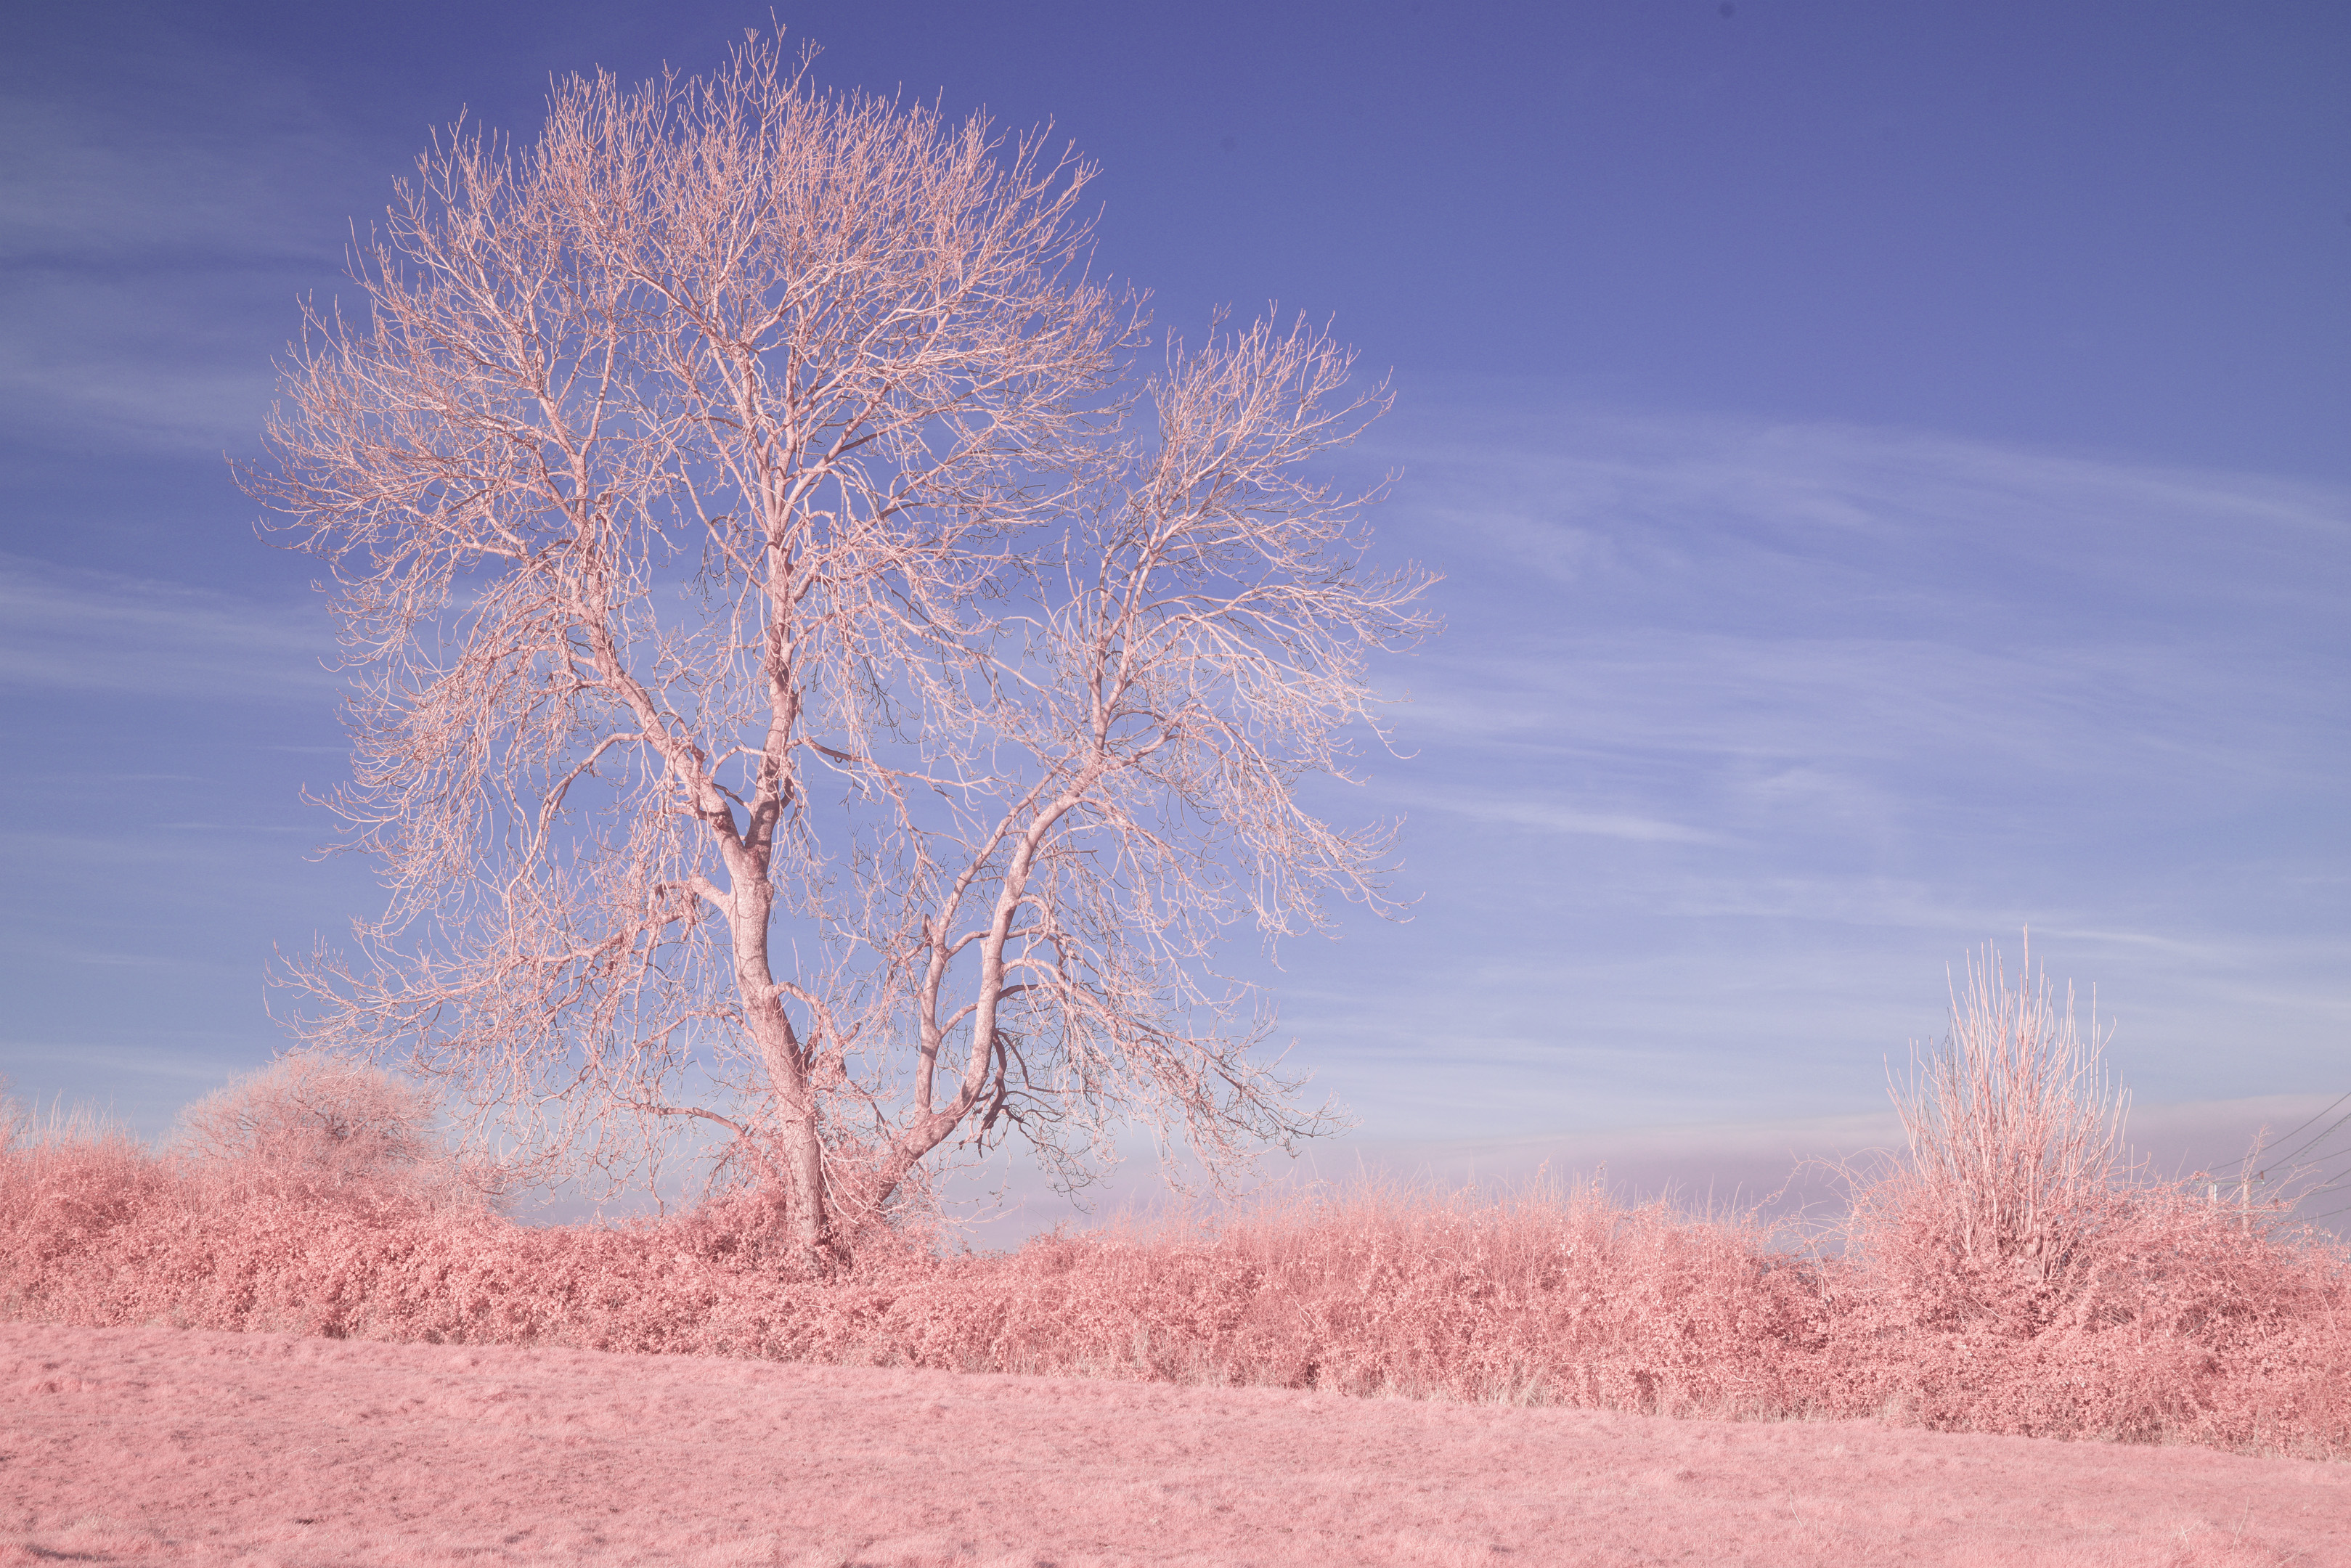
With hue adjustment, the image is more red than when white balanced with the card. Using the large grey white balance target on the color checker, no exposure adjustment was needed when taking the white balance image.
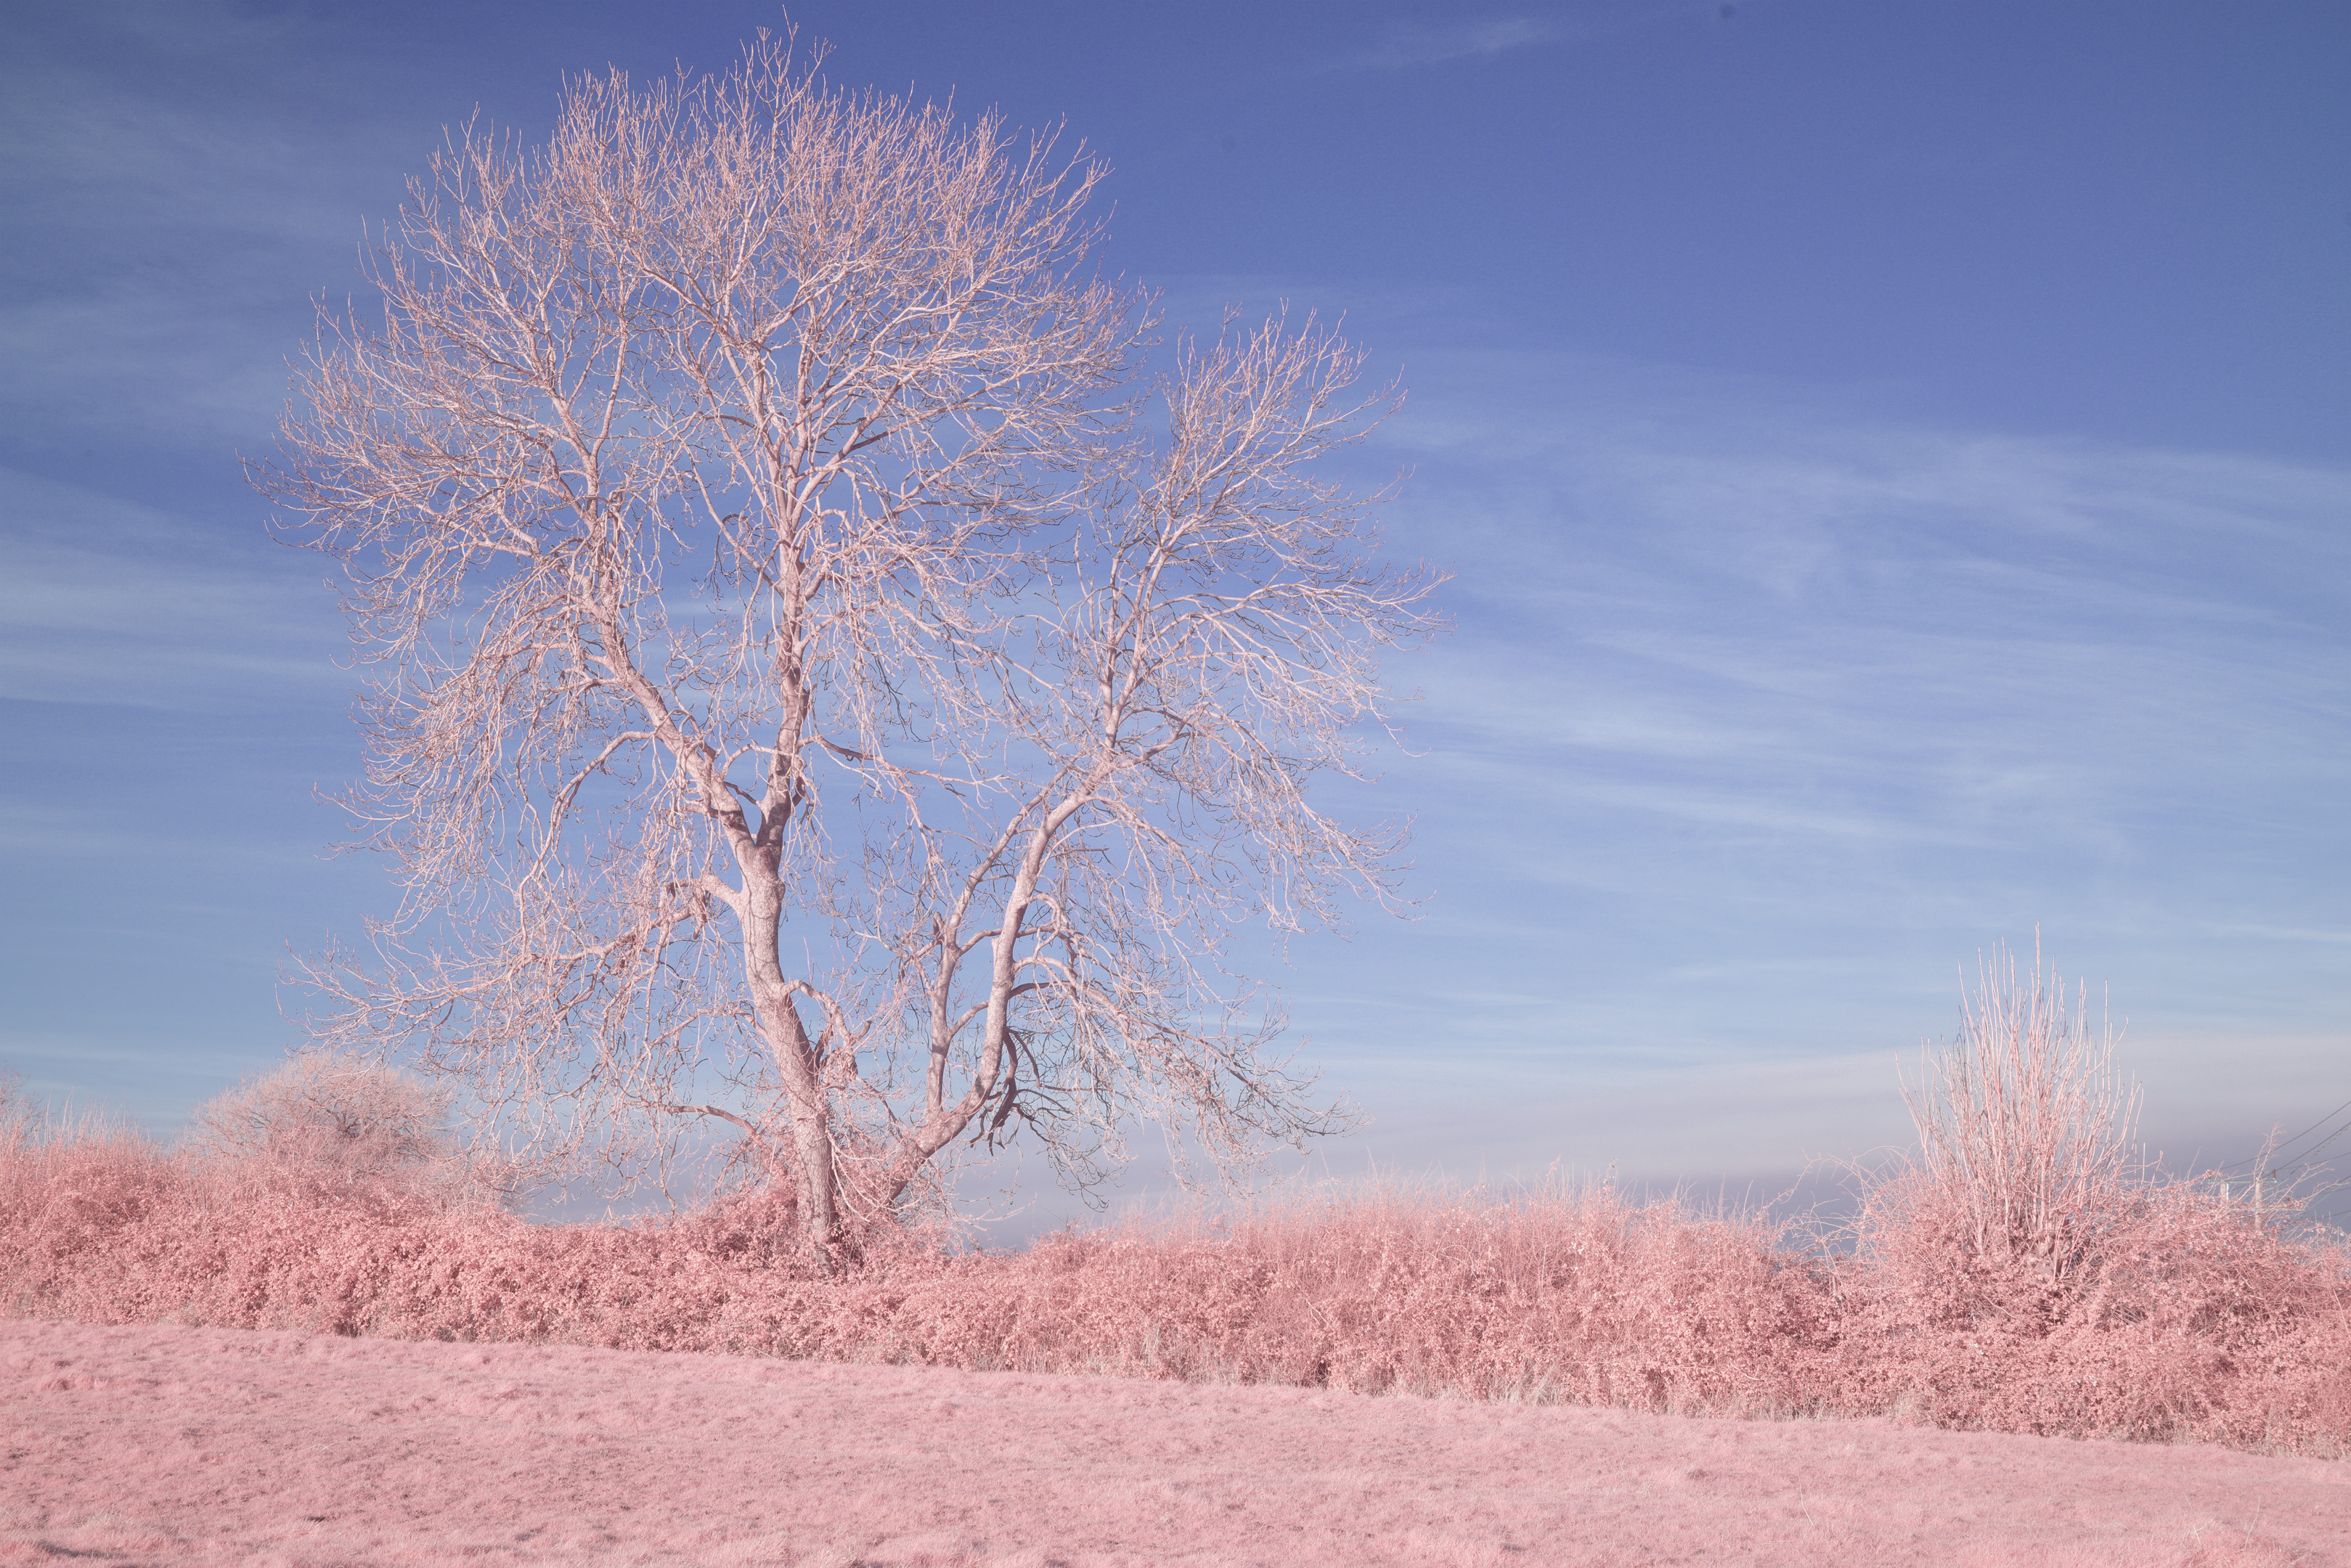
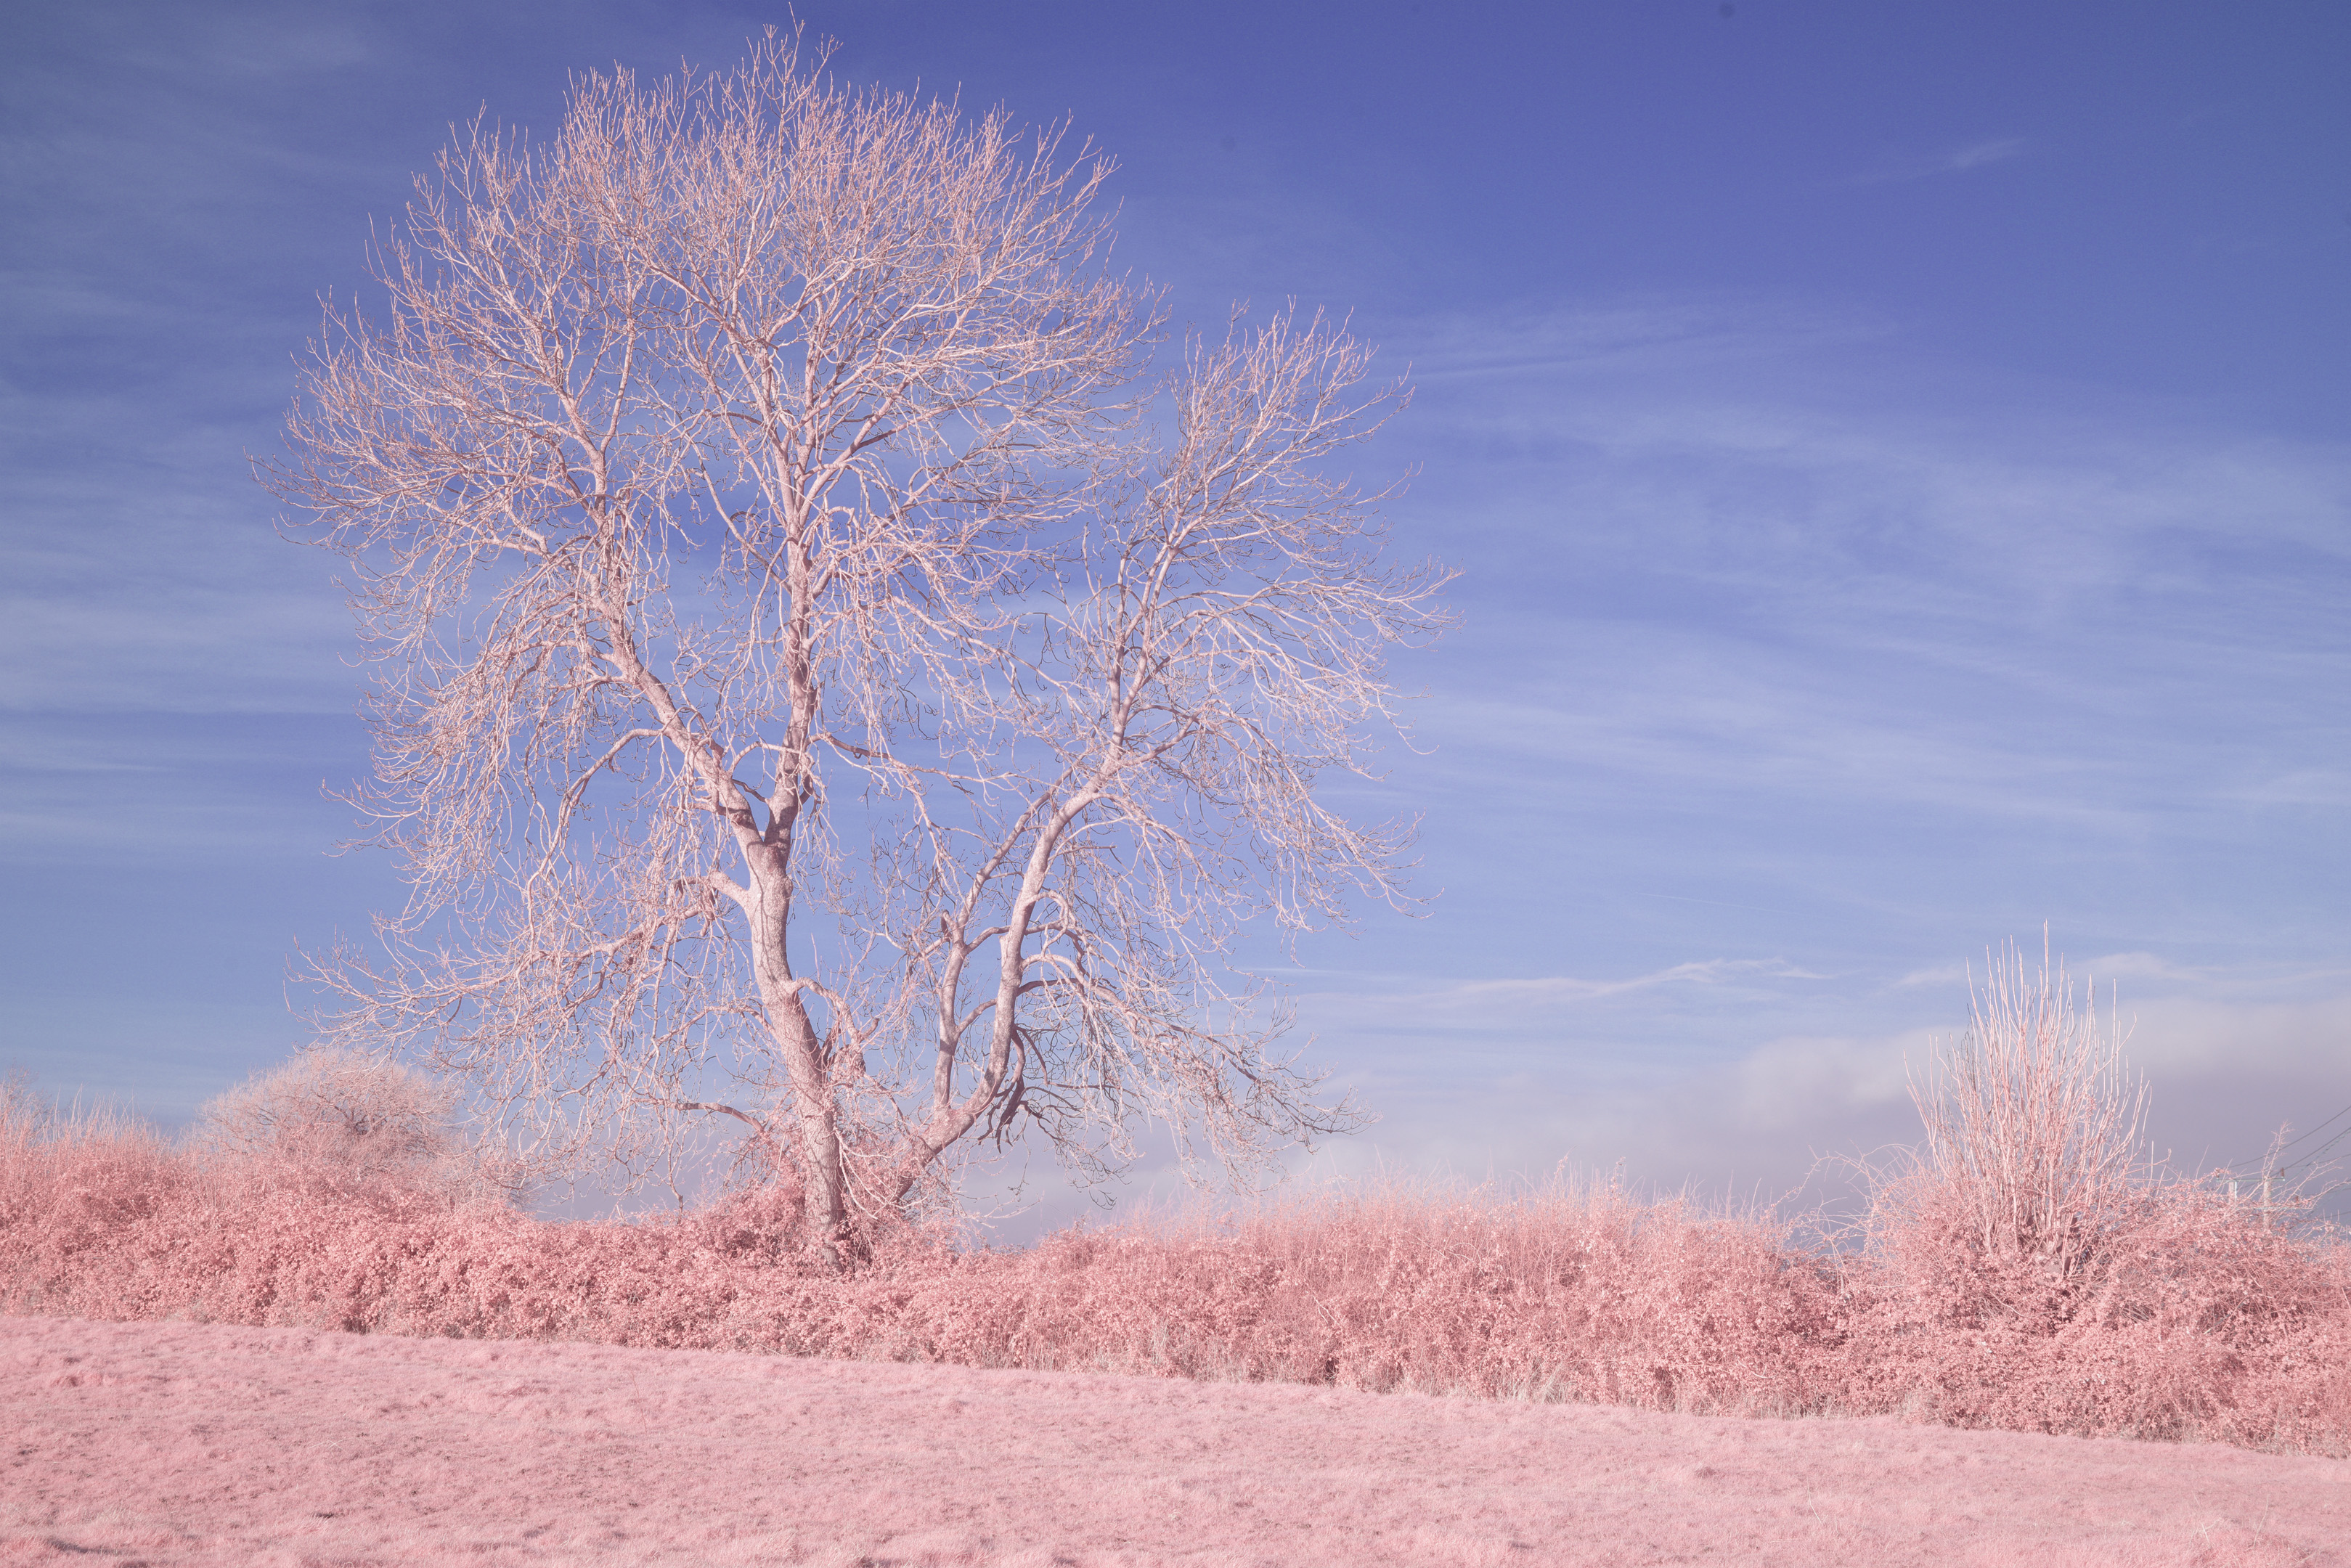
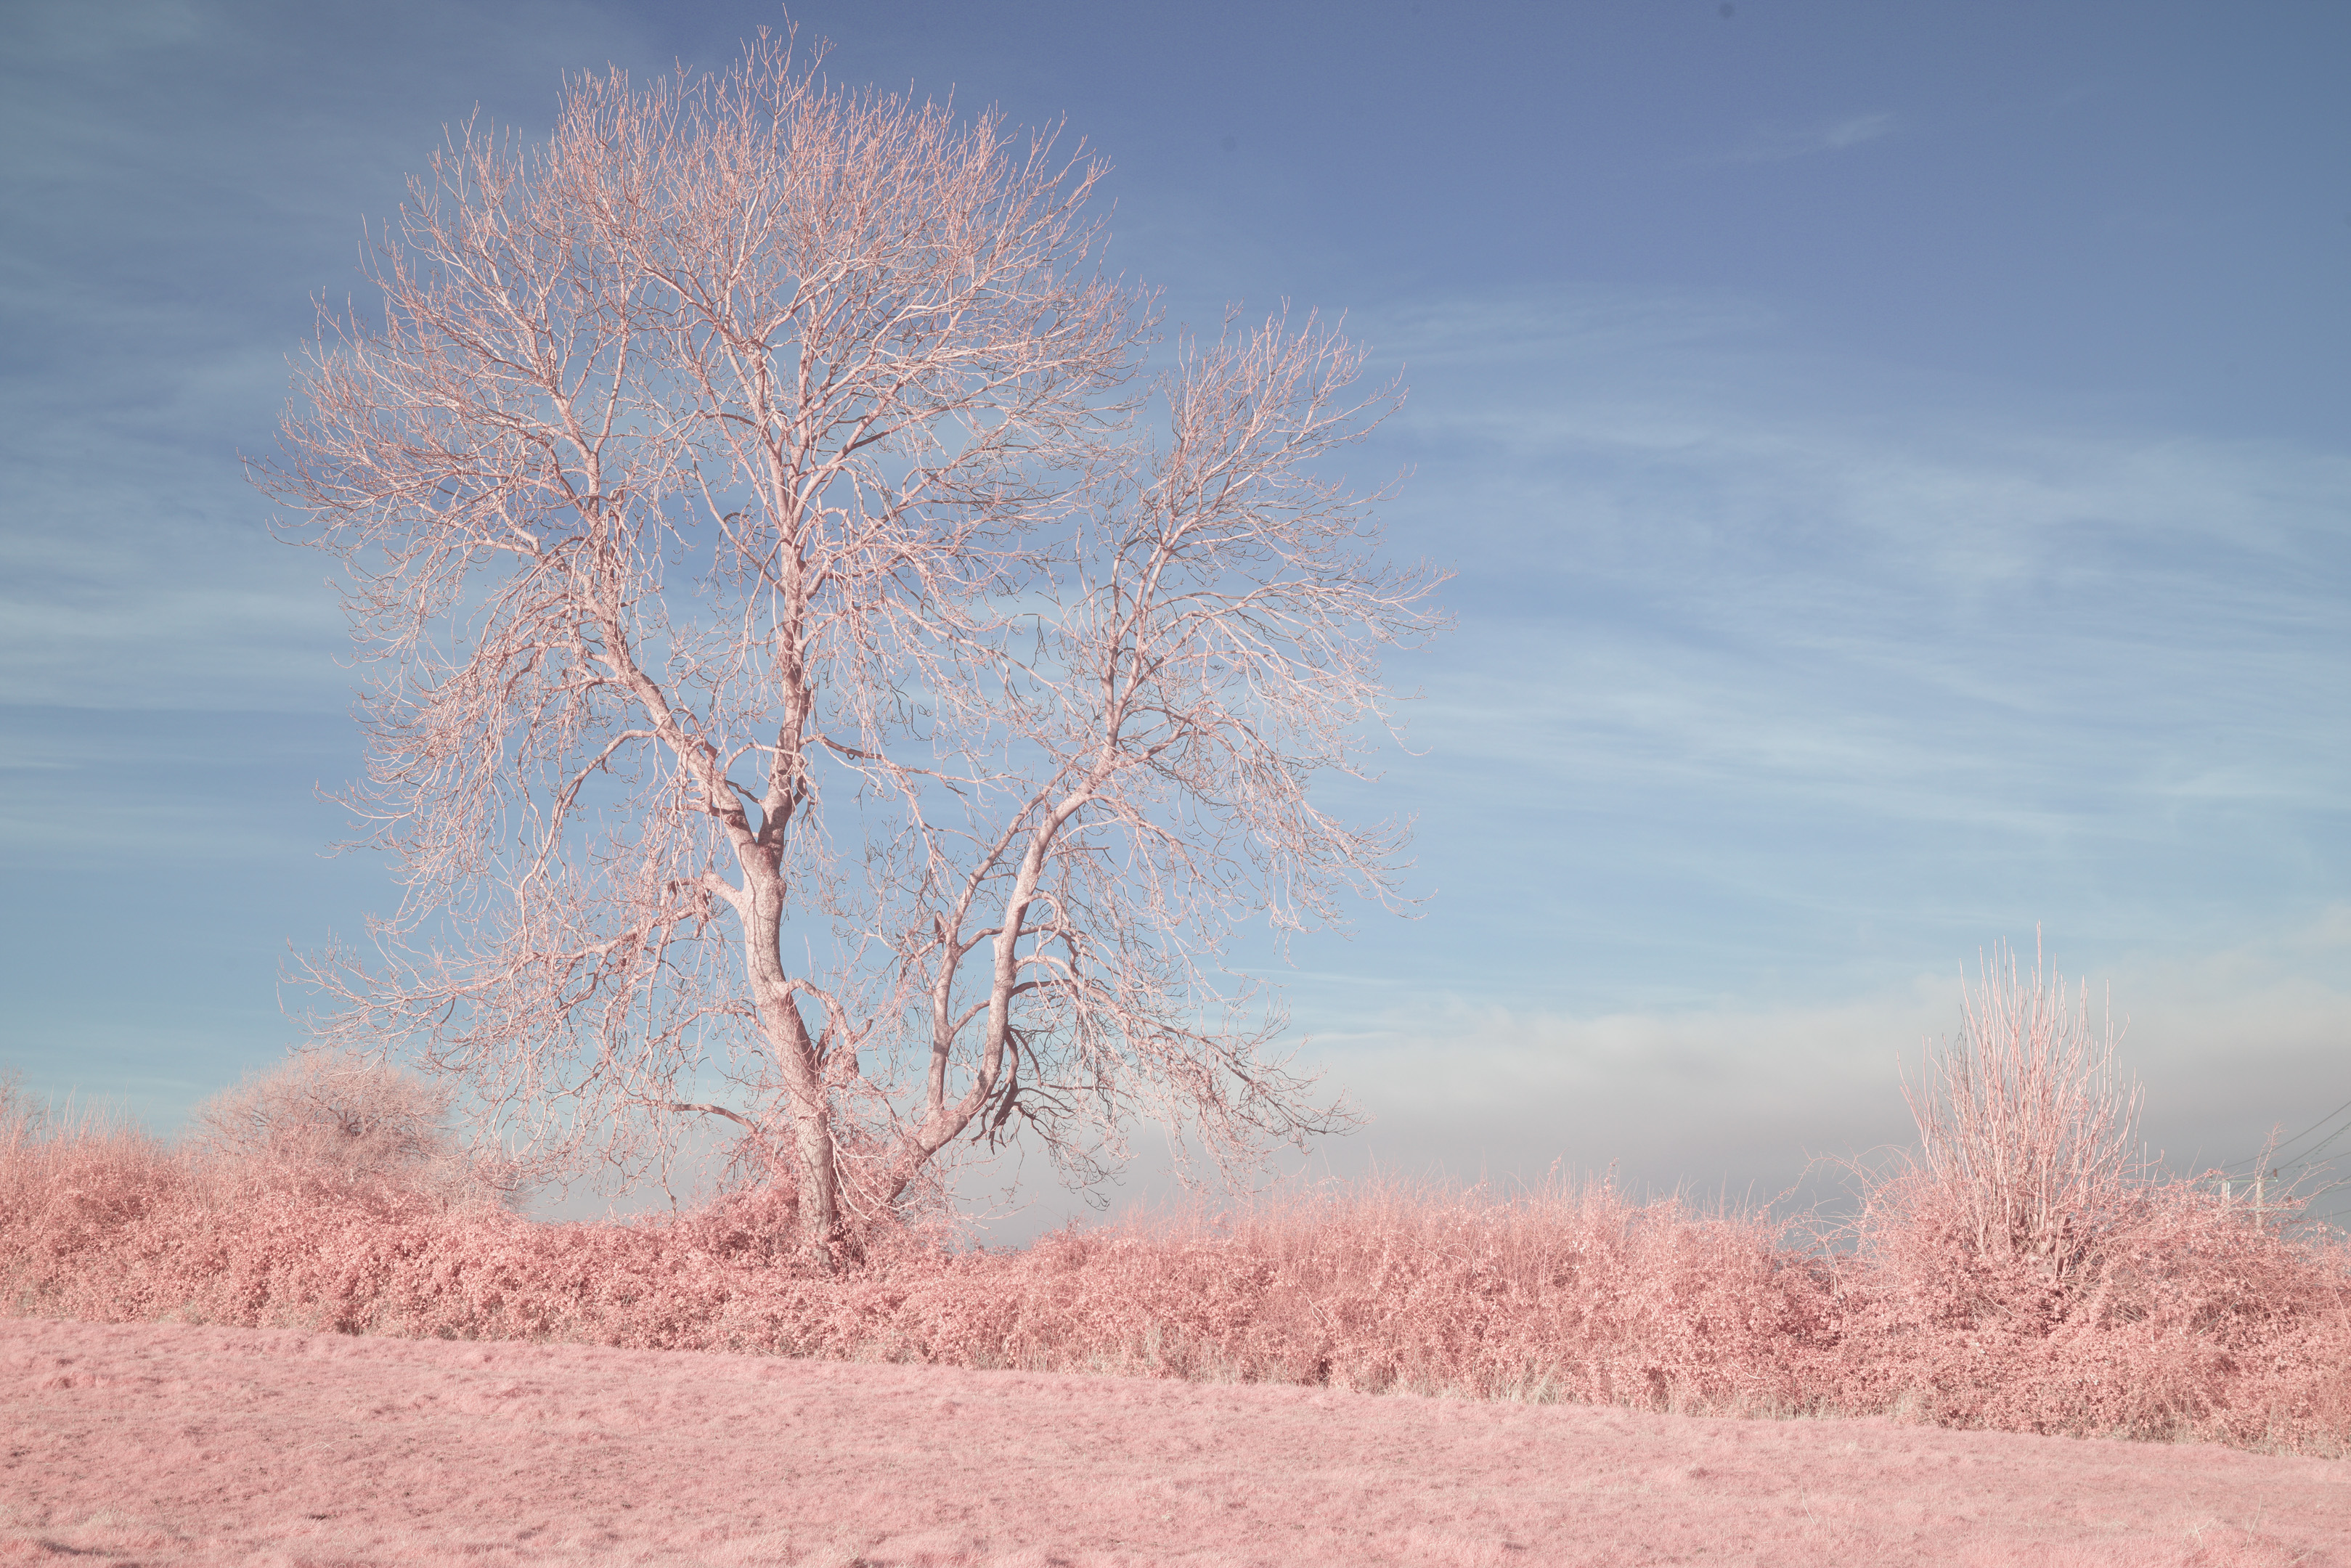
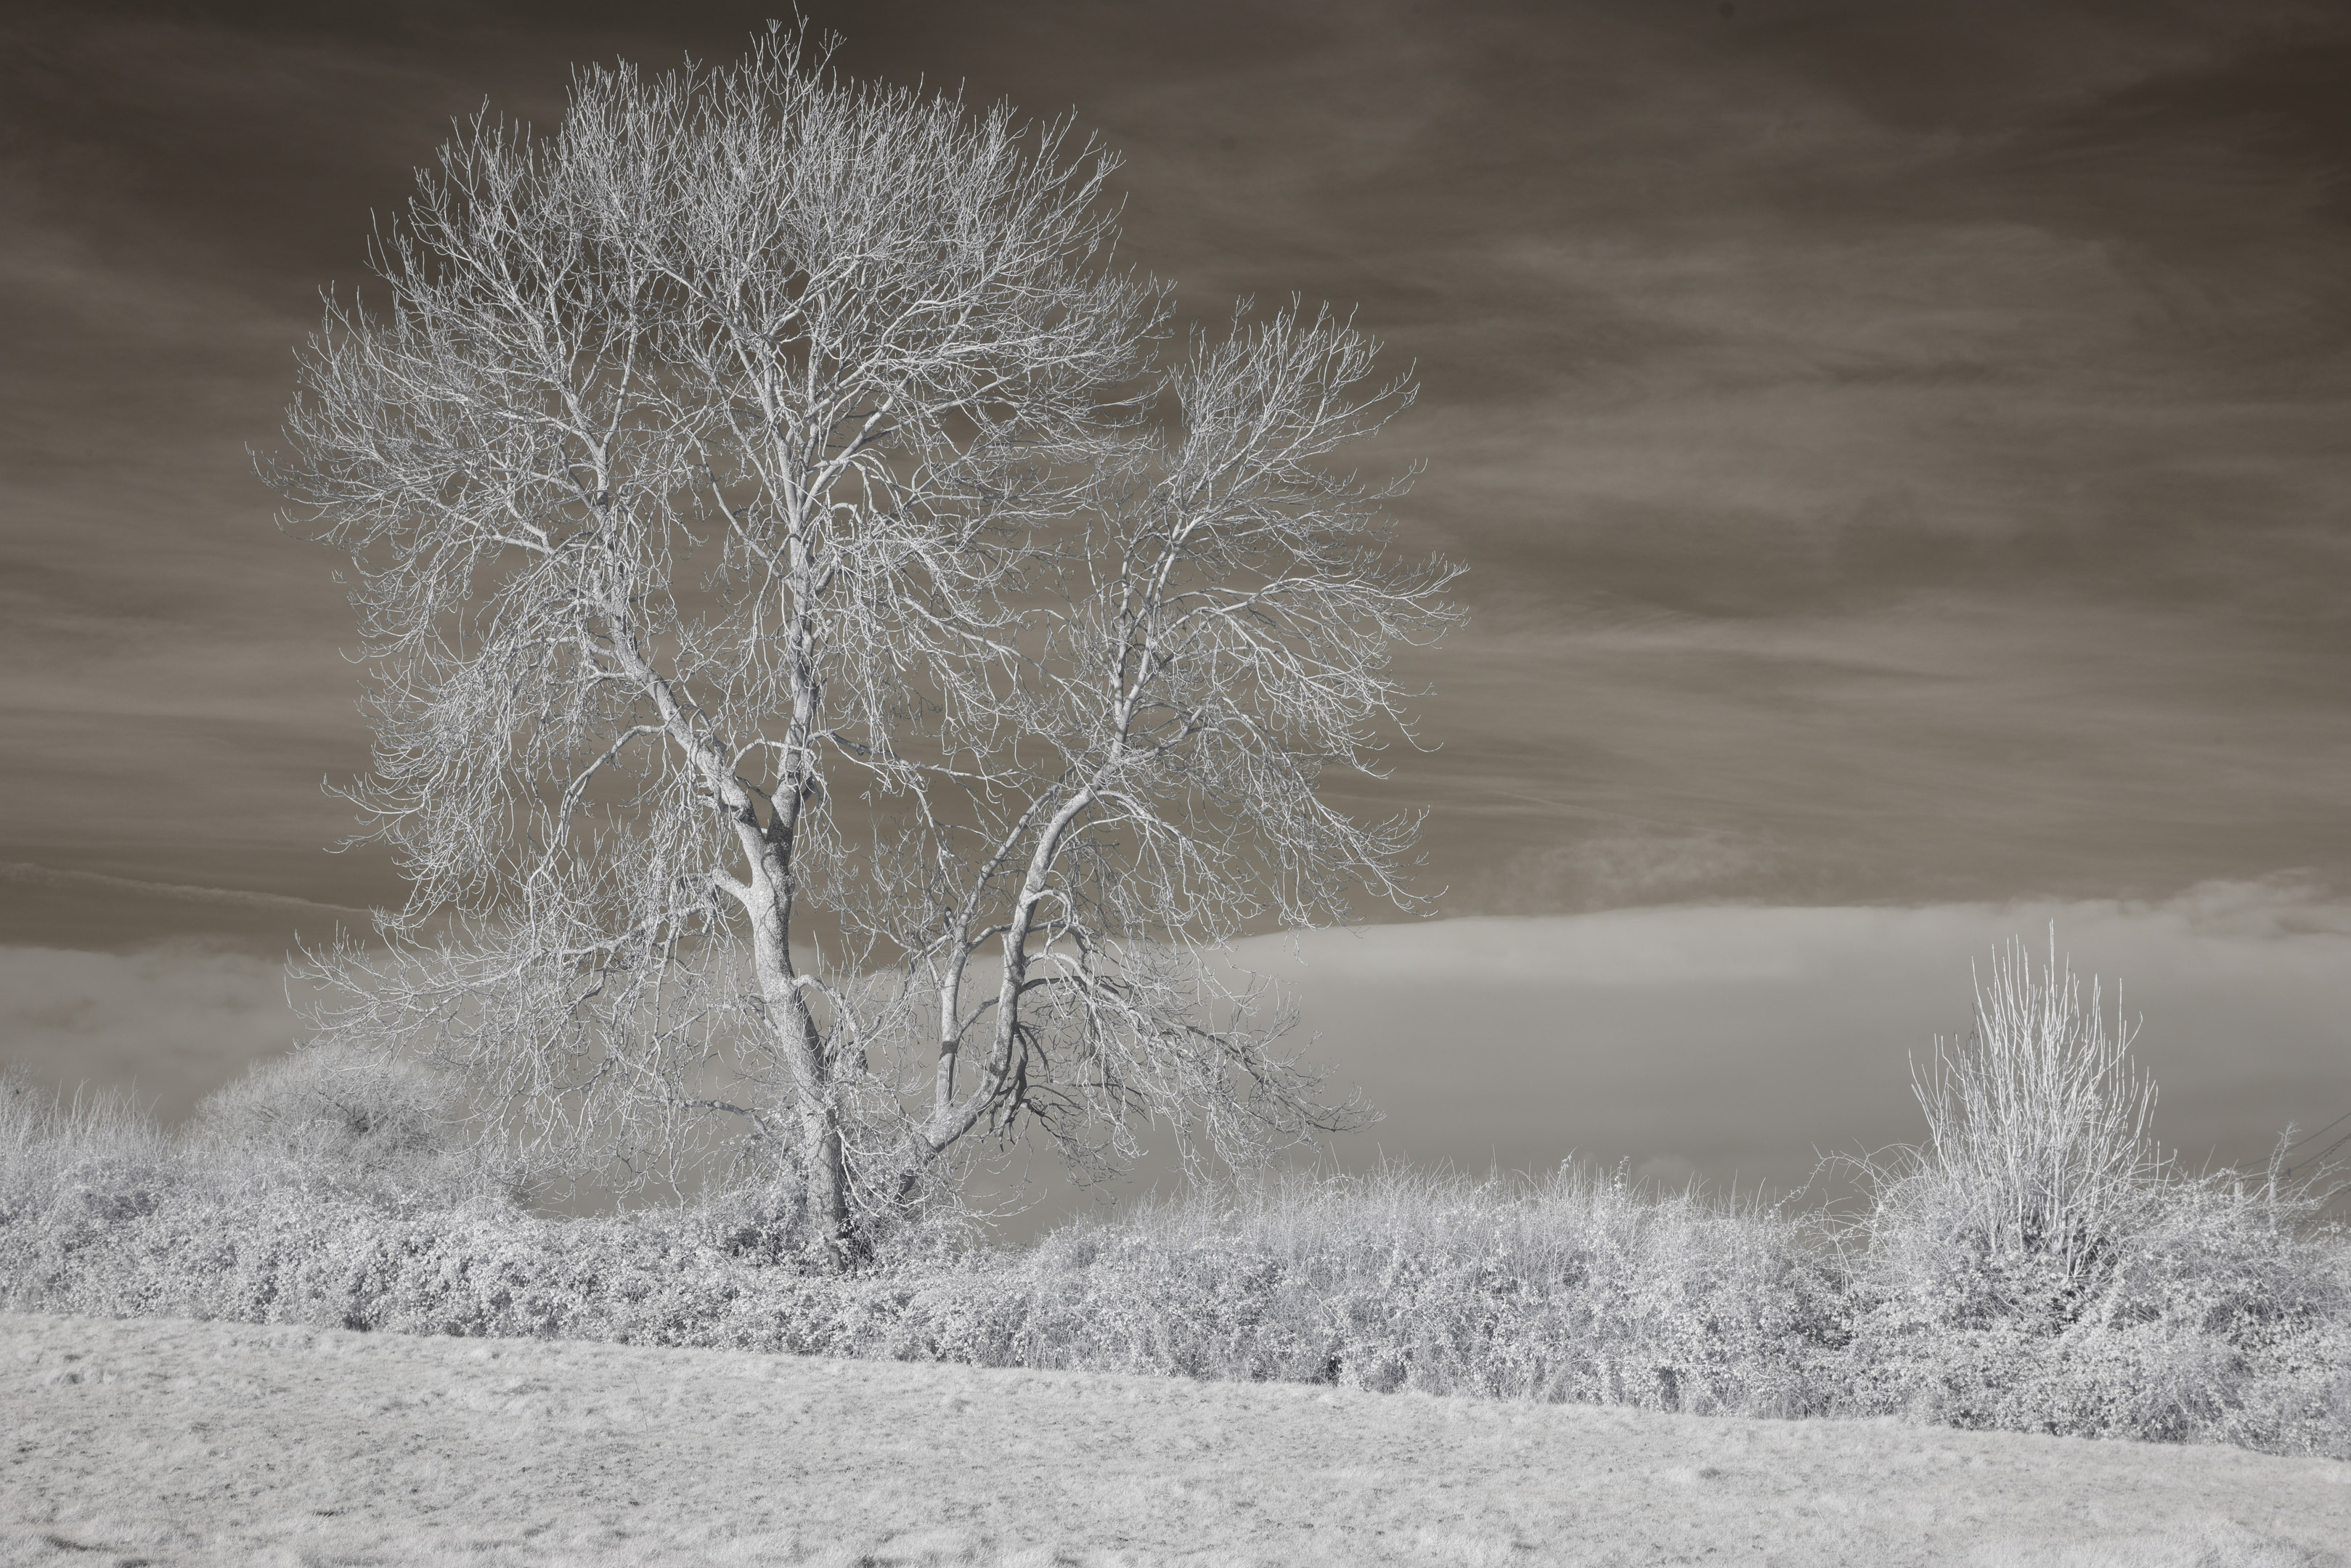
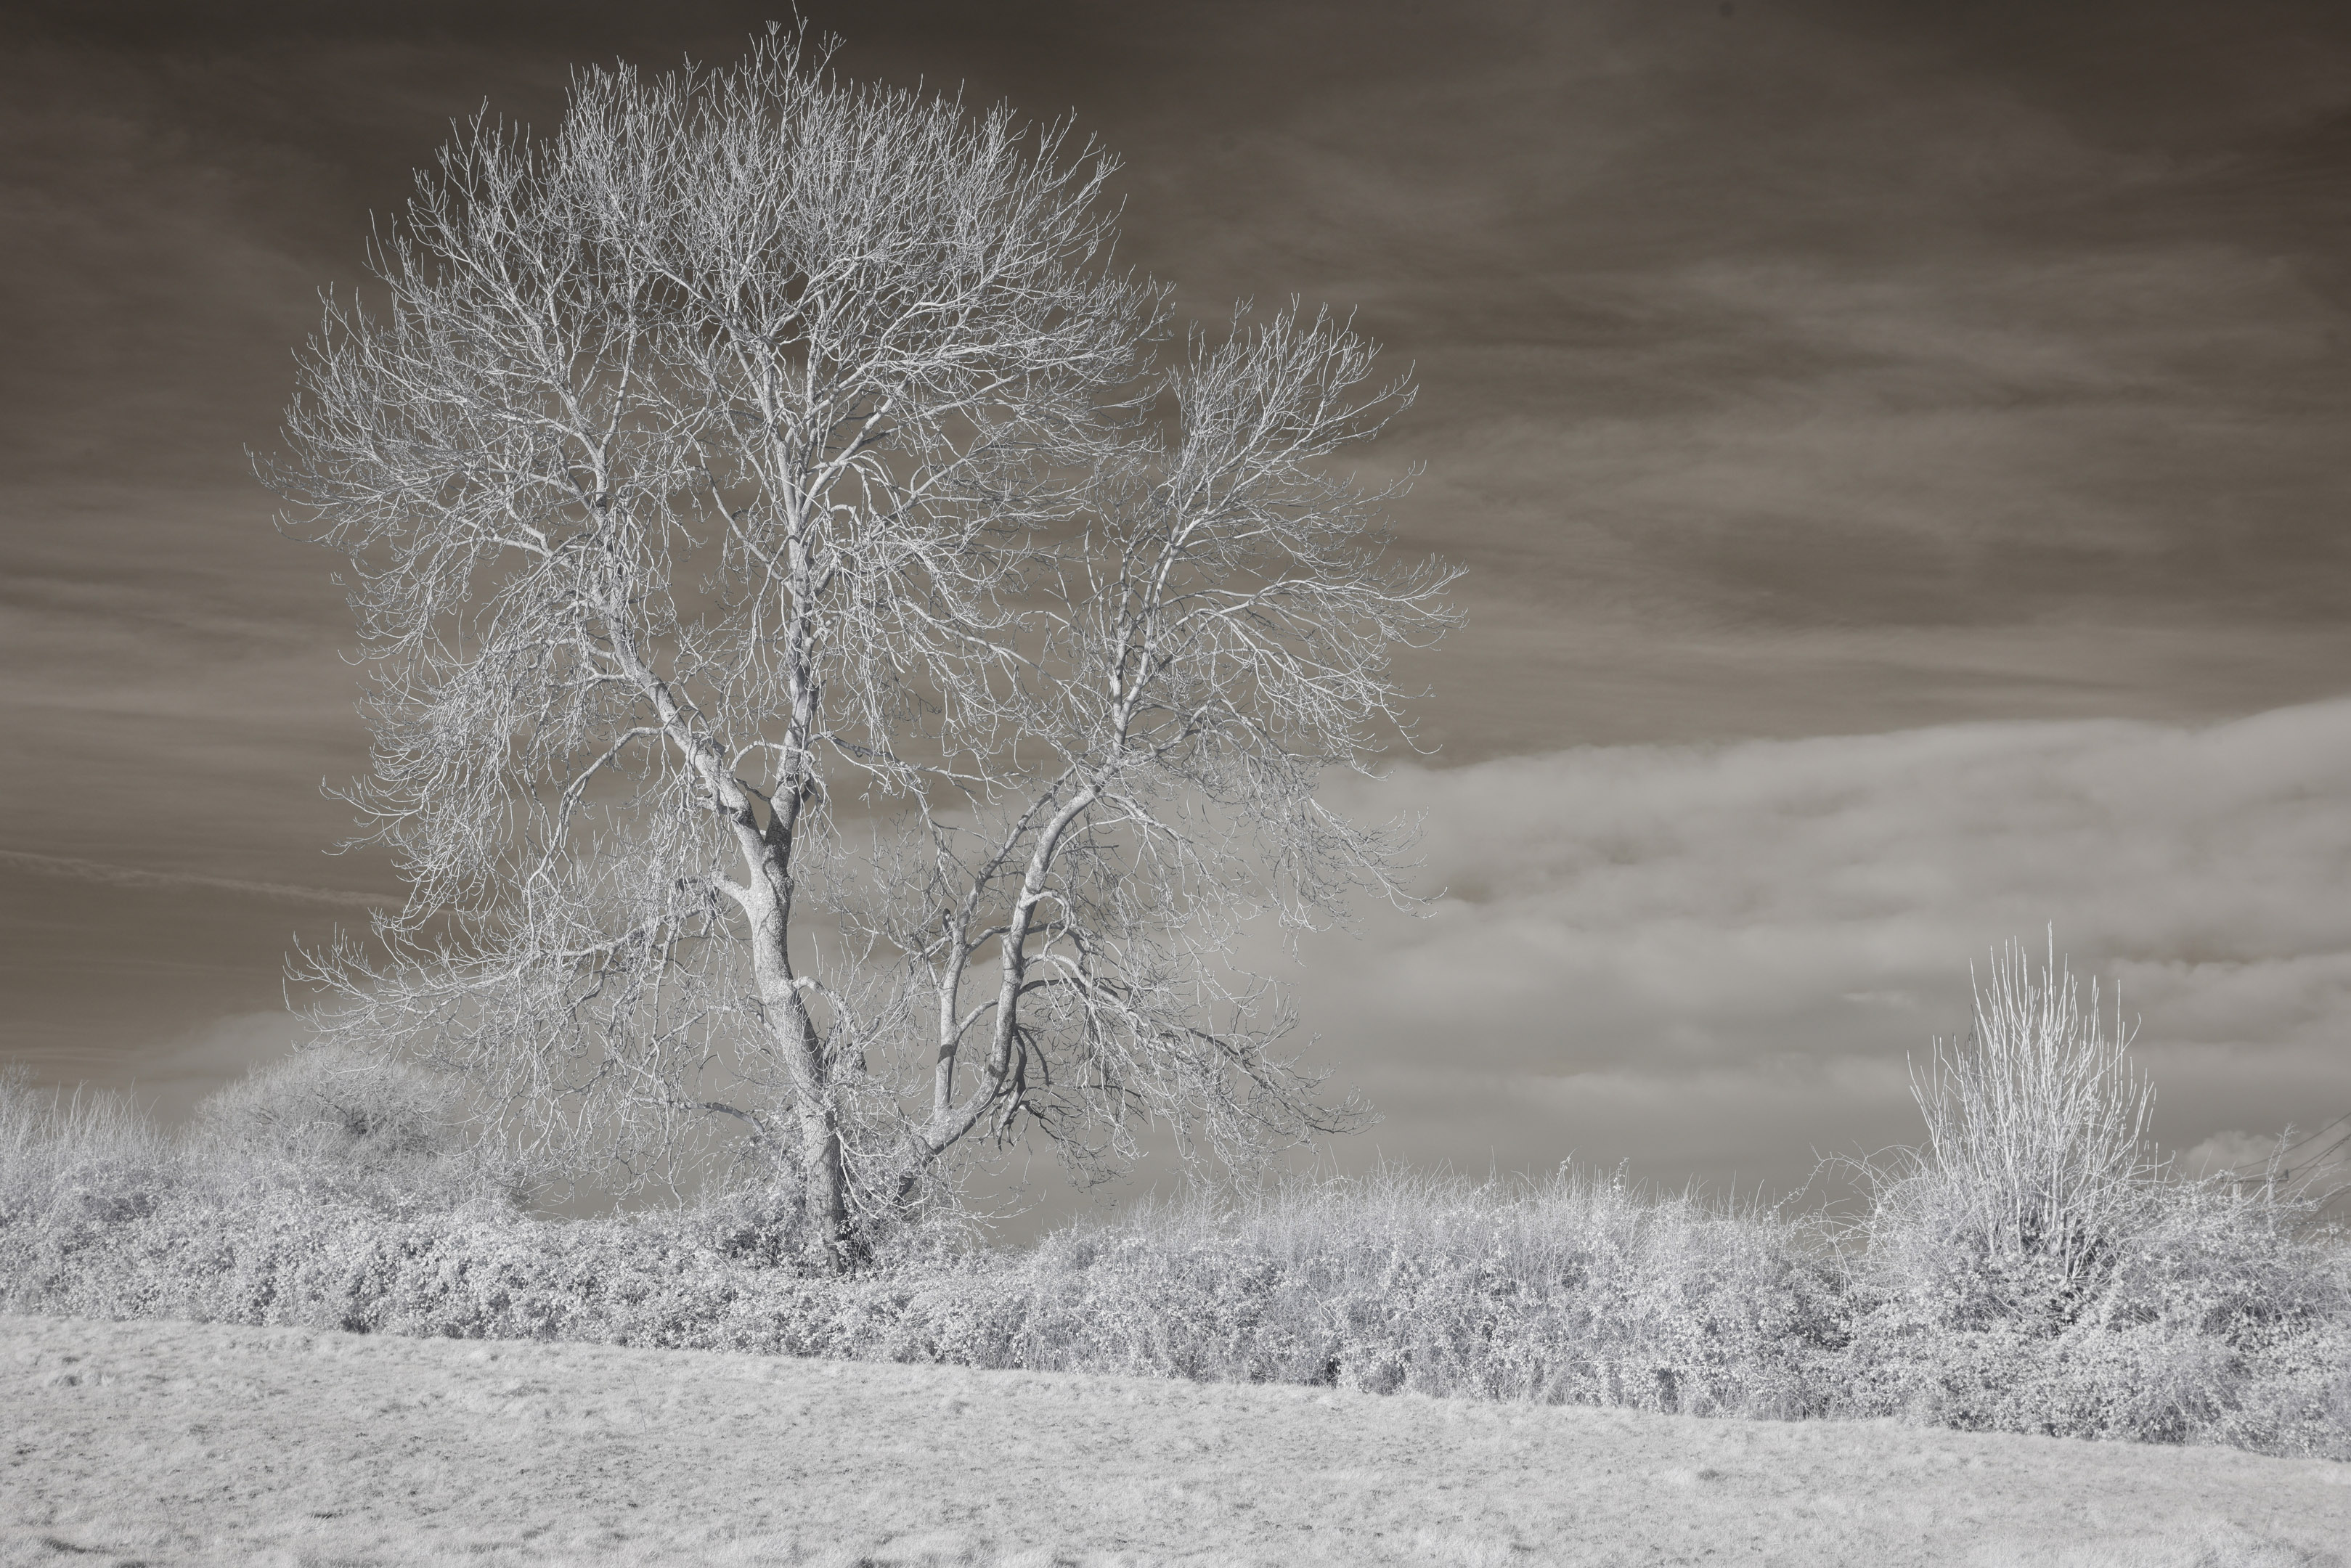
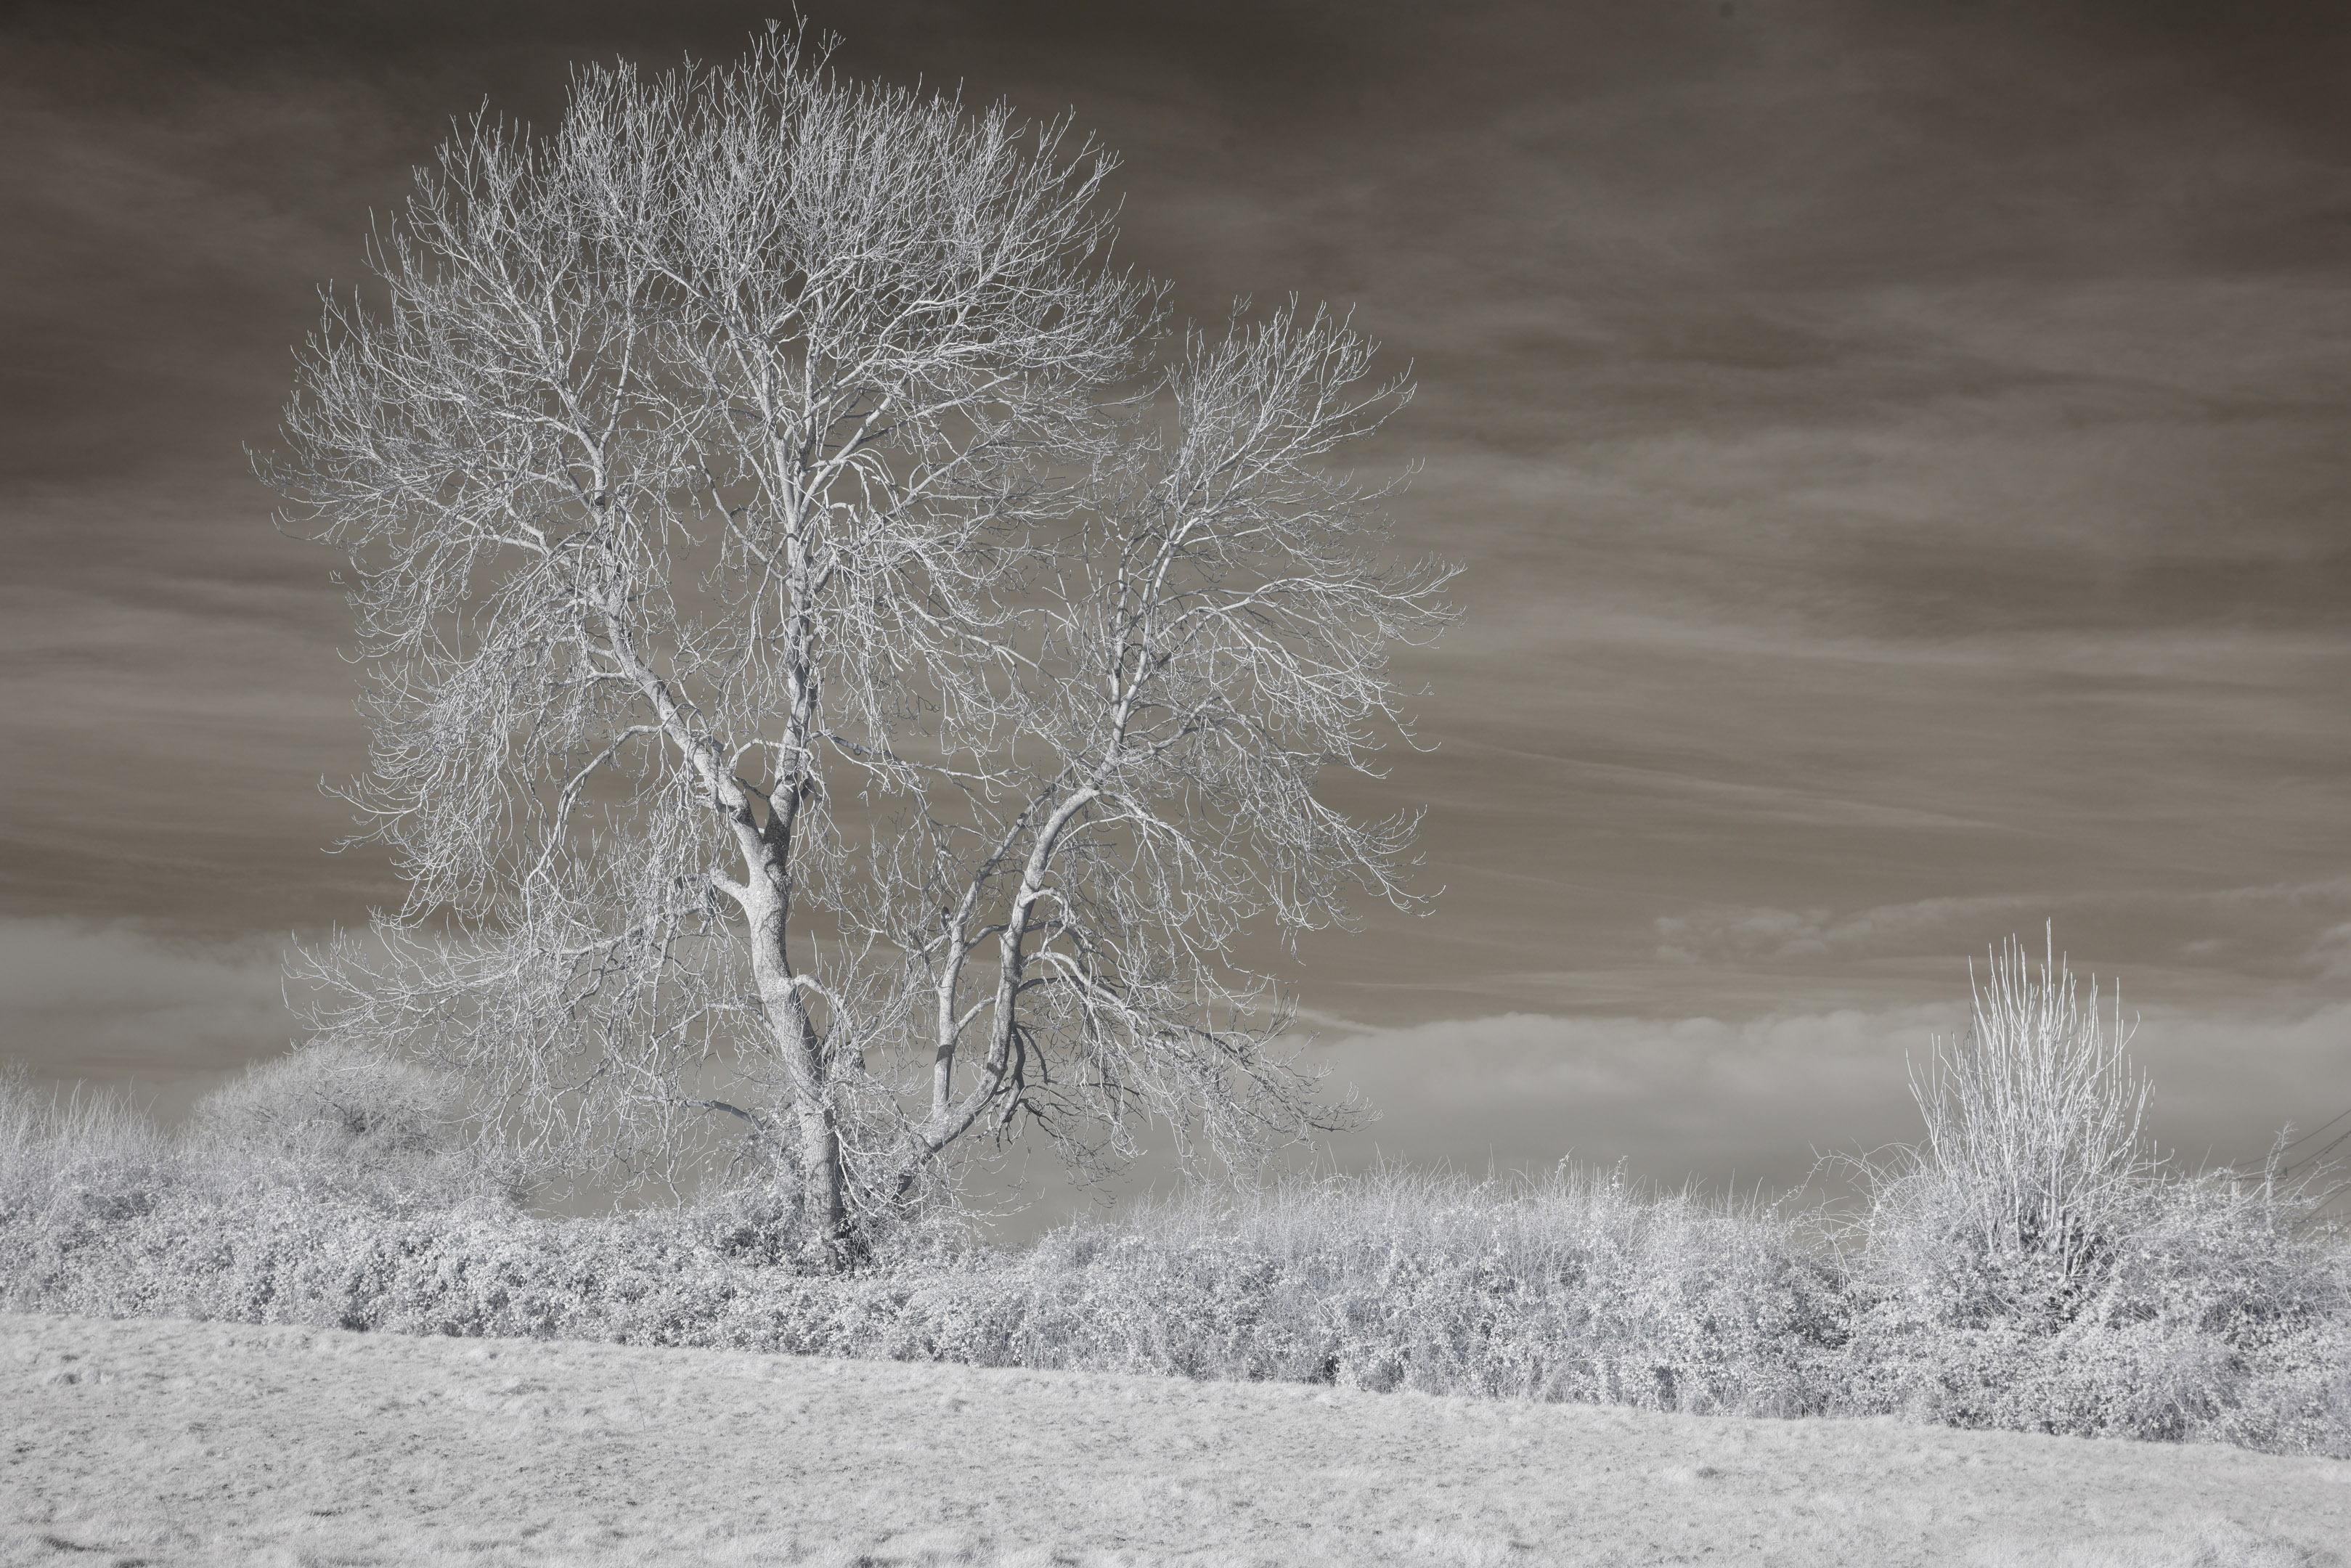
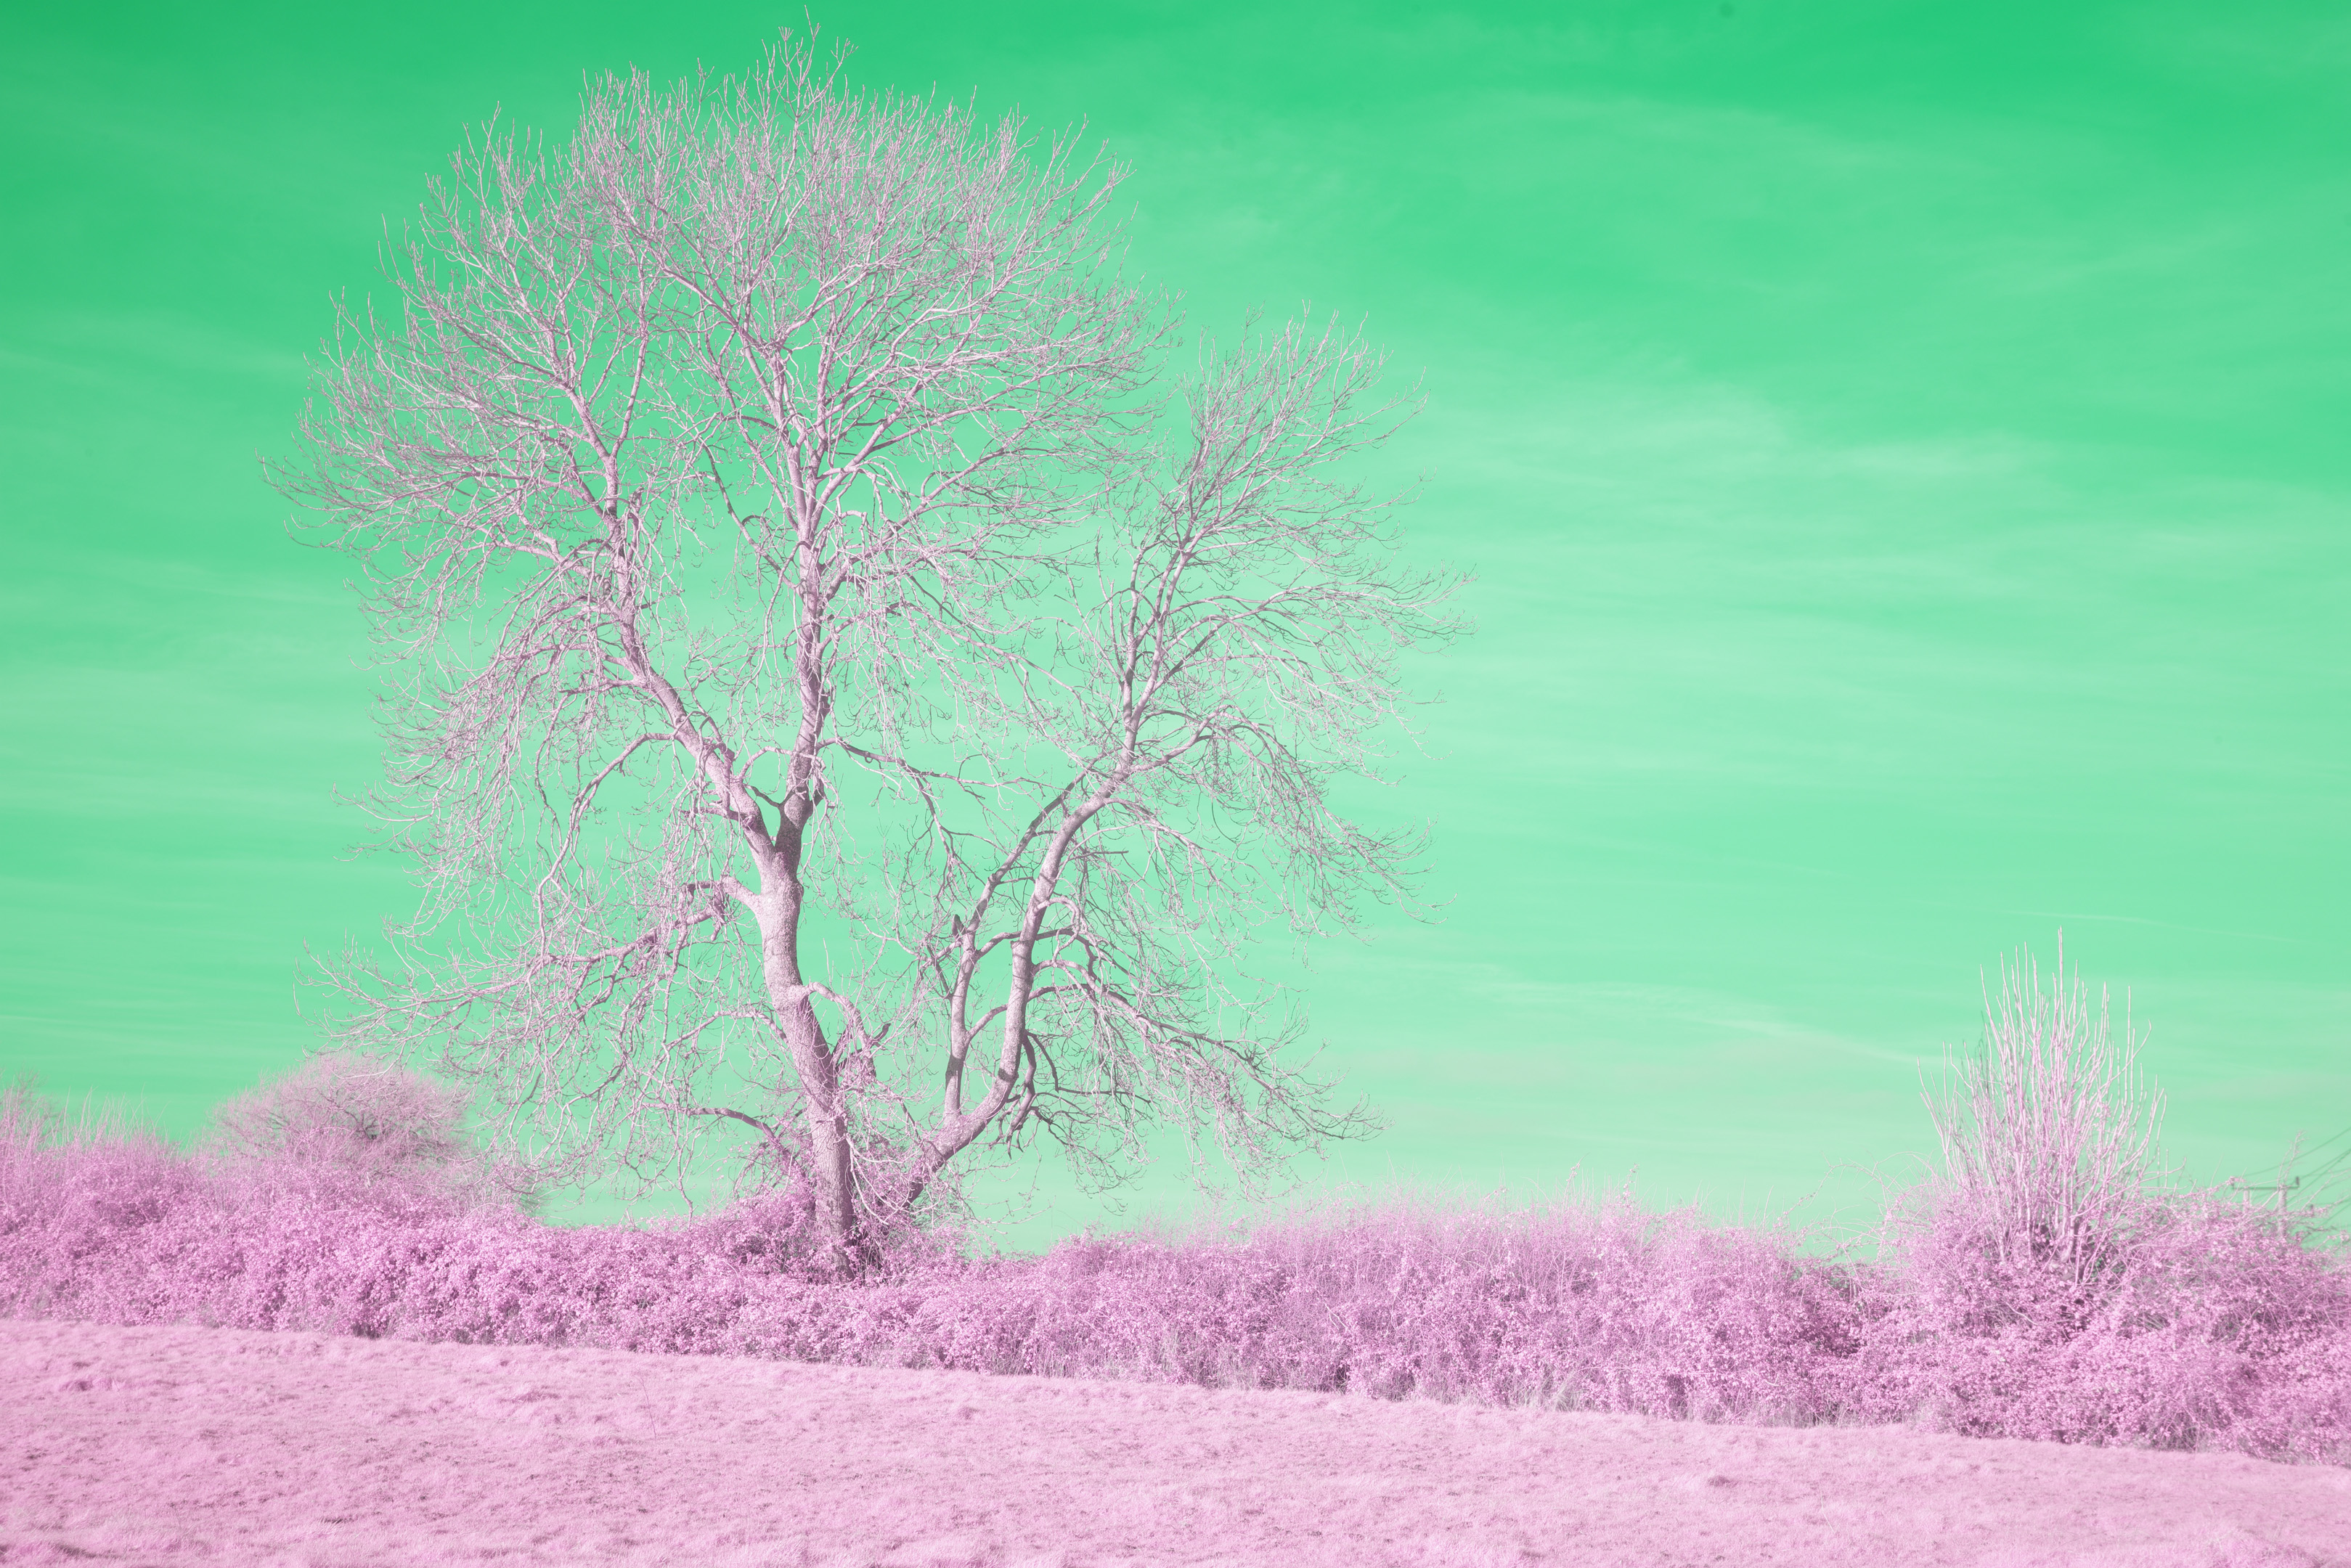
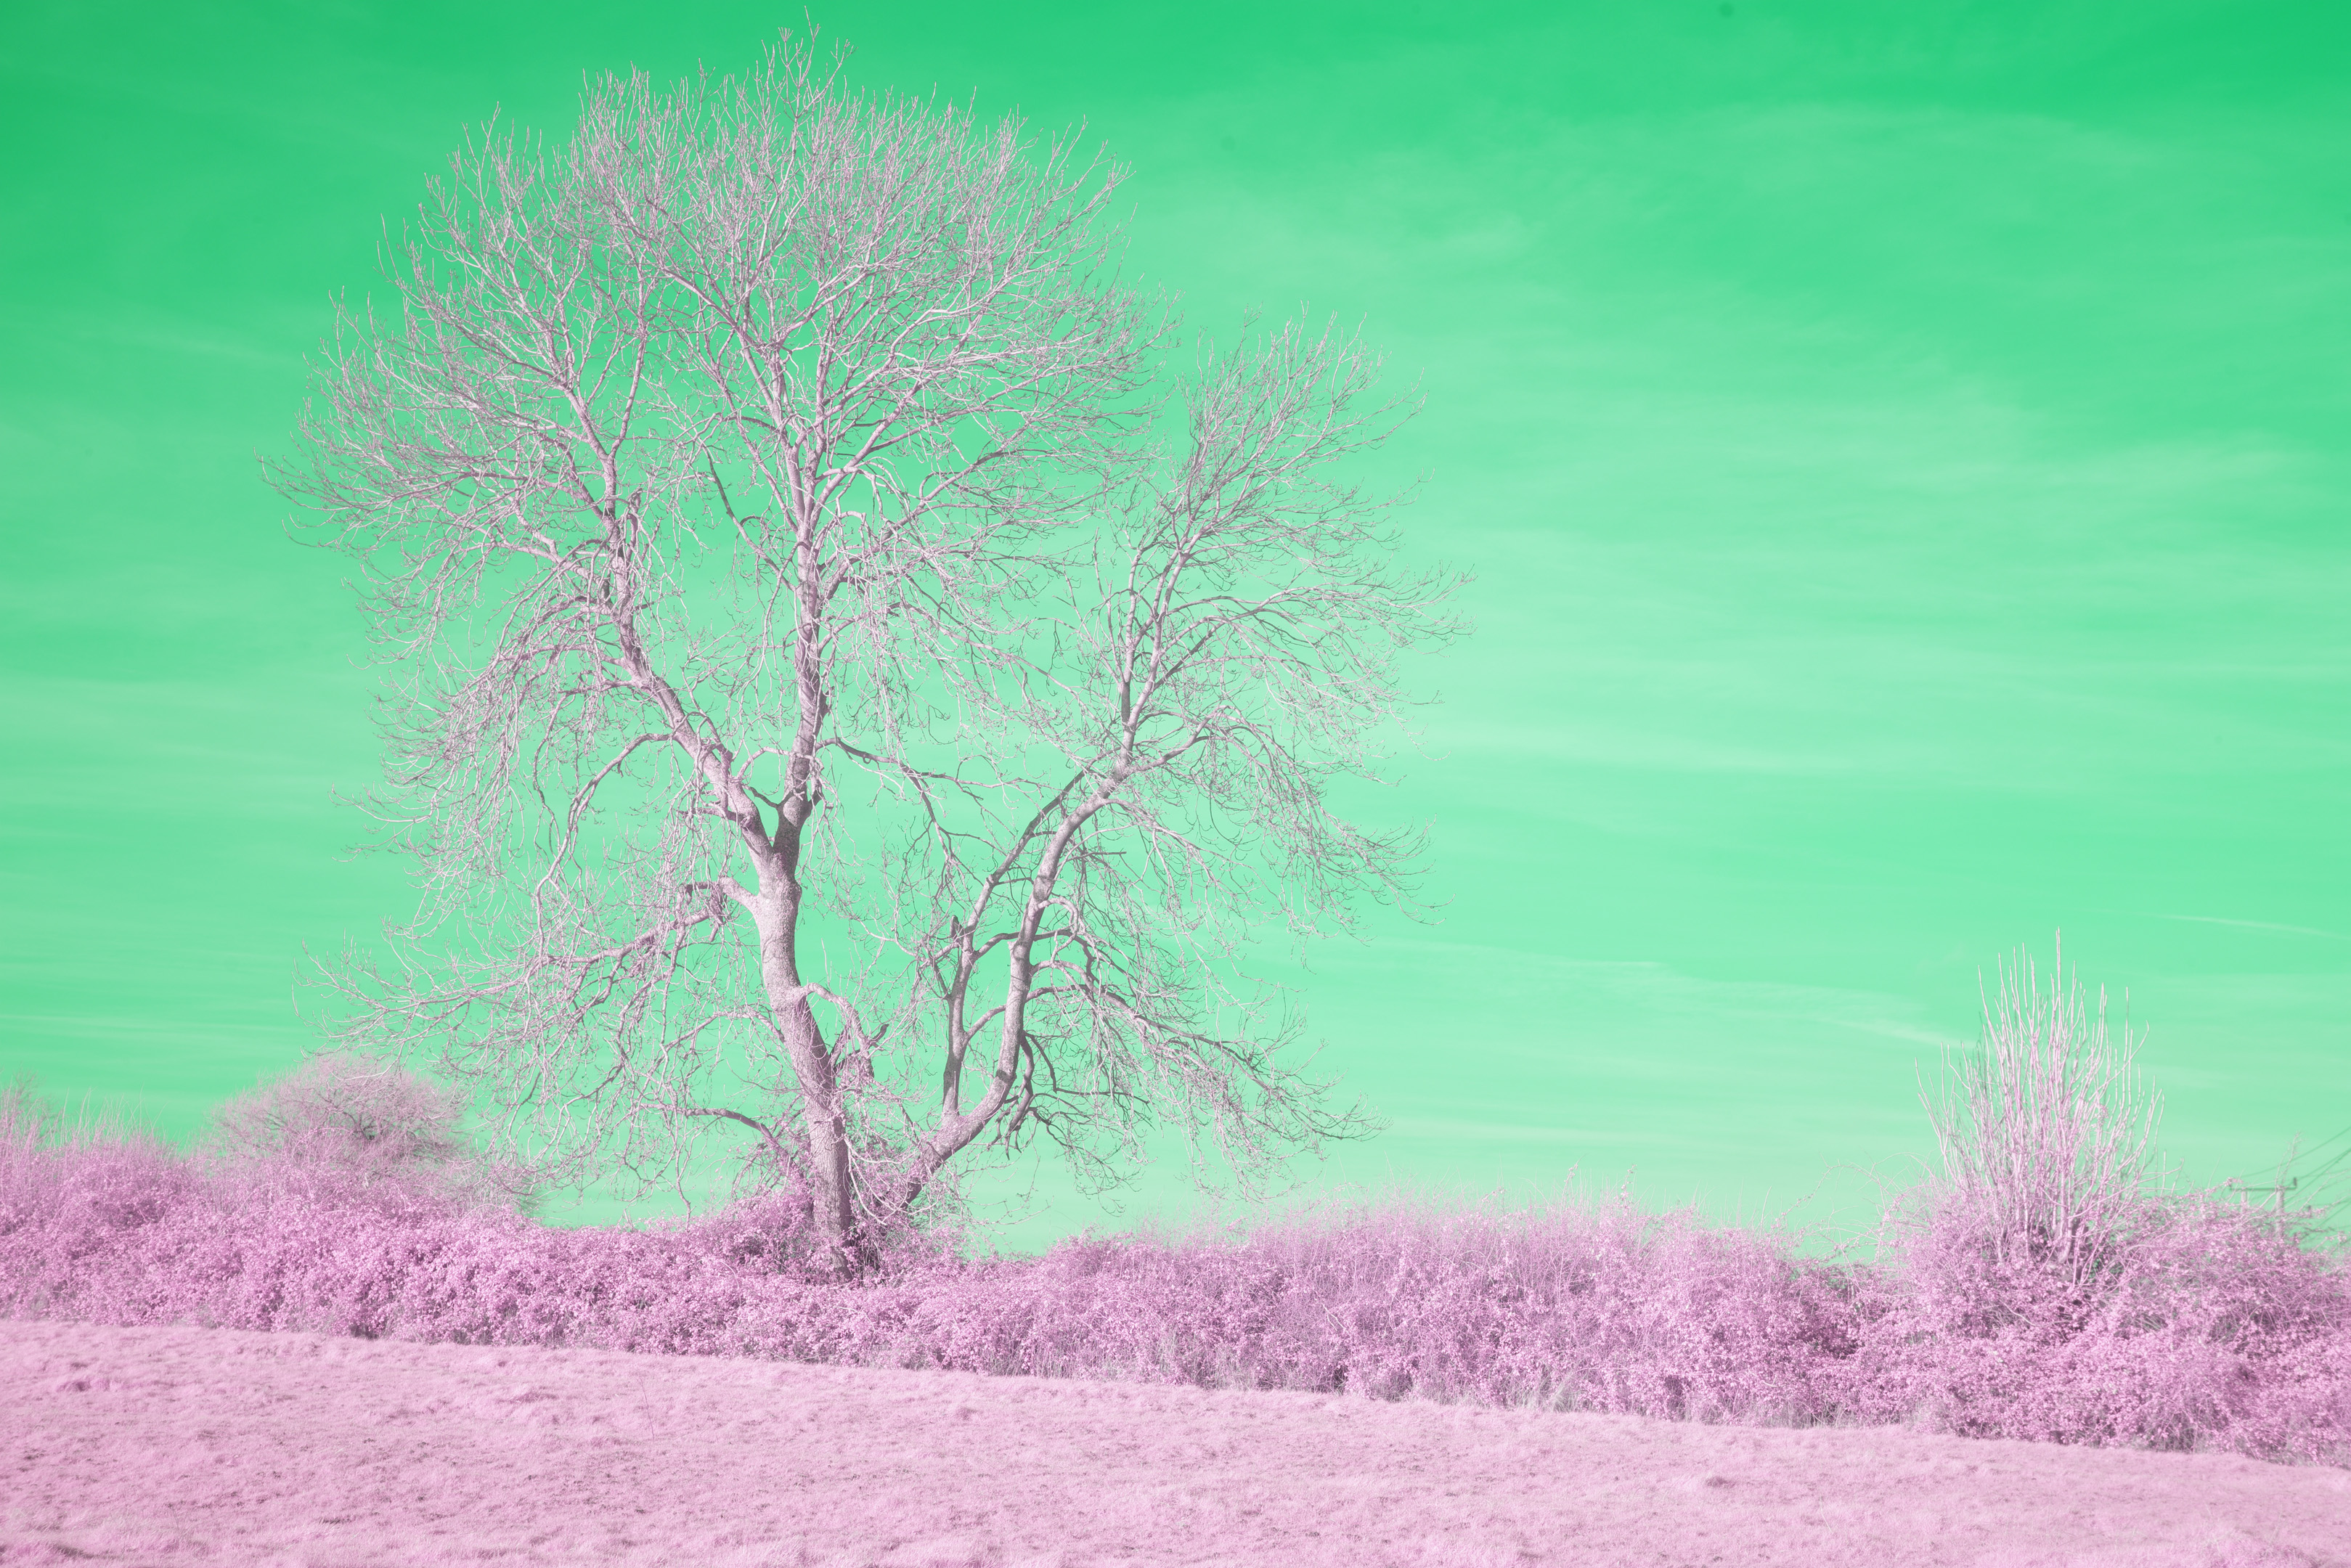
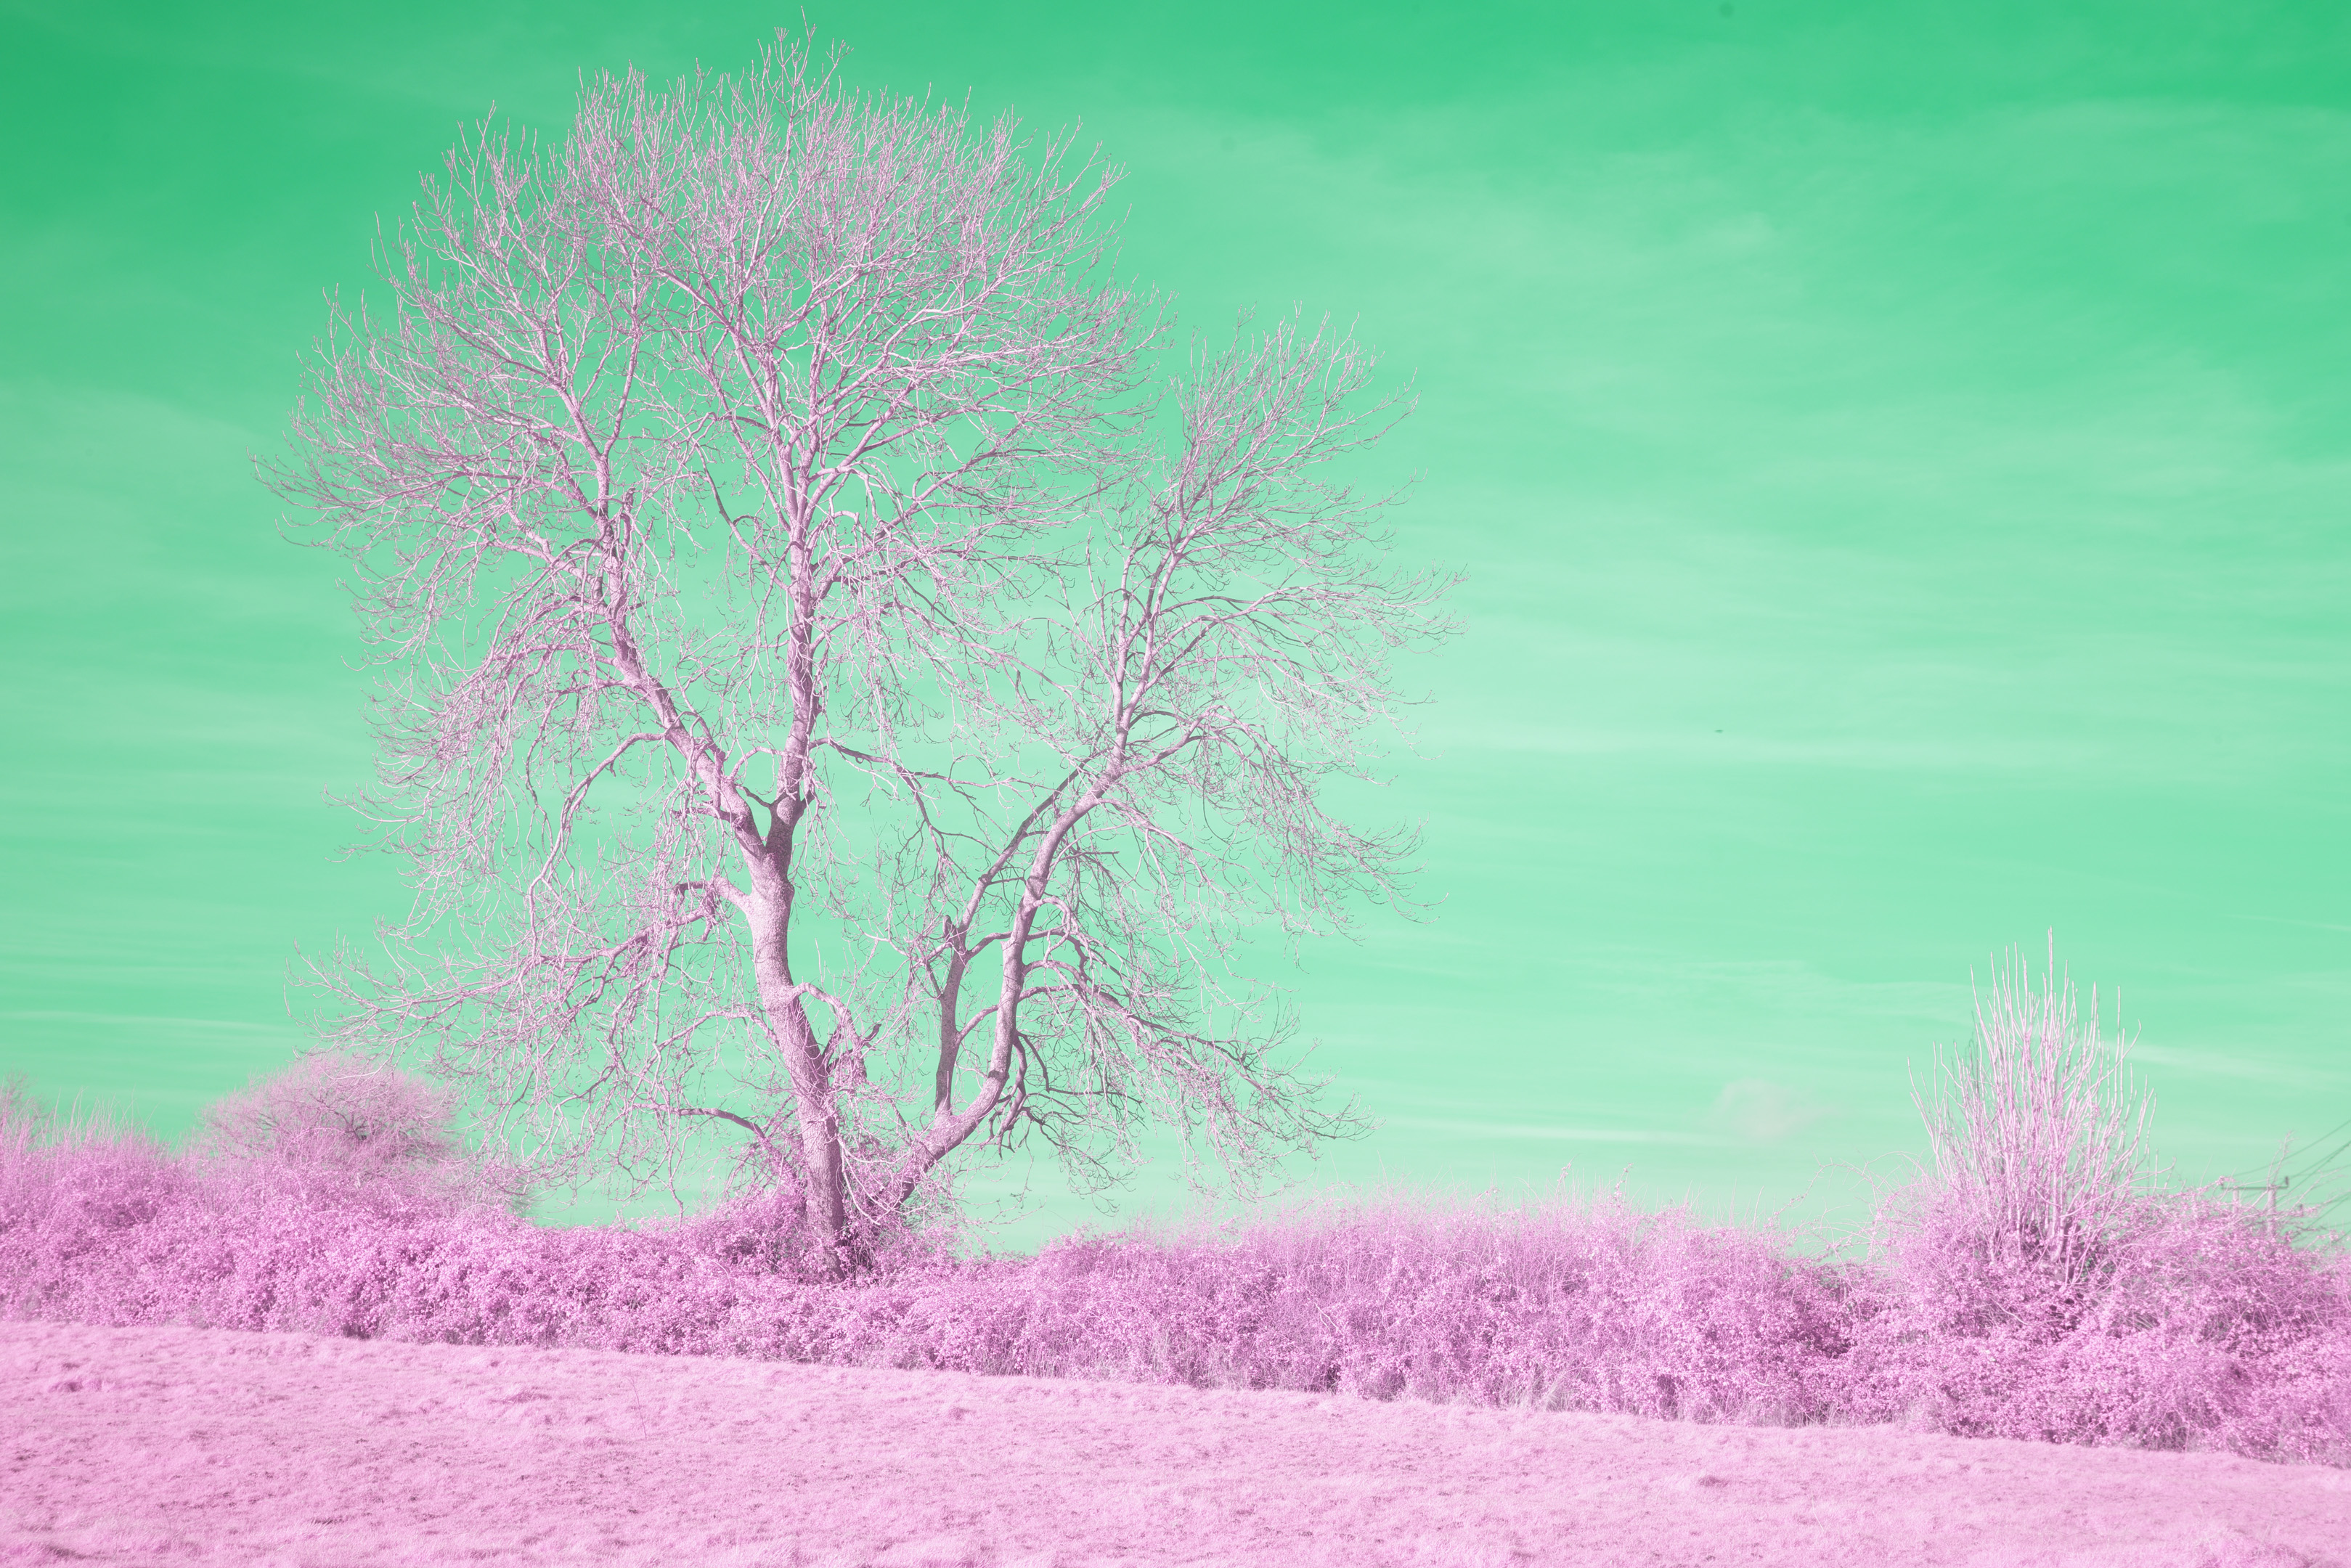
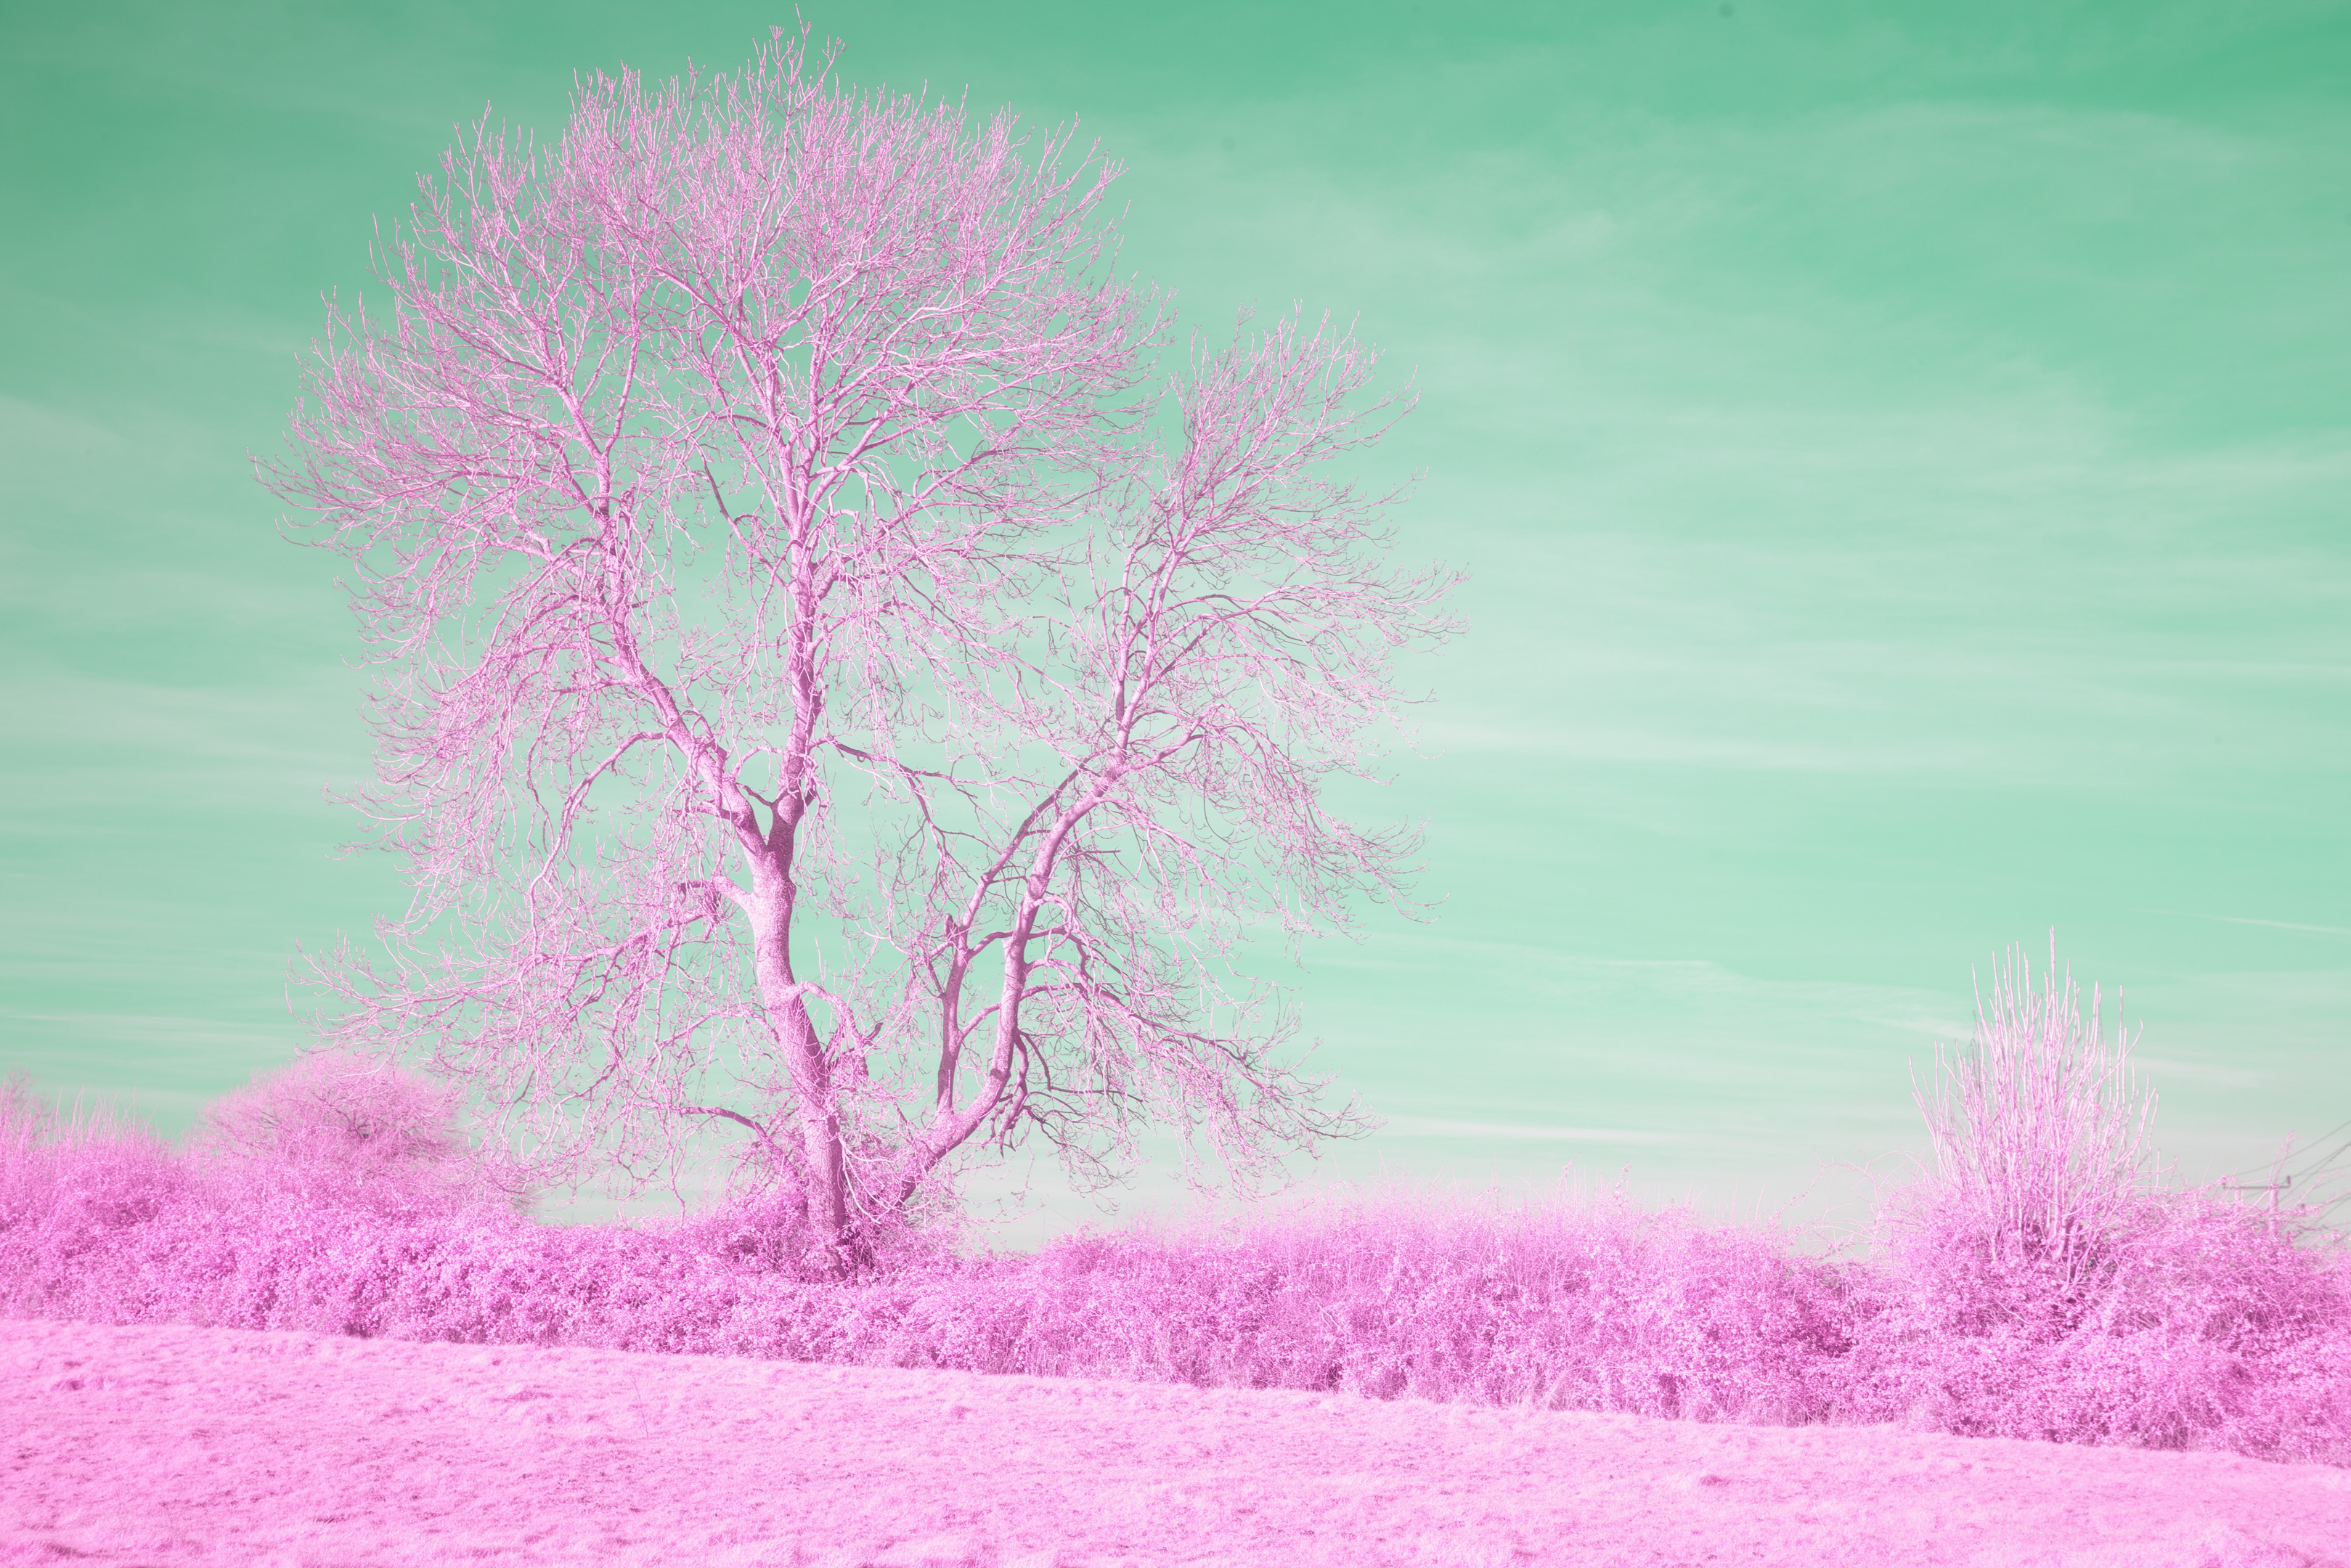
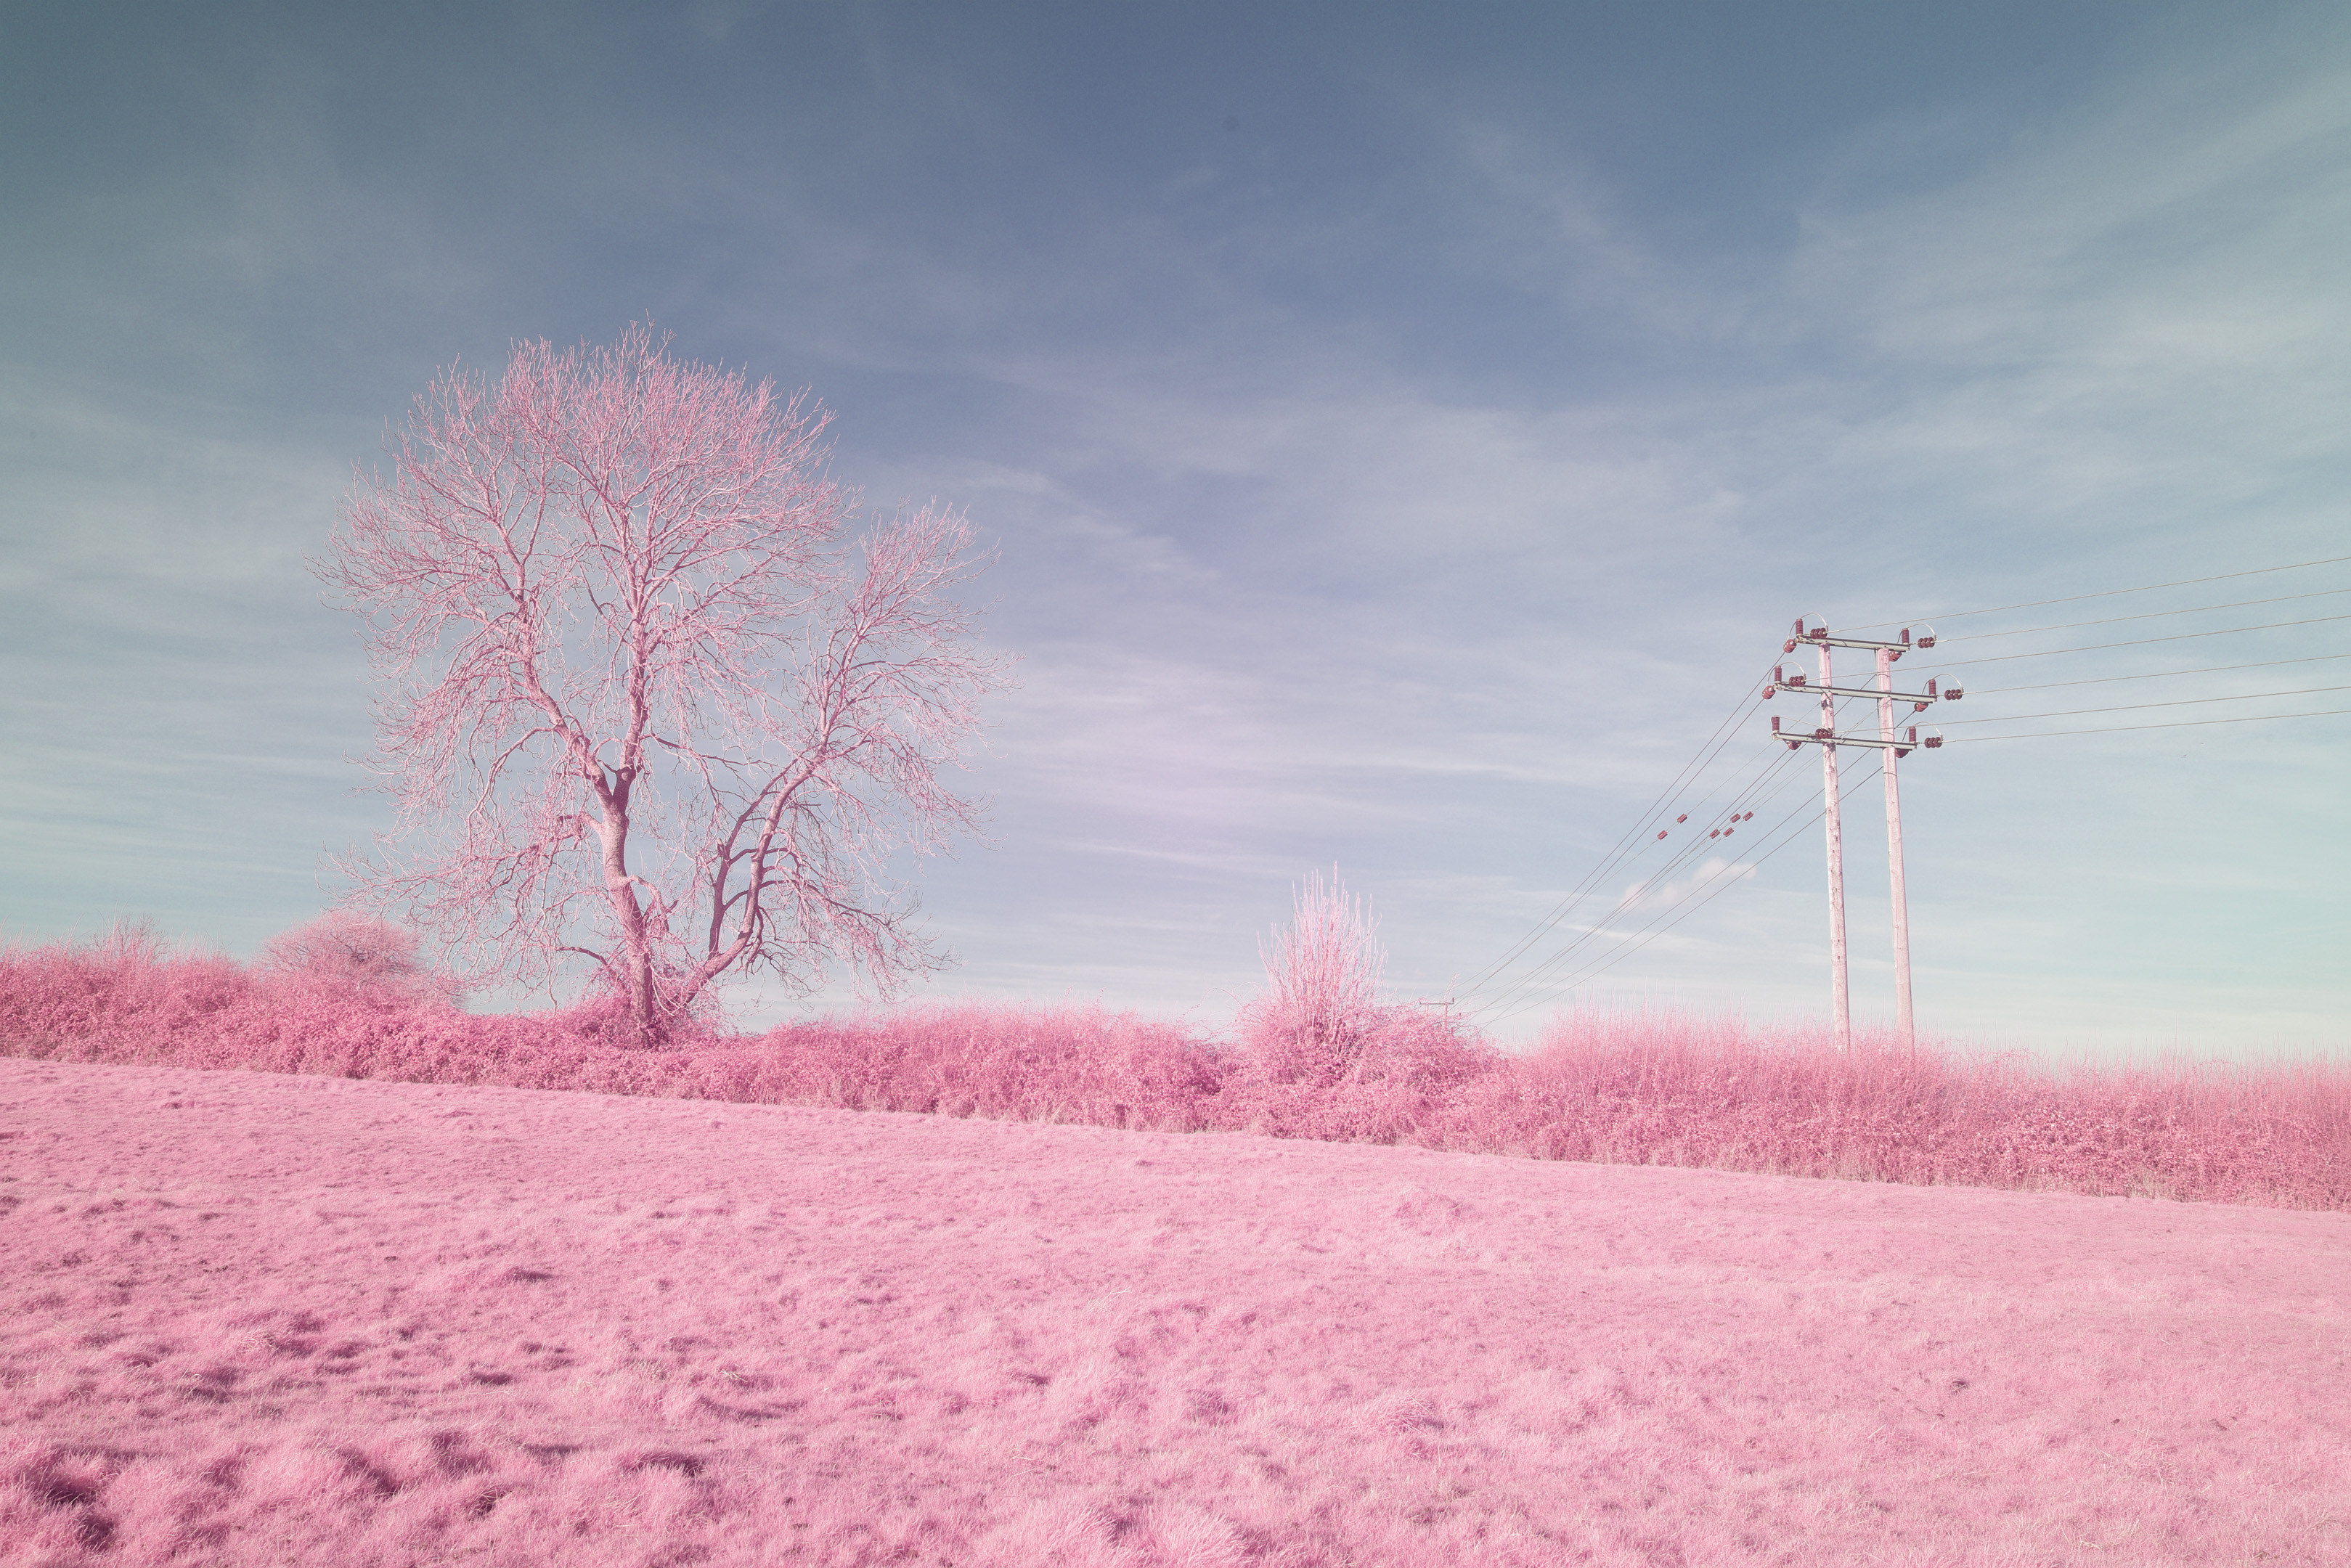
Labsphere Spectralon
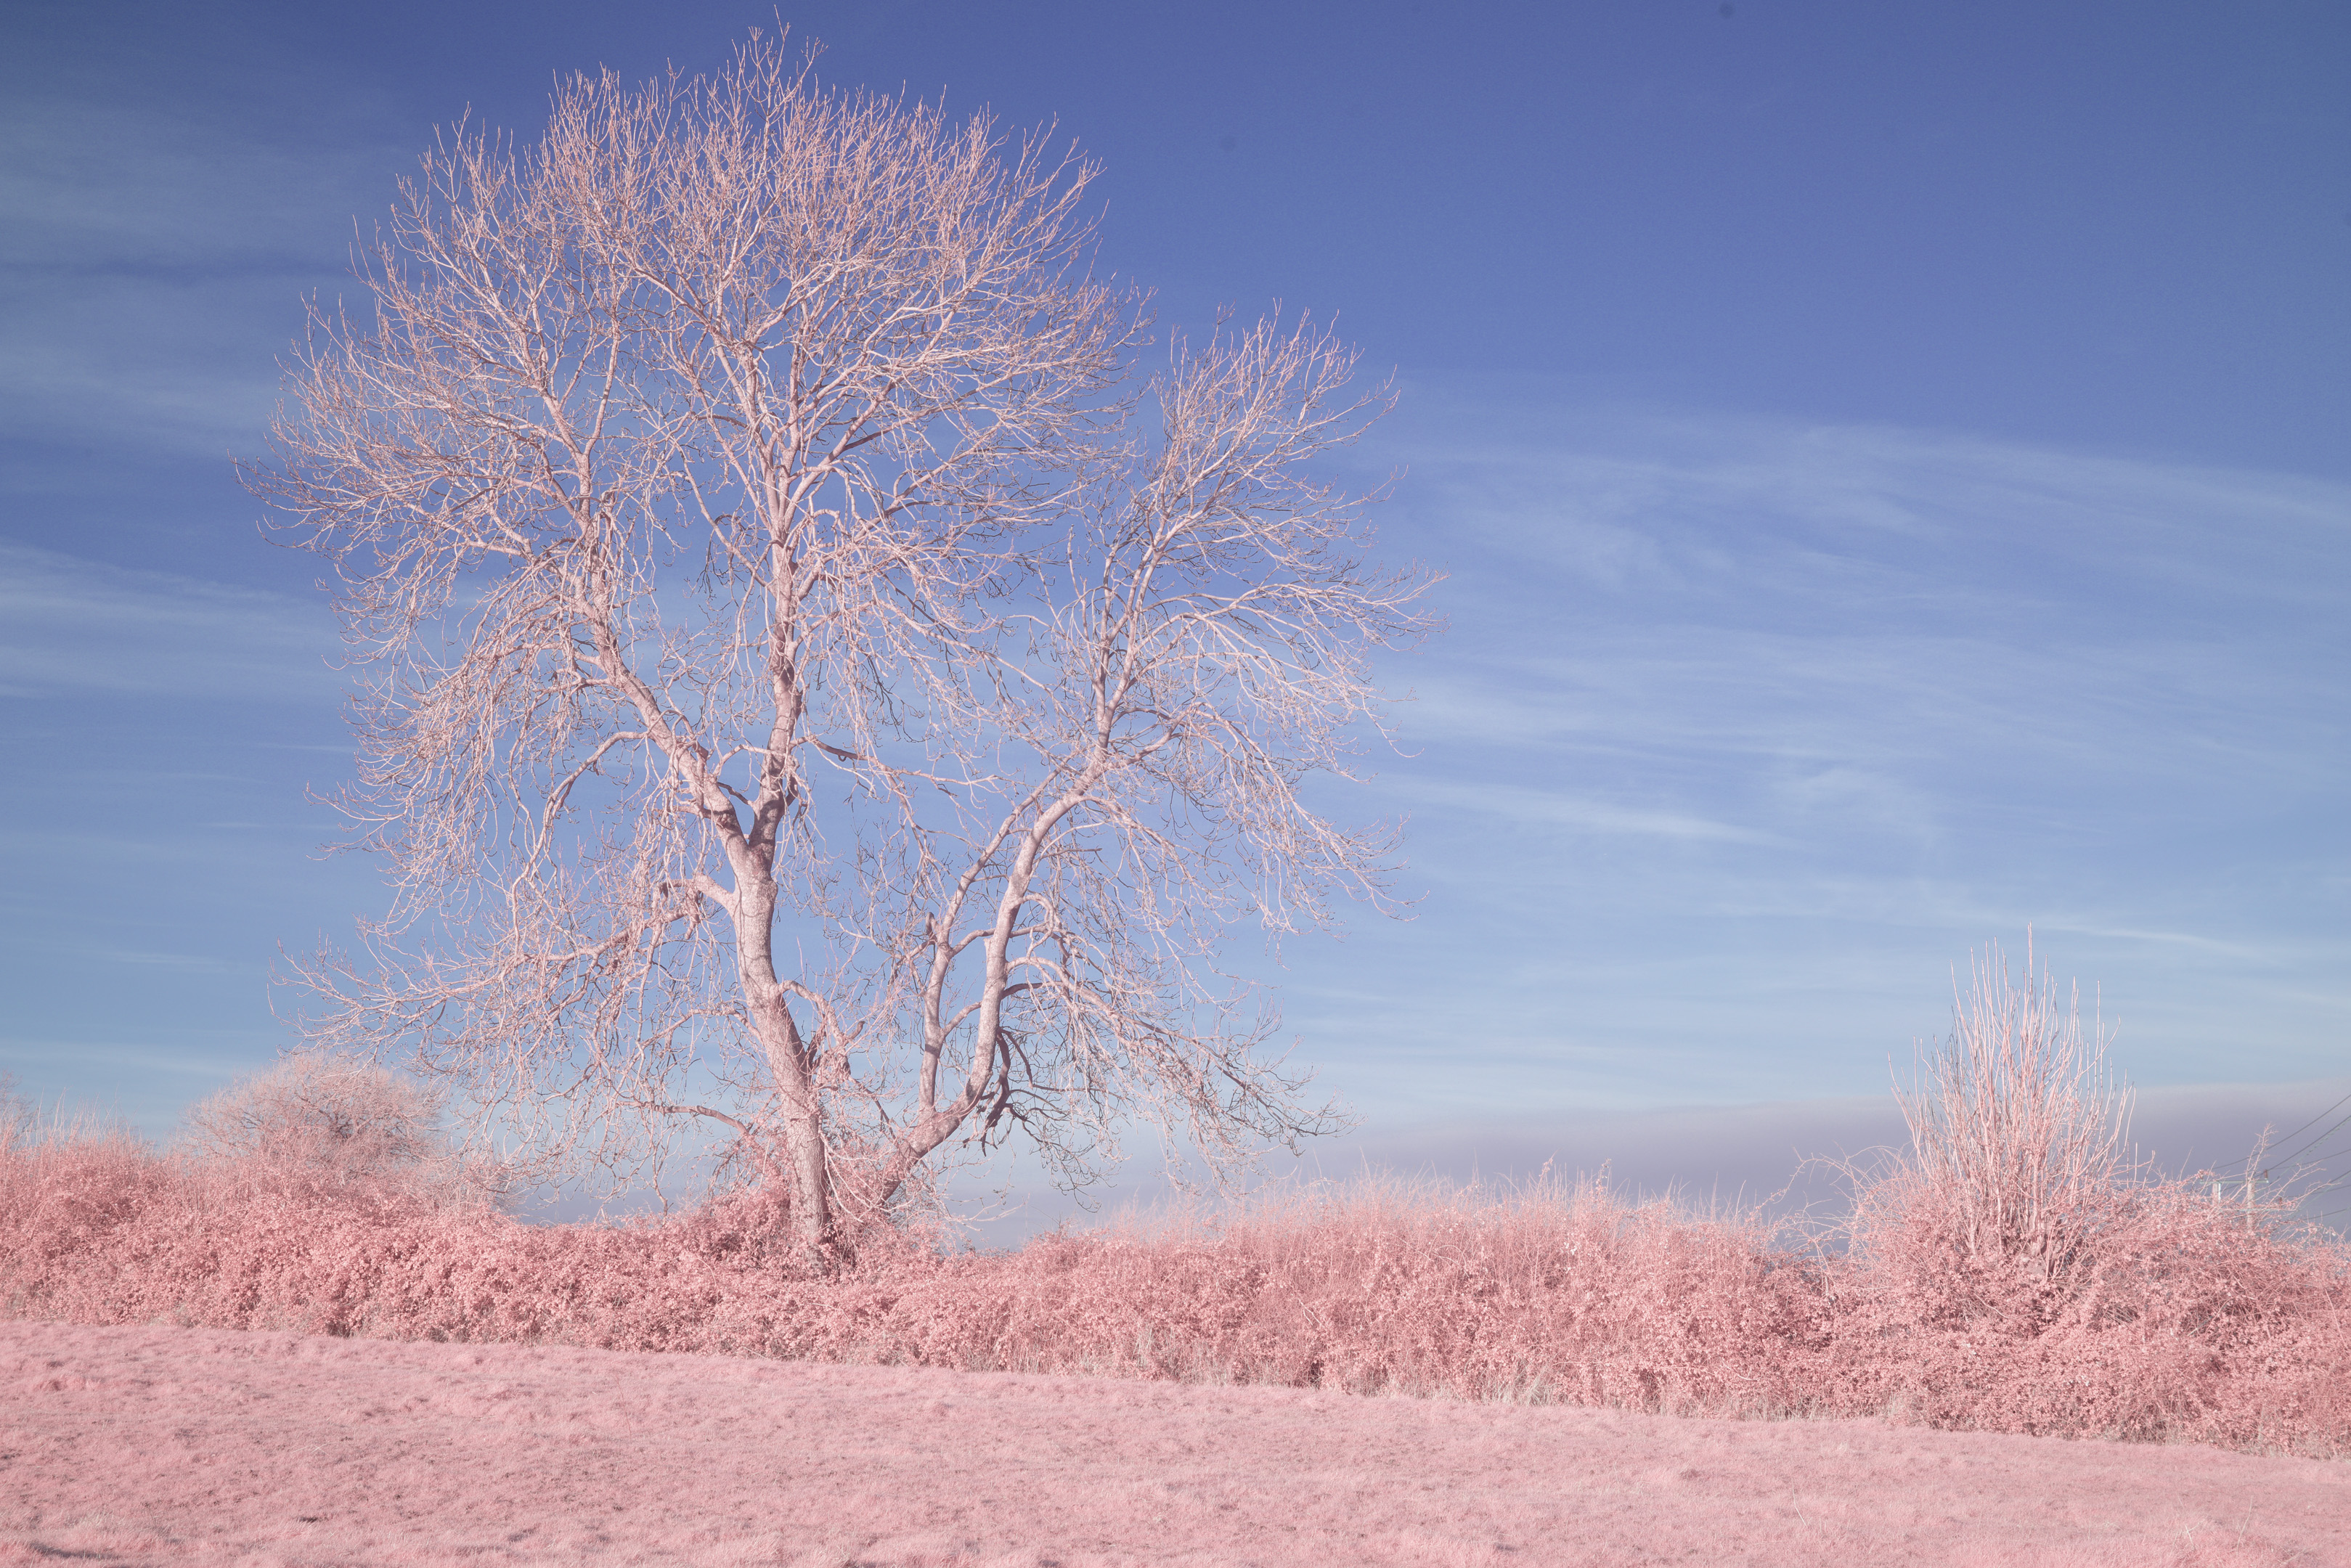
Again, doesn't look too bad, but the Clouds are not neutral. White balance is almost identical to the White card. With a white standard, as used here, exposure adjustment is needed when taking the WB image, but you could just use a grey one.
The main issue is that the small size of the standard means it is difficult to make it large enough in the frame to cover the WB sample area while avoiding shadow (e.g. of the camera) on the target:
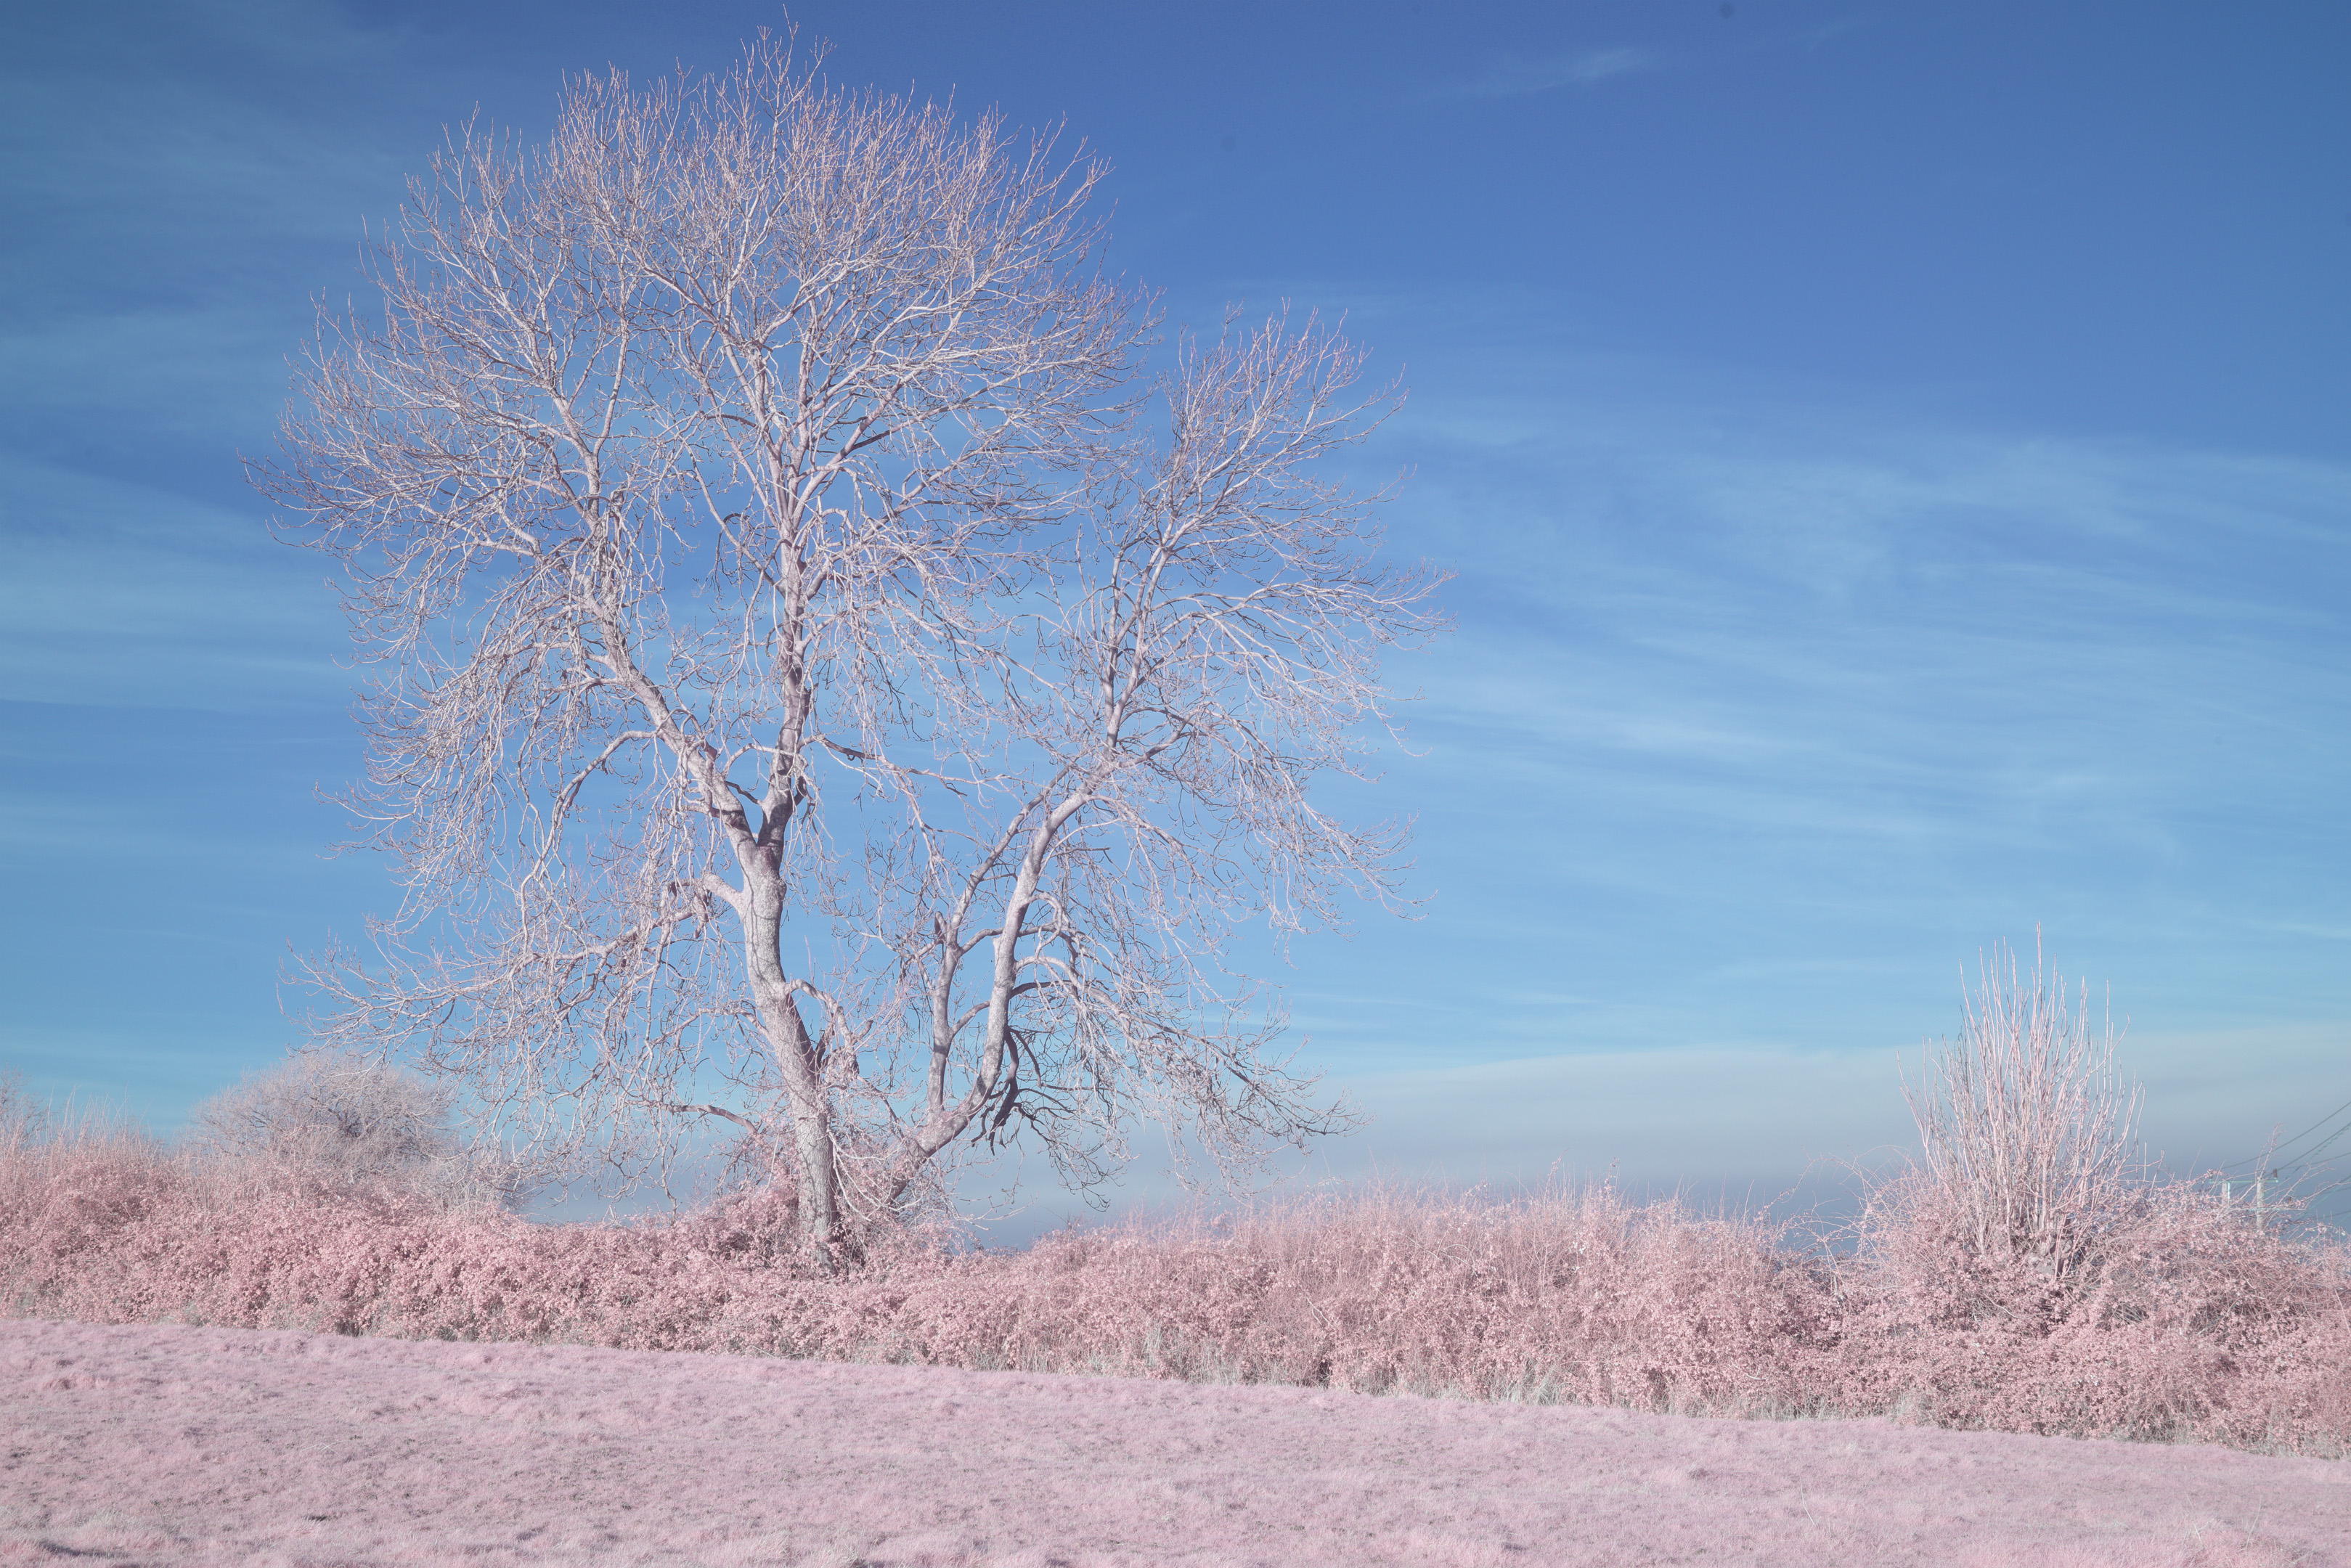
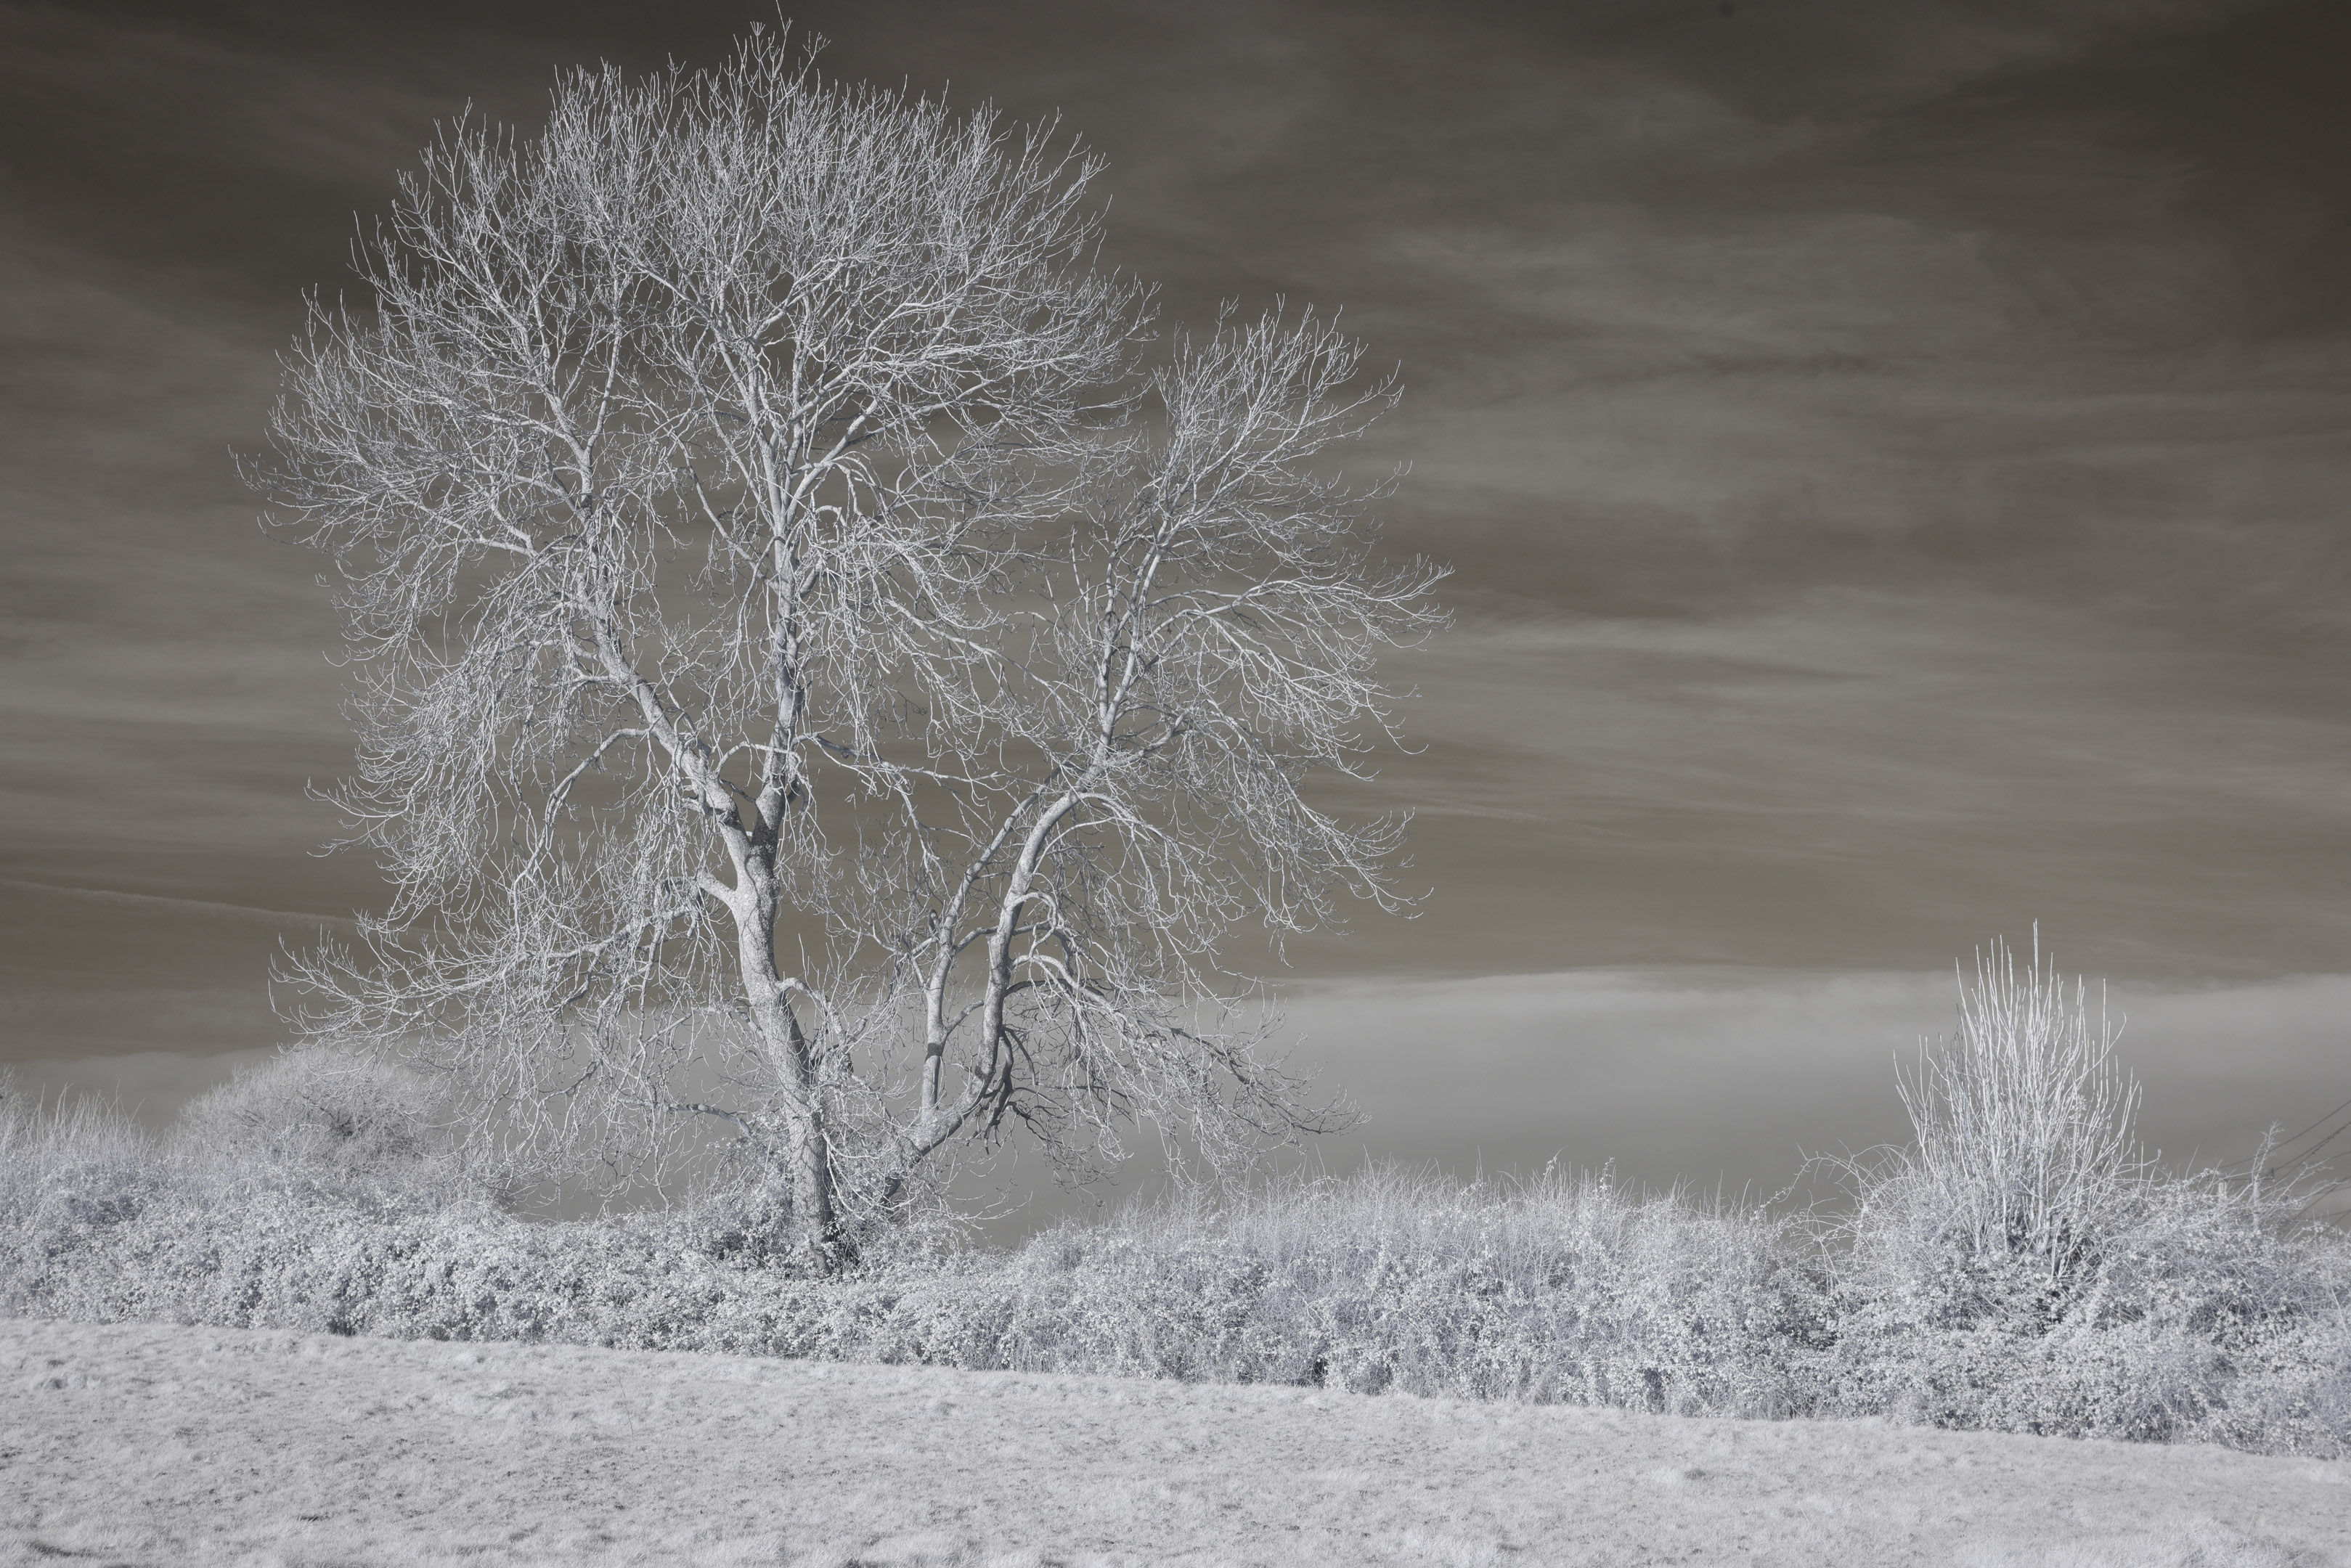
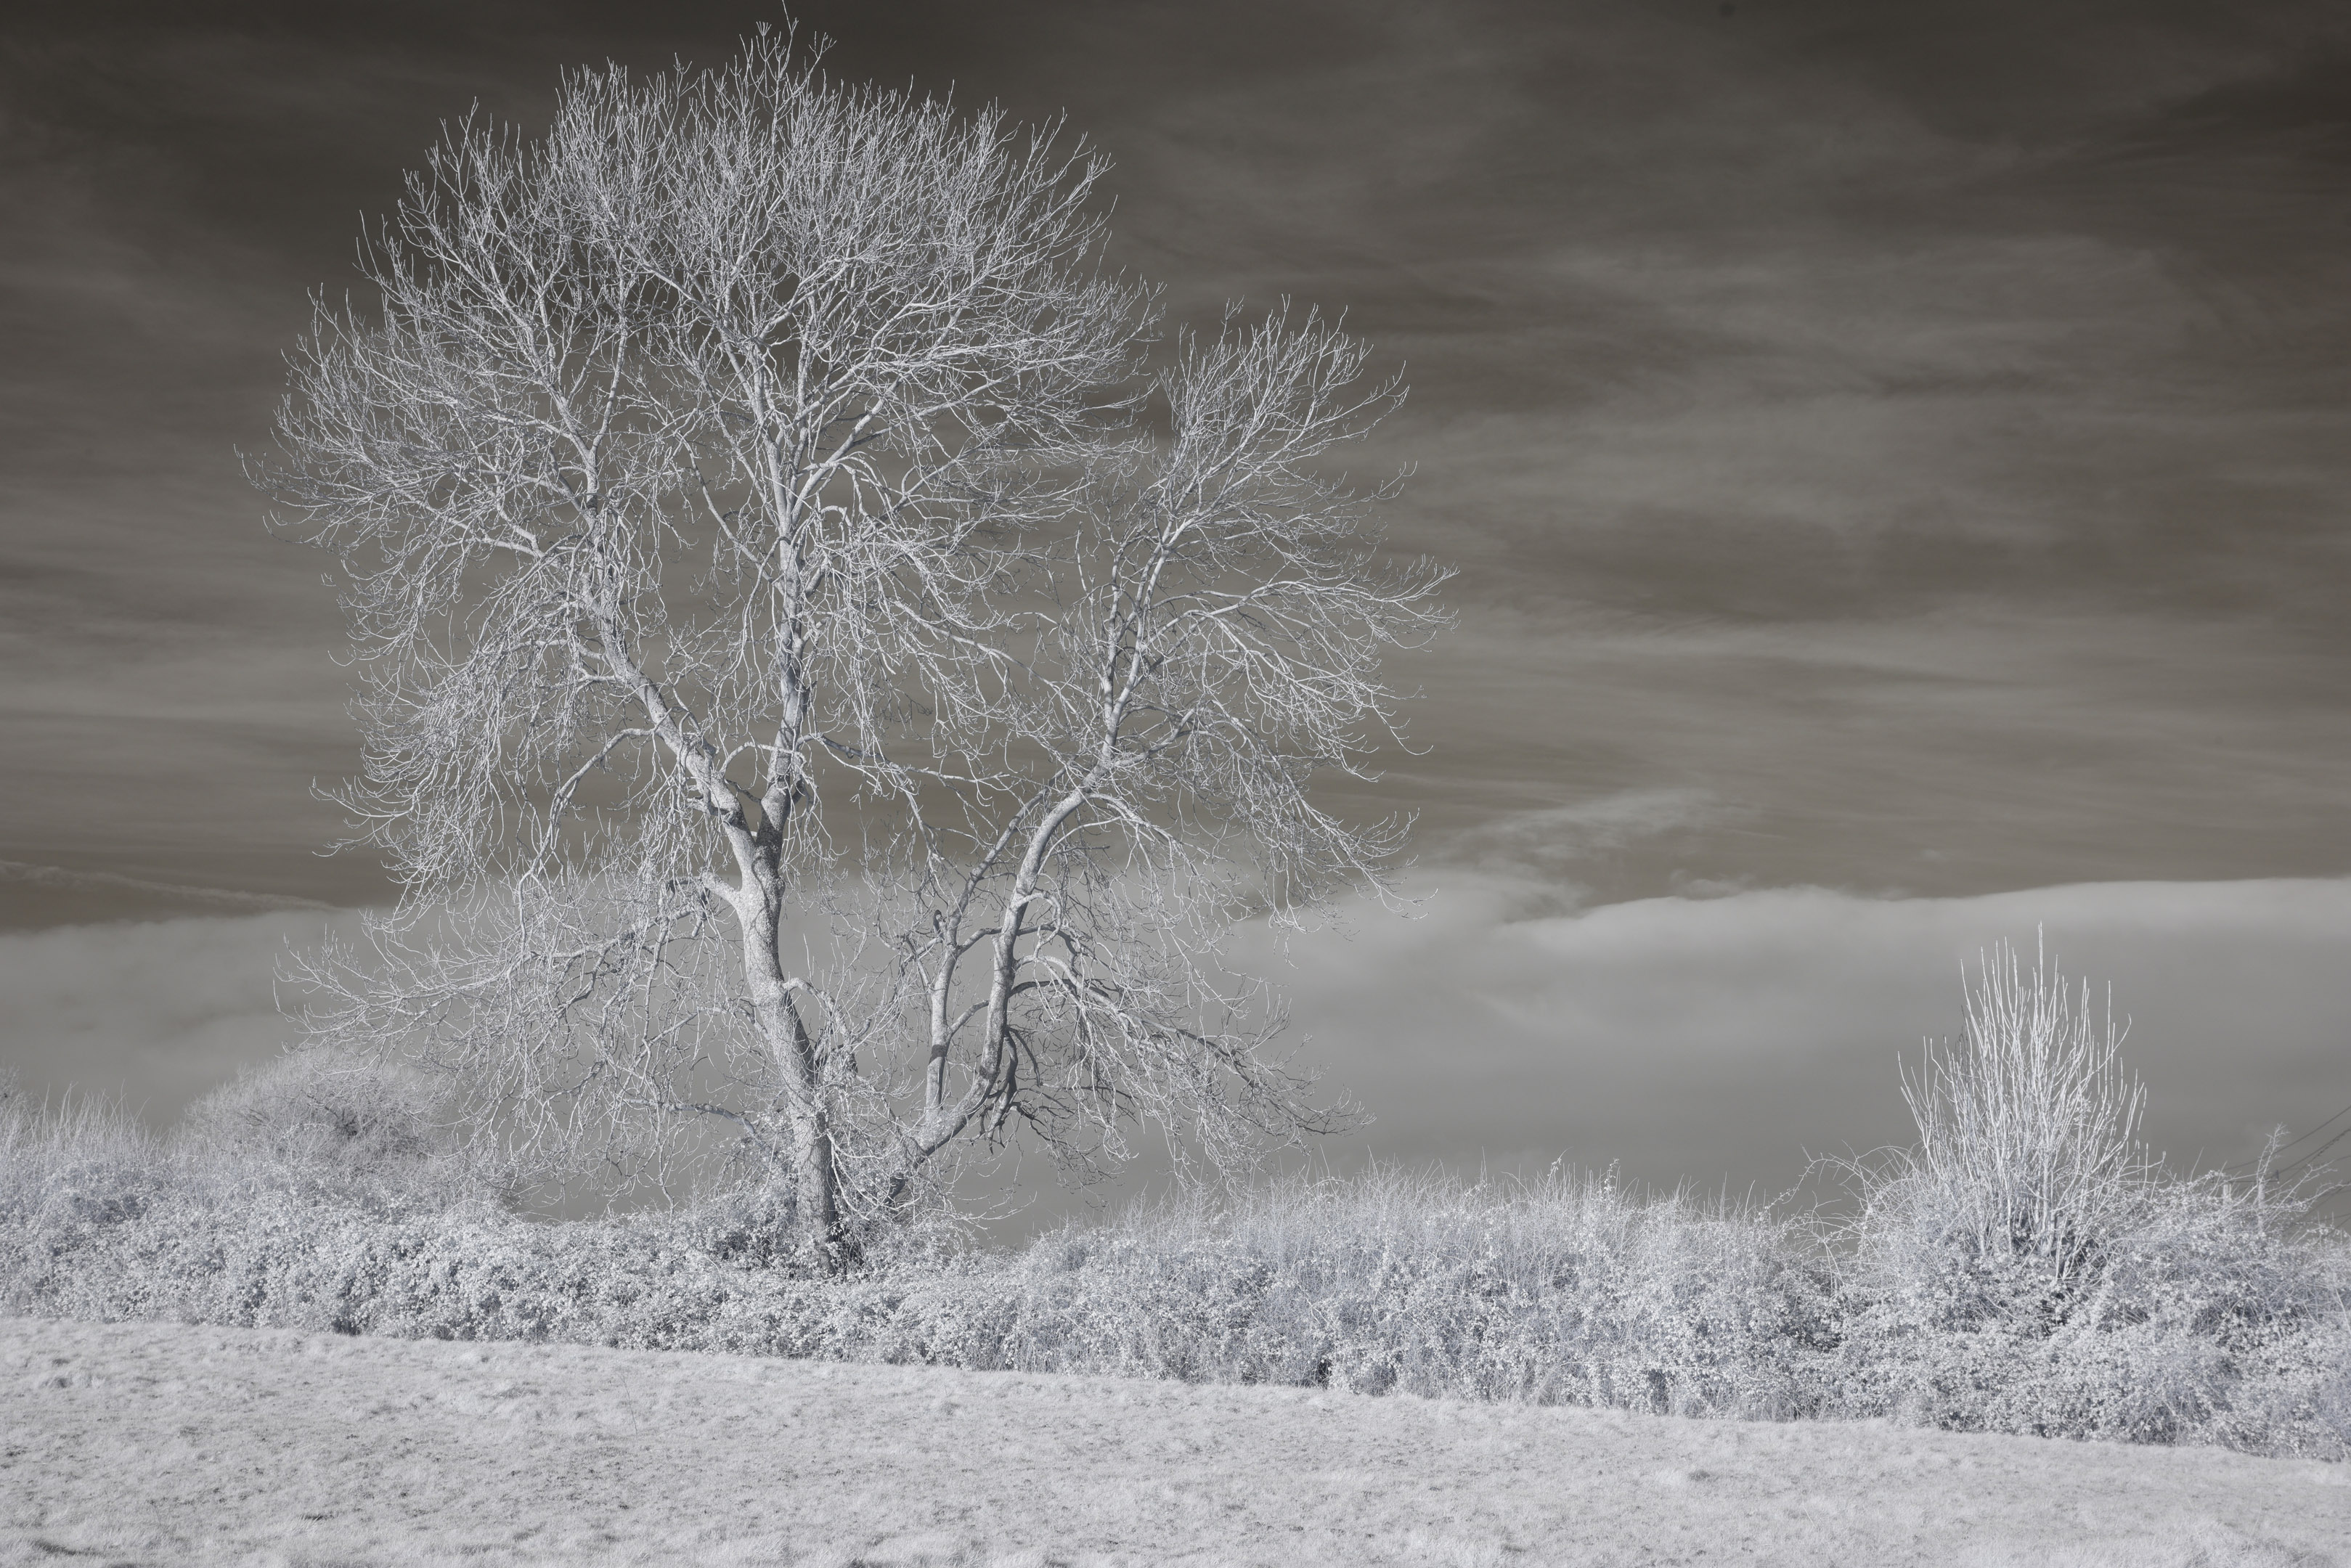
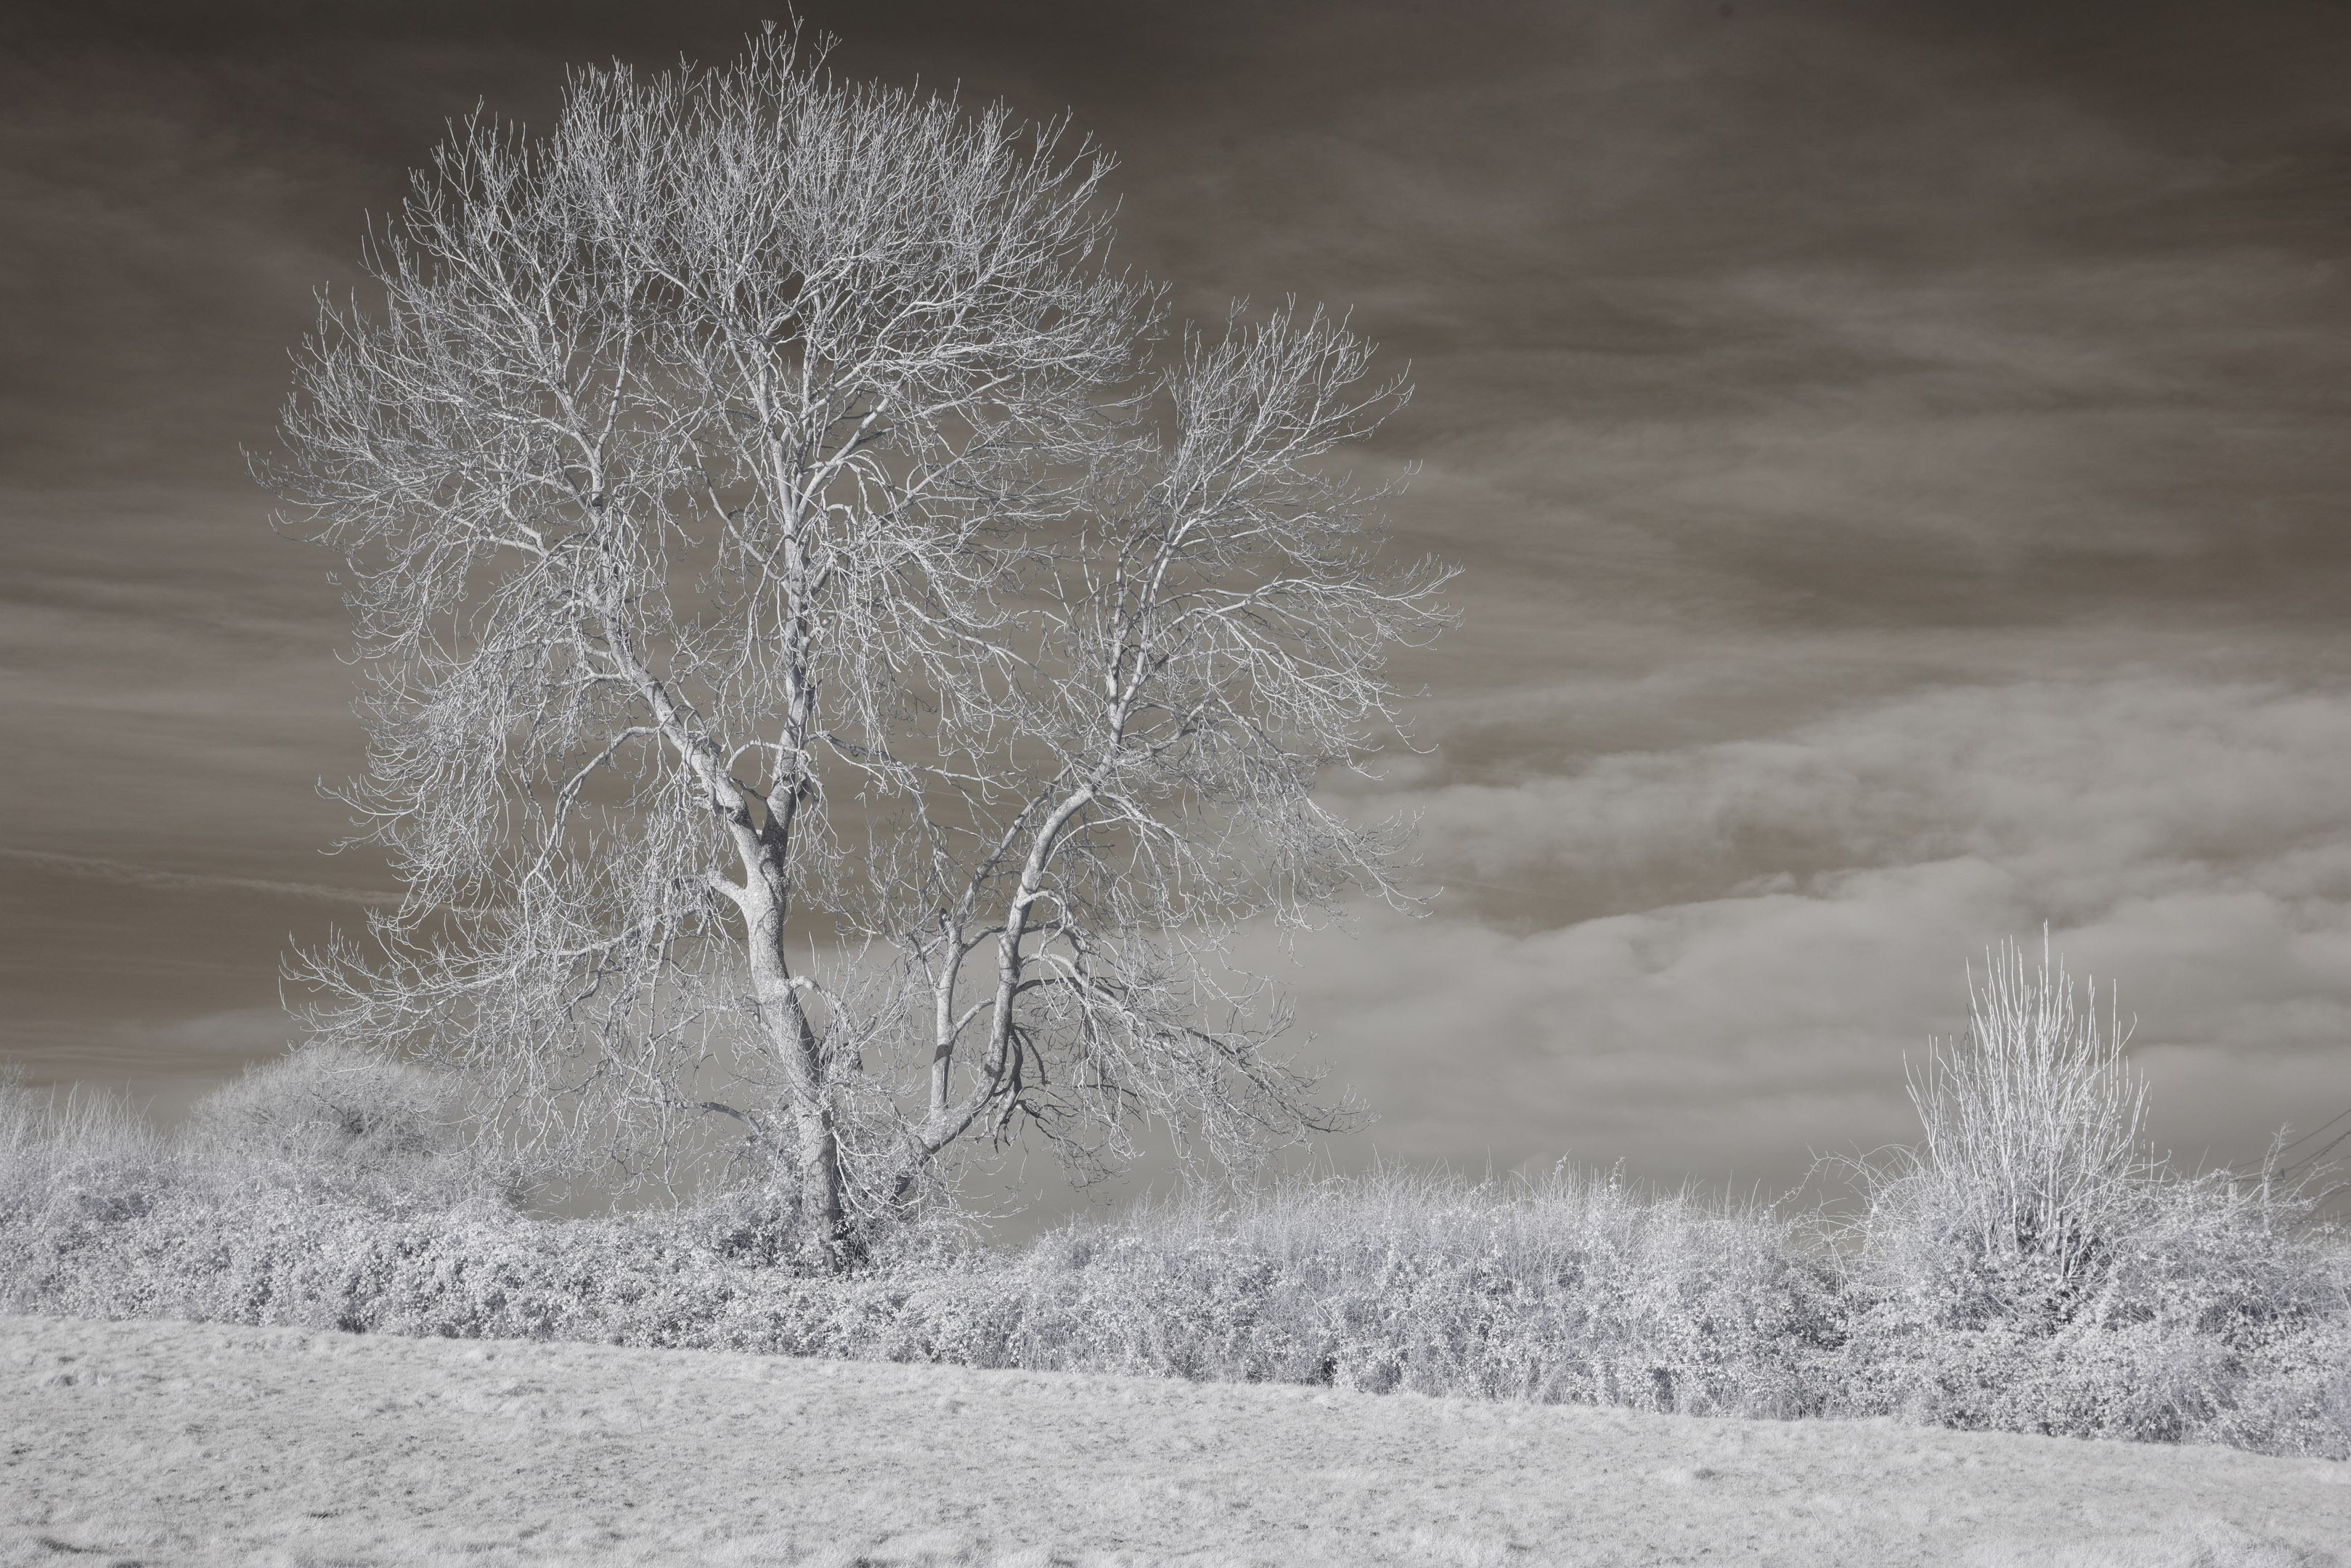
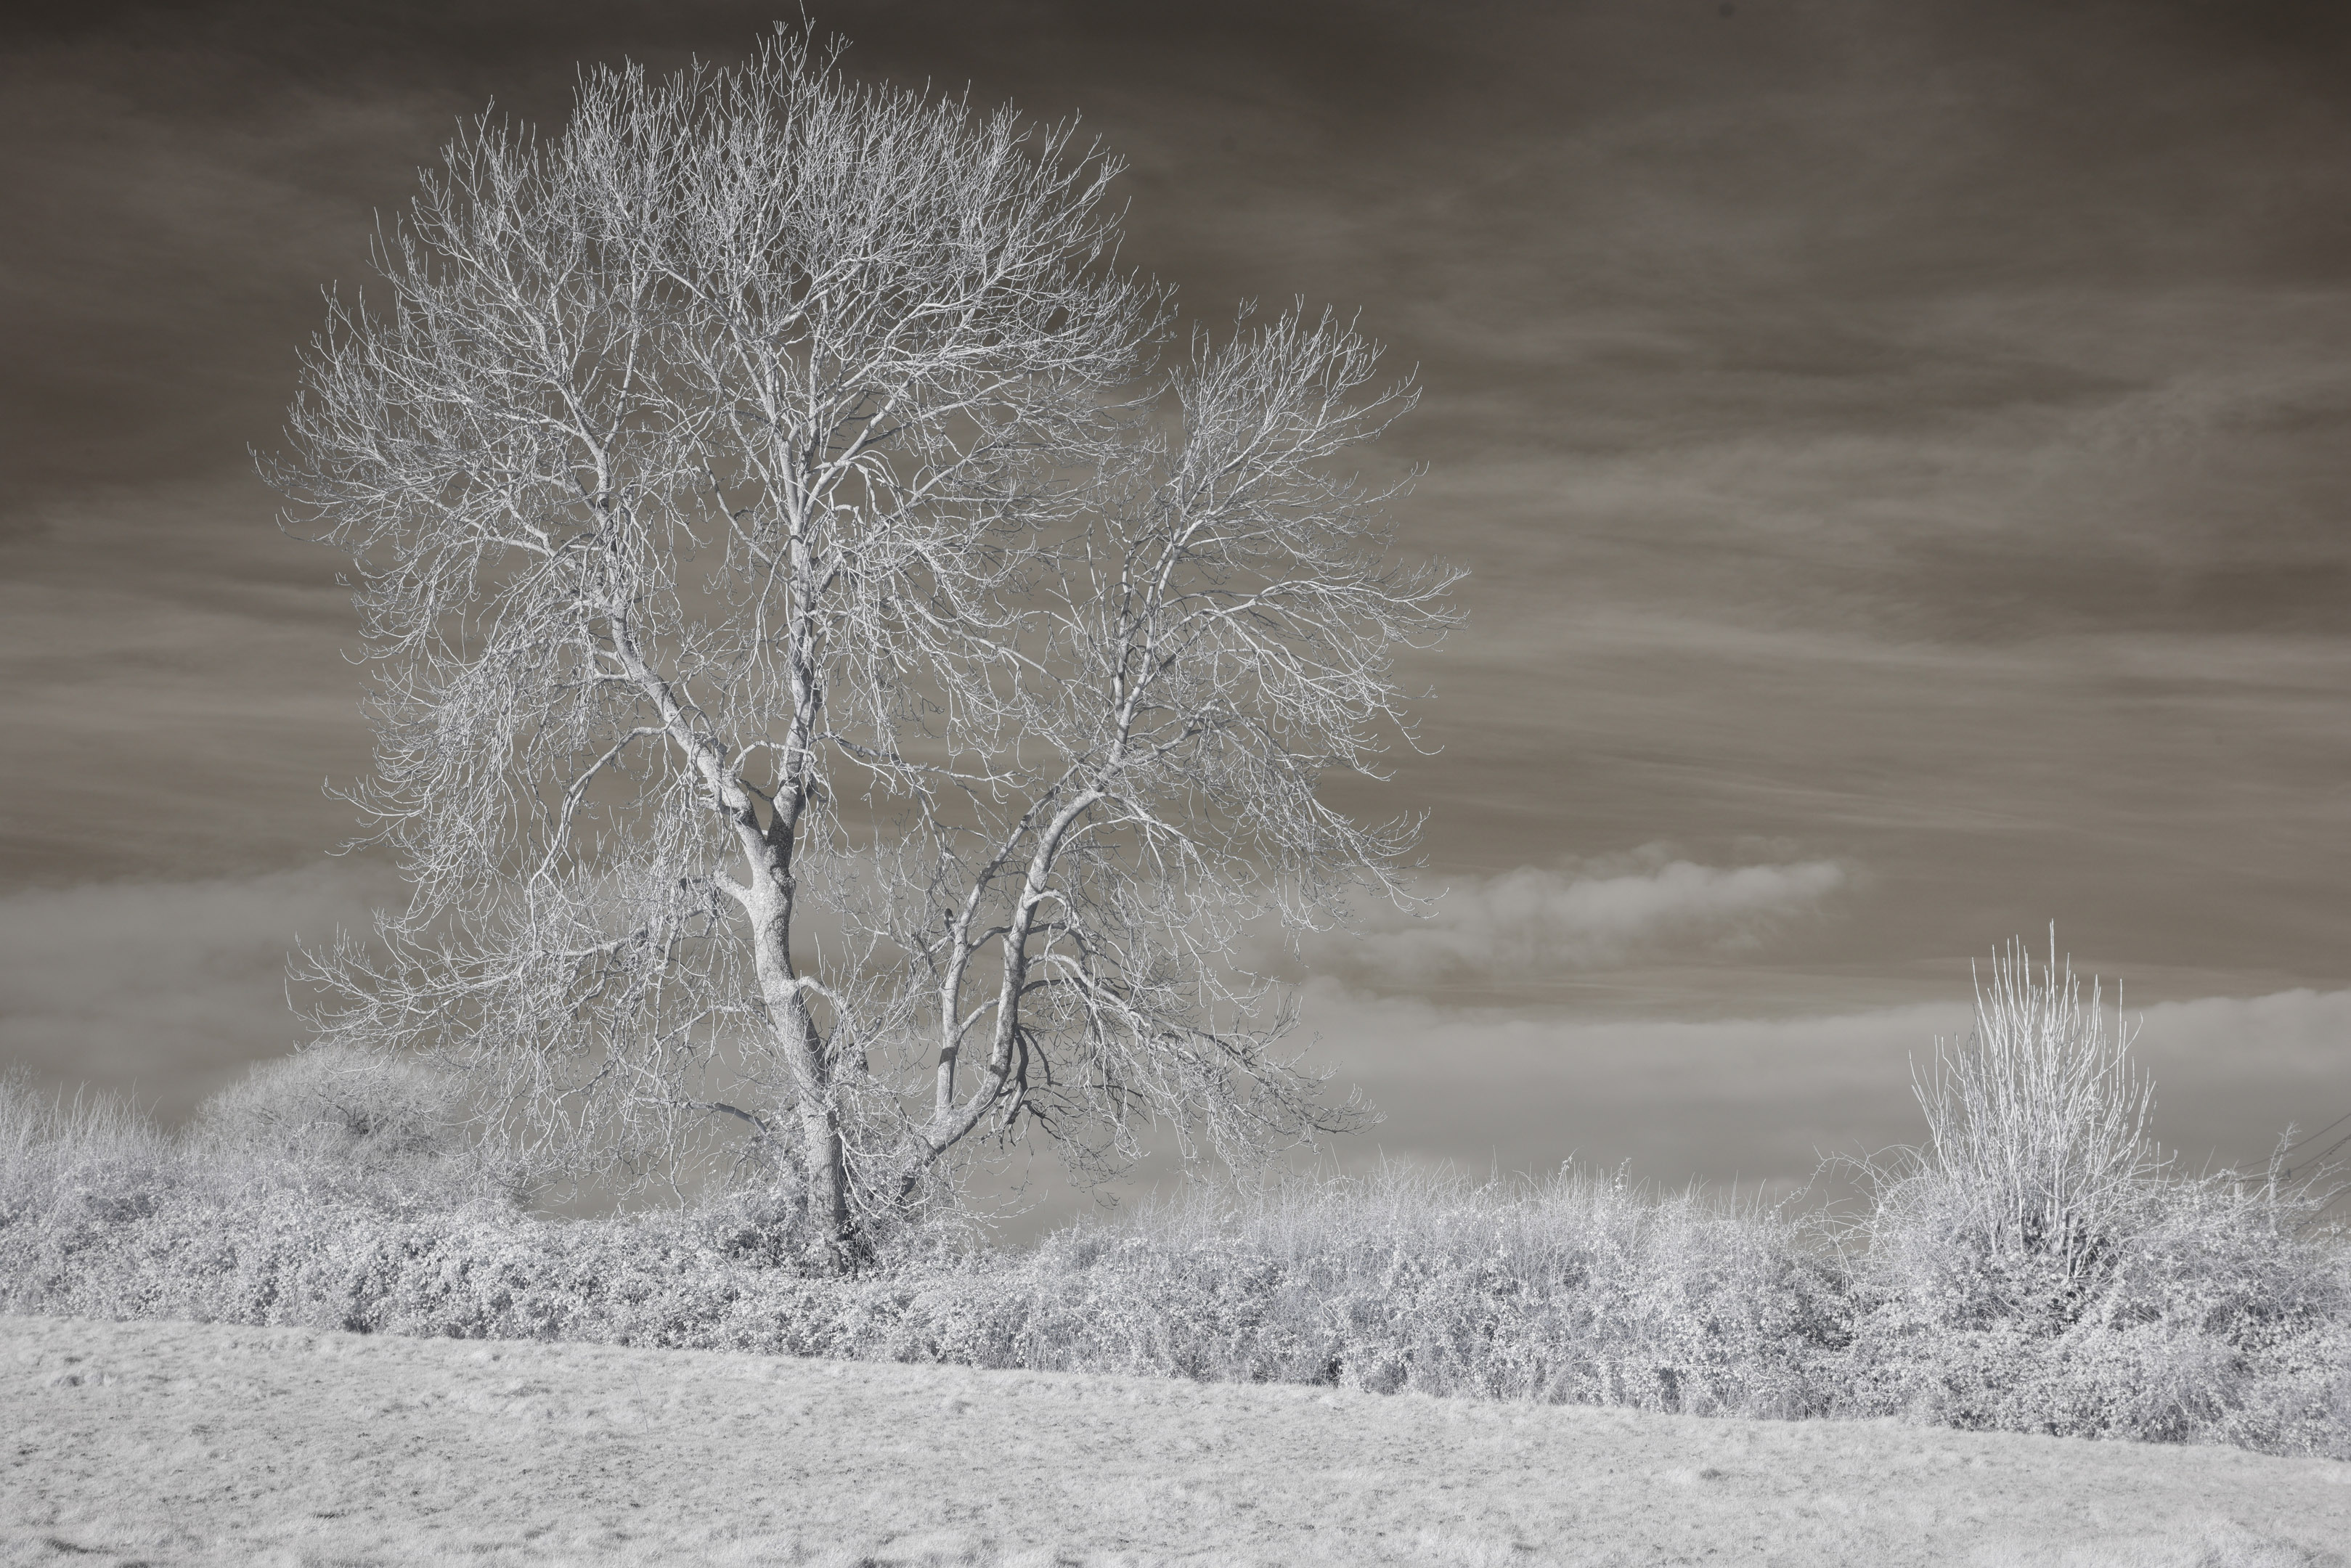
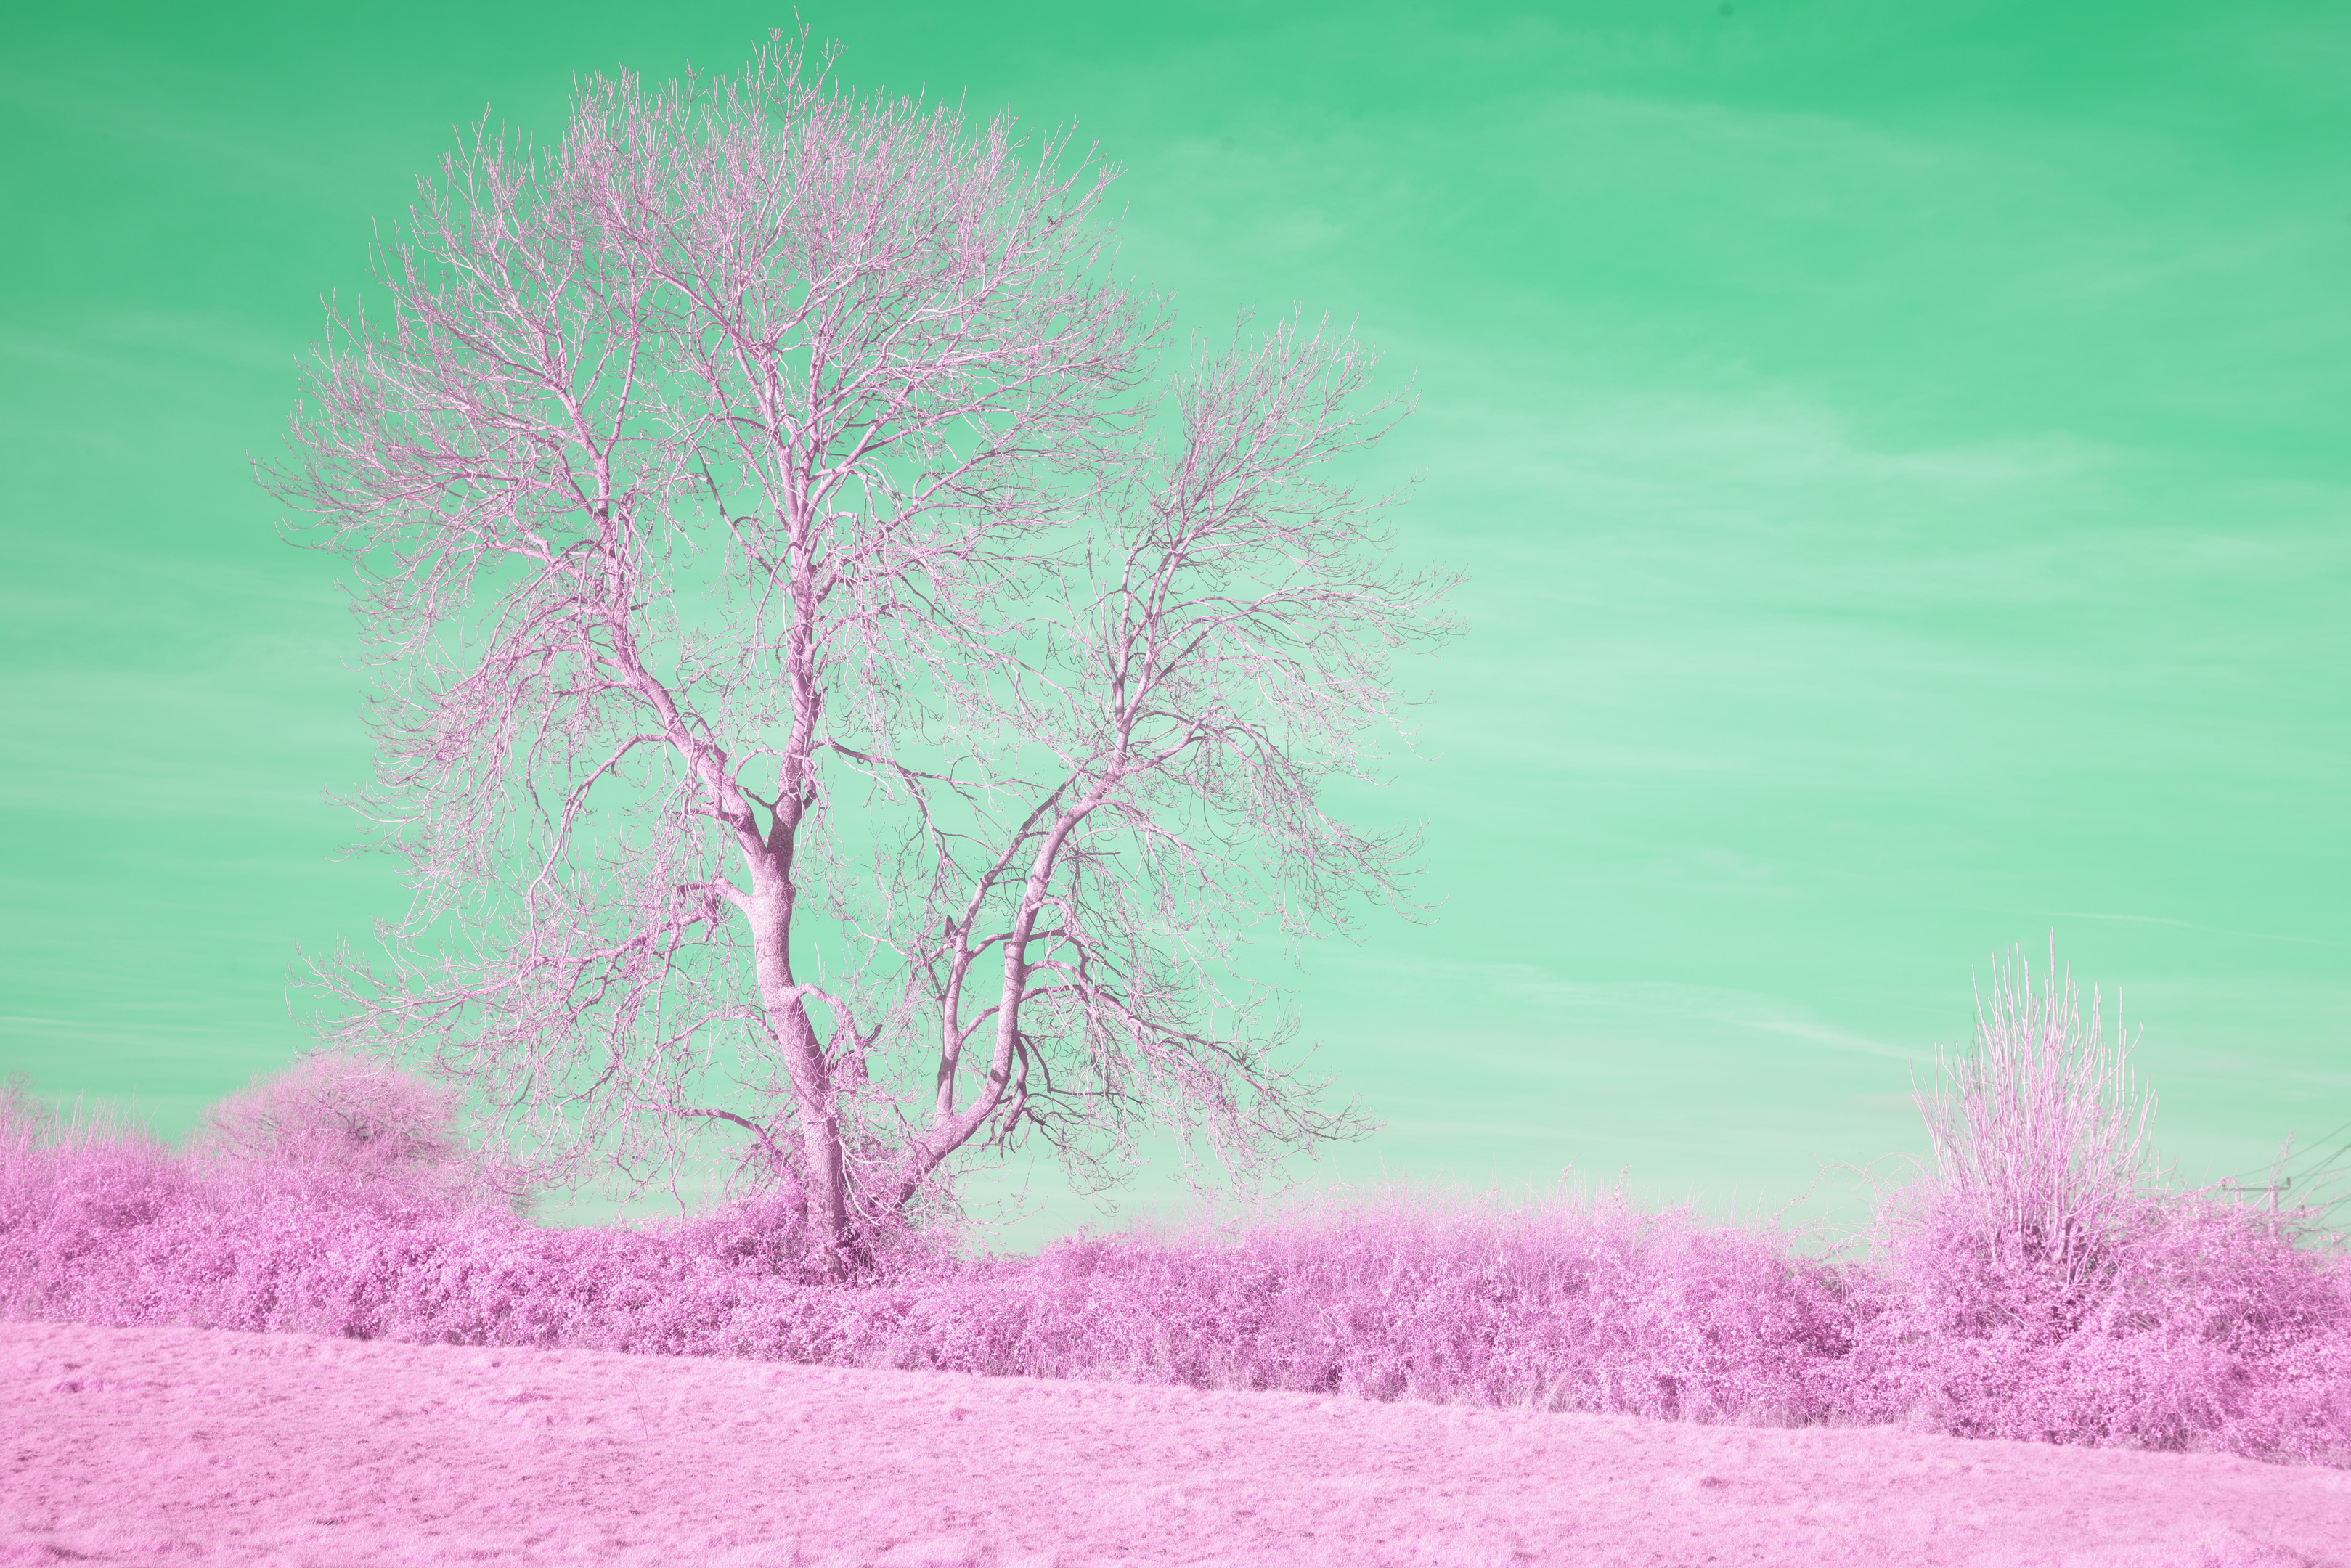
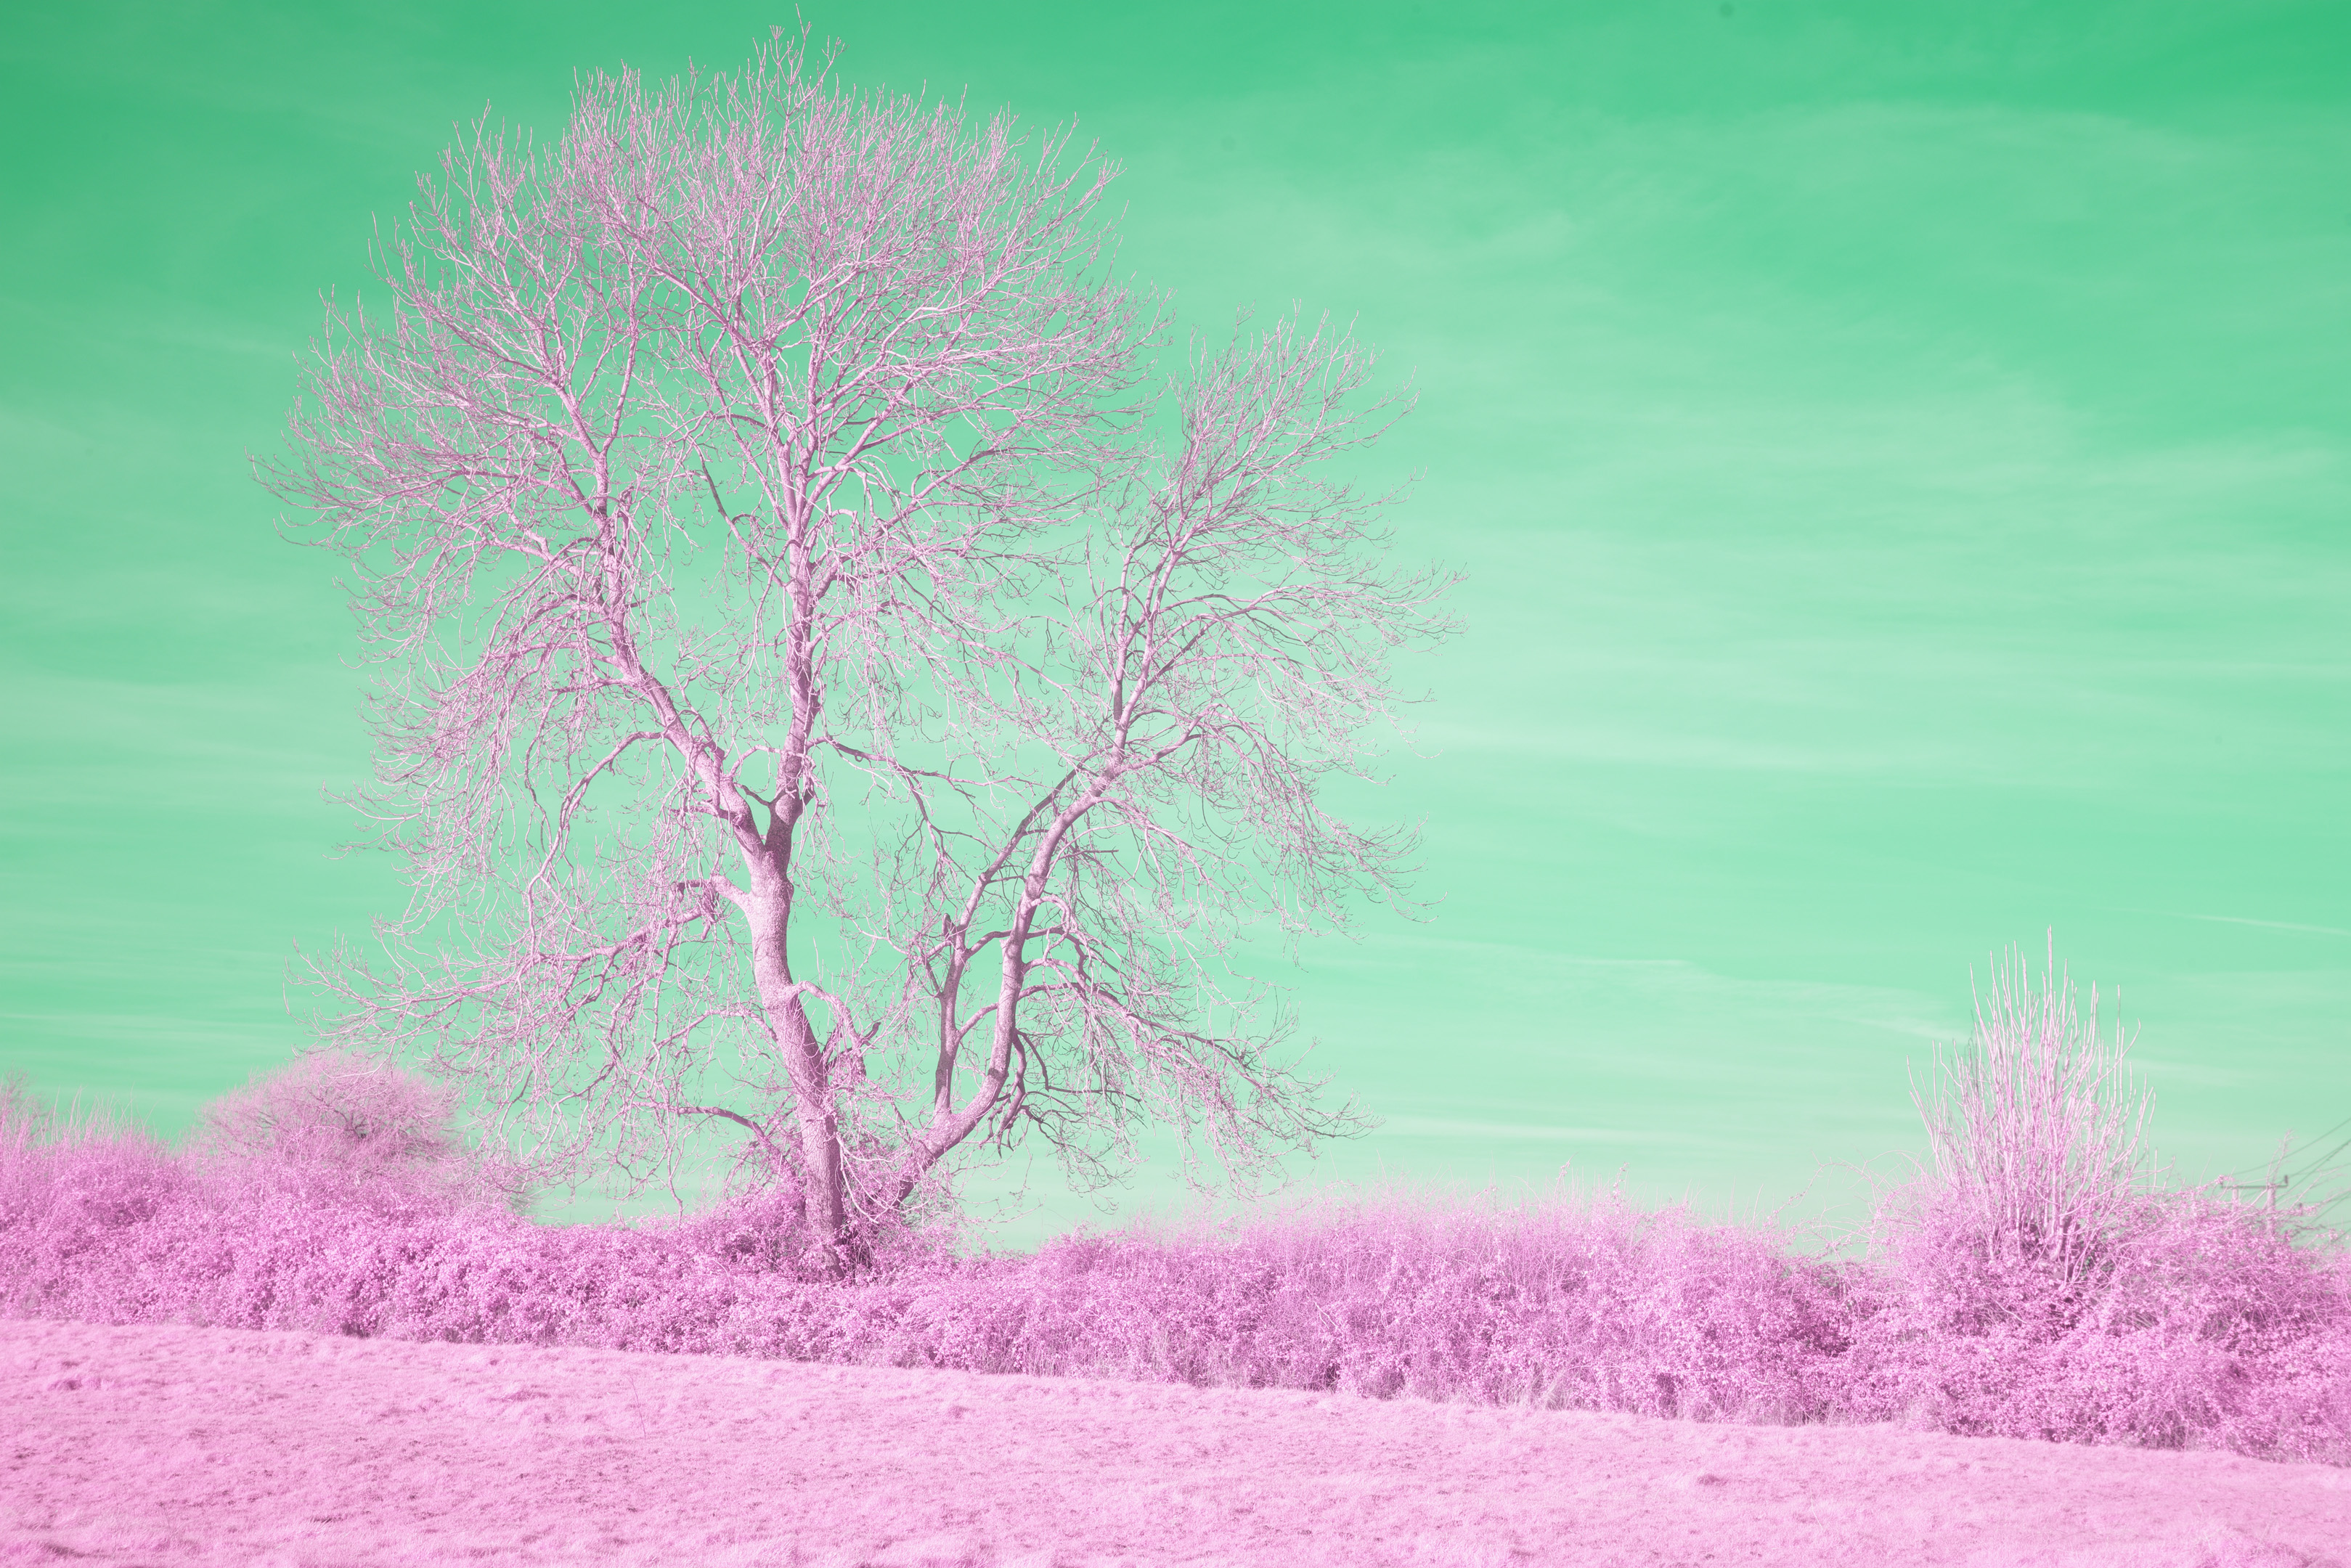
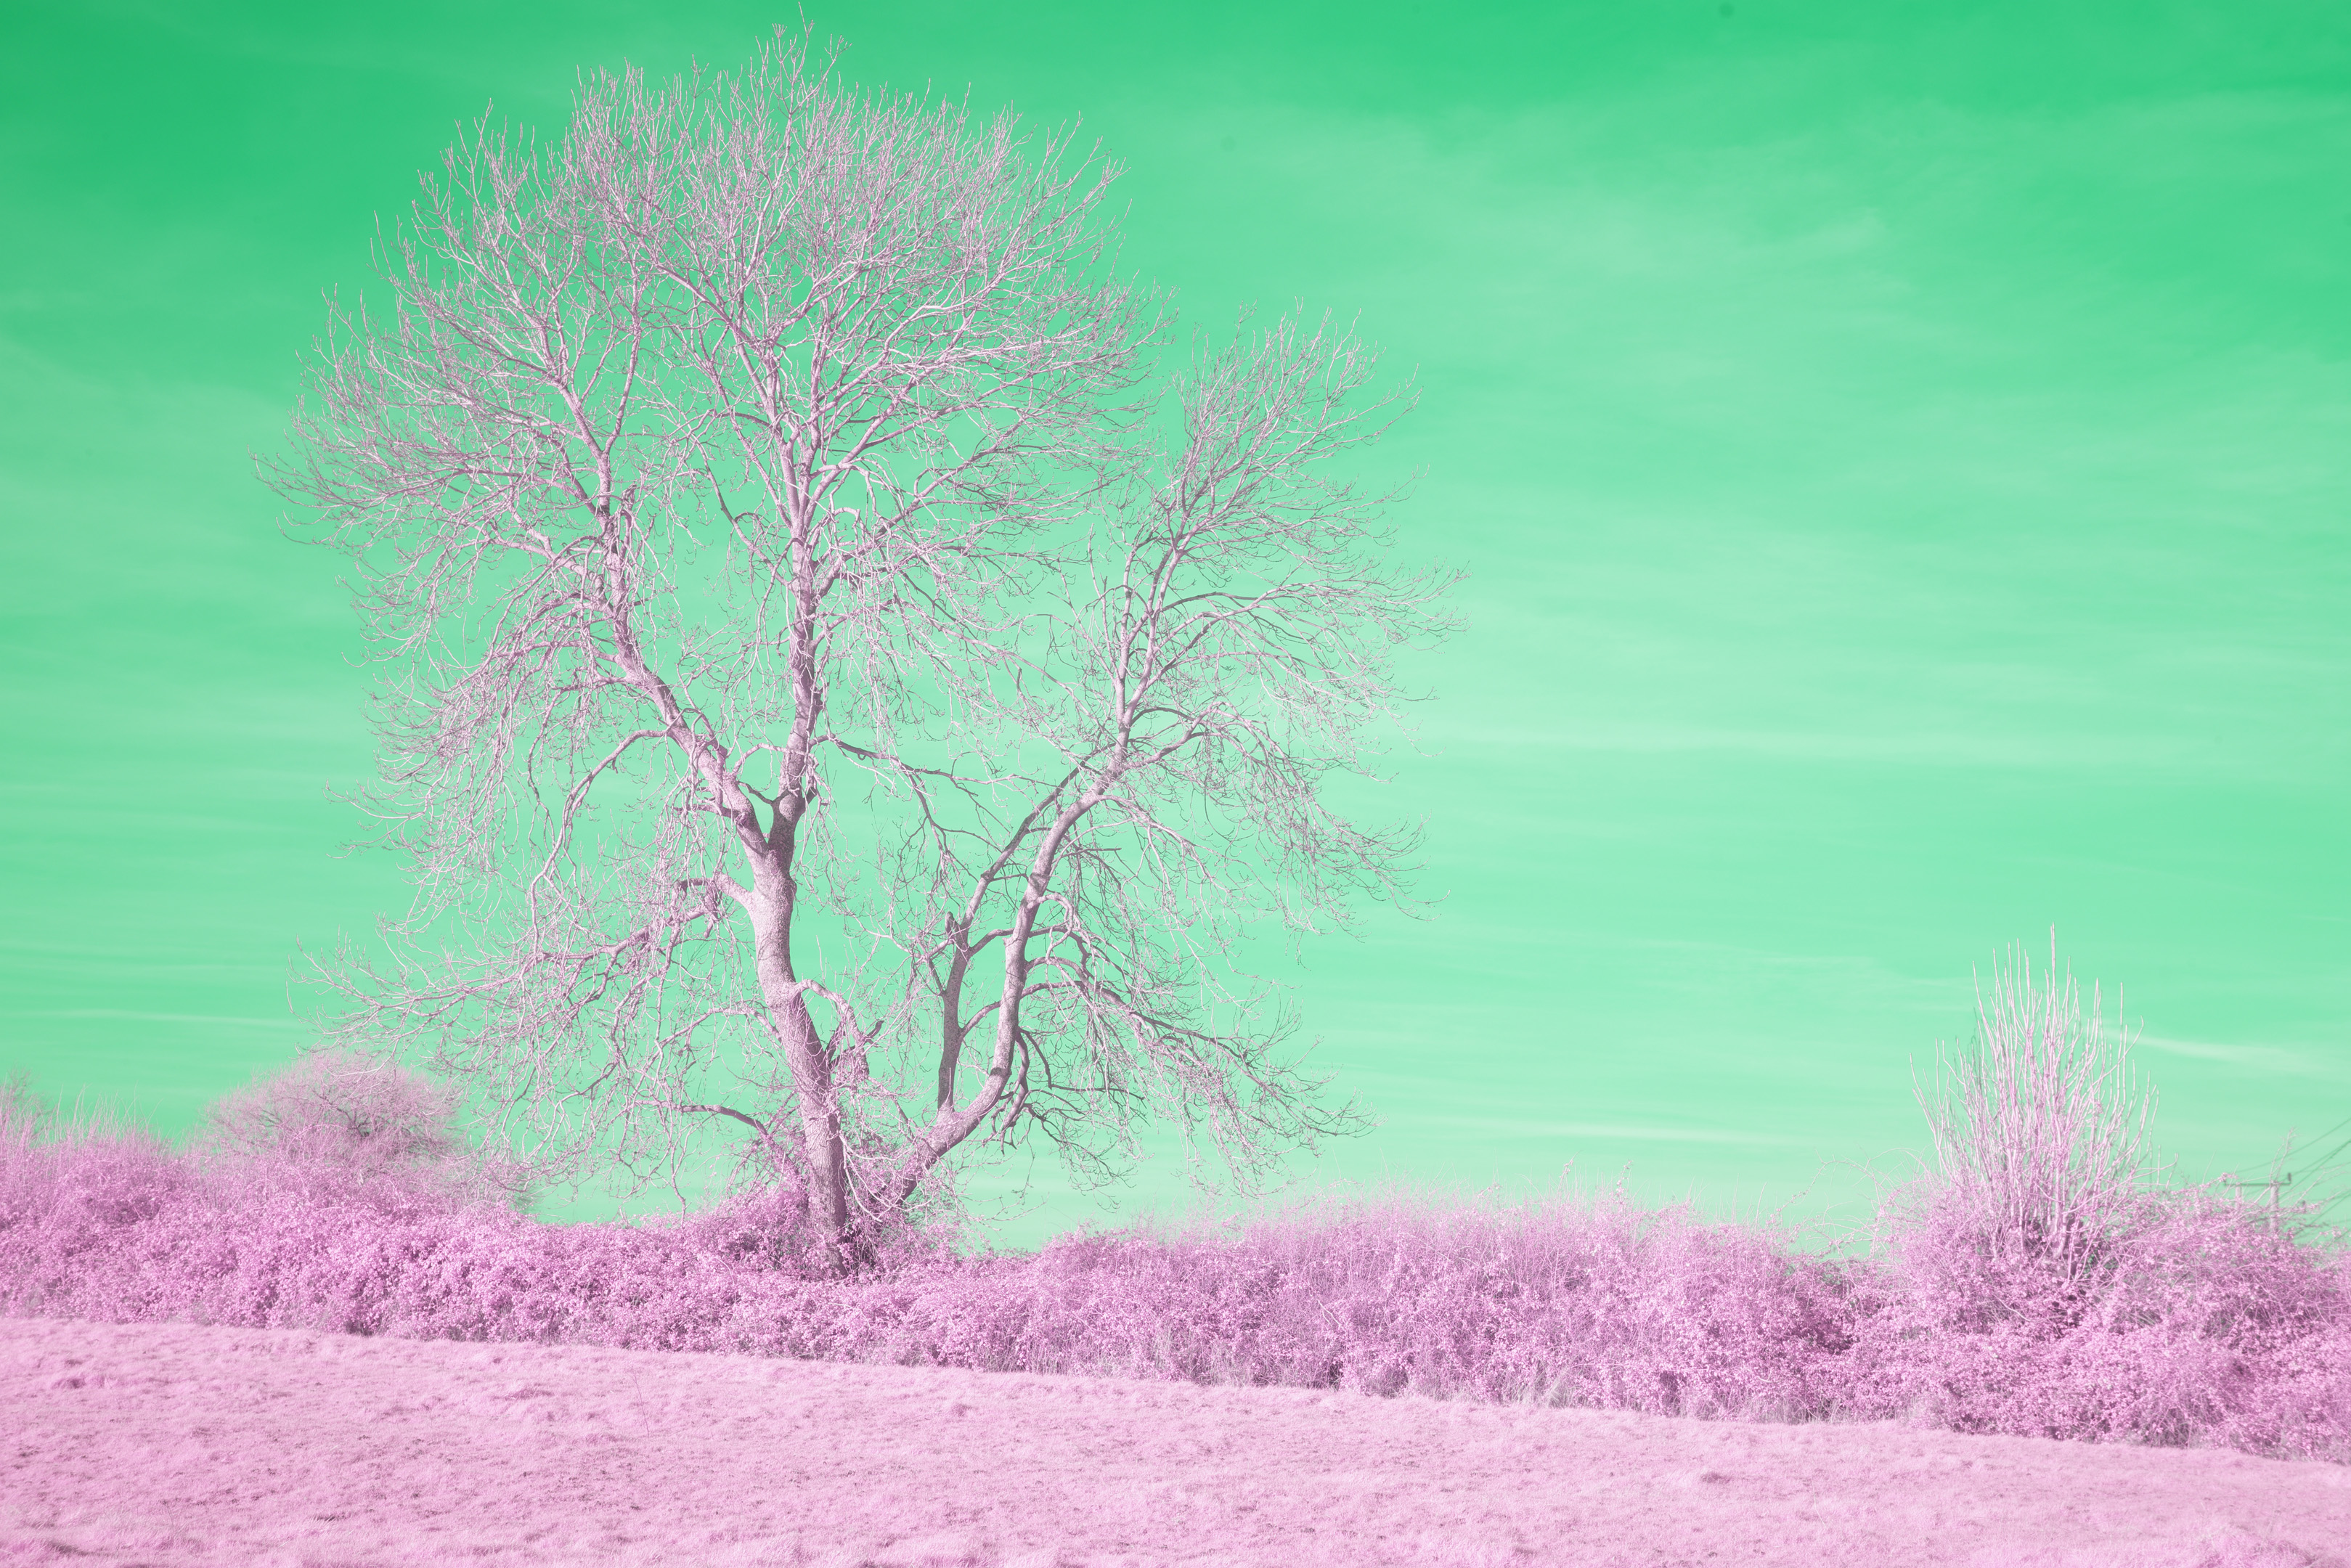
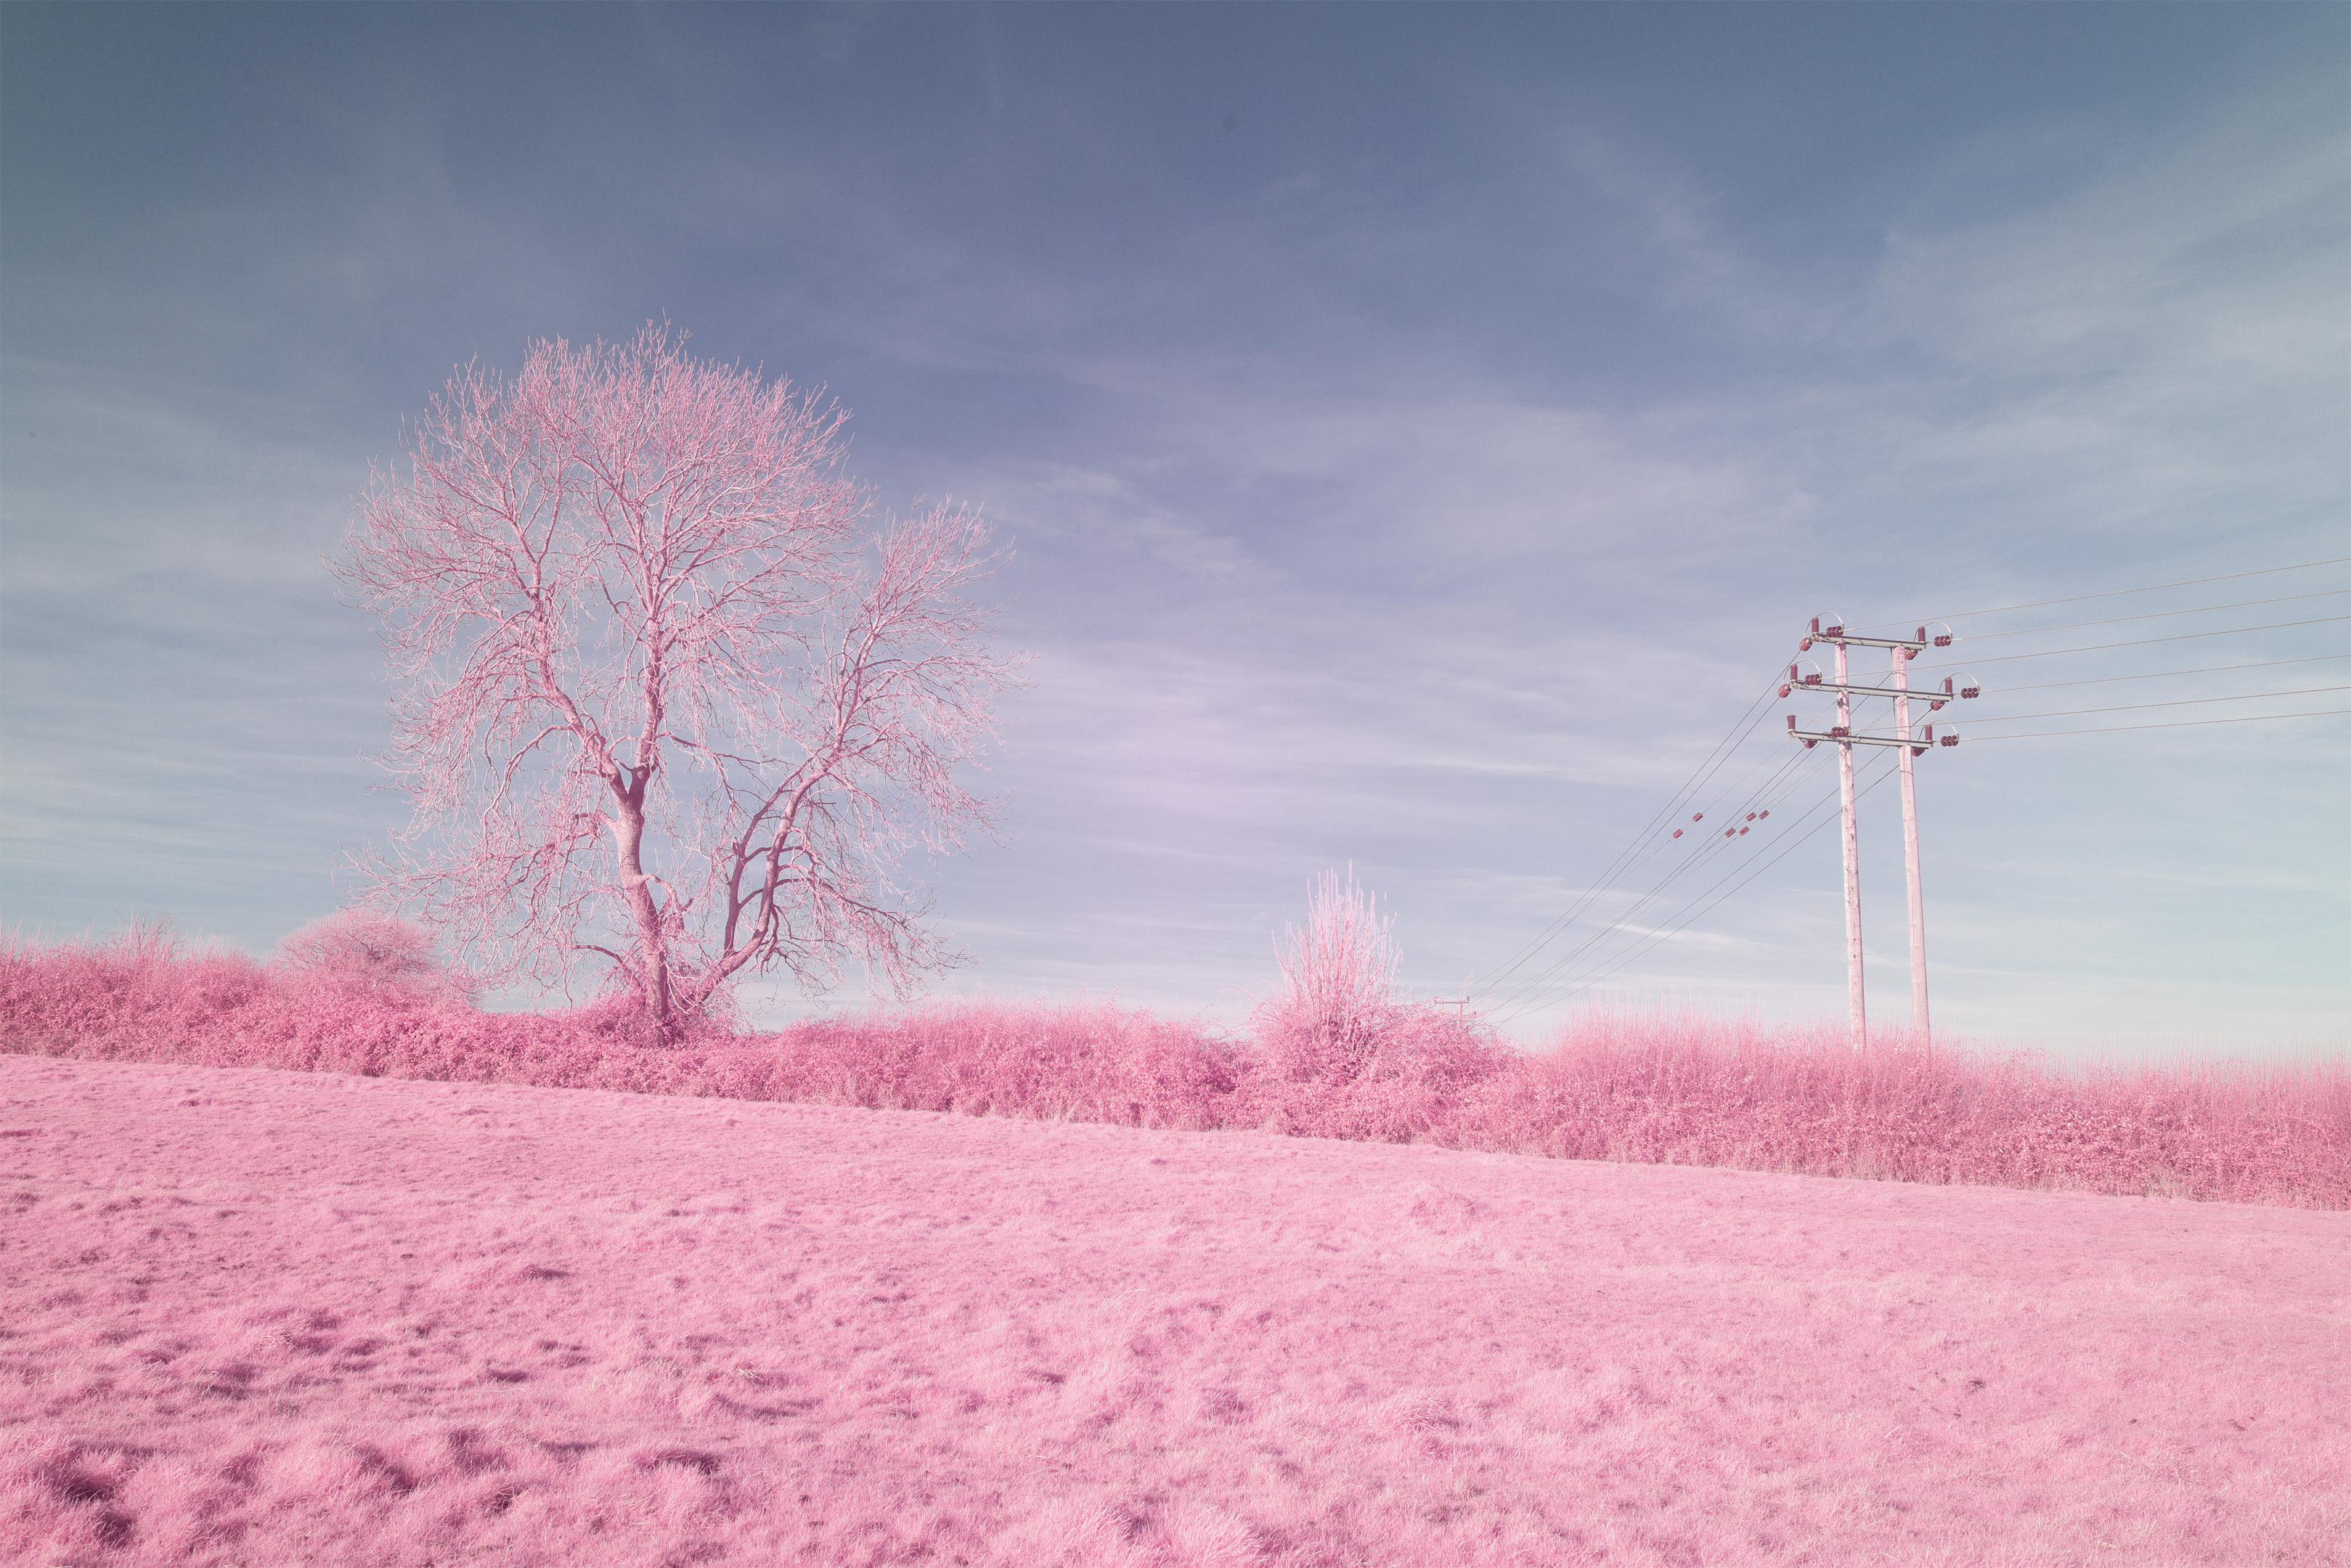
PTFE disc reflected

Pretty much the same white balance as the Labsphere and White card, WB is not neutral on the clouds but the resulting image is not too bad. Exposure adjustment was needed for the WB photo to avoid over-exposing the target.
It is better than the Labsphere in terms of having the target big enough in the frame while avoiding shadows, but not as good as an A4 sheet of card:
Expodisc v3 reflected
I asked Expodisc if you could use the Expodisc as a reflective target, and they said that it has not been designed for that, so WB results may not be accurate if used that way. But I decided to try it anyway. With the hue adjustment applied, there is less red and more green than the PTFE disc reflected. I wouldn't say it is better or worse than PTFE used for reflective WB readings, just different.
Expodisc v3 covering lens, camera pointed towards light

Using the Expodisc correctly, you take your WB photo with the Expodisc over the lens and point the camera towards the light source. You use it like an incident light meter. I find this an inconvenience as I set up my framing for the image I wanted, then had to remove the camera from the tripod to take the white balance image, then have to put the camera back on the tripod and adjust the framing slightly again. But this is more of a problem of getting used to having to take the WB image first than it is an actual issue with the Expodisc.
No, or minimal exposure adjustment is needed when taking the WB image, which is nice.
The resulting image isn't that great though, with the hue shift applied, blue tint is fairly strong and red is quite weak. Quite possibly the White balance is technically correct, but I prefer a White balance that gives neutral clouds.
The Expodisc does come with an adaptor to fix the disc onto the end of your lens (image below) but it's much simpler to just hold the Expodisc over the end of the lens manually.

Expodisc v3 covering lens, camera pointed towards subject
If you use the Expodisc incorrectly, and take the white balance photo with the lens pointed towards the subject rather than the light source, this gives a bad result. With the hue shift applied, red is very weak and green is quite strong. Exposure adjustment is needed when taking the WB image to avoid under-exposing it.
PTFE disc covering lens, camera pointed towards light
I wanted to see if using PTFE over the lens would work, in the same way the Expodisc is used. Indeed it does, and gives us a similar result. As with the Expodisc, using 3.5mm thick PTFE means no or only a small adjustment in exposure is needed when taking the WB image.
PTFE disc covering lens, camera pointed towards subject
I also tested the PTFE over the lens and with the lens pointed to the subject. This gives a bad result, very similar to what we got with the Expodisc when pointed in the wrong direction.
ePTFE disc reflected
Using an expanded PTFE target gives much the same result as standard PTFE. This has the same issue of needing to adjust the exposure to avoid over-exposing the target for the WB image.
ePTFE disc covering lens, camera pointed towards light
Using ePTFE over the lens like the Expodisc does not work as well as standard PTFE and we get an image with less red (after hue adjustment applied).
ePTFE disc covering lens, camera pointed towards subject
This required a large amount of positive exposure adjustment (compared to the exposure required for the image) to get the WB image exposed reasonably. And like you'd expect based on the previous tests, the resulting WB is not very good.
Expodisc v2 covering lens, camera pointed towards light
The Expodisc v2 was only designed for visible light. The resulting image, once hue adjusted, has less red than the Expodisc v3. So v3 does seem a bit better for infrared, but not a massive difference here.
0.1mm thick PTFE sheet covering lens, camera pointed towards light
Trying thin PTFE over the lens, when taking the WB image the sun can be clearly seen and a lot of exposure adjustment is needed to avoid over-exposing the WB image. The resulting image once hue adjusted does not have enough green, making for a magenta shift.
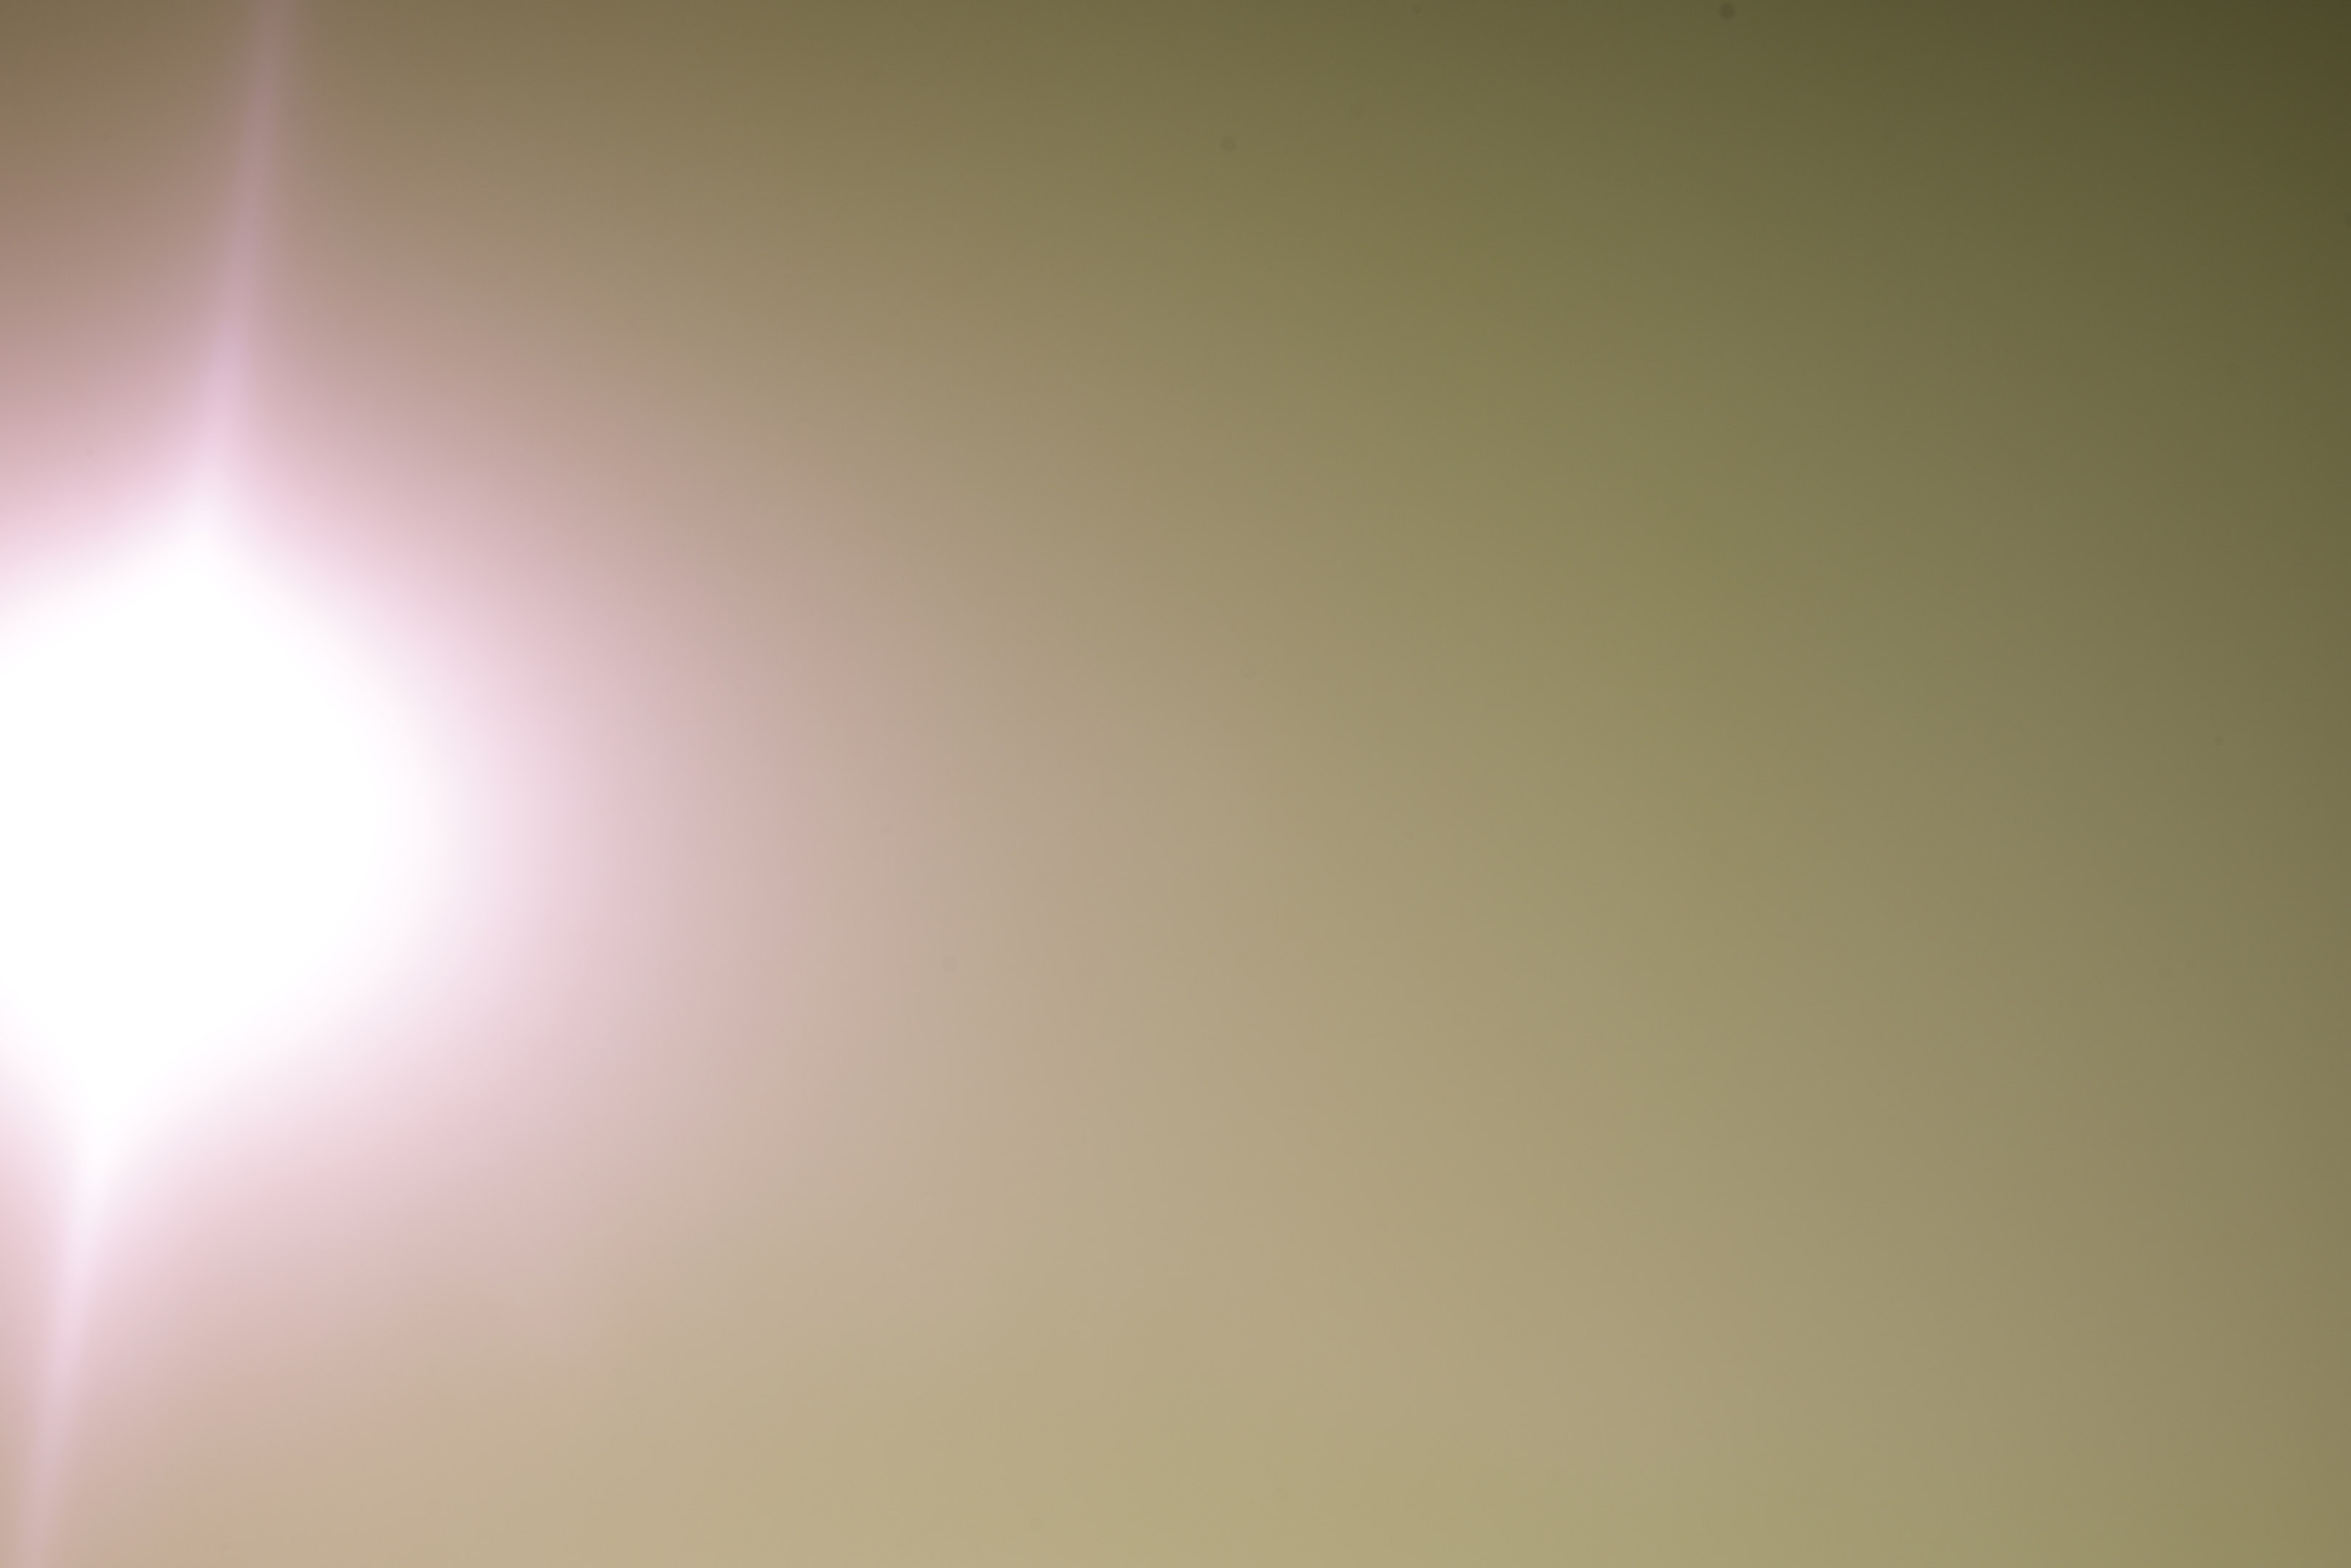
WB image using the 0.1mm thick PTFE sheet over the end of the lens. (0.25mm thick and 0.3mm thick PTFE sheet WB images were also similar).

For comparison, the 3.5mm thick PTFE disc over the end of the lens gives a much more evenly lit WB image. (Expodisc and 3mm thick ePTFE disc WB images were also similar).
0.25mm thick PTFE sheet covering lens, camera pointed towards light
A better result, but the problems in taking the WB image are much the same as when using 0.1mm thick PTFE over the lens.
0.3mm thick PTFE sheet covering lens, camera pointed towards light

Basically the same as 0.25mm PTFE, unsurprisingly.
Clouds (WB image taken with 55-250 lens)
Due to the cloud coverage on this day I had to use a longer lens to take the WB photo to white balance on clouds. I'm not sure why, but the resulting white balance is not very good and the image has a strong red tint (once hue adjusted). In all my previous tests WB on clouds has given me the best result, in terms of getting an image where the clouds are neutral in colour. All other results in this test were pretty much consistent with what I saw in previous tests, so I'm not sure what happened here.
Having to swap lenses, which meant also swapping over the filter used, just to take a WB image is very inconvenient. Hence why I generally prefer a WB preset image.
Clouds WB in post
Using the color picker to set white balance on the clouds in post gives the best result in my opinion.
Test with Zomei 720 (mainly infrared)
Next set of tests were with the Zomei 720nm filter, which passes mainly infrared with a small amount of visible red light.


PTFE disc reflected
Ever-so slightly warm, but the exposure of the image is darker, so the colour difference may be down to a change in the lighting.
PTFE disc covering lens, camera pointed towards subject
As we saw previously, white balancing with a diffuser over the lens and pointing the lens towards the subject does not work well. The image here is too warm.
PTFE disc covering lens, camera pointed towards light
Interestingly, while not as overly warm as when pointing towards the subject, we are still getting a relatively poor result that is too warm.
ePTFE disc covering lens, camera pointed towards light
Slightly worse than the standard PTFE when used in the same way. The result is better than pointing towards the subject but still not very good.
Expodisc v2 covering lens, camera pointed towards light
Very similar to standard PTFE over the lens and shot towards the light. Resulting image is too warm.
Expodisc v3 covering lens, camera pointed towards subject
As we saw before, pointing the lens towards the subject gives a worse result with an even warmer and redder image.
0.1mm thick PTFE sheet covering lens, camera pointed towards light
This is actually giving a better result than the Expodisc v3, but it is still lacking slightly in blue for a neutral result.
0.25mm thick PTFE sheet covering lens, camera pointed towards light
Pretty much the same as the 0.1mm thick PTFE.
0.3mm thick PTFE sheet covering lens, camera pointed towards light

Pretty much the same as the 0.1mm (and 0.25mm) thick PTFE.
Clouds (WB image taken with 55-250 lens)
Again, our white balance is way off, so I'm not really sure what happened here, when in previous tests I found Clouds to be the best. The Clouds image was taken zoomed in to clouds near the bush on the right.
Test with 'Candy Chrome' (mix of visible and IR light)
This set of tests used the 'Candy Chrome' (GRB3 1mm + Lee 139) filter. No adjustments in post.
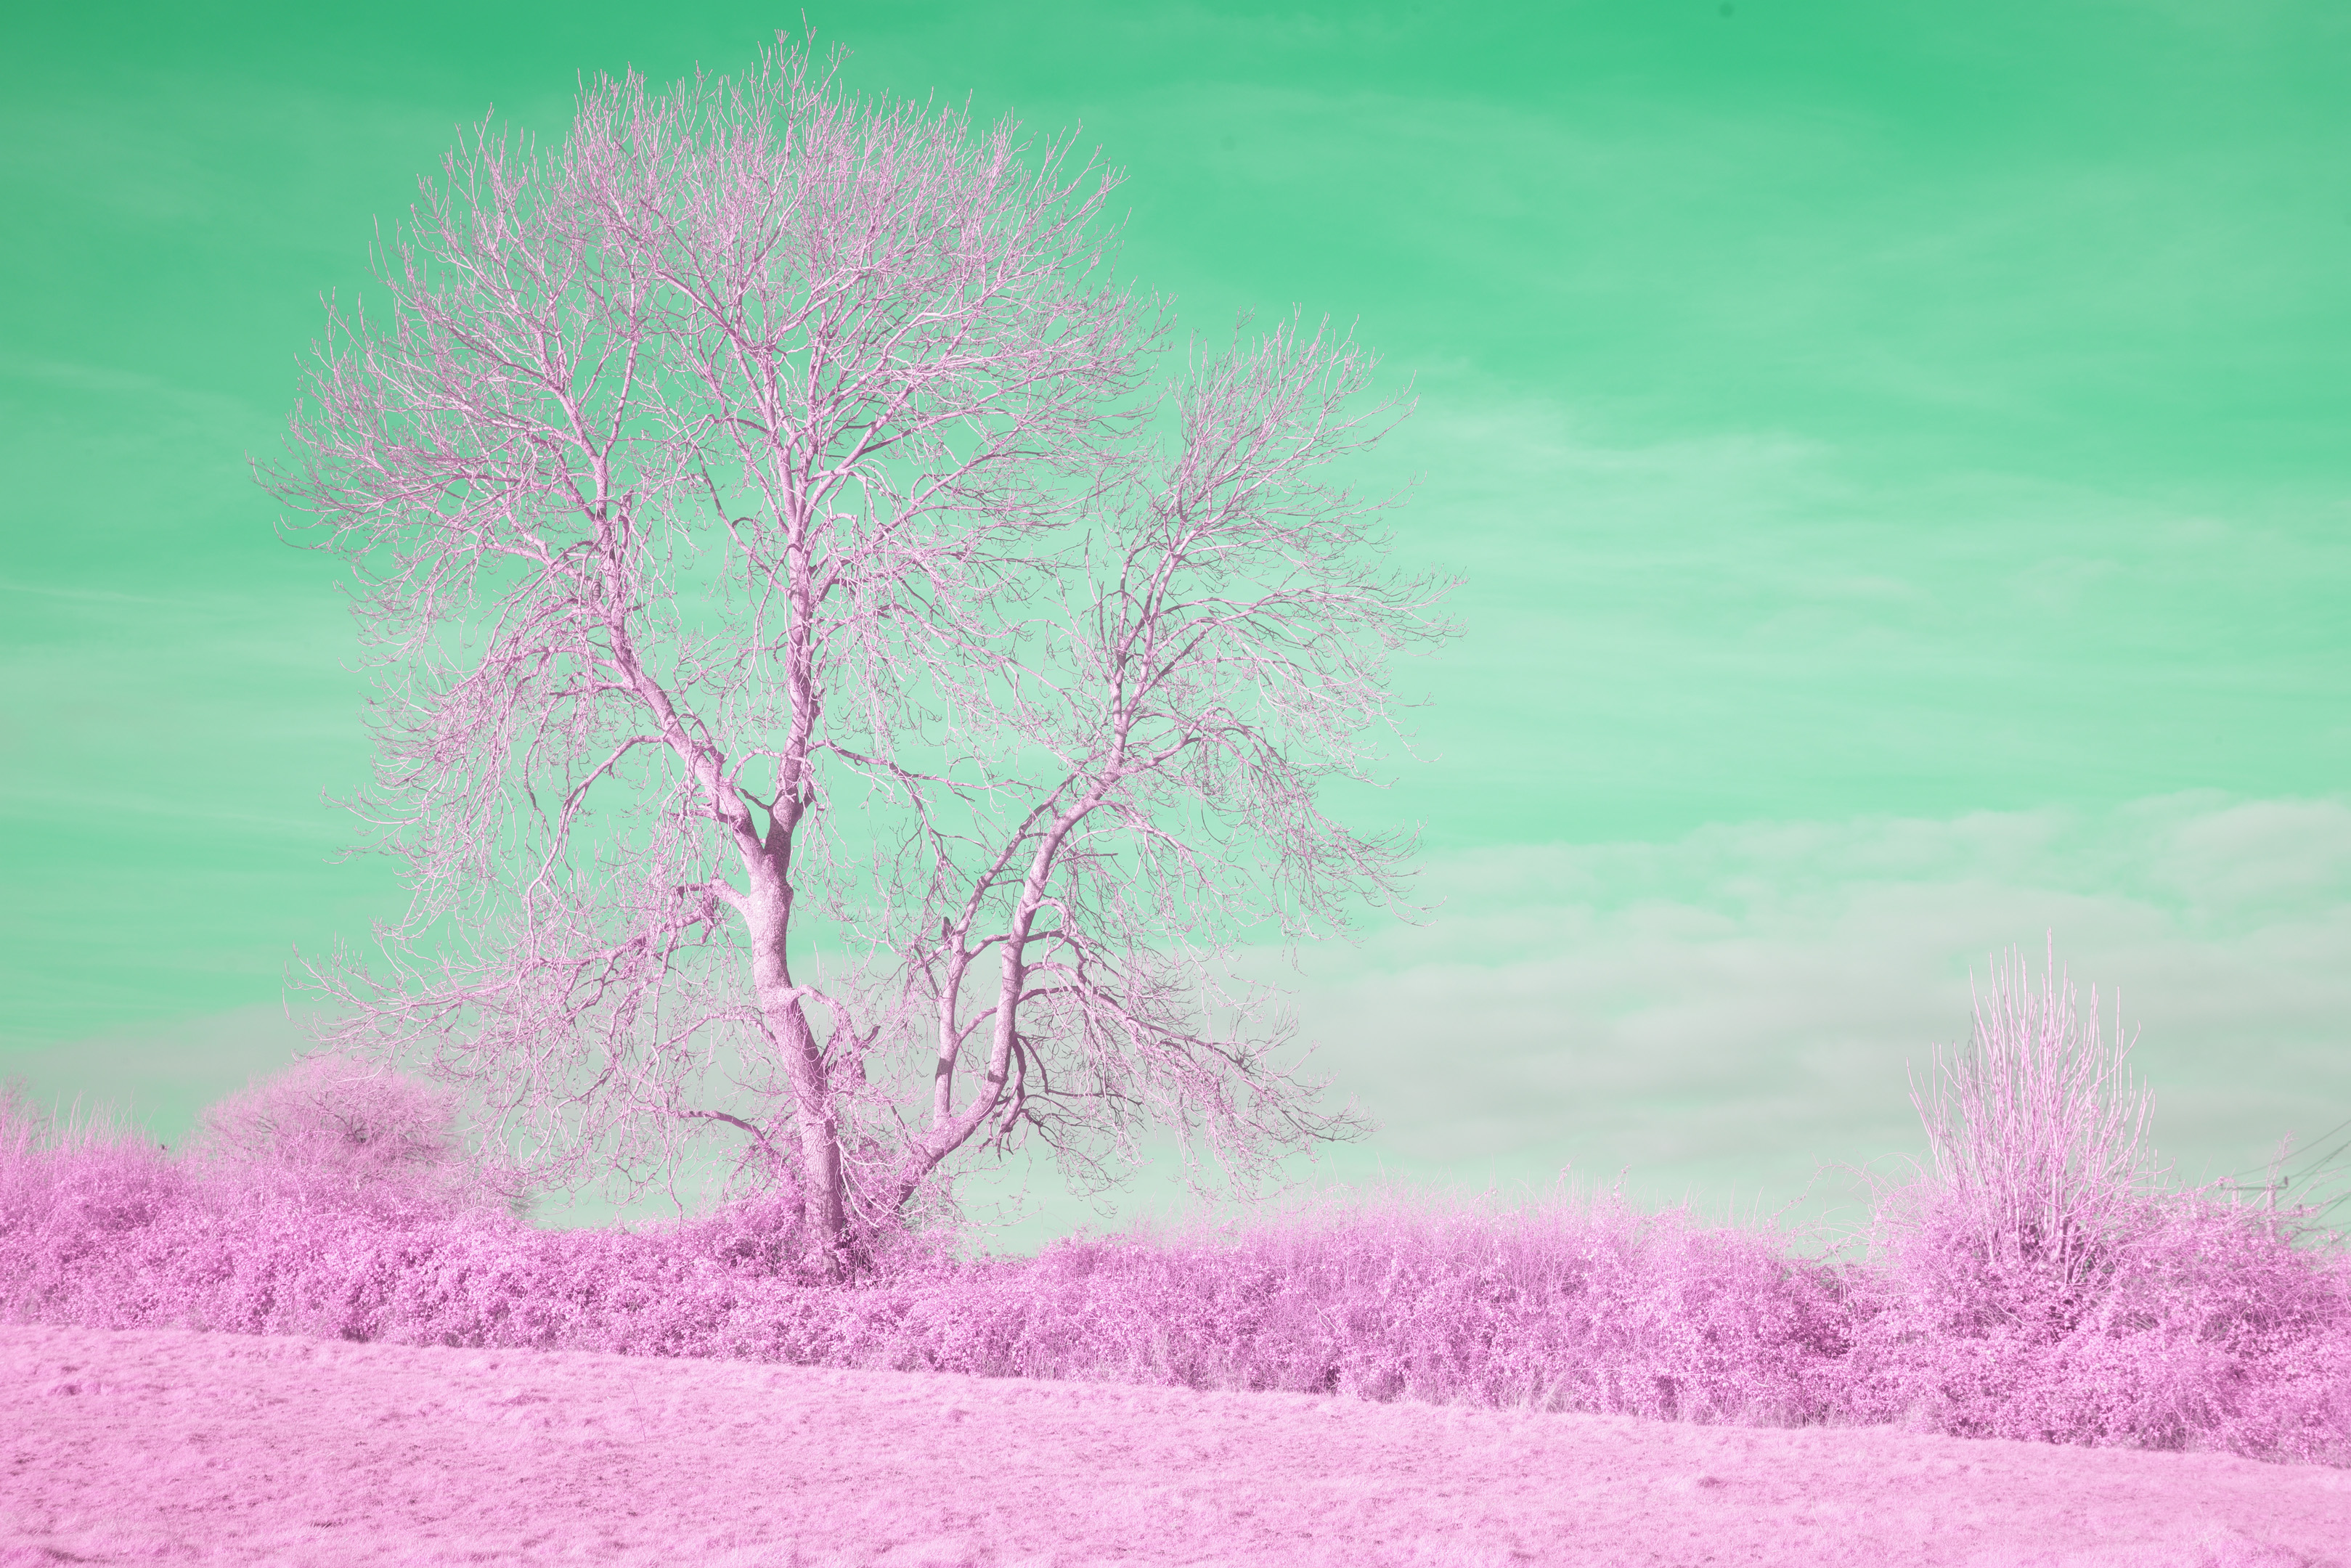

PTFE disc covering lens, camera pointed towards subject
A bad result as we'd expect, very green and lacking in red.
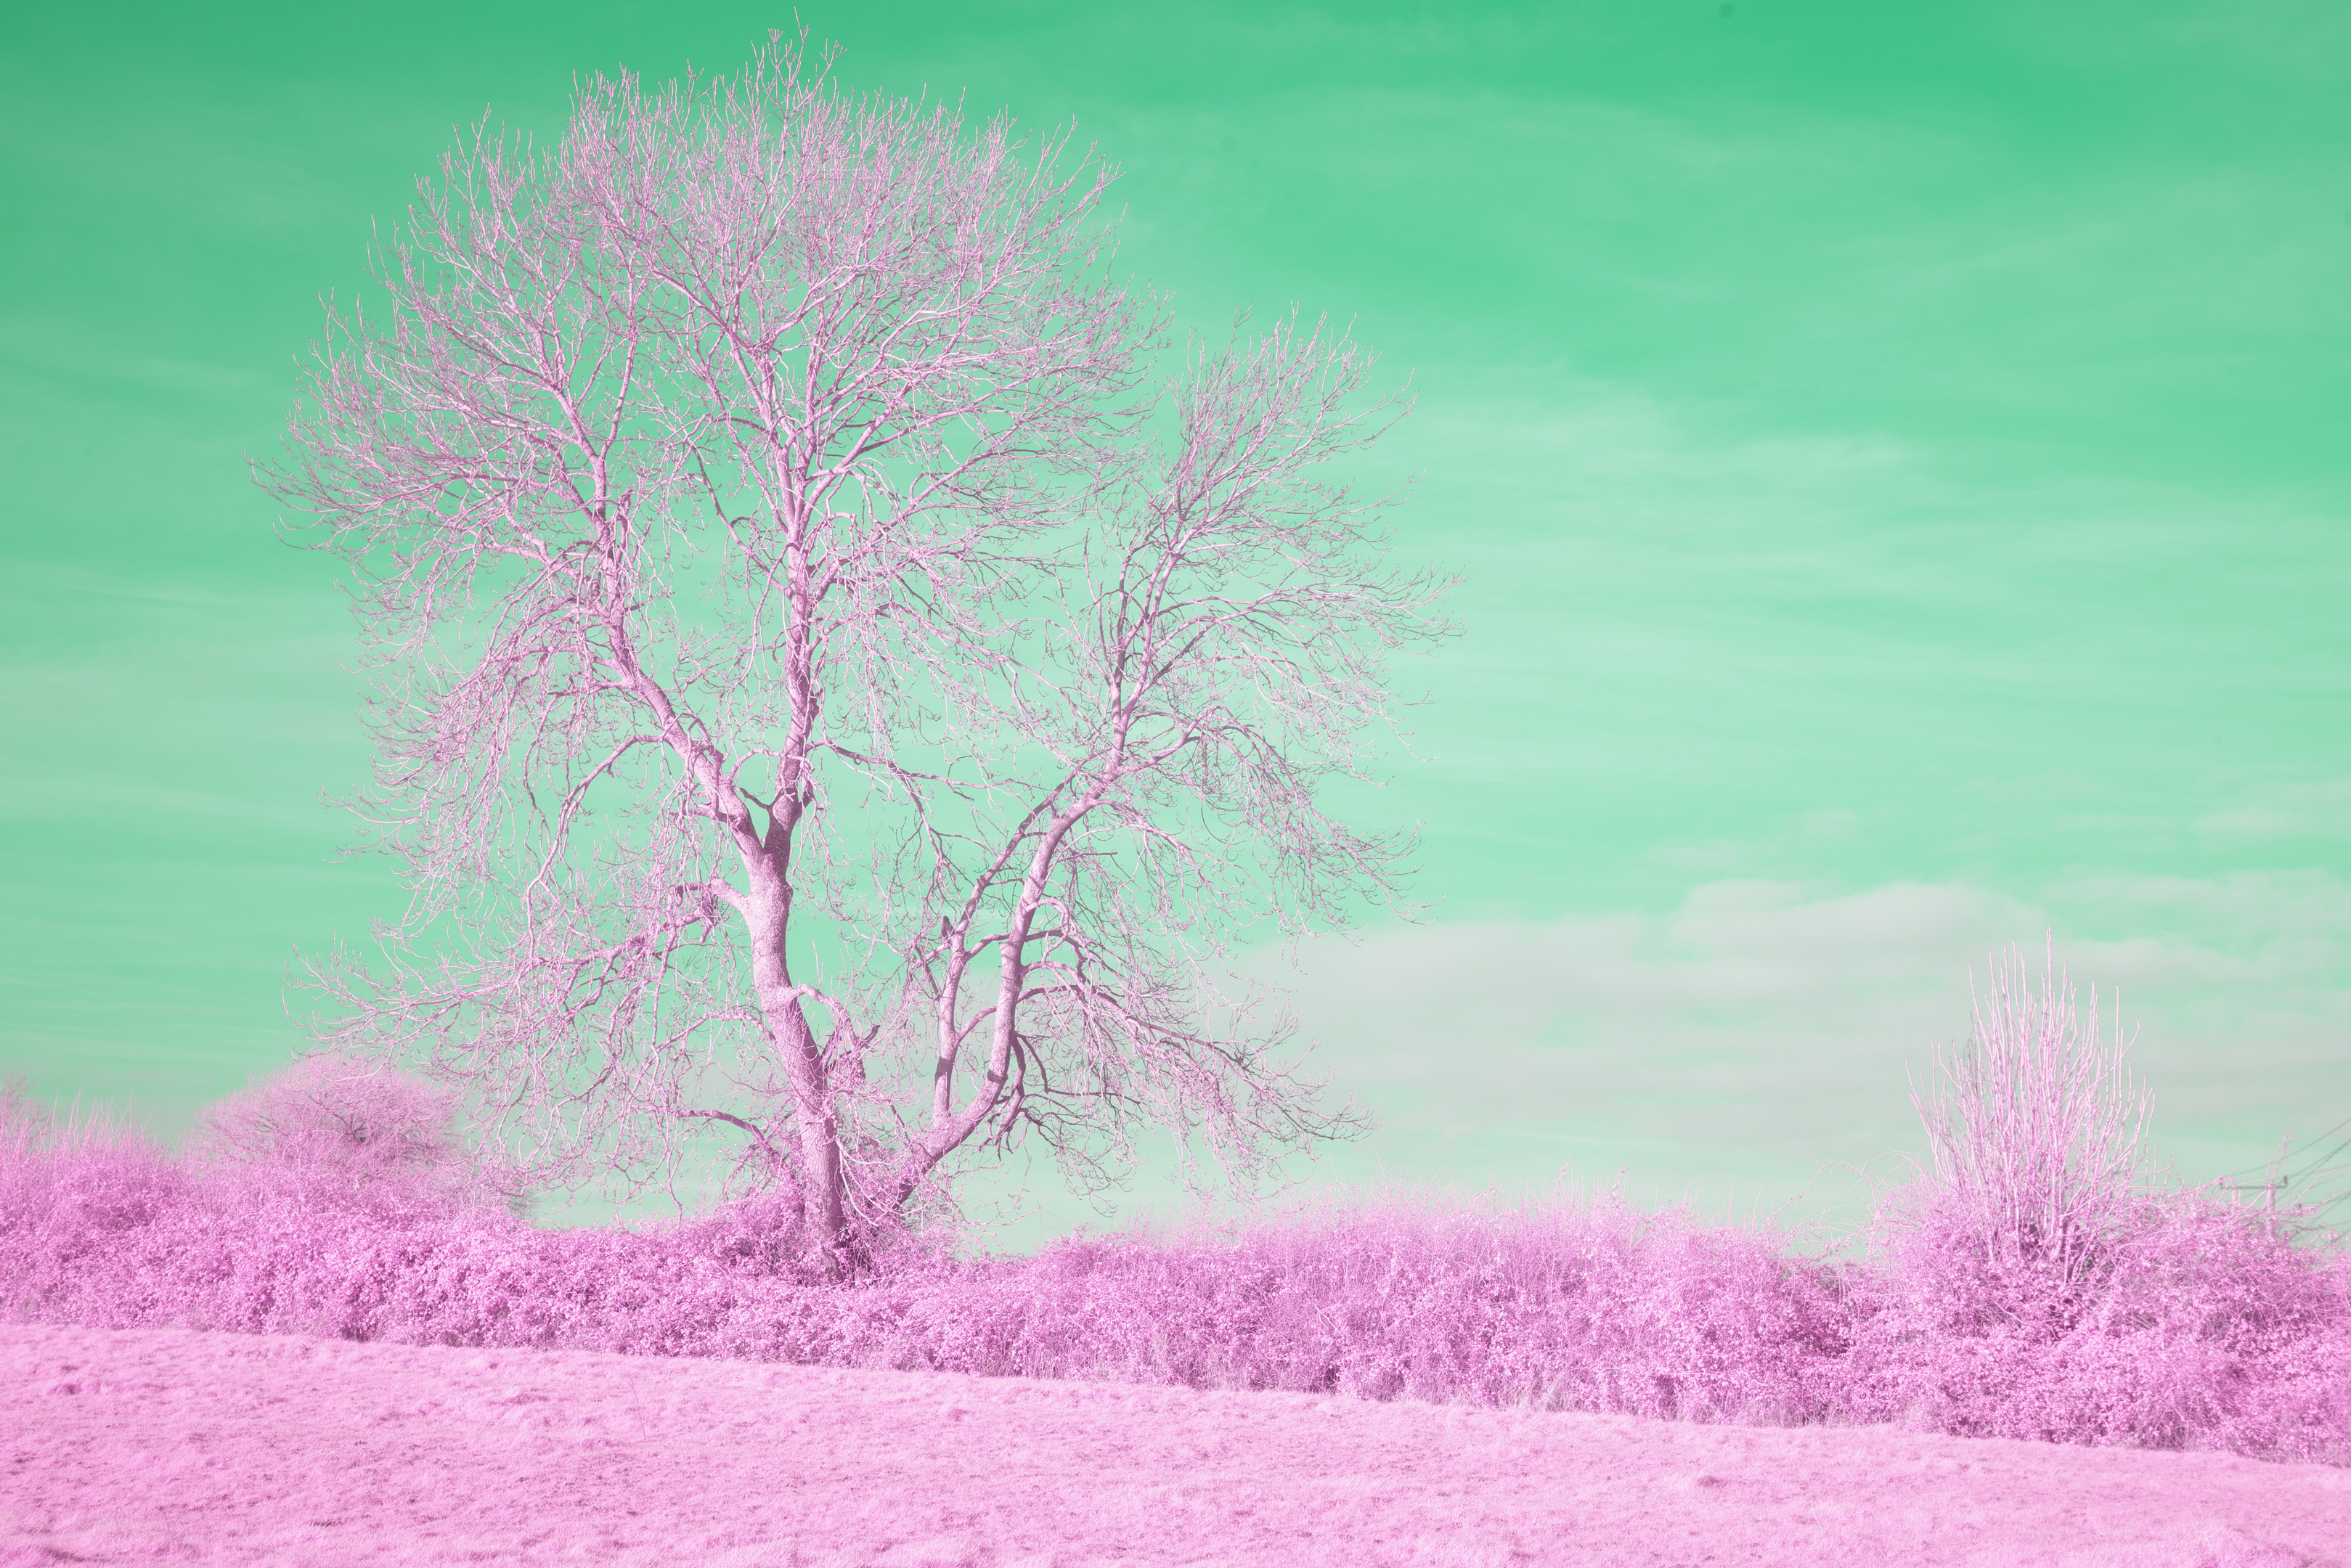
PTFE disc covering lens, camera pointed towards light
Not quite as green biased as with the lens pointed towards the subject, but still very green tinted.
ePTFE disc covering lens, camera pointed towards light
Slightly better than pointing towards the light, but still pretty poor.
Expodisc v2 covering lens, camera pointed towards light
Slightly greener than PTFE used over the lens.
Expodisc v3 covering lens, camera pointed towards light
Too green and not enough red, actually worse than using it as a reflected target.
Expodisc v3 covering lens, camera pointed towards subject
A bit worse than when used pointed towards the light but not a big difference.
0.25mm thick PTFE sheet covering lens, camera pointed towards light
Same as the 0.1mm thick PTFE, too green and not enough red.
0.3mm thick PTFE sheet covering lens, camera pointed towards light
As the other two, too green and not enough red.
Clouds (WB image taken with 55-250 lens)
This is actually not green enough (a bit too magenta), though as a SOOC image I actually like this one the most because the sky is more blue / cyan than it is green.
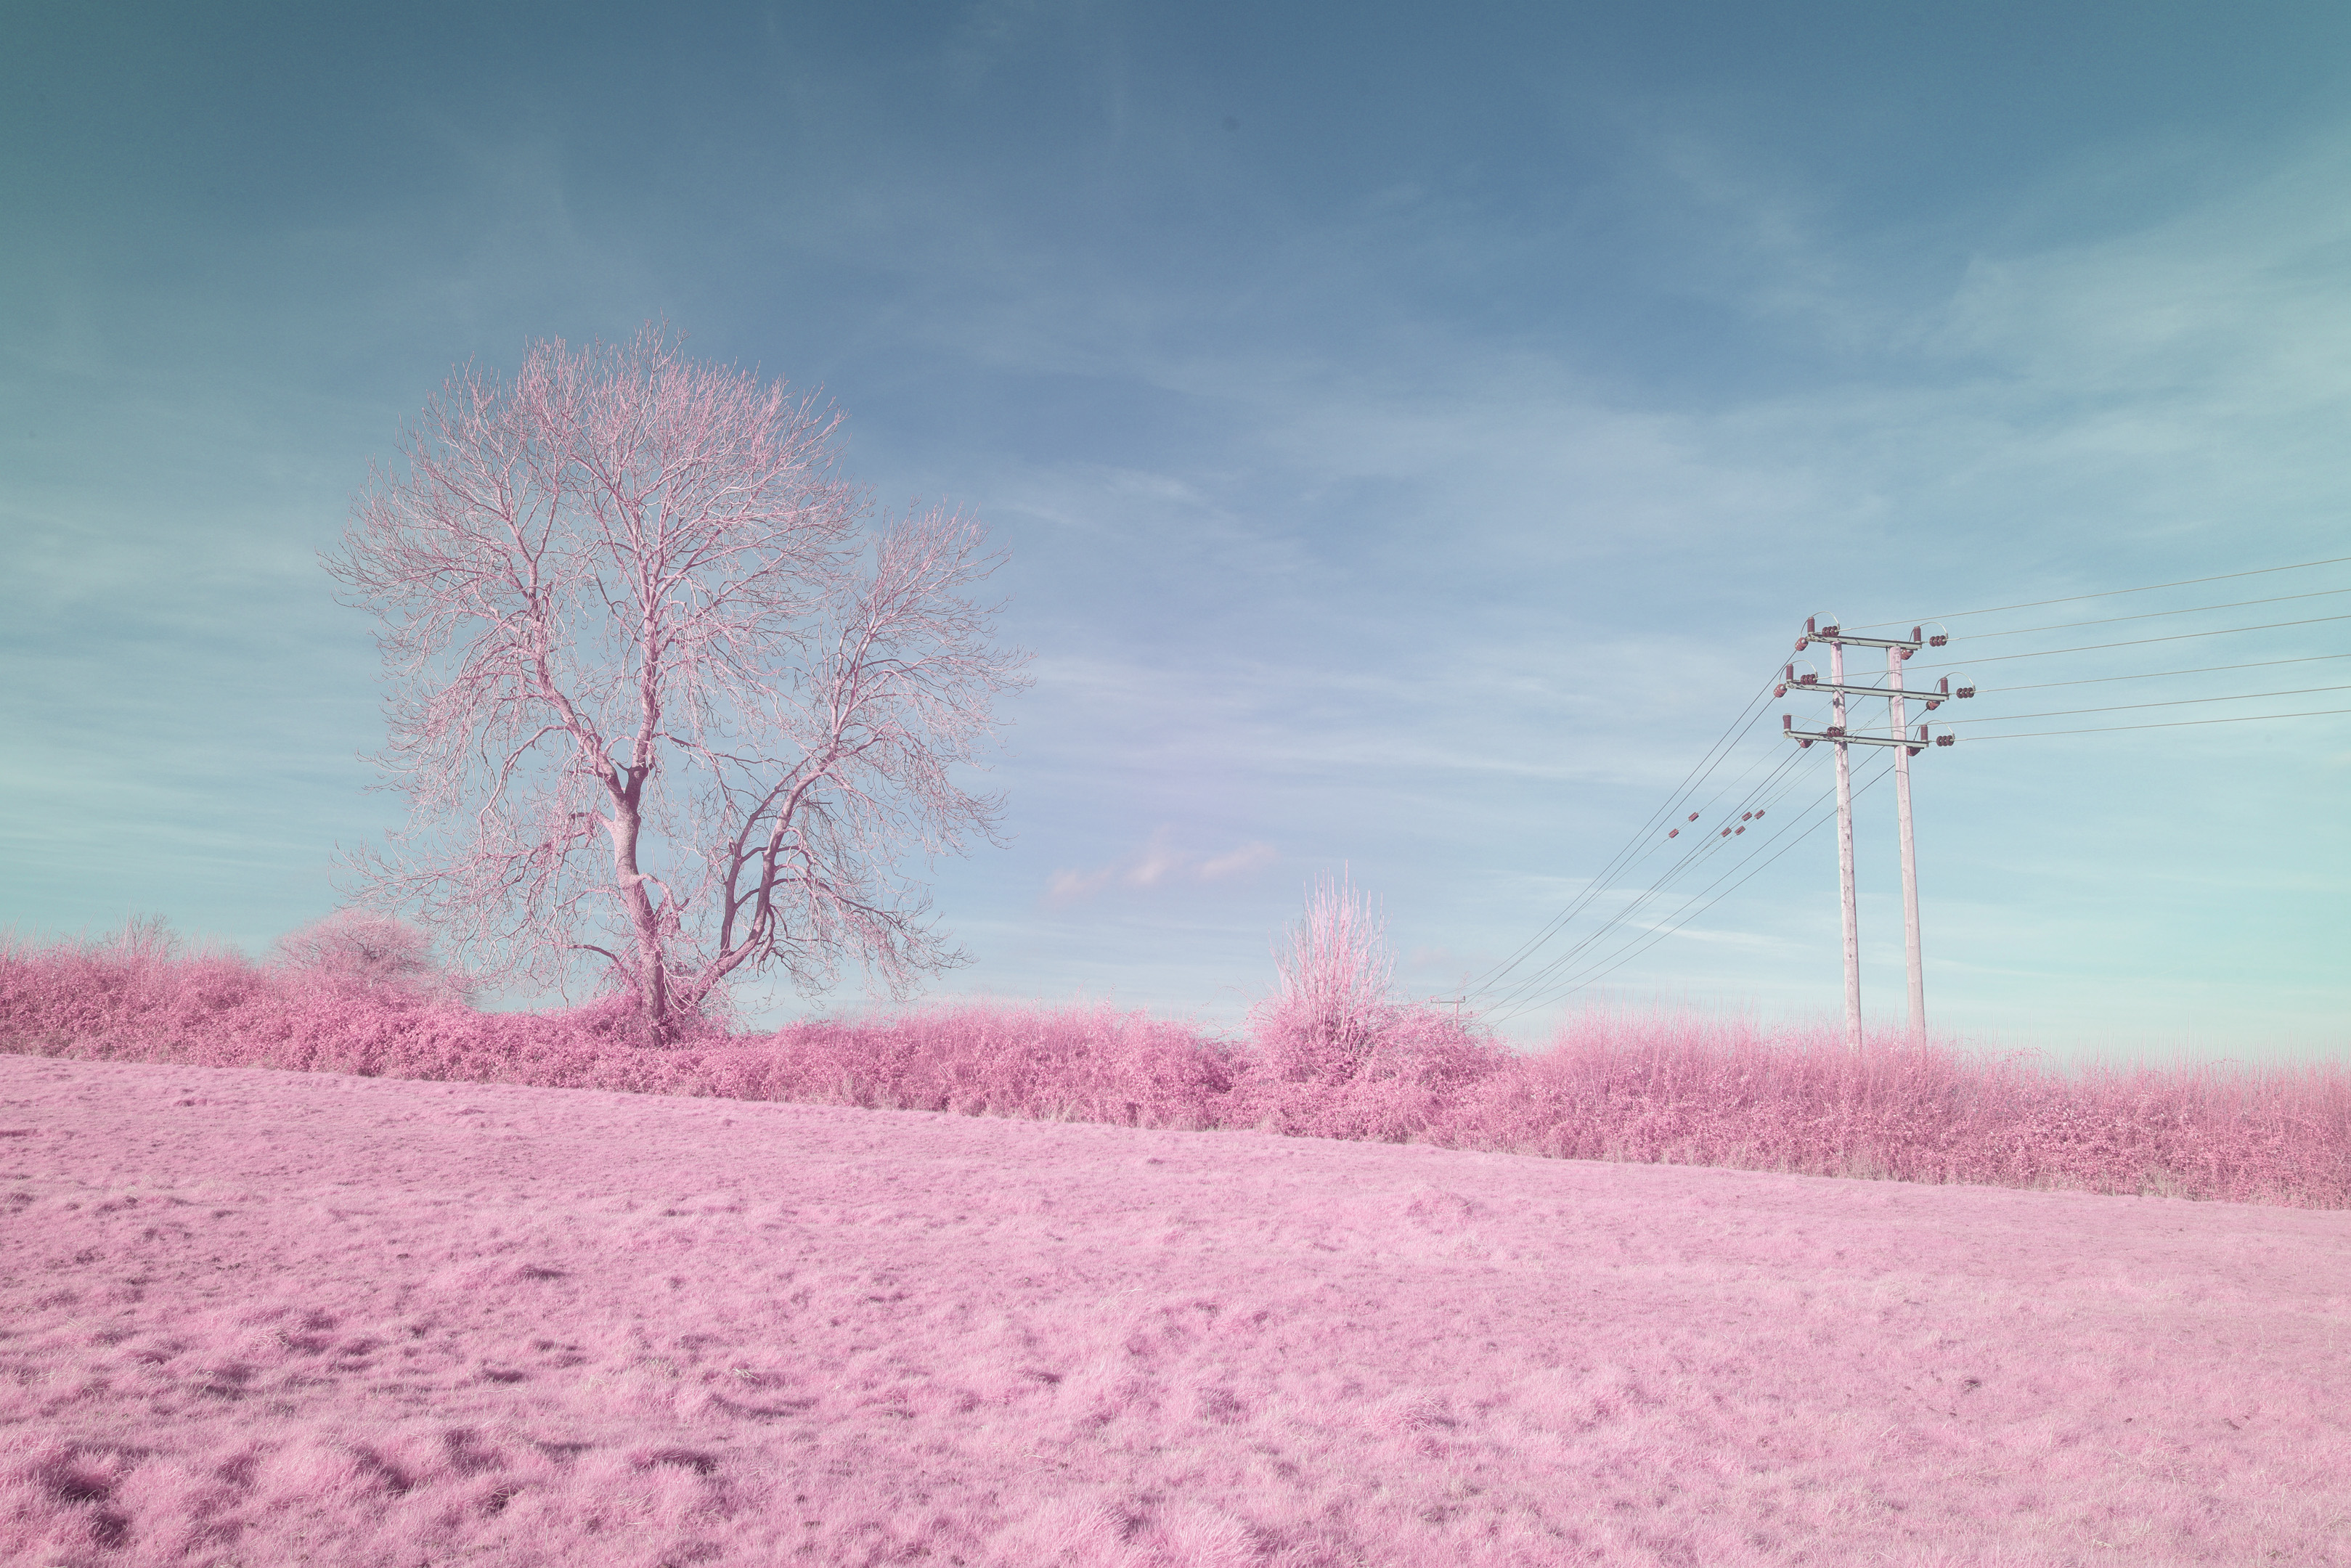
Test with Lee 101 and lens that has a diffuse IR hotspot
In my first tests I was using the Canon RF 28mm lens, and found all my images came out with a very poor white balance, except the one white balanced on clouds. After looking at the images in more detail, I worked out why - the lens has a large diffuse IR hotspot, so the colour temperature in the centre of the image is quite different to that at the edges. The clouds image I used to white balance was taken with a different lens that did not have an IR hotspot, hence why it gave a much better result.
So I thought I would re-test this lens with just a few of the white balance target options to show the differences. These images have not been corrected for the IR hotspot, but a 67° hue shift has been applied.
Colour Checker
Honestly this looks pretty decent, much better than I got in my original test. Technically it is too blue (after the hue shift).
Clouds (WB image taken with 55-250 lens)
This is pretty good with a slight magenta tint near the centre and yellow tint towards the edges (thanks to the IR hotspot).
Clouds WB in post
Pretty much the same as the in-camera result, by choosing where we take the white balance sample from we can get an image that is corrected fairly evenly.
Test with Baader U (ultraviolet)
For ultraviolet I'm not concerned with neutral clouds - if doing UV landscape photography you'll typically get a blown out white sky anyway. Instead I'm looking for neutral PTFE, as this is the generally accepted standard for false-colour ultraviolet images.
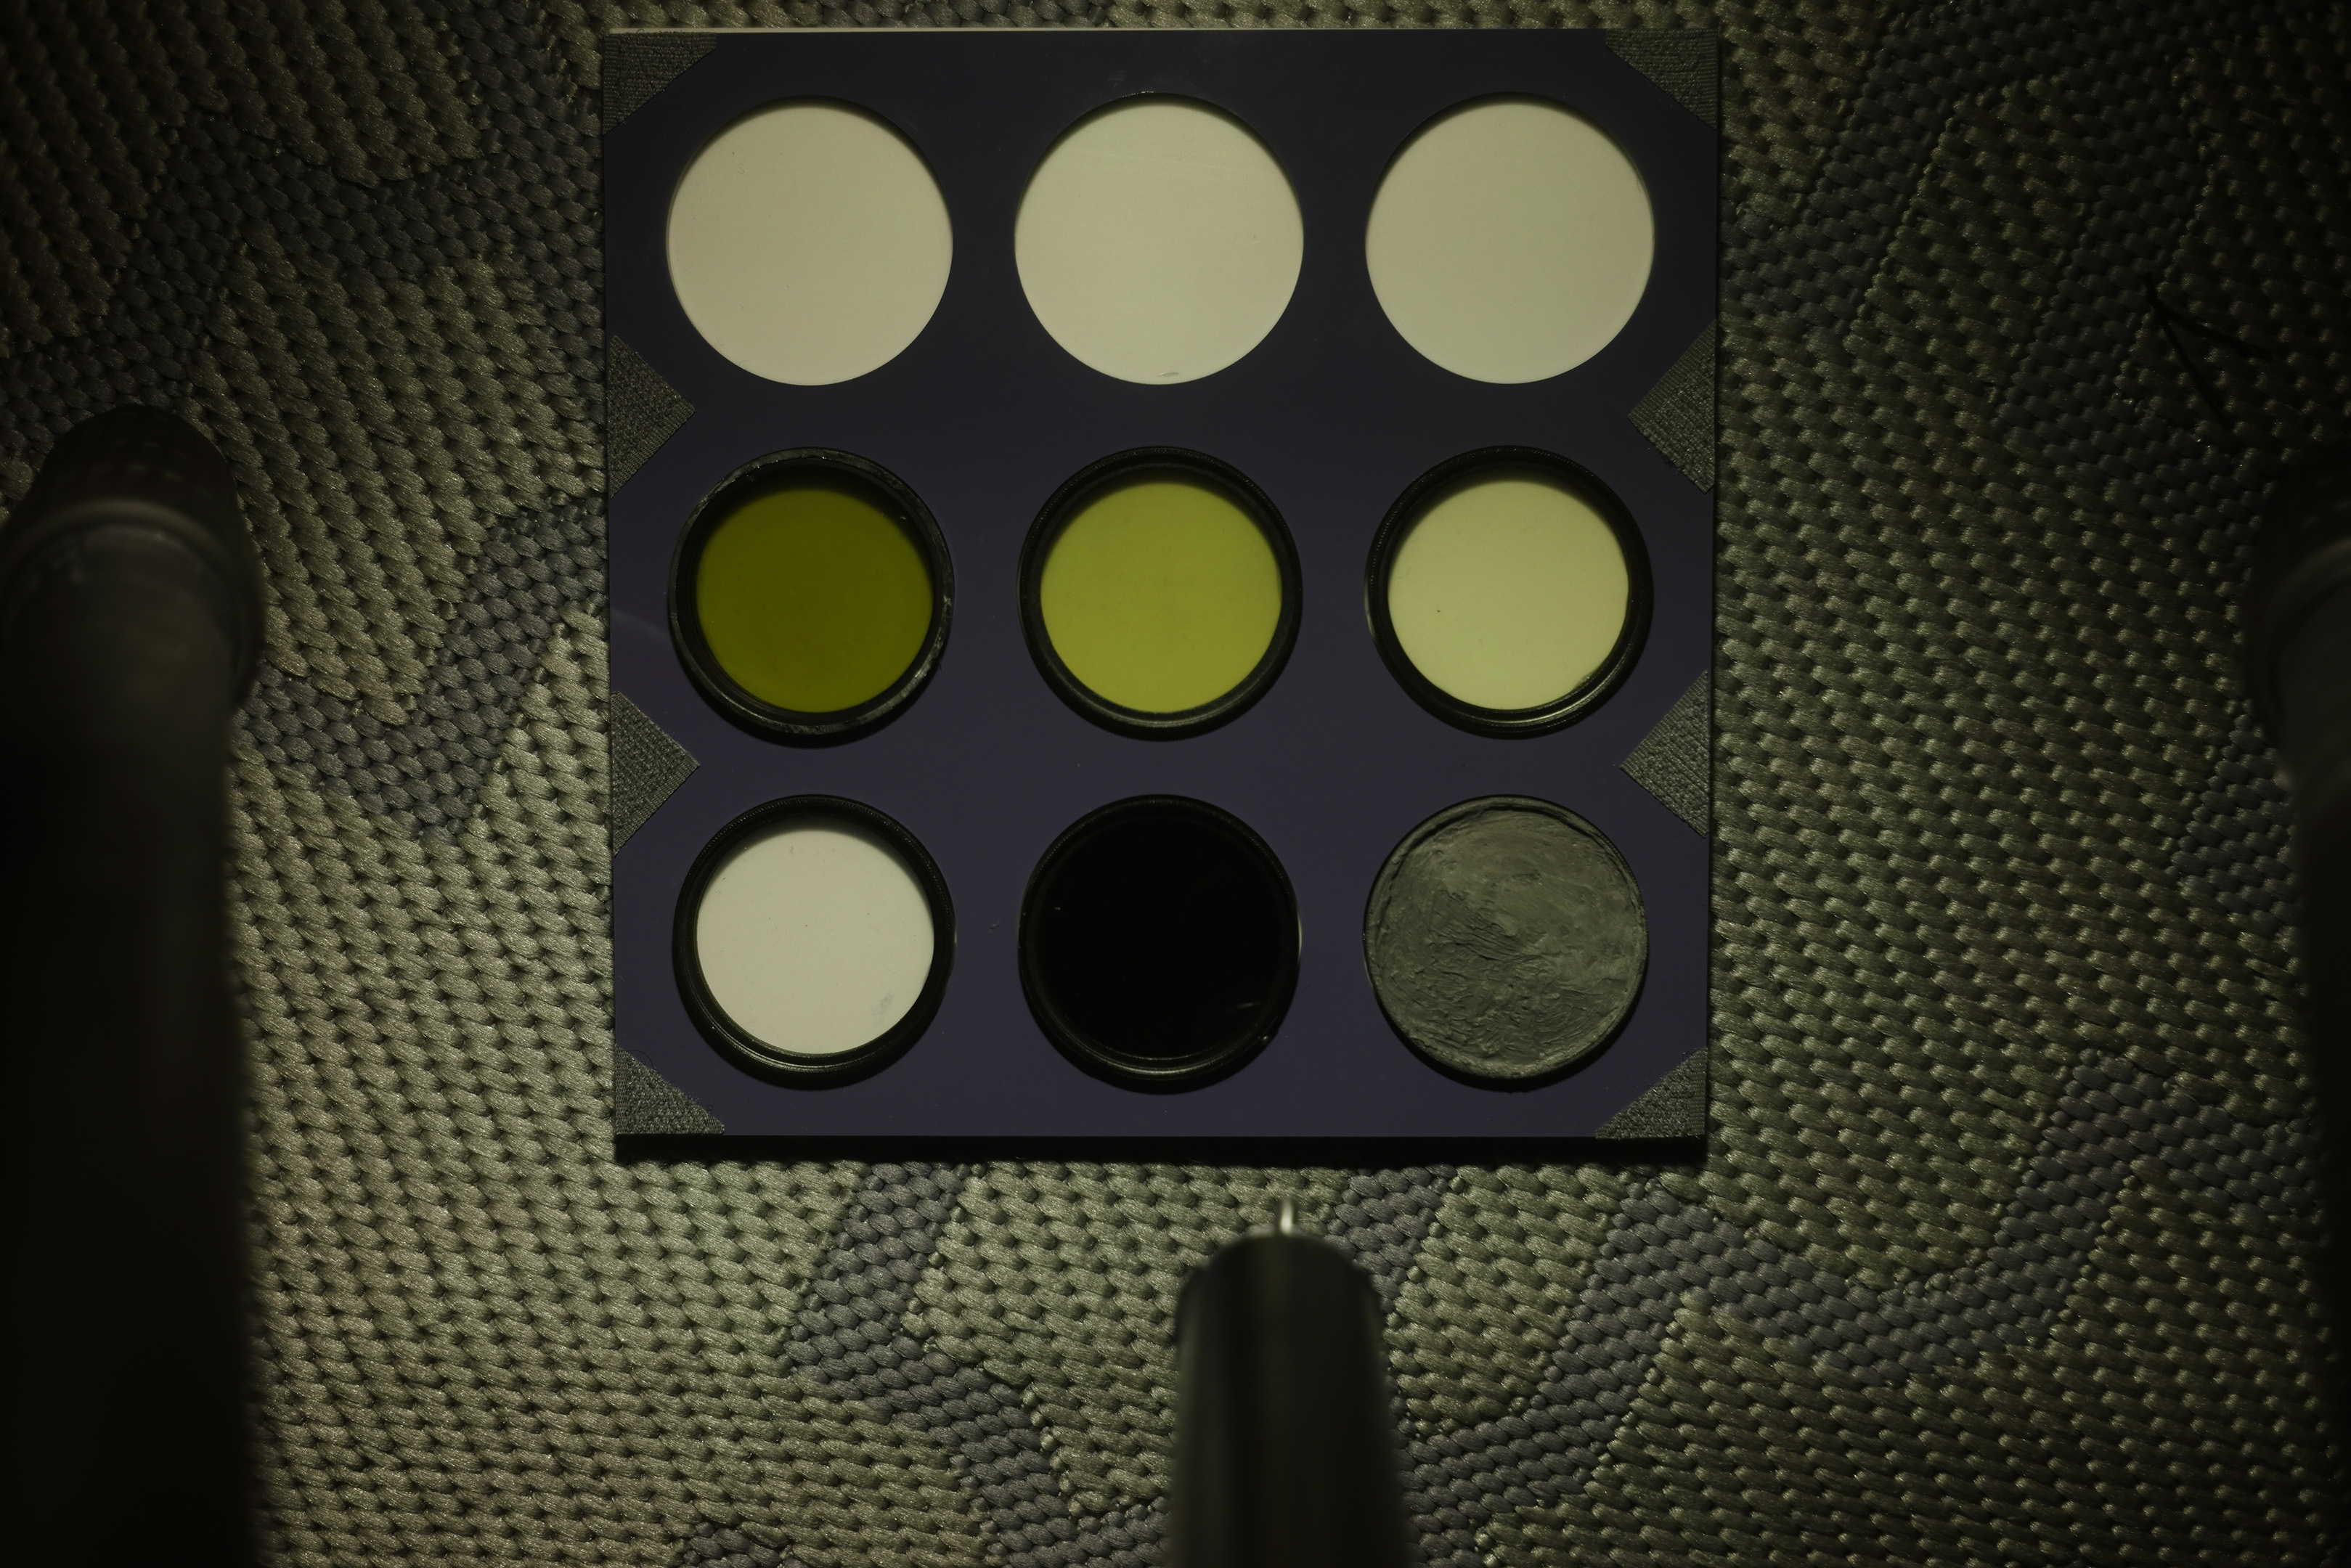
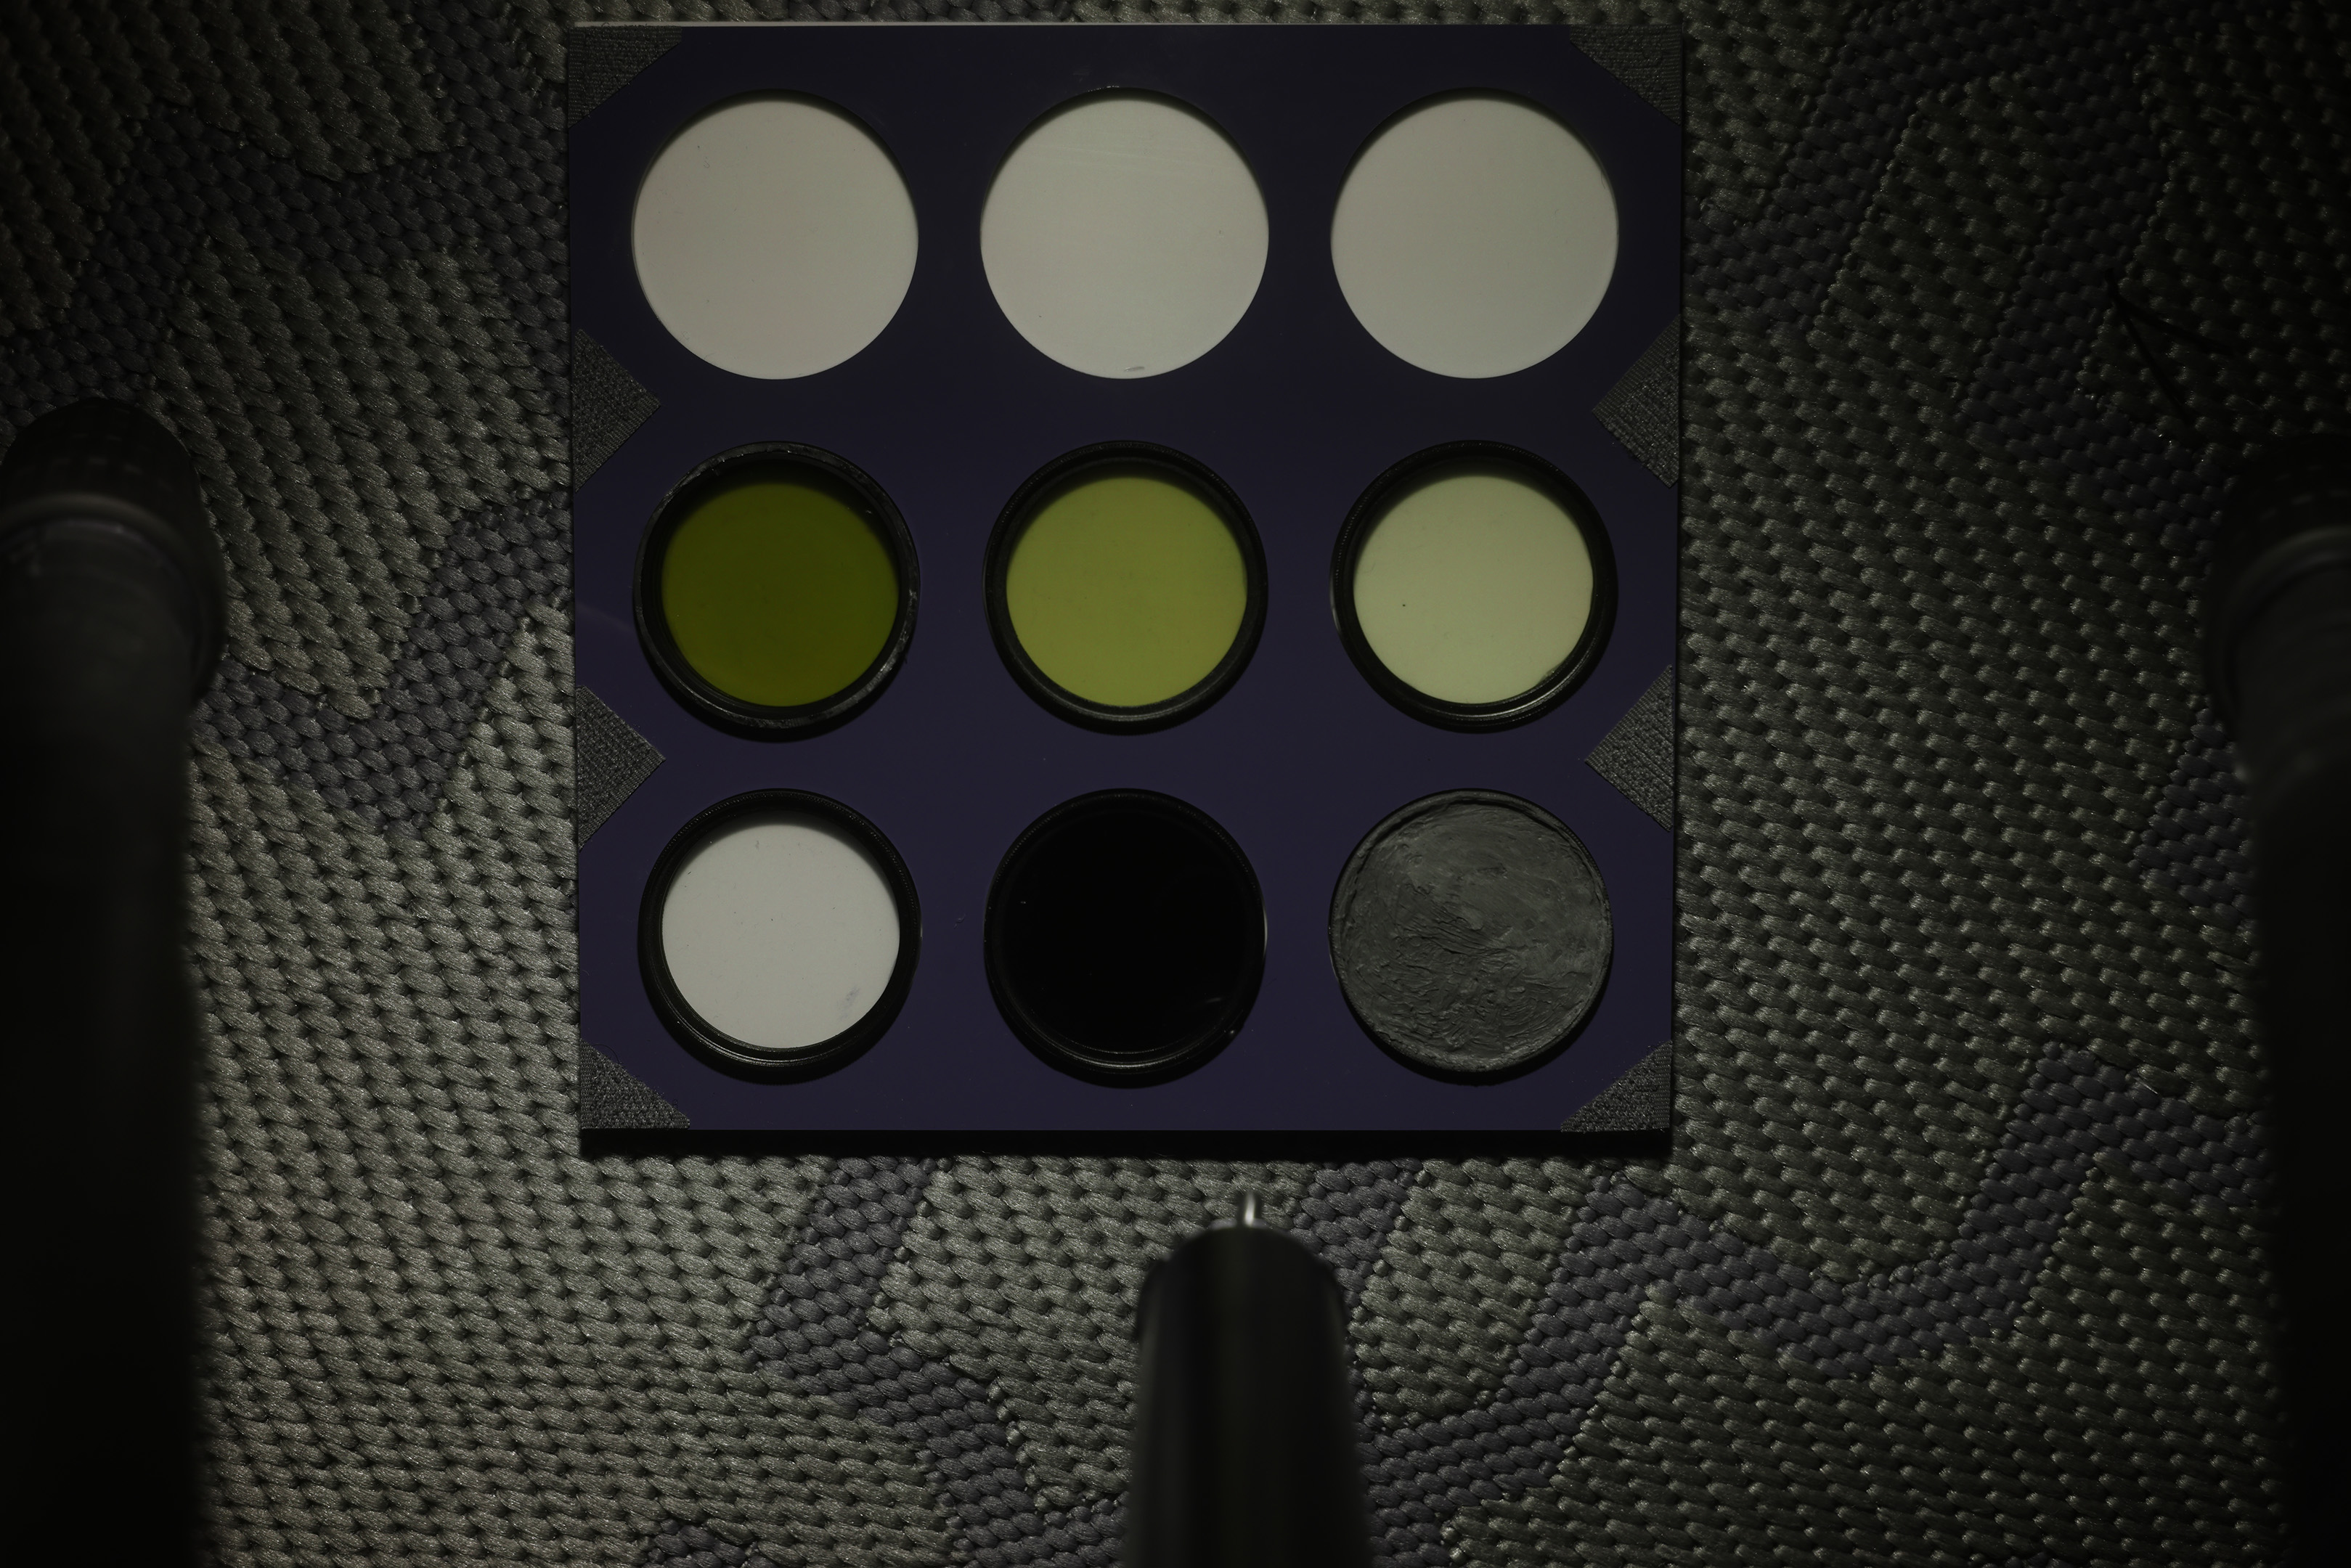
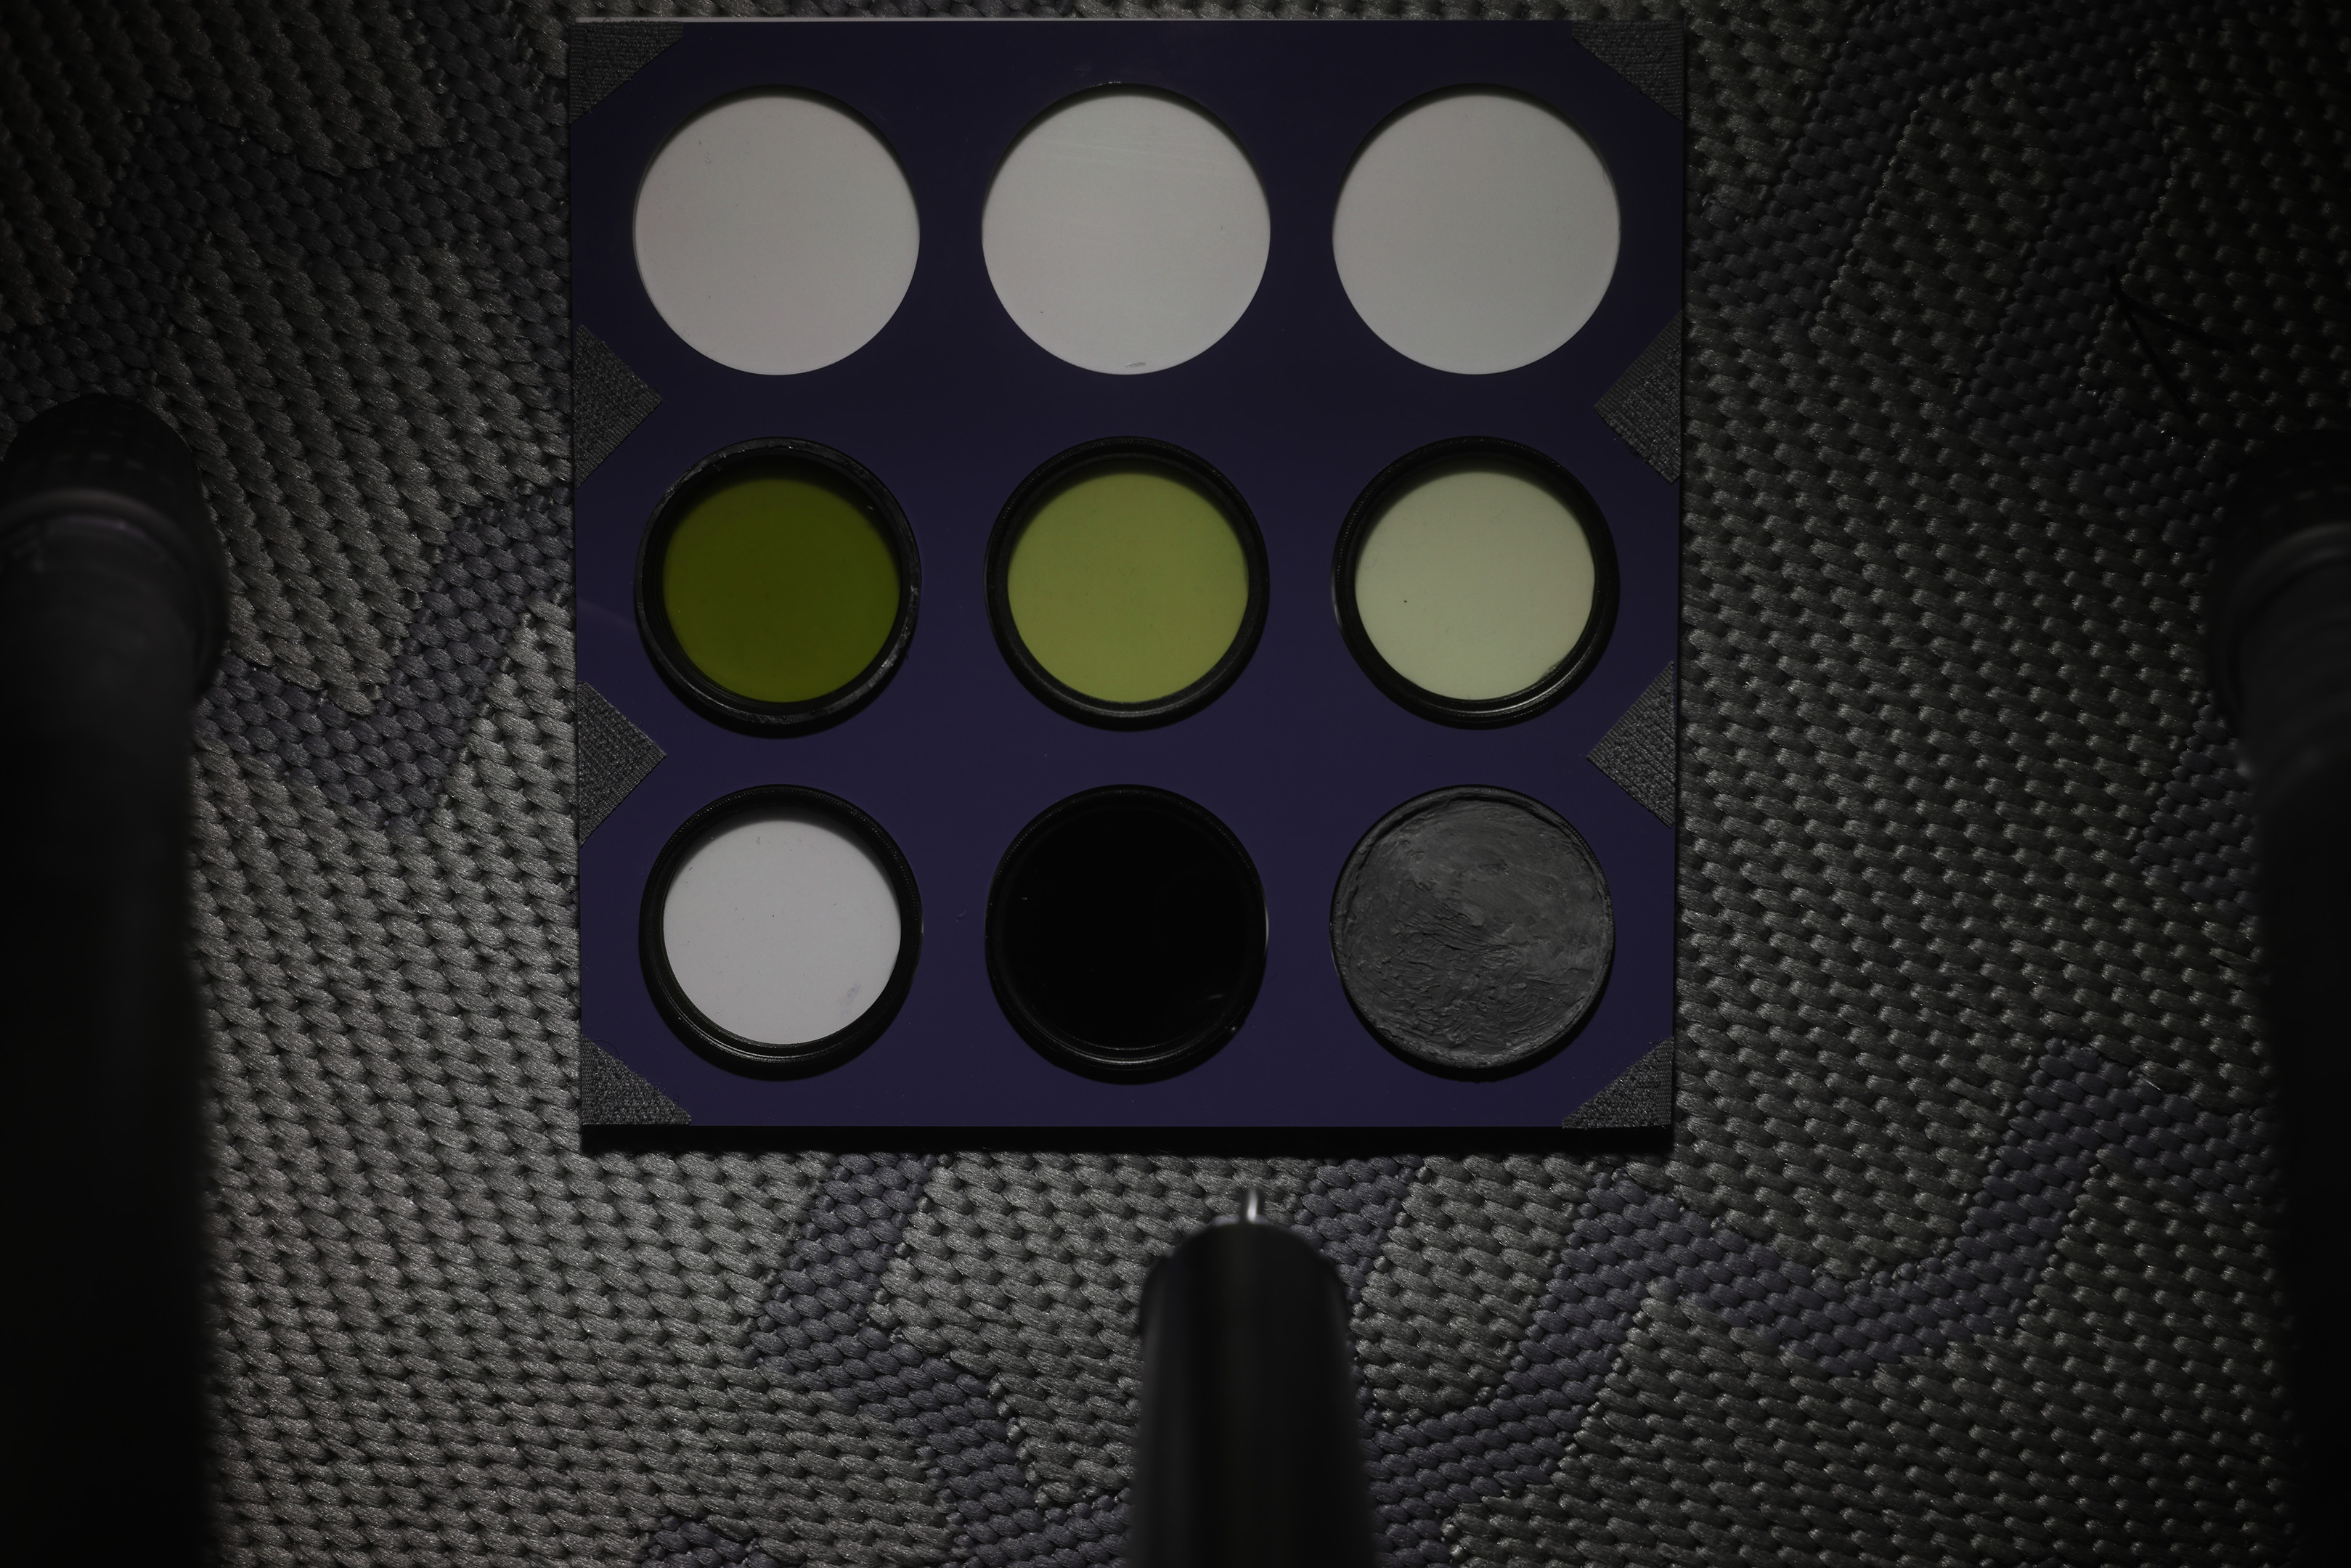
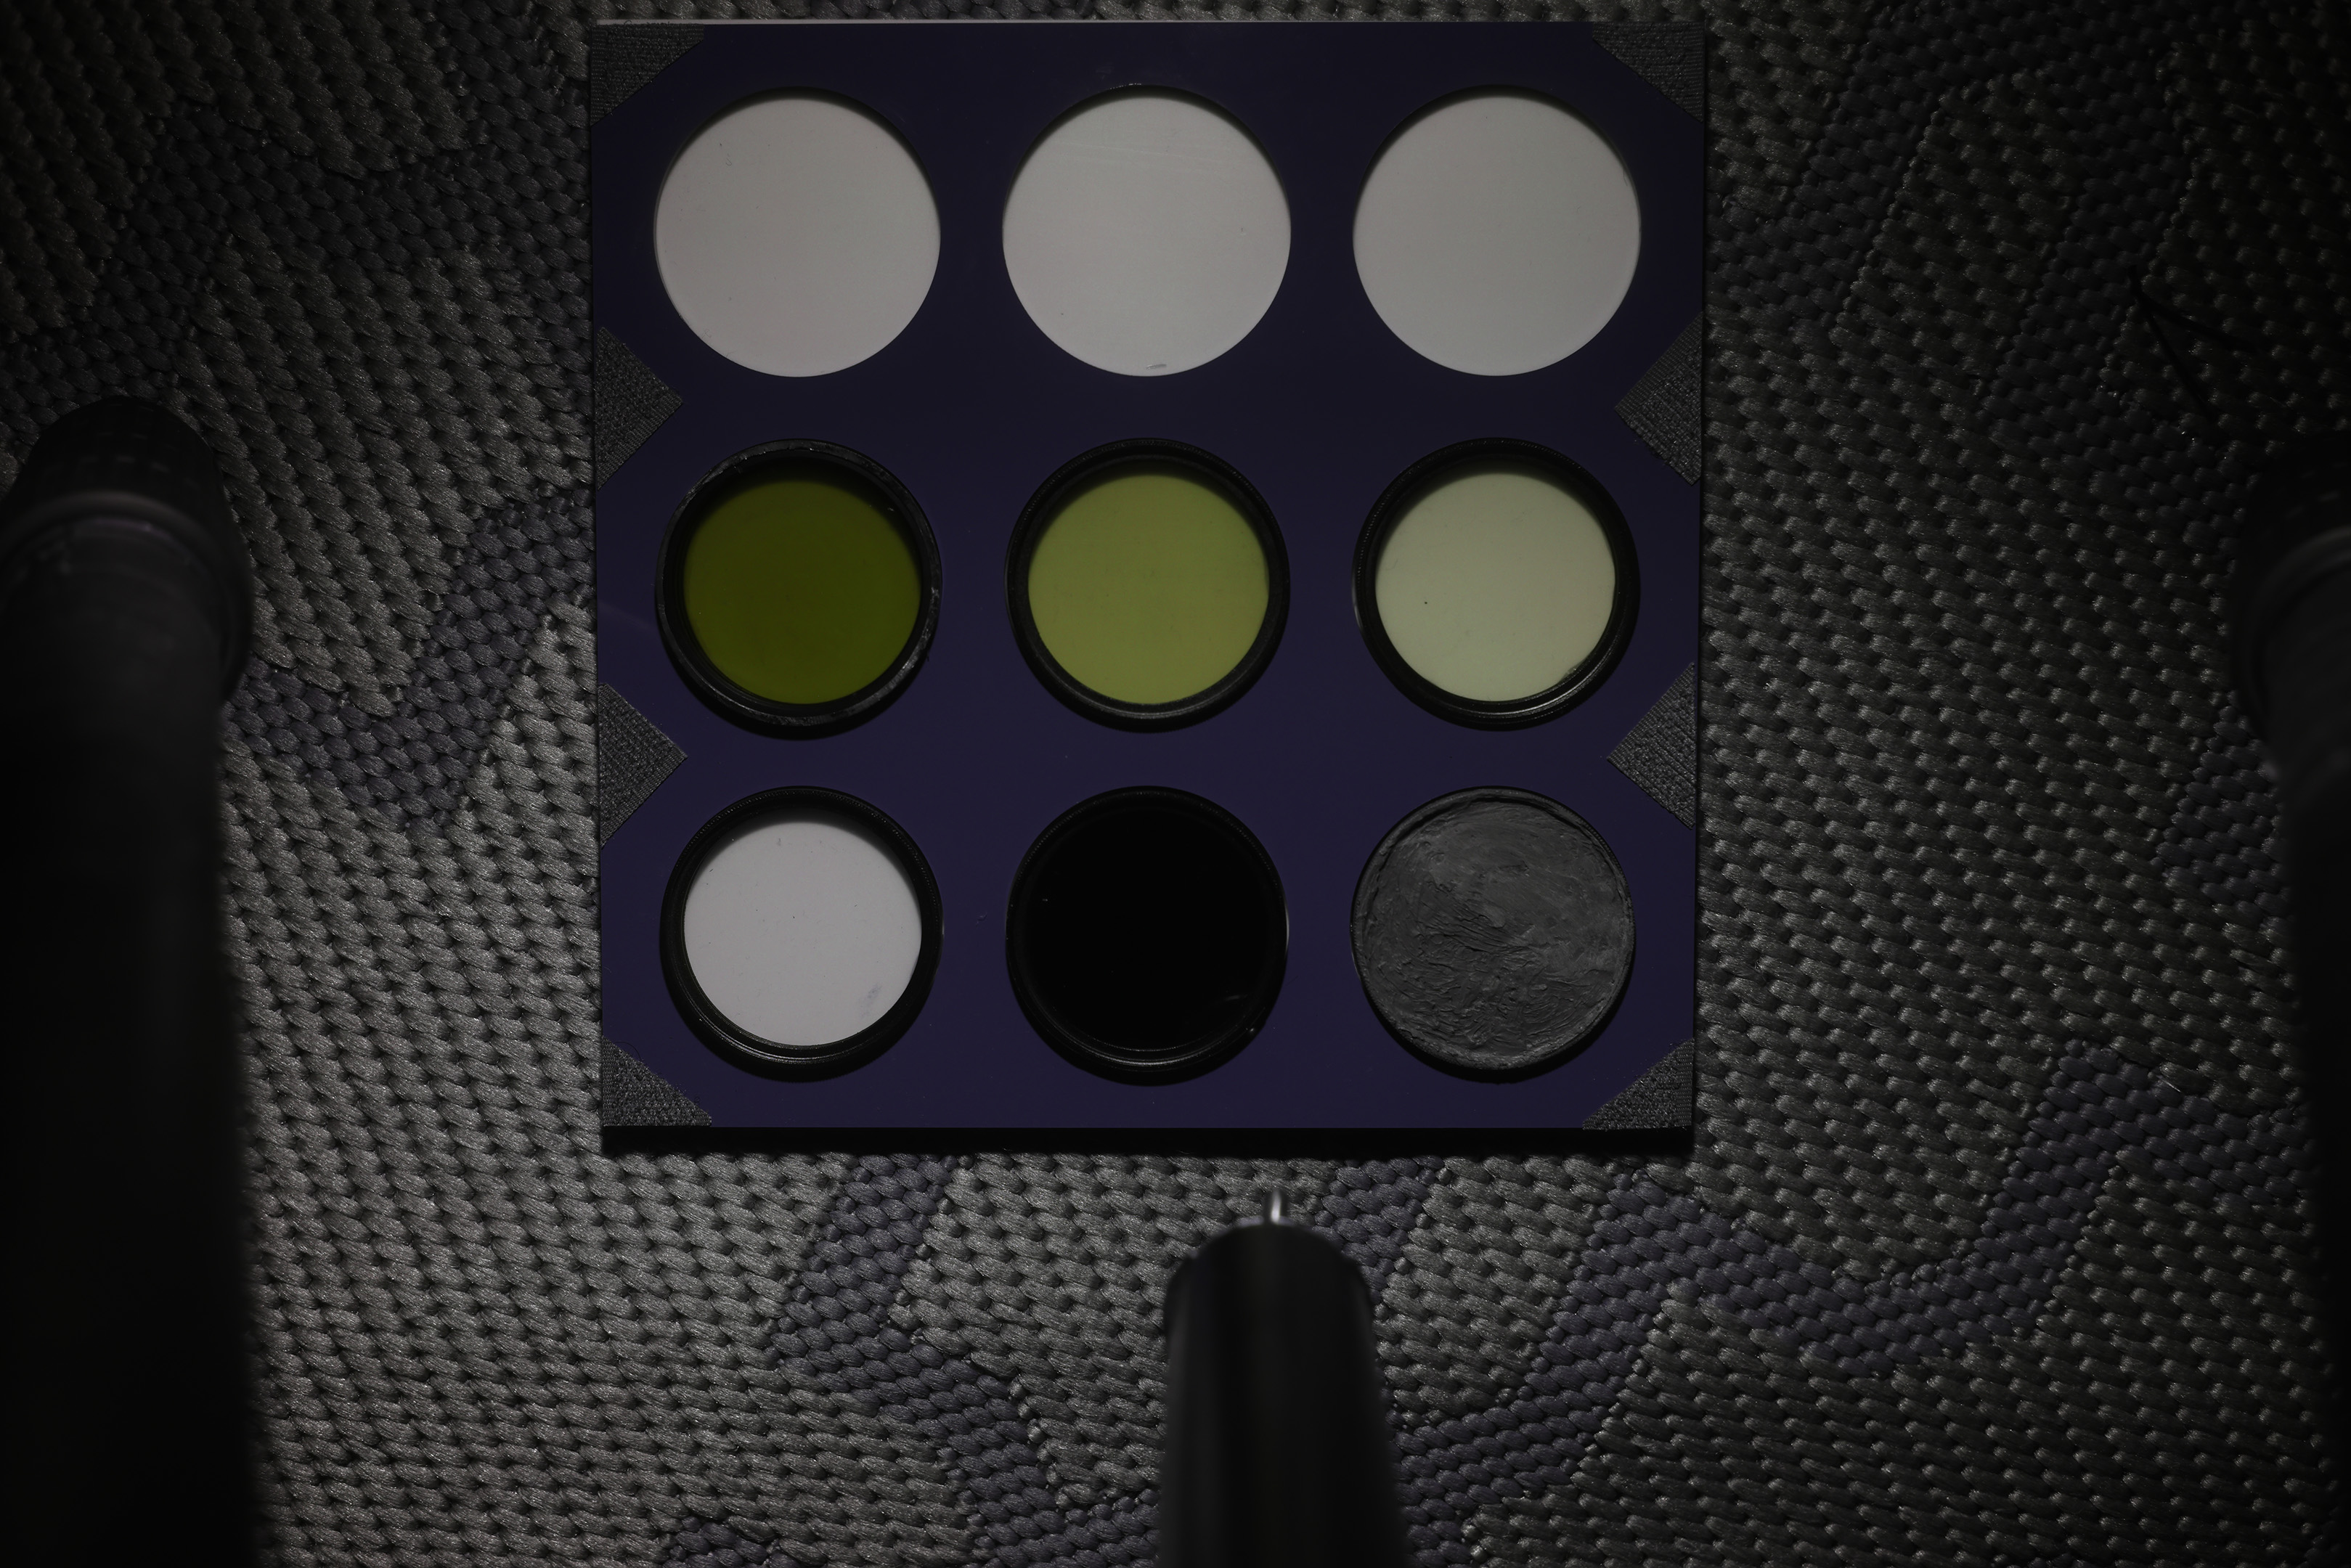
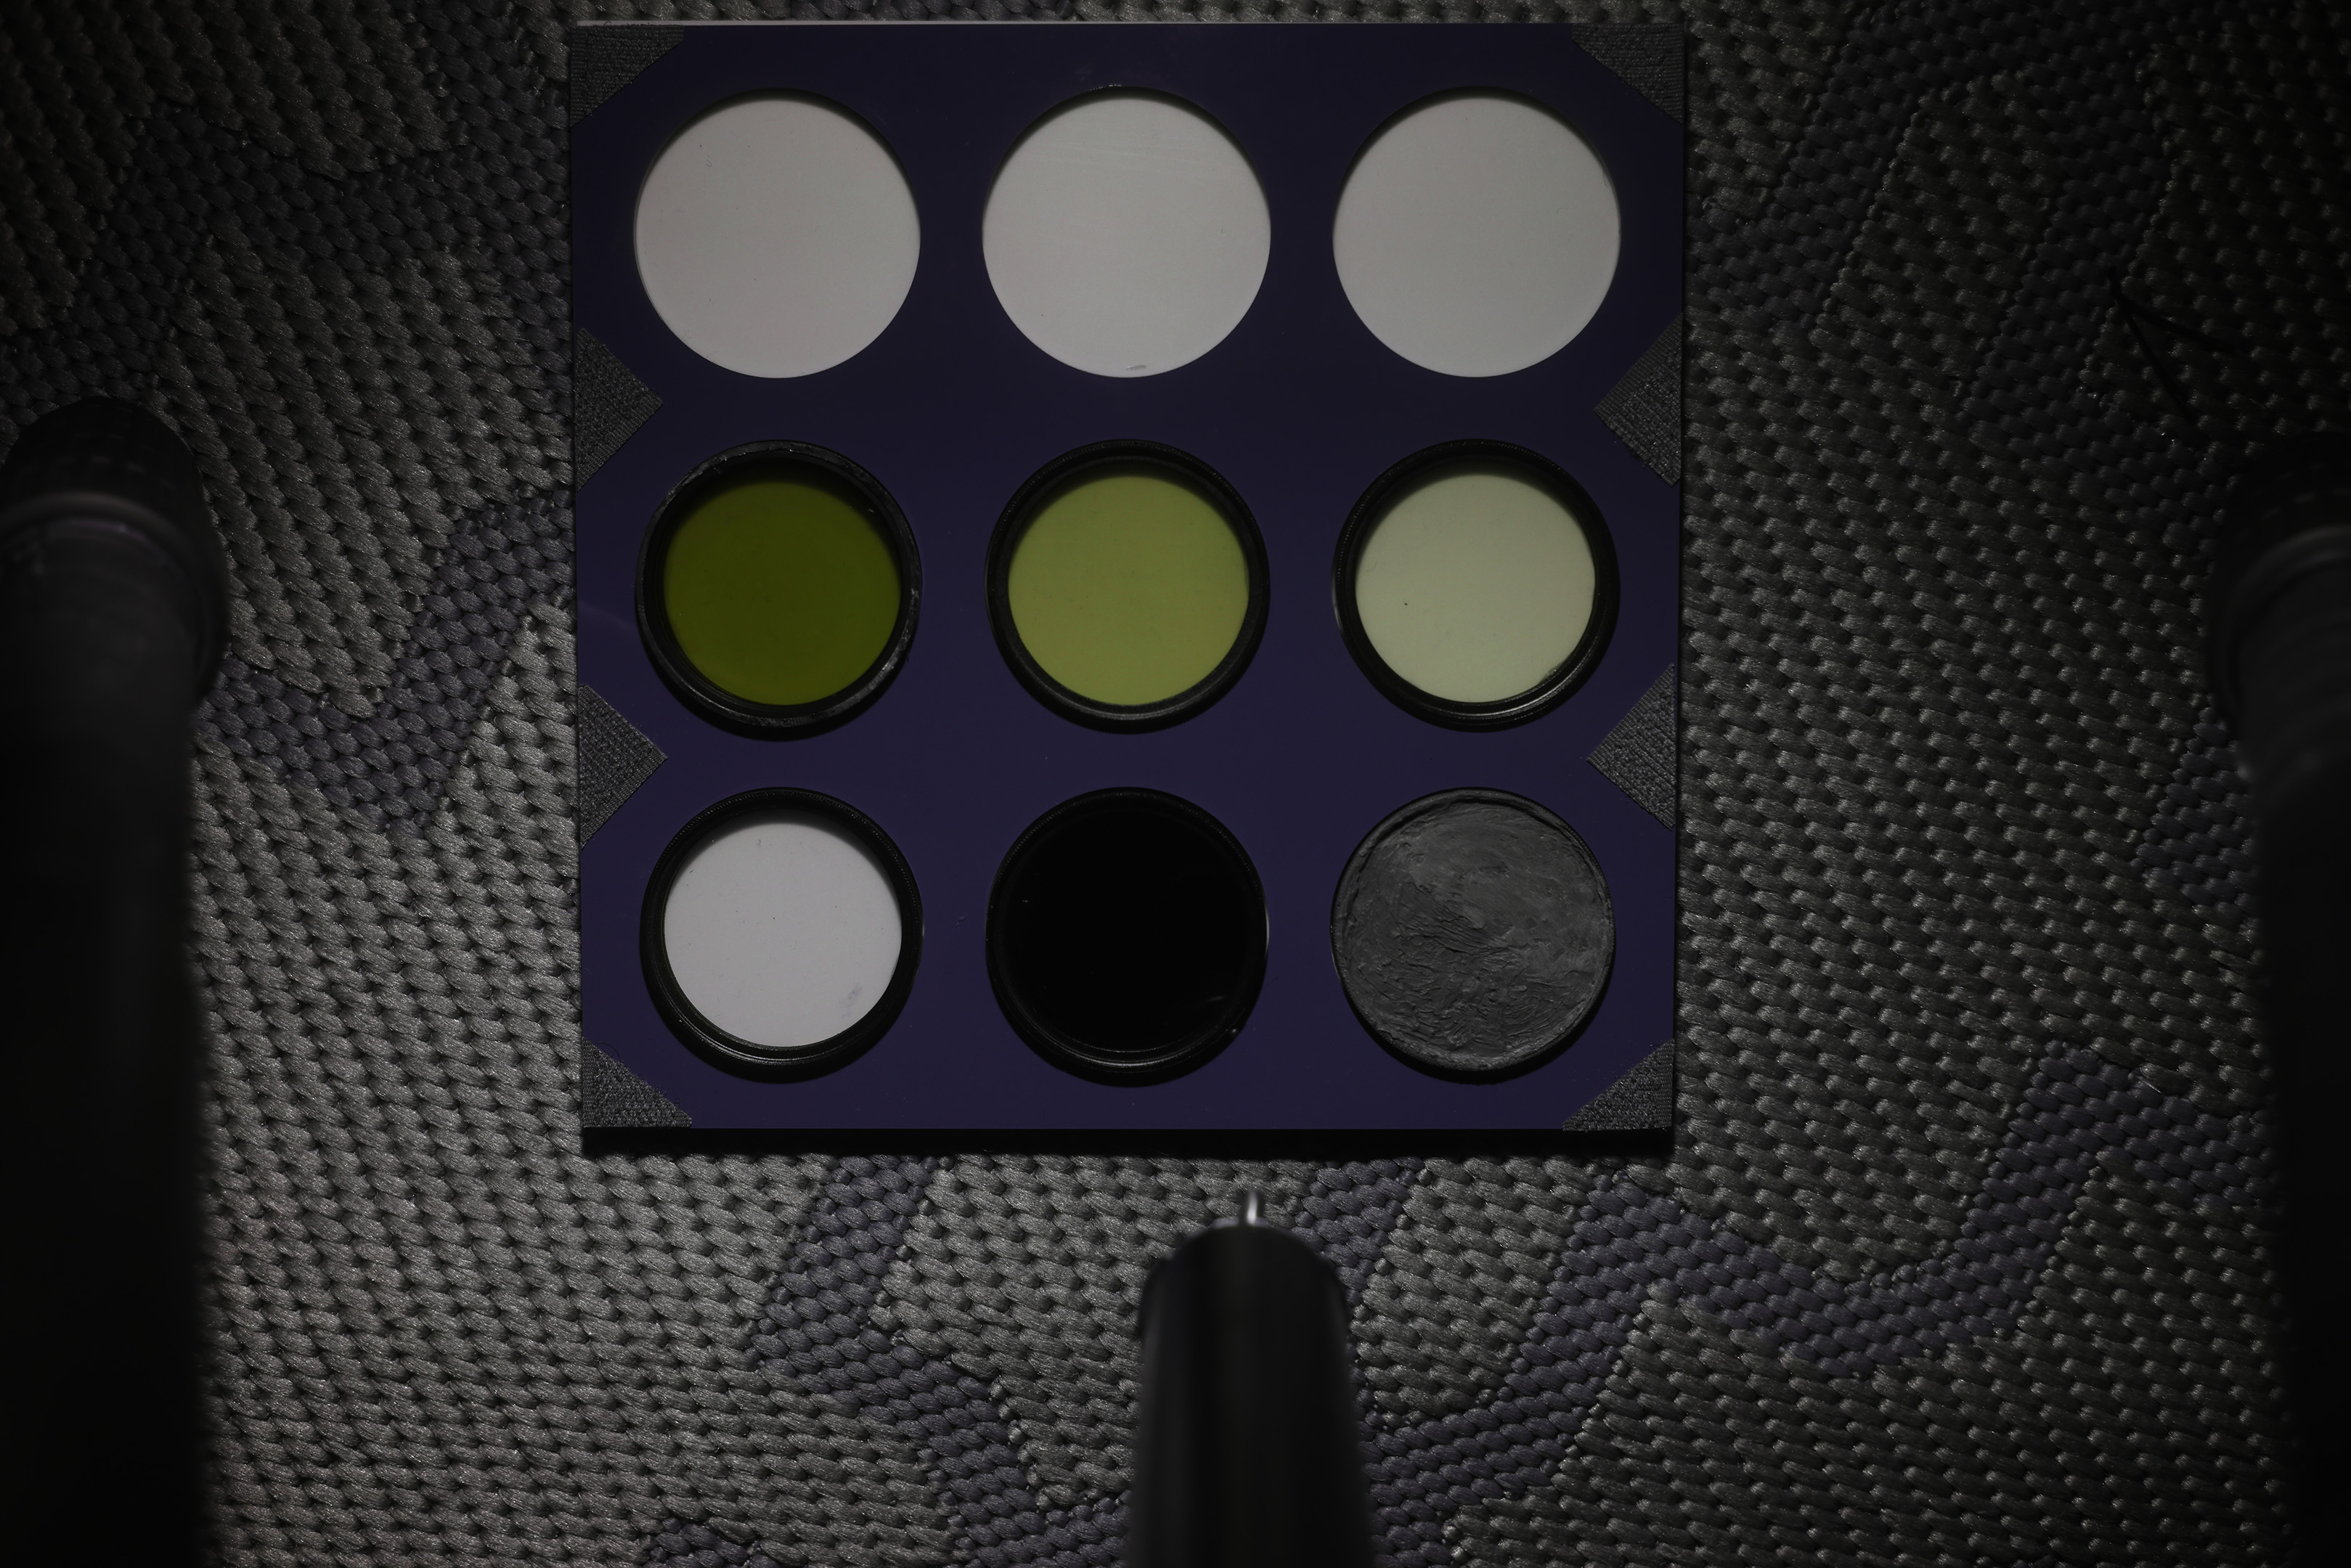
For this test I photographed my UV Colour checker, the main part of it should be blue, the top row of holes should be neutral, the central row yellow, and the bottom right should be neutral.
This was lit using an AD200 flash (with the UV-blocking fresnel removed) at 1/2 power for the actual photos. For the white balance target images, the flash power was varied and flash was moved where necessary to ensure it lit the WB target. For incident WB targets the camera was held just above the UV color checker, facing the flash.
Colour Checker
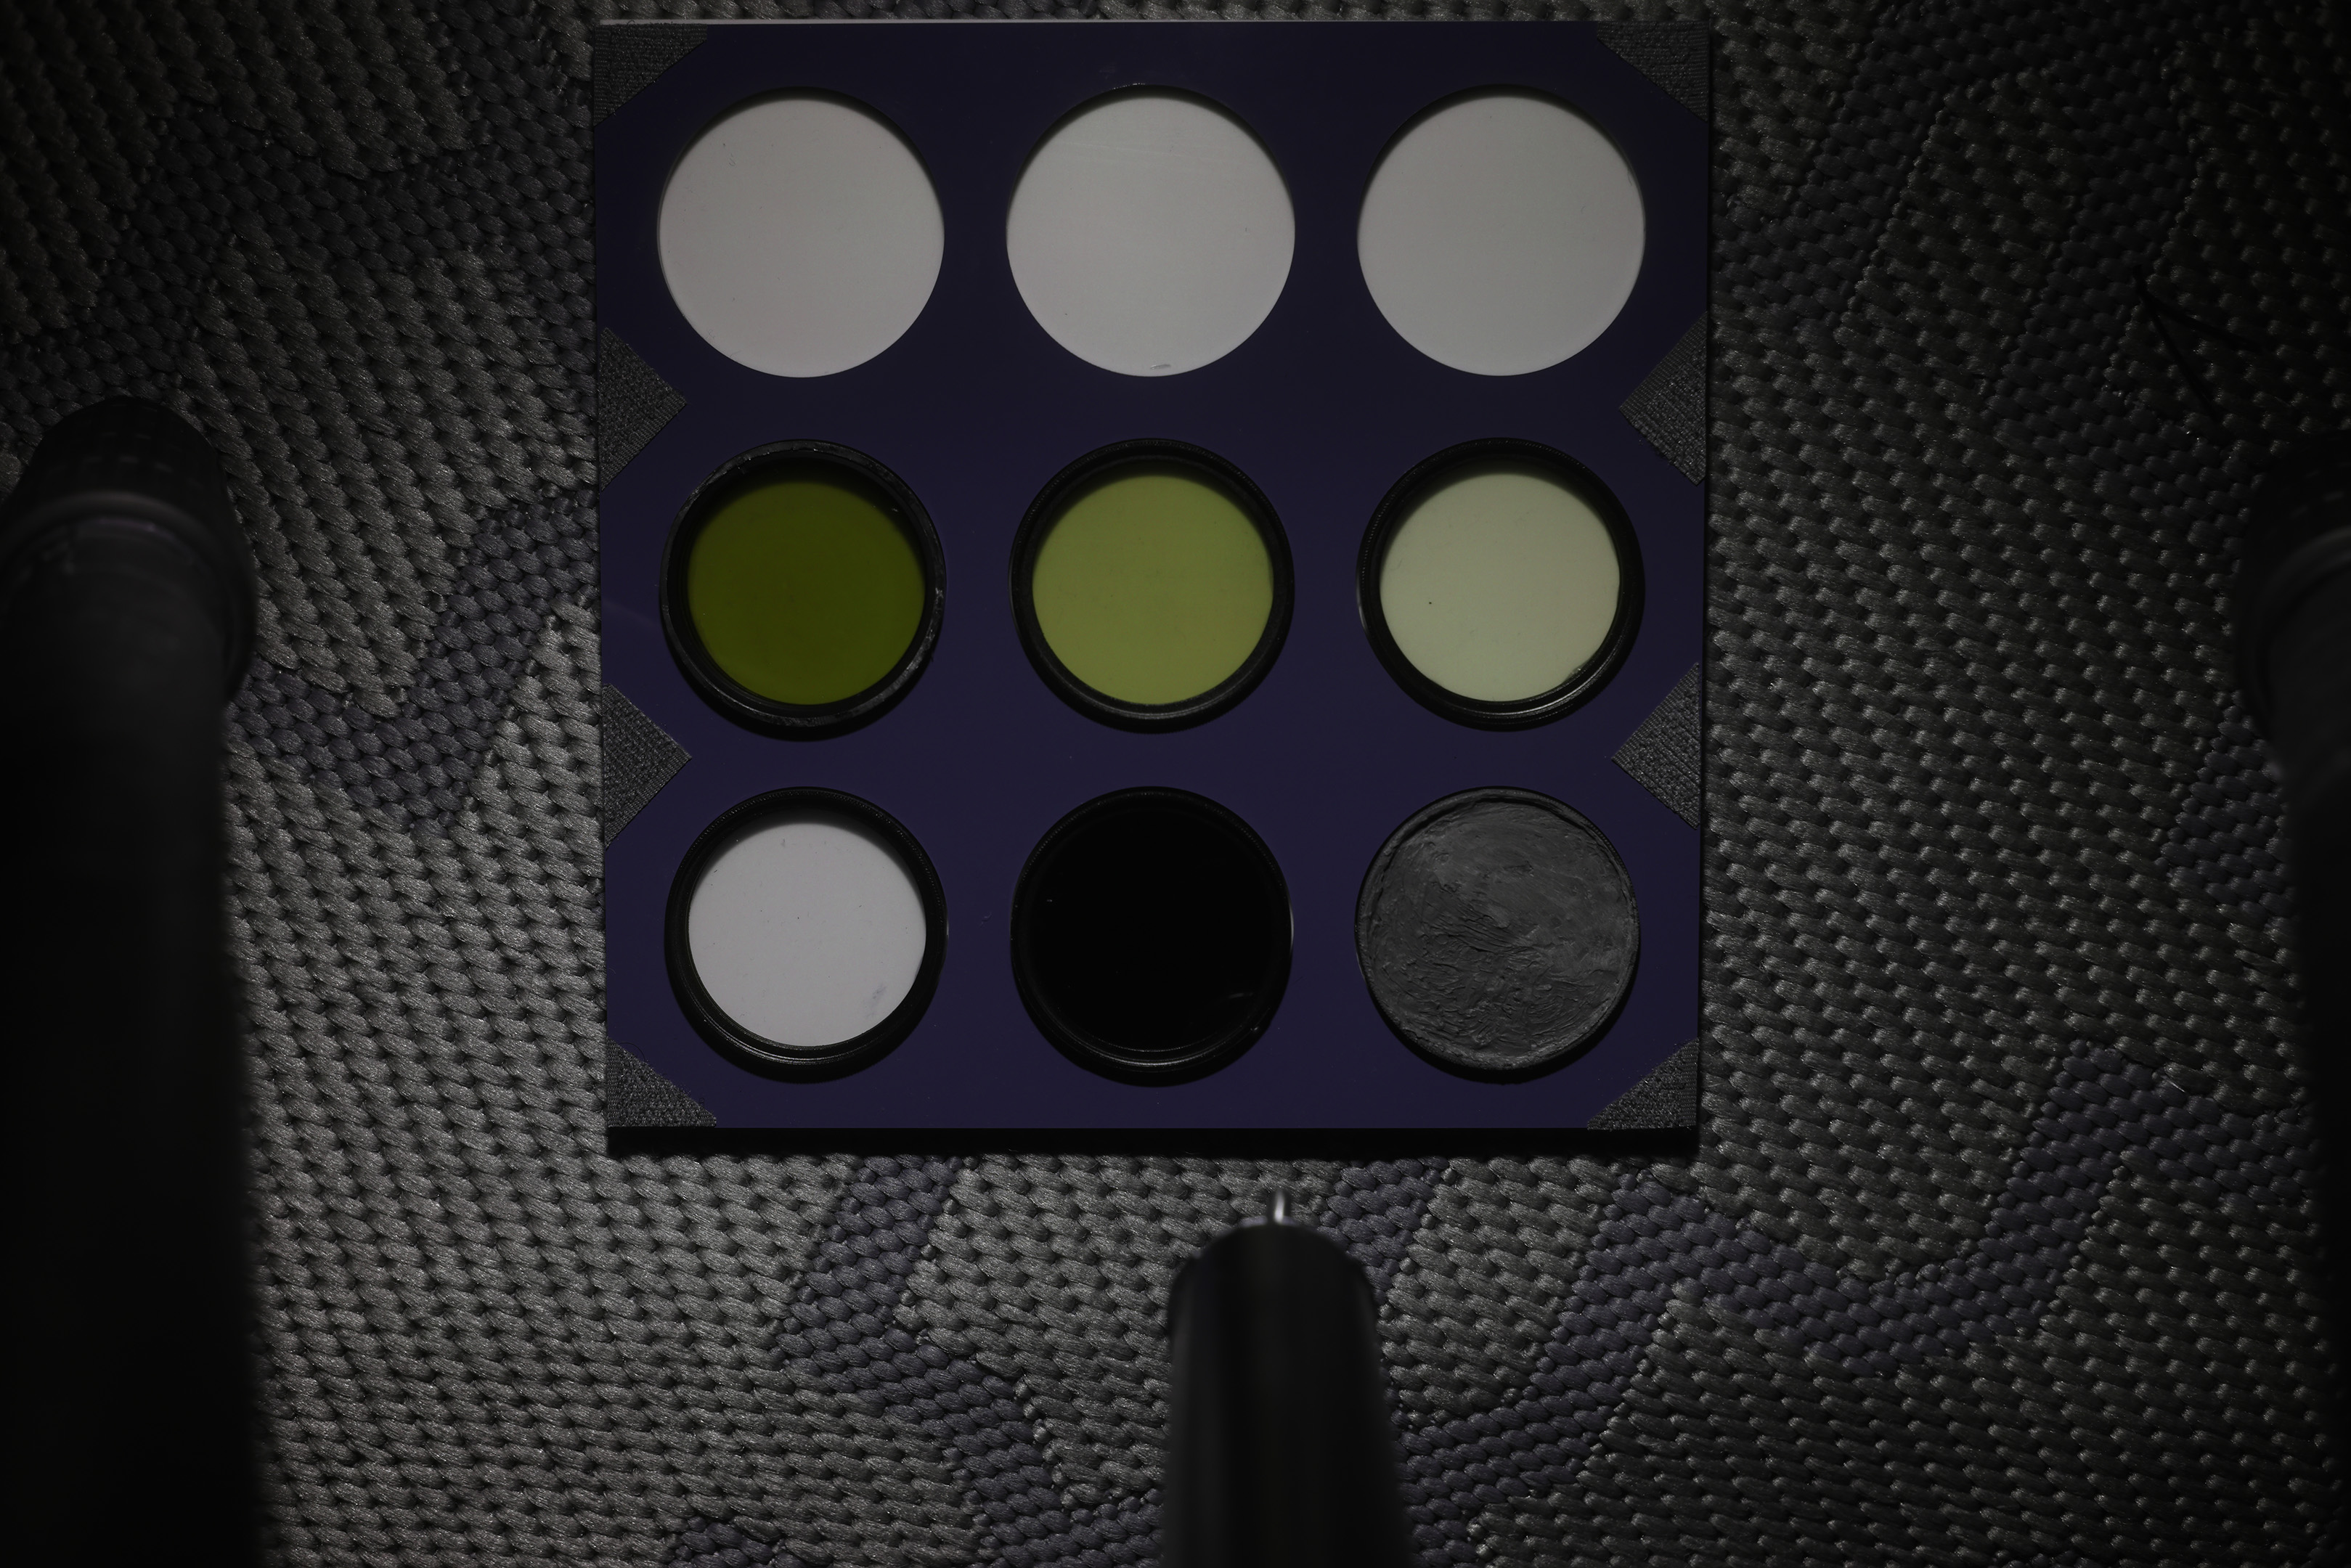
I used the white card on the colour checker, no change to the flash power was required, but you can see the result is not very good, the image has a yellow tint.
Labsphere Spectralon
This gives a good result as I would expect. The flash power had to be reduced to 1/8 power for the white balance setting image, but that is just because I am using a white Spectralon target in this instance. Normally I would use a grey one where no changes to exposure are needed.
0.3mm PTFE on acrylic (reflected)
This gives a good result and no adjustment to the flash power was required.
PTFE disc reflected

Flash power was reduced to 1/8 power for the white balance image to avoid over-exposing the target. We get a good result, as we'd expect.
ePTFE disc reflected
Flash power was reduced to 1/8 power again for the WB image. Resulting image is much the same as we got with standard PTFE.
Expodisc v2 covering lens, camera pointed towards light

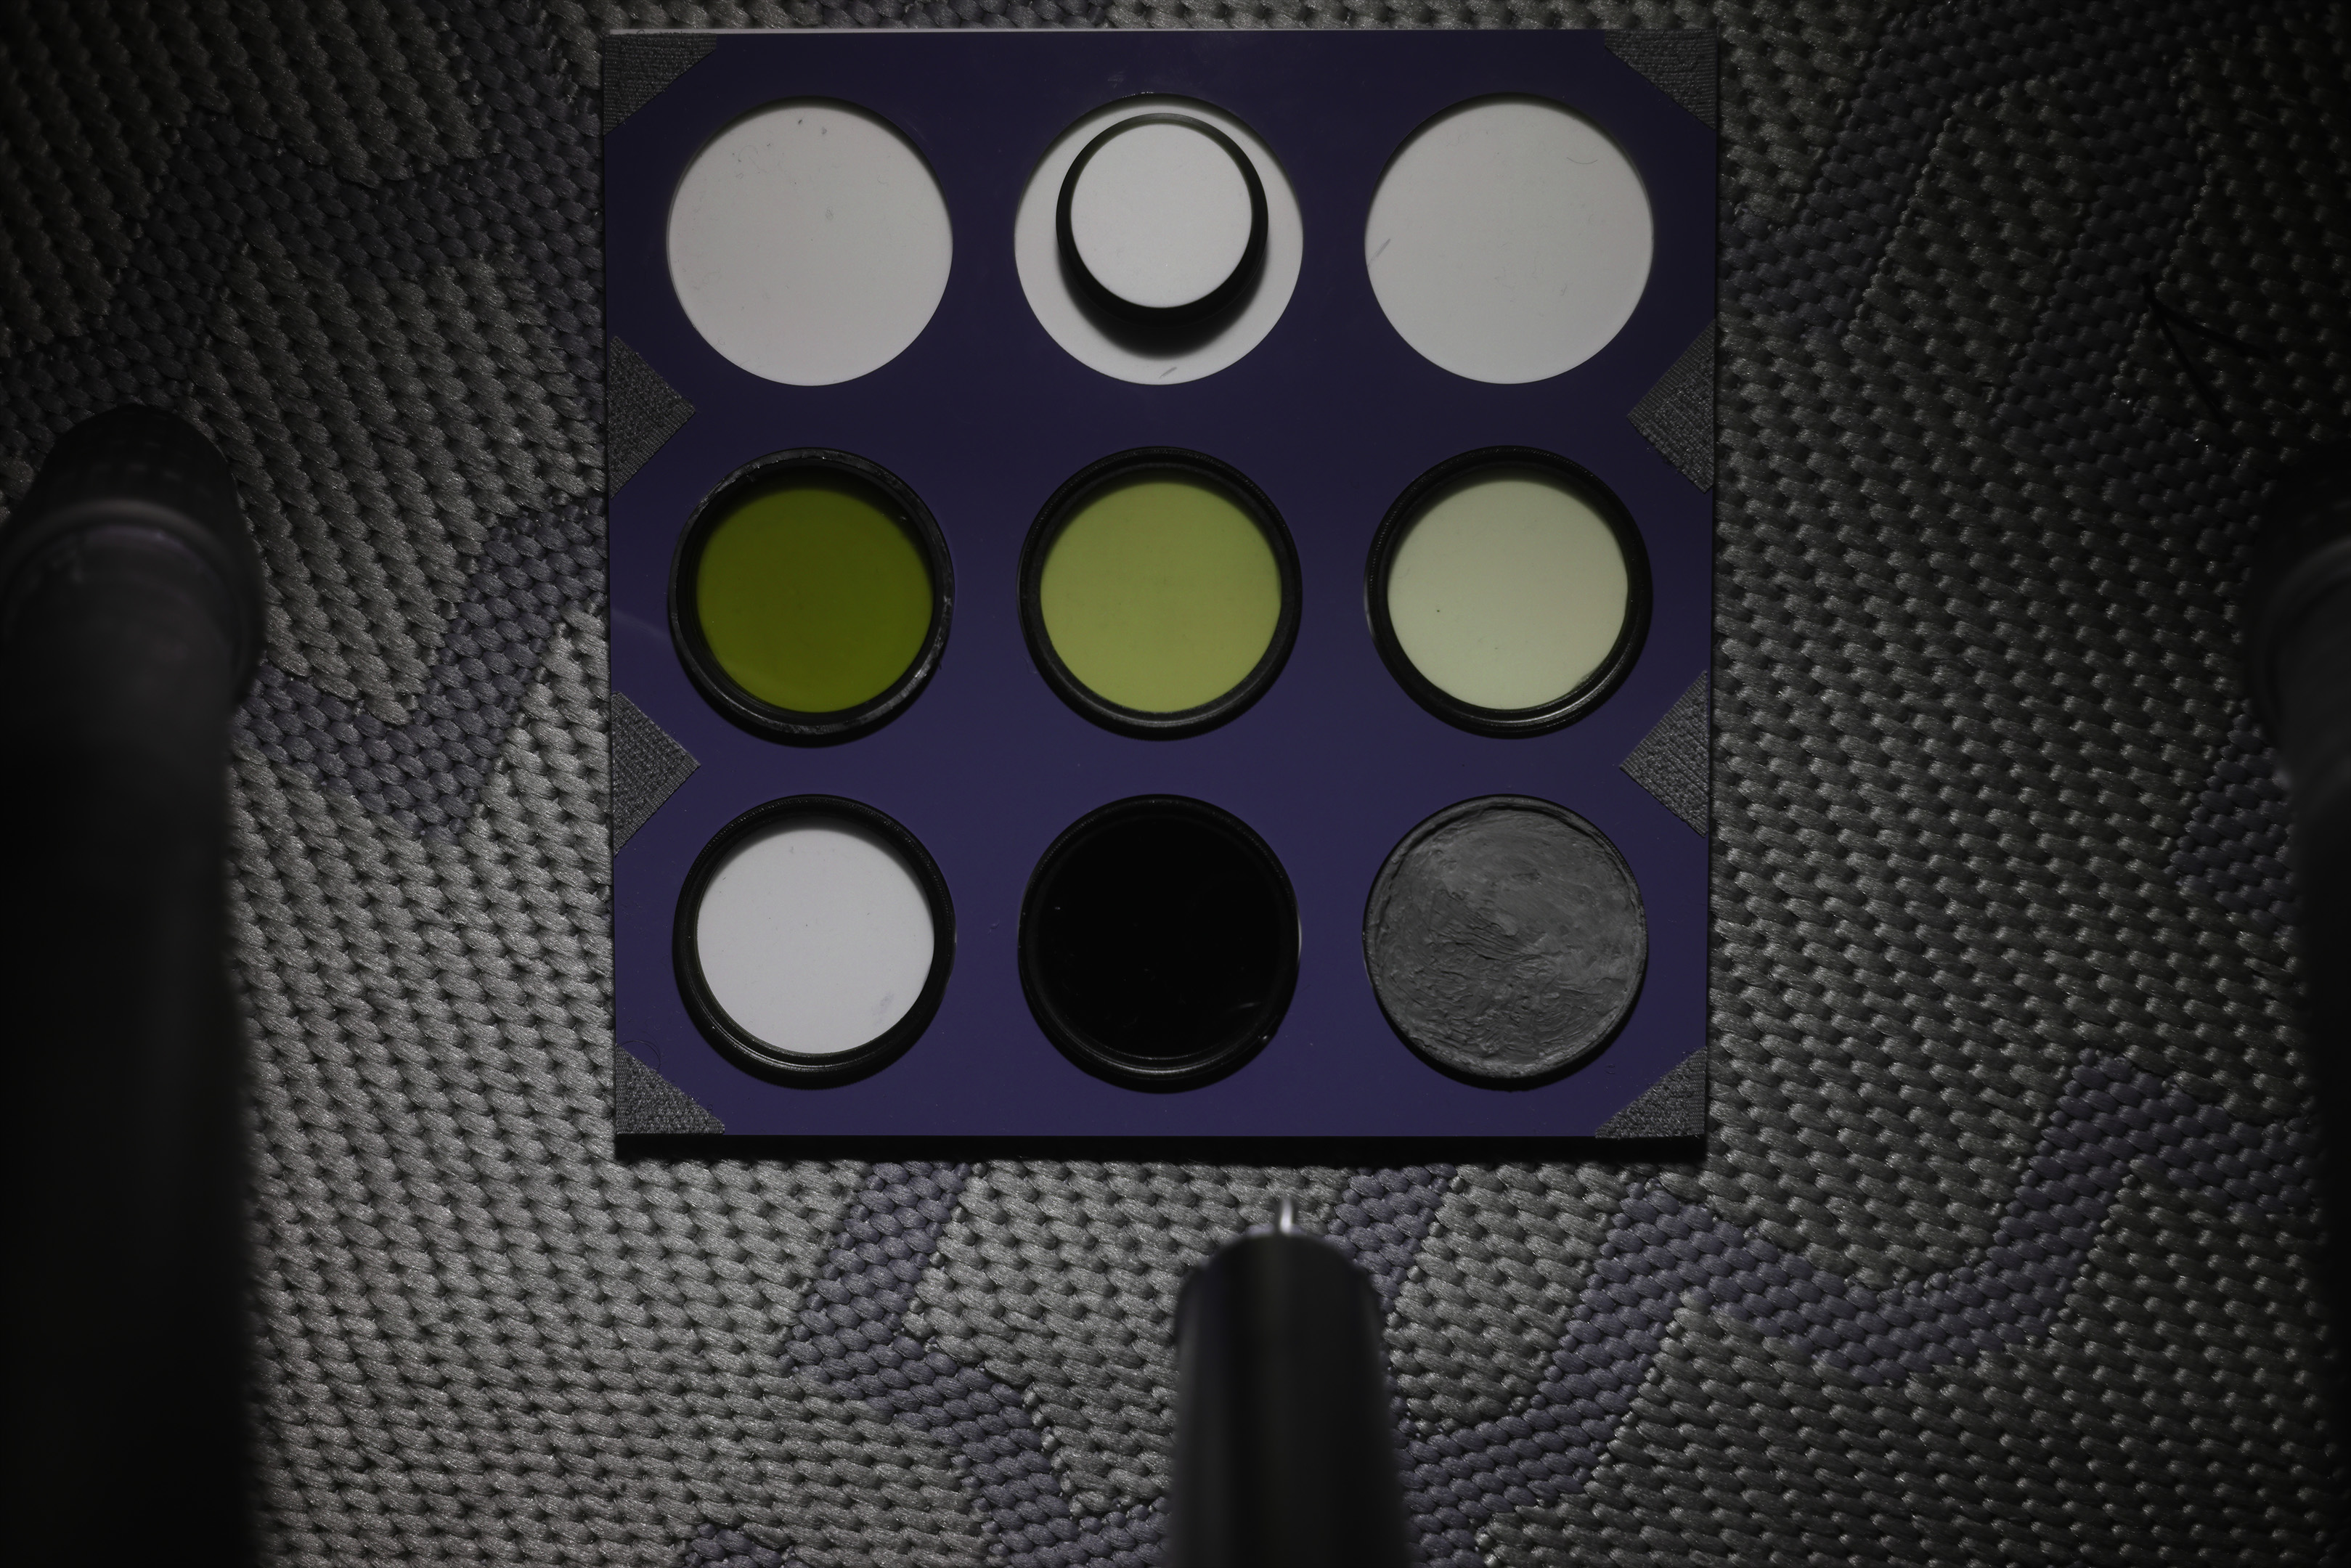
This is not an image of the UV colour checker, but rather the Expodisc v2 target white balance image. As you can see, it seems to block UV, resulting in a black image that can't be used for setting white balance.
Expodisc v3 covering lens, camera pointed towards light
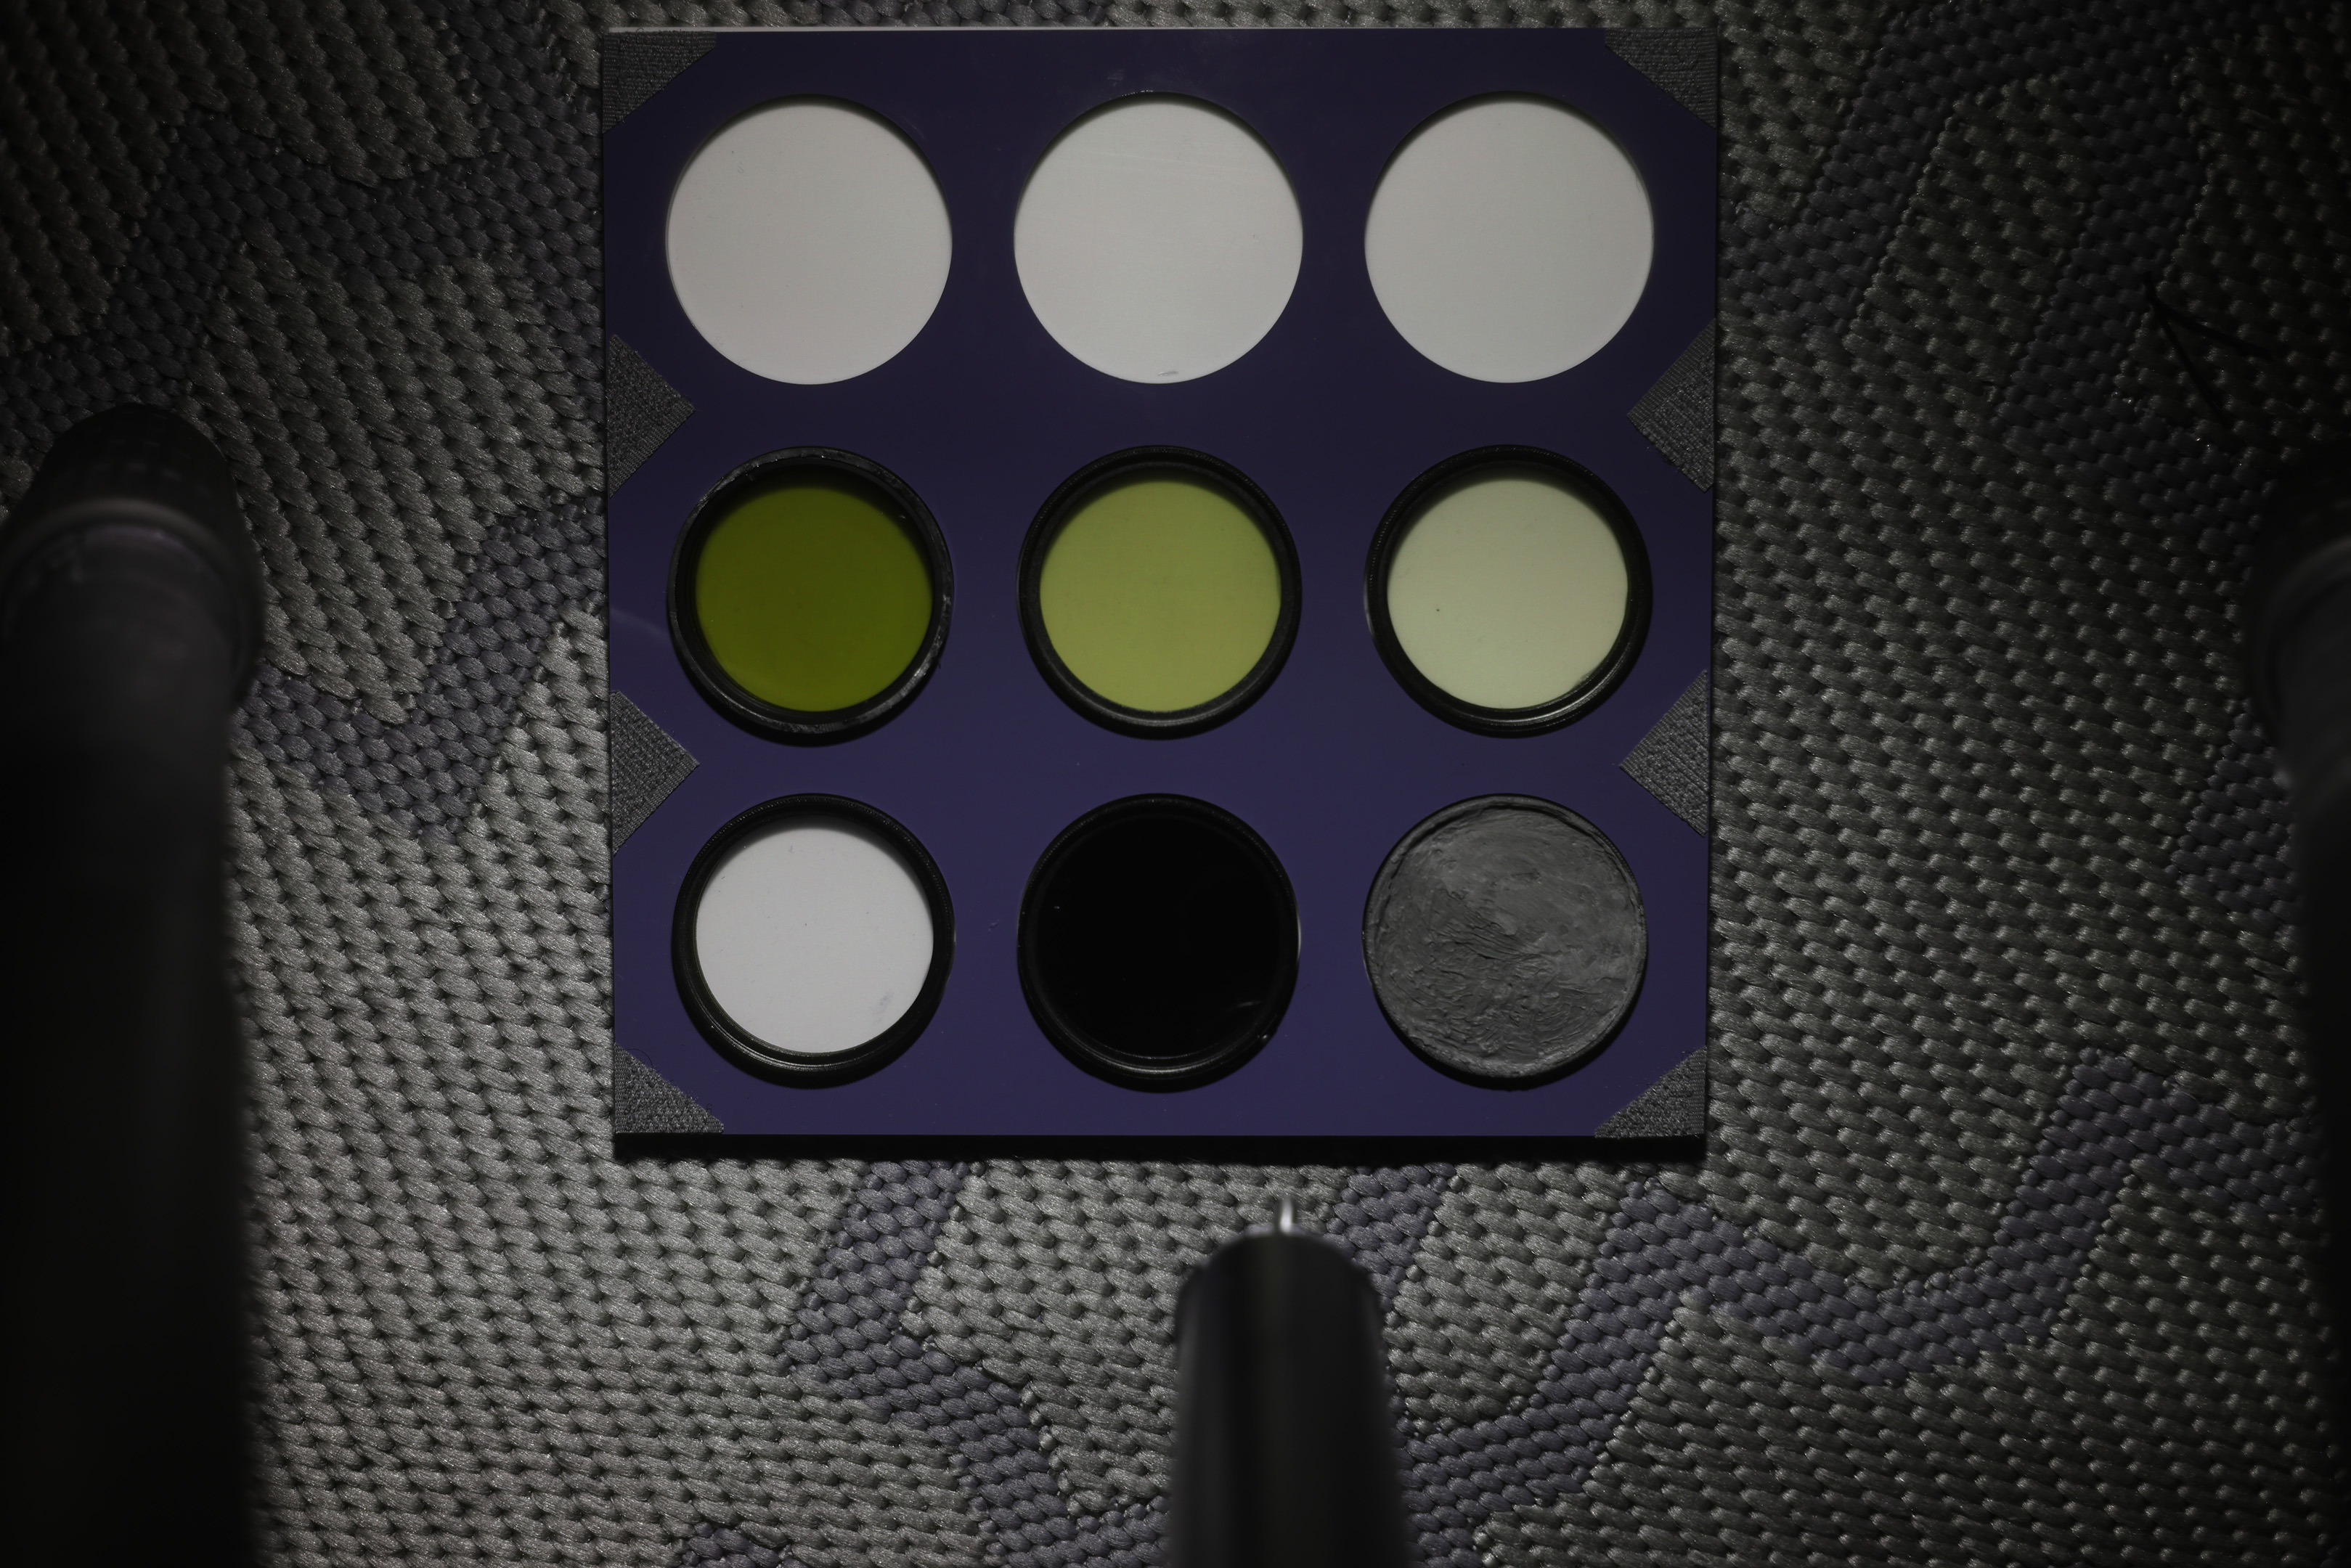
The Expodisc v3 claims it works for 300nm-2200nm, but as you can see there is a bit of a yellow tint. To be fair, they make no claims about perfect UV white balance and I think the given range is more the transmission range than what it is corrected for to provide good white balance results for. No adjustment to the flash power was needed for the white balance image.
0.1mm thick PTFE sheet covering lens, camera pointed towards light
Flash power had to be reduced to 1/16 for the white balance image. Results are surprisingly good.
0.25mm thick PTFE sheet covering lens, camera pointed towards light
Flash power had to be reduced to 1/8 for the white balance image. Again, good results, but using an incident white balance reading with the camera is quite inconvenient compared to a reflectance based white balance target.
0.3mm thick PTFE sheet covering lens, camera pointed towards light
Flash power had to be reduced to 1/8 to get a properly exposed white balance image. Results are in line with the previous two images.
Conclusion
First, I should emphasise that what I'm looking for in infrared photos / videos is neutral clouds, which may not technically be the 'correct' white balance.
From having to carry out these tests multiple times I learnt that white balancing in-camera can be quite variable, in previous tests white balancing on the clouds was superior, while in my latest tests it didn't always give such good results.
For IR, particularly IR + Vis, I would probably say that WB on clouds is generally pretty good providing you have enough cloud coverage in the sky to fill the centre of the frame with clouds. They need to be quite thick clouds, not thin wispy clouds too. Next to that, I would say 3mm thick PTFE is a good choice. As a reflective target it works fairly well, and you can even use it as an incident target if you want. Using a previously created WB preset based on clouds works well if the lighting is the same.
The Expodisc v3 is the best as an incident target for infrared, but the cost is much more than a disc of PTFE. And PTFE is better for UV photography / videography. The main disadvantage of 3mm thick PTFE as a reflectance based target is if you use manual exposure (which I often do). You have to adjust your exposure for your WB image to ensure you don't over-expose the target, and then adjust your exposure back to what it should be when you've done your WB image and are ready to take the actual shot.
All reflectance based targets will have issues if you are photographing the target in different lighting to your subject, e.g. photographing a sunlit scene from an area in shadow. You will also have a similar issue with incident based targets if you cannot see the light source illuminating your subject from your shooting position.
If using a lens that has an IR hotspot, then you are best taking your custom WB using a different lens that has no hotspot as otherwise the hotspot can throw off the WB reading.
So I would say that a ~3mm thick piece of PTFE is the best overall solution. It may not give perfect results but they are close enough.
Leave a Reply