In this post I'll be looking at how to correct a diffuse IR hotspot. I'll be looking at how to correct it for a still image, though the correction I'll show in DaVinci Resolve should work for video too.
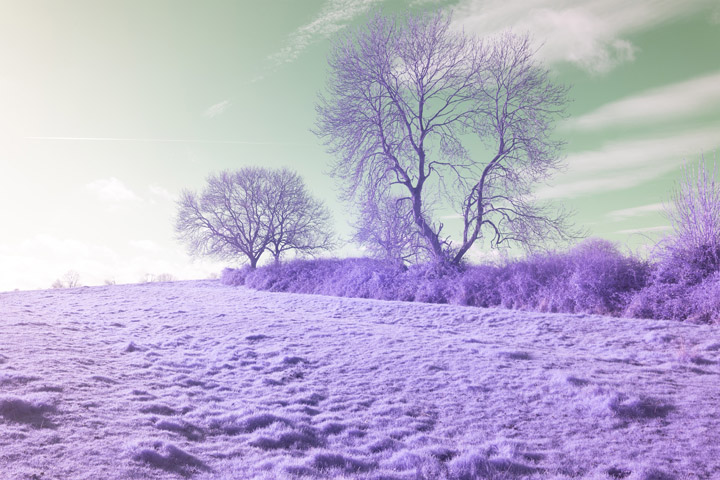
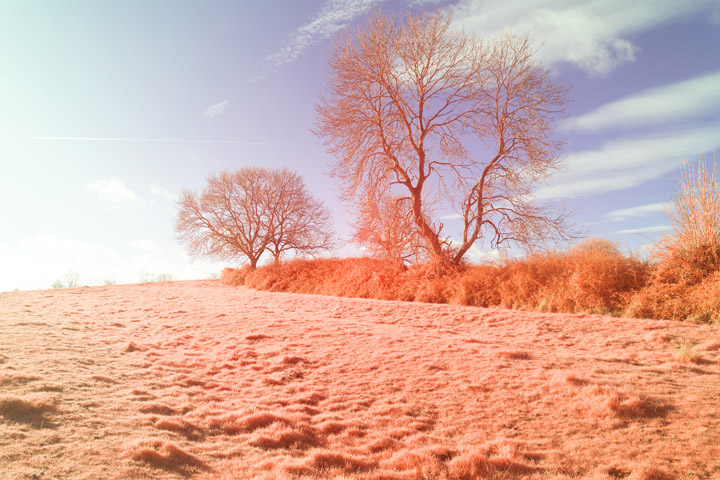
If we look at this image below it might not be obvious there is any hotspot.
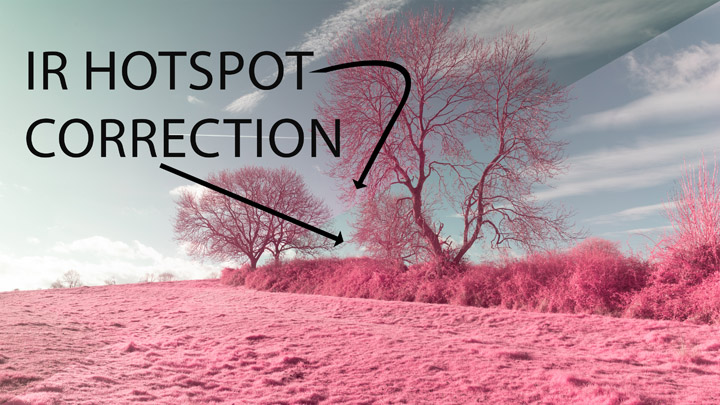
But if we apply a Hue shift to give us red foliage and a blue sky, we see the sky near the centre of the frame becomes reddish while the outsides of the frame remain blue.
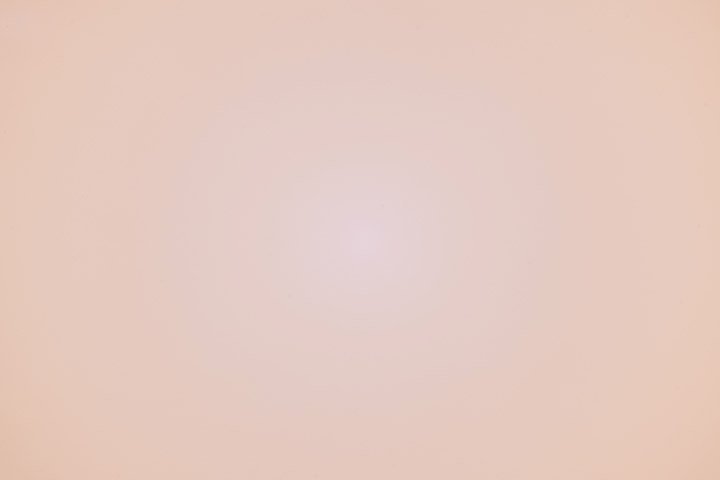
Most of the corrections I'll be looking at in this post make use of a 'flat' to correct the hotspot. This is a plain grey image that only captures the vignette / IR hotspot that we want to correct. The flat image should be taken with the same lens, aperture, filters, etc. as the image that you want to correct.
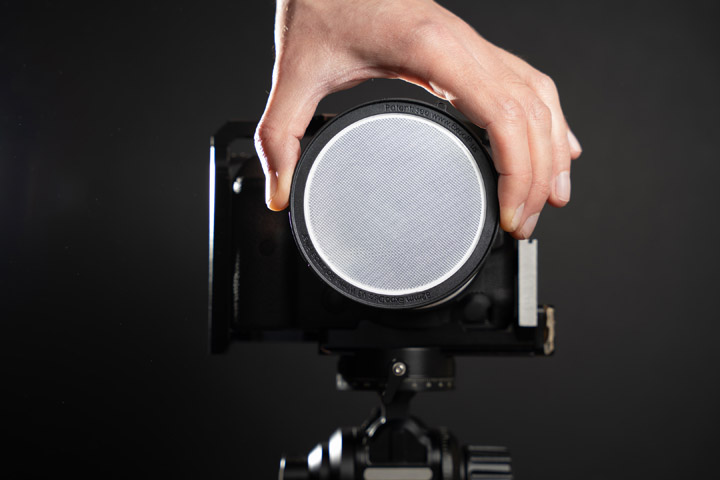
In the past I have photographed a large piece of white card to use as the flat, but I have found that an Expodisc v3 works well. The Expodisc is much easier to get a nice flat image from without worrying about shadows.
In this post I'll be covering correcting a diffuse infrared hotspot in the following software:
- Flat-field correction in Lightroom
- Flat-field correction in RawTherapee
- Flat-field correction in CornerFix
- Radial adjustment in ACR
- Flat-field subtraction in Davinci Resolve
- Flat-field correction in CornerFix
Lightroom
The option to do flat field correction seems to be missing in the current version of Lightroom, so you'll need to use the 'legacy' Lightroom Classic. I do find it annoying how Adobe labels things legacy when the supposed replacements are missing important features found in the 'legacy' version. I know it doesn't make any practical difference but I'd prefer if instead of labelling the old version as 'legacy' they'd just label the new version as 'new' or 'beta' until it can match the old version.

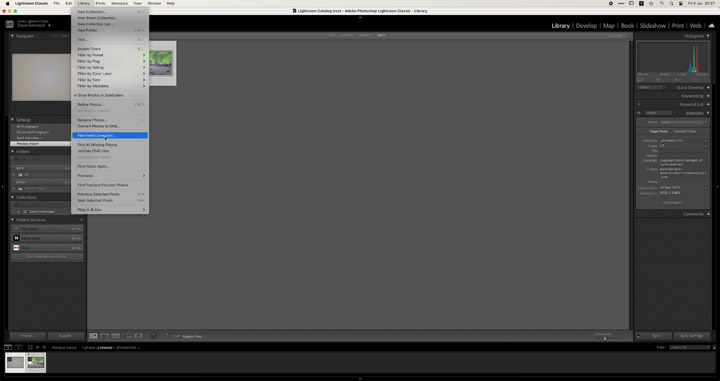
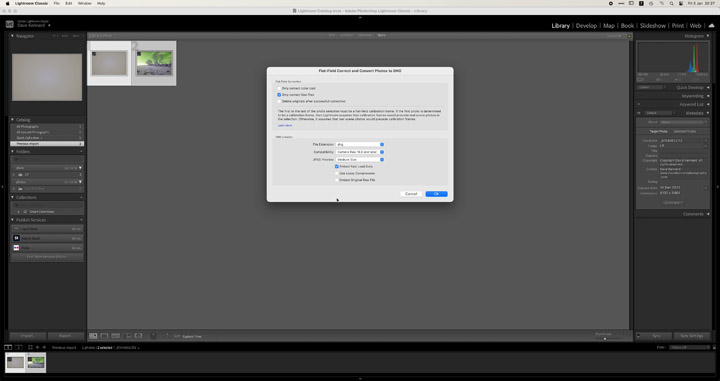
Anyway, to do the correction in Lightroom Classic, you need to be in the Library module. Select your flat image and the image you want to correct. On the top menu go to Library, then Flat-Field Correction.
Click OK, then this will create a new DNG image that applies the flat field correction to your image. It doesn't show up in Lightroom as a separate image, it just replaces your original, but the original is still there on your disk if you need it.
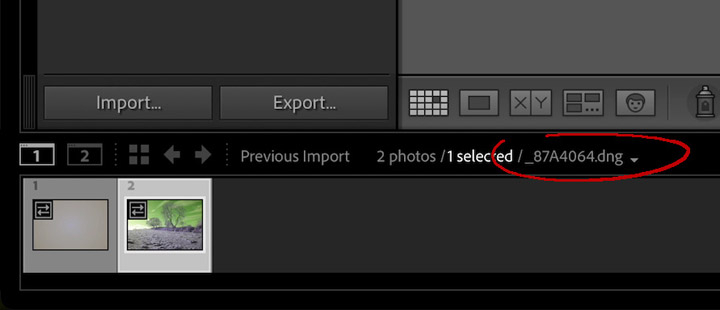
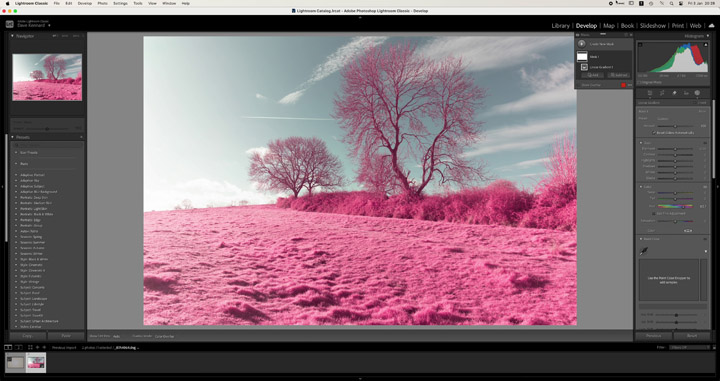
Then process your image to taste. Here I'm just adjusting the exposure, white balance, and Hue.
Flat Field correction in Lightroom does not let you choose which image is the 'Flat', it just detects it automatically. Fom comments I've seen online this isn't always reliable.
RawTherapee
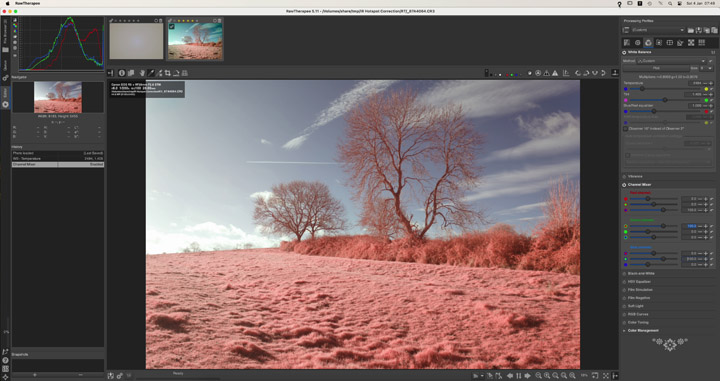
Next we'll look at correcting the IR hotspot using flat field correction in RAW Therapee.
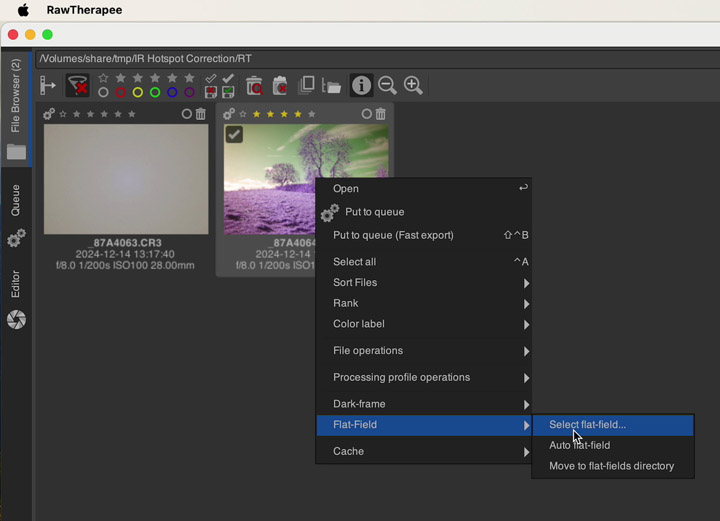
Right-click on the thumbnail image and select Flat-Field, then 'Select Flat Field…'.
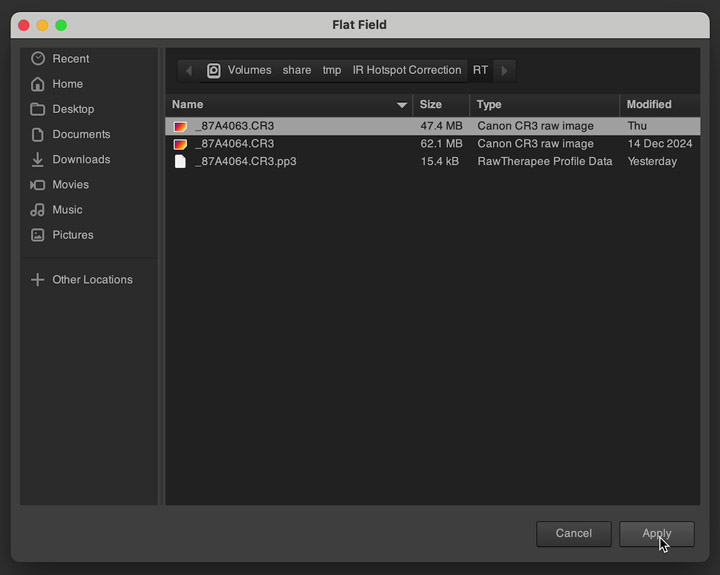
Find your Flat field image, select it, and click the Apply button.
You can then edit your image as normal. Here I'm just making changes to White balance and doing a channel swap.
One of the things about doing the correction in RawTherapee is that it doesn't involve having to create a new DNG image that contains the correction. Instead the location of the flat field image is written to a .pp3 file alongside the original image. On the plus side this is neat and takes up far less disk space than a full new DNG file. On the negative side, if you want to move your RAW image or send it to someone else, you'll need to ensure as well as the RAW you also move or send the Flat image and the pp3 file. And the pp3 file may need editing in a text editor to correct the location of the Flat Field image.
CornerFix
CornerFix is now quite an old program that was specifically developed for correcting the cyan / green vignetting you'd get when using very wide-angle lenses on the Leica M8. Just like the Flat field correction in Lightroom and RAWTherapee, it makes use of a flat image to correct vignetting or hotspots.
It only works with DNGs, so you'll have to convert your images to DNG format first.
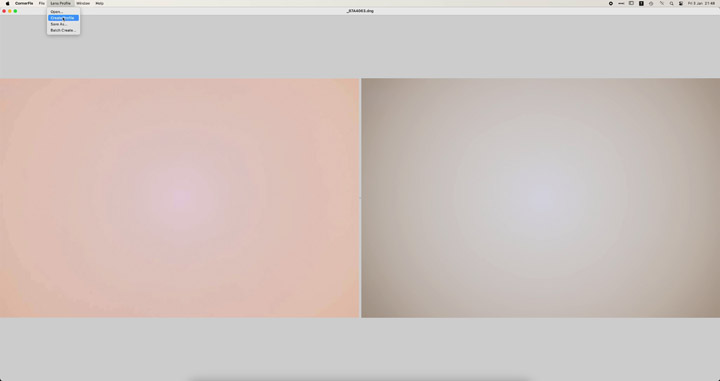
In CornerFix you need to first load the Flat and create a Profile.
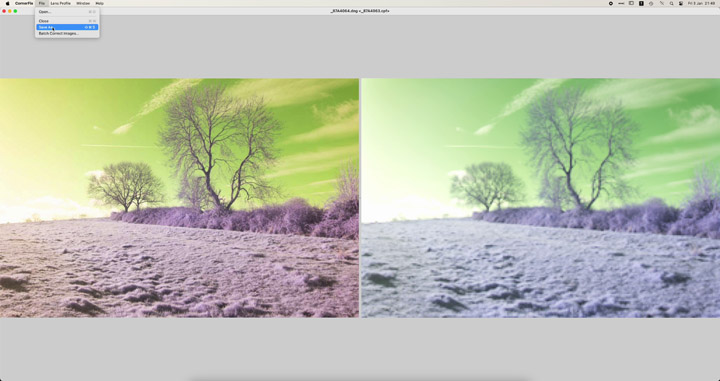
Once this is done, you can then load the image and save out as another (corrected) DNG.
While this works well, I don't use DNGs normally, so ending up with the flat, image, and corrected image all in DNG format creates a lot of extra files and storage used compared to the other correction methods.
Radial adjustment in ACR
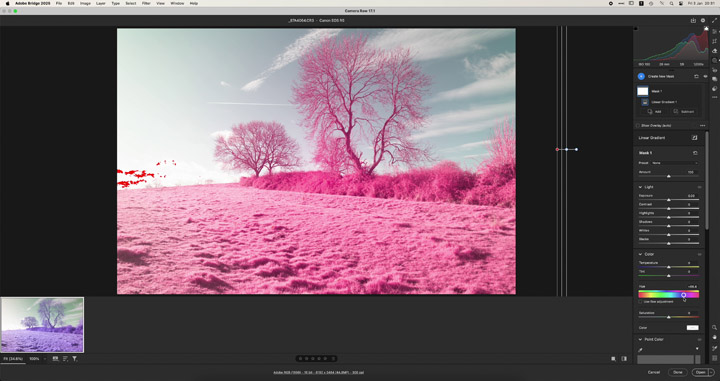
Unfortunately, although Lightroom Classic features Flat field correction, Adobe Camera RAW does not. However, you can apply a manual fix using a Radial adjustment.
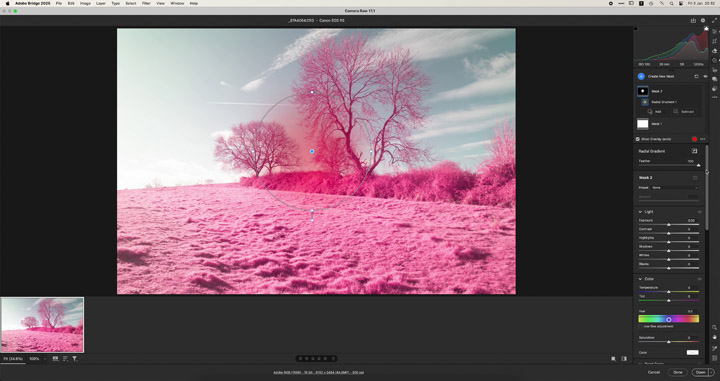
Because the hotspot is easier to see on the white balanced and hue shifted image, I make those changes first.
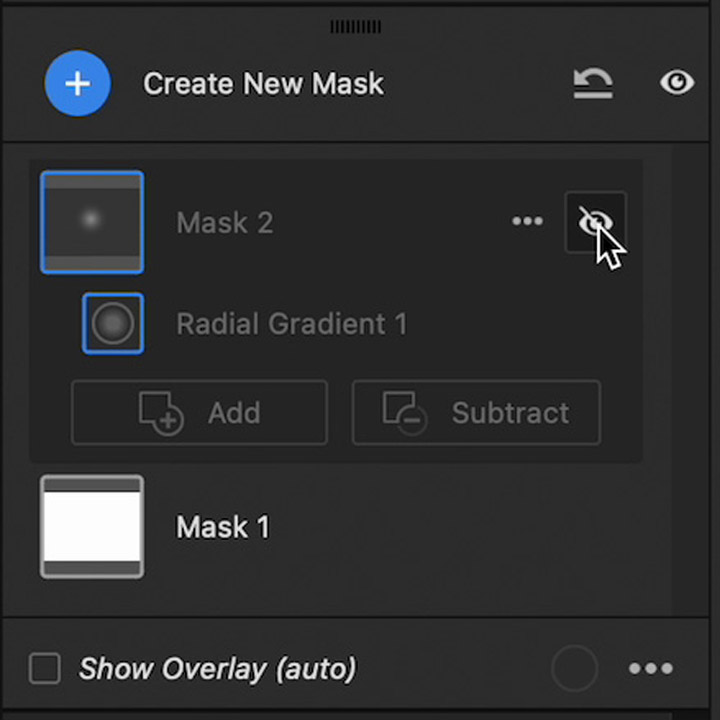
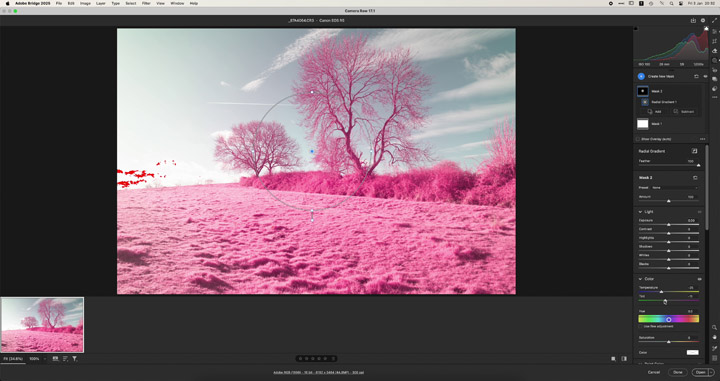
I then add a radial gradient mask with feather set to the max, though this will depend on how well defined the edge of your IR hotspot is.
Adjust the White balance settings for this mask until the hotspot is corrected. You may also need to adjust the exposure and / or hue.
Turning the preview on and off helps show the difference it makes.
Davinci
Lastly we'll look at correcting a hotspot in Davinci Resolve / Davinci Studio. I'm only looking at this with a JPEG image, but it works the same way with video.
With the previous techniques we've been using RAW images, but here we're looking at JPEGs, and so it is important that your Flat image is taken with the same white balance and other settings as your image you want to correct.
In terms of video I haven't done that much testing due to the poor weather here in the UK, but from the testing I have done it seems you are best off just starting or ending your video clip with the flat. Then in Davinci export a still frame from the part of video with the flat (I save it as a dpx file). And then use this exported frame as your flat.
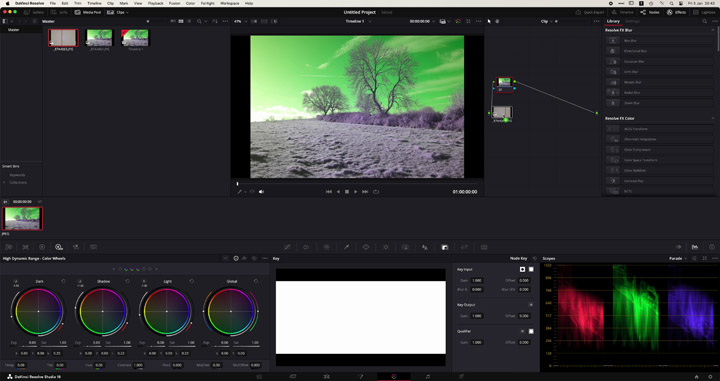
In the Color workspace select your clip that needs correction. This should have no changes made to it at this point. Drag your Flat in as a new node.
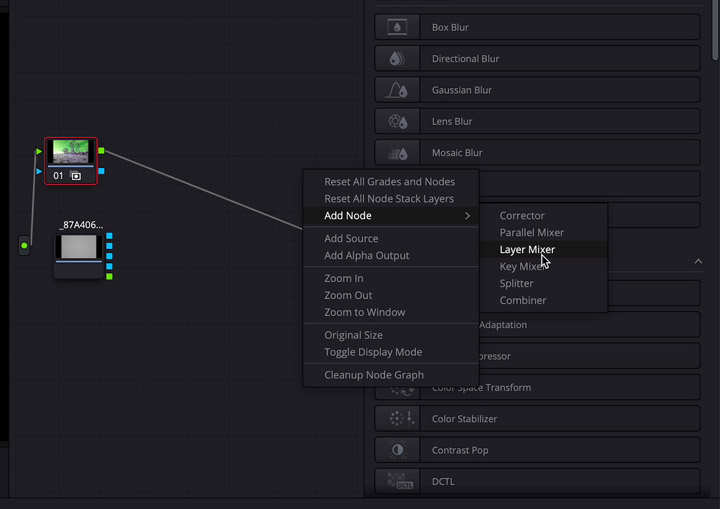
Right-click in the nodes area (not on a node) and from the context menu choose Add node > Layer Mixer.
Connect the output of the image / video node to the top input of the mixer node. And connect the output of the Flat node to the bottom input of the mixer node.
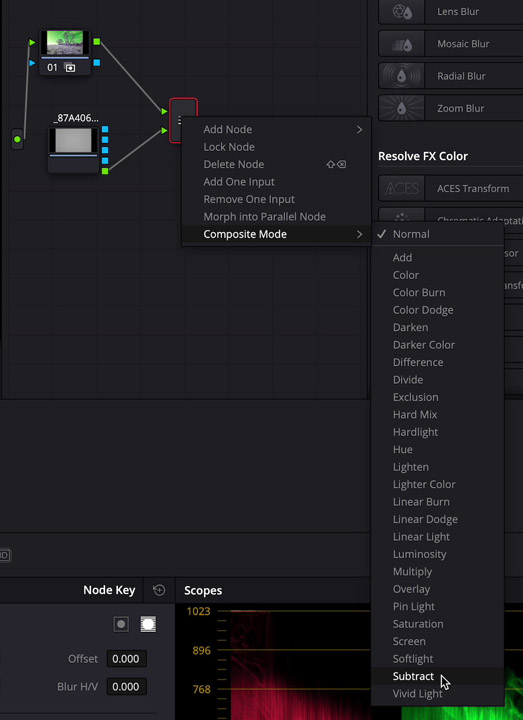
Right-click on the mixer node and choose Composite mode > Subtract.
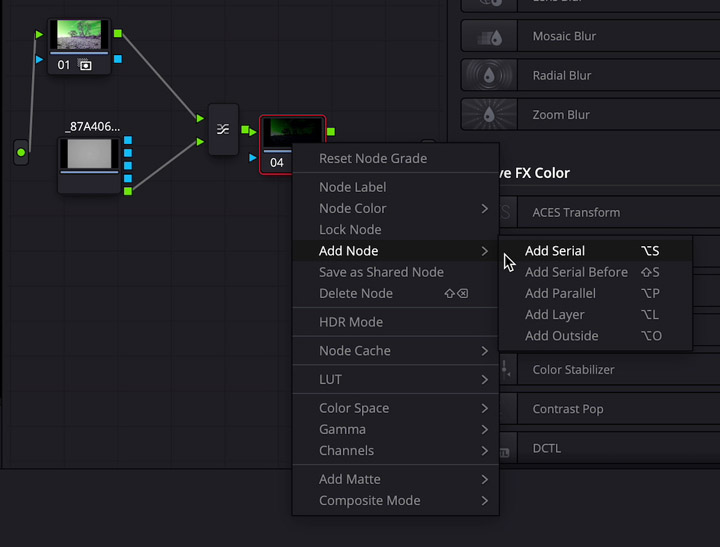
Add at least 1 more serial node after the mixer and then connect the final one to the output.
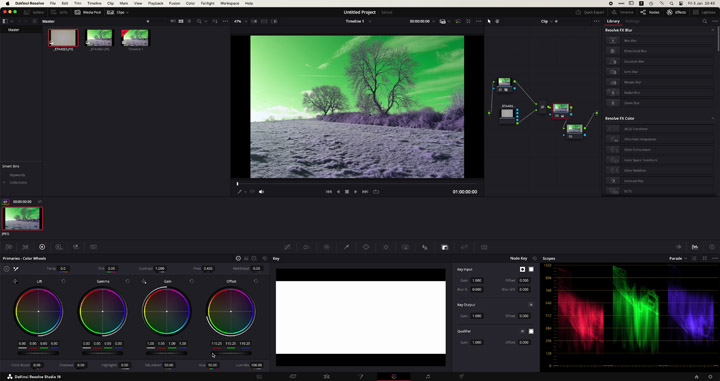
The image will be extremely dark, so on the node following the mixer adjust the offset in the main Primaries - Color Wheels tab to correct the exposure.
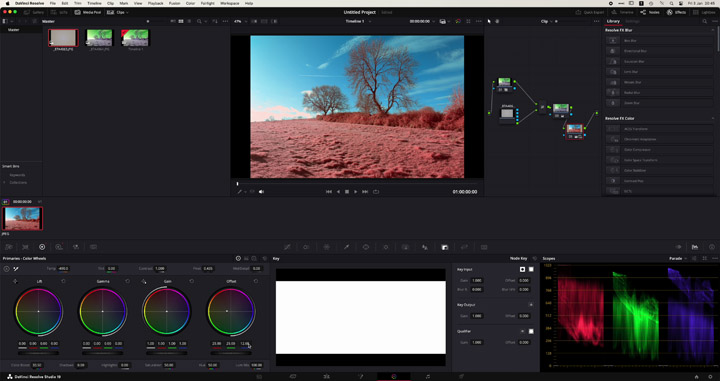
You can then apply a hue shift and white balance adjustment or any other adjustments or LUTs you want.

Leave a Reply