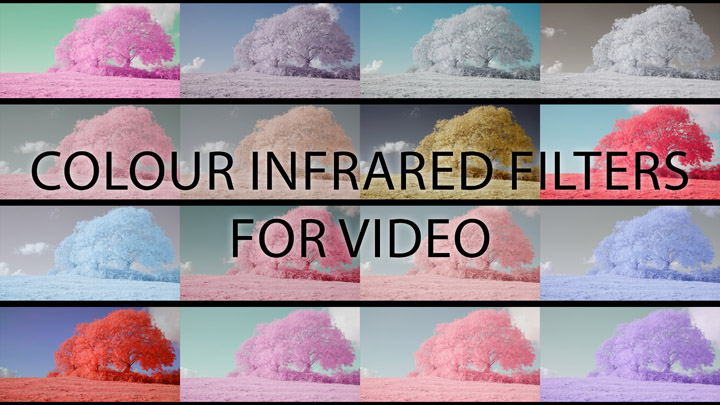
In this post I'll be looking at achieving various colour effects with different infrared filters when shooting video. This is a follow-up to my previous post where I looked at a variety of infrared filters and the effects you can get when shooting stills.
When shooting RAW stills and using Adobe Camera RAW, you often need to use special profiles to white balance infrared images because the white balance adjustment required is so extreme. So I wanted to see if the white balance adjustment needed would be too extreme to allow for usable video or not. And also whether the same hue adjustments and colour channel swaps could be applied to video to get the same colour effects in video that we see with stills.
With video you are much more dependent on getting the white balance correct in-camera, even when shooting in part-baked 'RAW' video format, as there is less latitude for extreme colour adjustments. These tests were all shot on a full spectrum Canon R5 in h.265 with Canon Log 2 Gamma curve. ISO was 800, aperture f/8, and shutter speed was varied as necessary depending on the exposure - no attempt was made to keep a 180° shutter angle. Unless otherwise stated, these all have the Canon Log 2 to Rec 709 LUT applied as the final step and were processed in Davinci Resolve.
White balance was done in-camera using previously created custom White Balance preset images of clouds taken with the various filters. I found I preferred the look when white balancing off images of clouds rather than using white paper or PTFE.
In this post I'll just be sharing stills taken from the videos, but if you want to see the actual video clips they are part of the video here: Colour Infrared Filters for Video.
Lee 101 Yellow filter
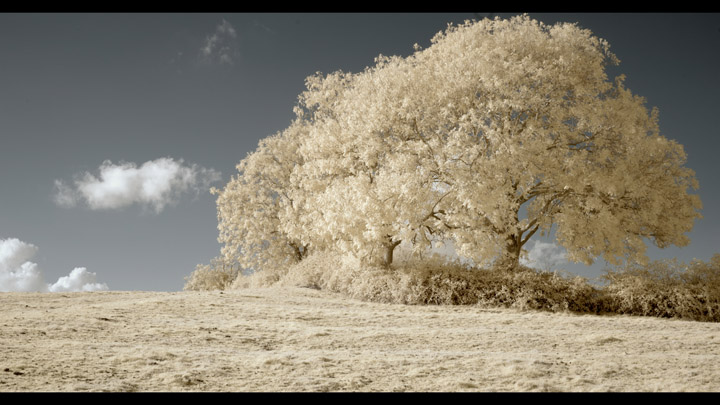
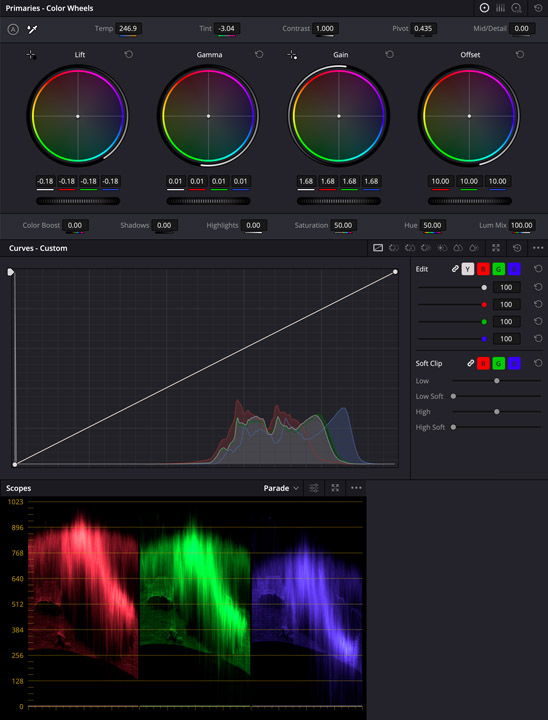
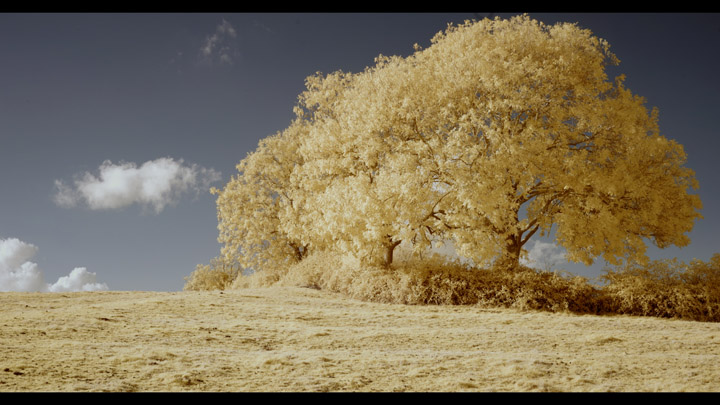
The next one was shot using the Lee 101 Yellow filter, exposed about one third of a stop before clipping on the camera LCD Histogram. Exposure has then been corrected in post. For this particular shot pulling the exposure back down seems to have recovered the highlights well. On the camera LCD with 'View assist' turned on (compensates for the flat look of Log), the image looked very over exposed.
Below is a frame from the same clip but with just the LUT applied and no exposure adjustments. This is roughly equivalent to what you see on the camera LCD with 'view assist' on, though I would say it was actually even brighter on the LCD and you couldn't really see any colour in the sky at all.
And this is the same Lee 101 but exposed about a stop before clipping on the Histogram, then exposure corrected in post:
This is the previous clip but with a -92° hue shift after the CLog2 to Rec 709 LUT:

Now instead, this is with the hue shift applied on the base node, before the LUT. This gives a bit more saturation to the image.

As stated earlier, the videos were all shot using custom white balance with Custom WB preset images of clouds that I had taken previously on a different day(s). In the previous shots you could see the white balance was slightly warm, for this shot (below) I have white balanced in post on the clouds. I suspect either the light was a bit warmer when shooting these videos compared to when I took the custom WB preset images, or it could be down to use of a different lens.

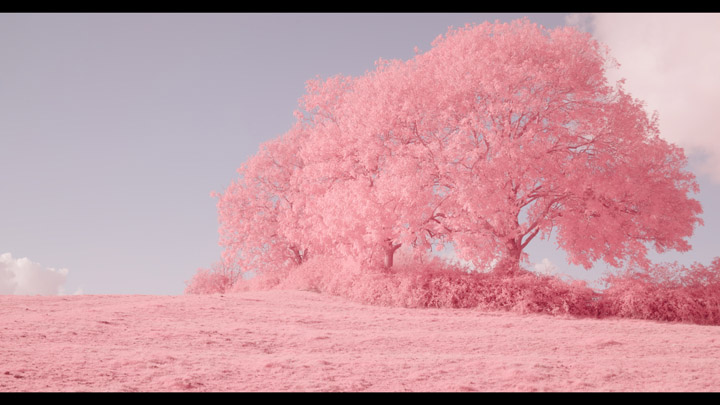
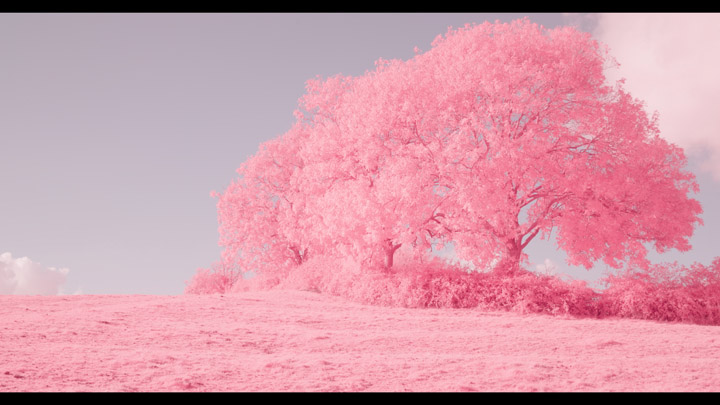
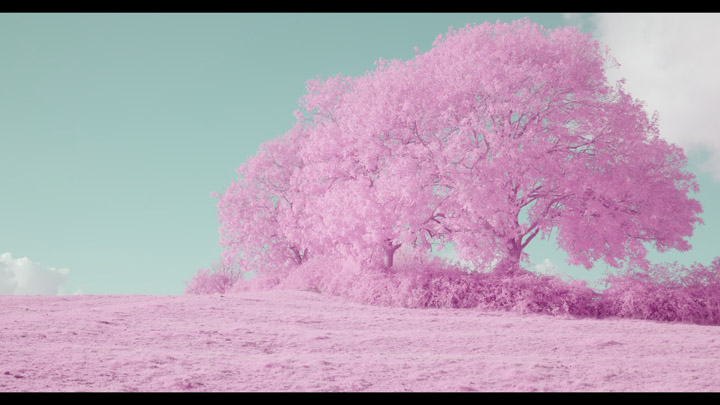
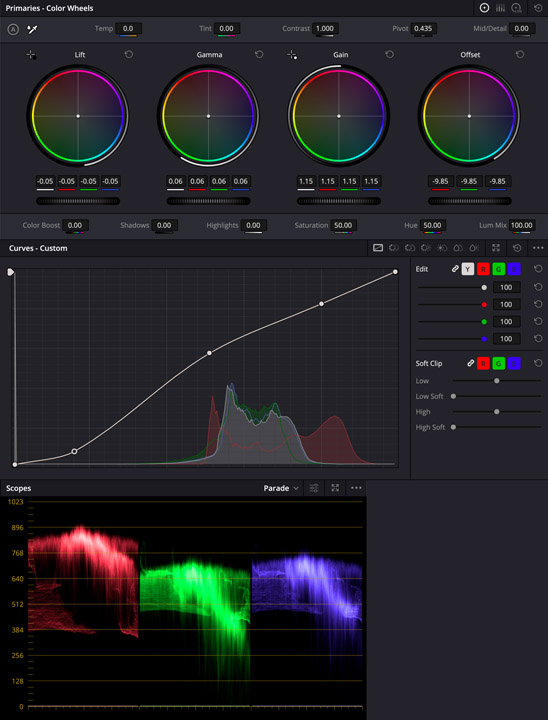
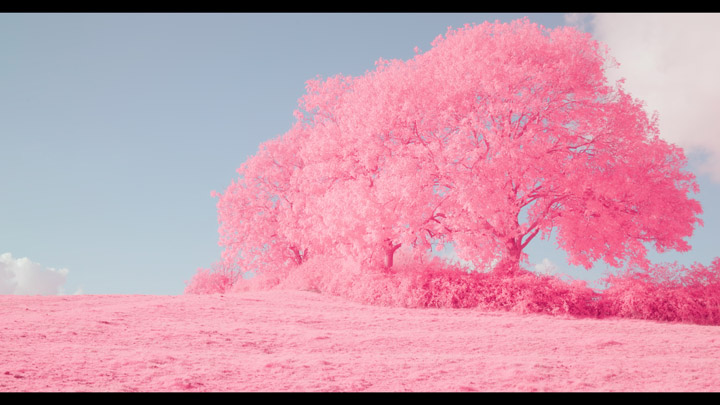
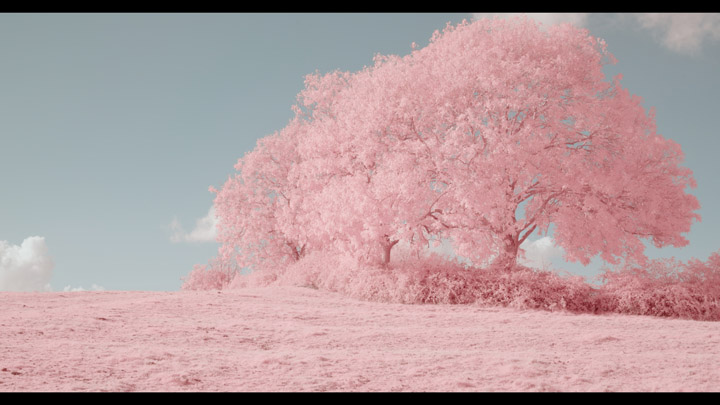
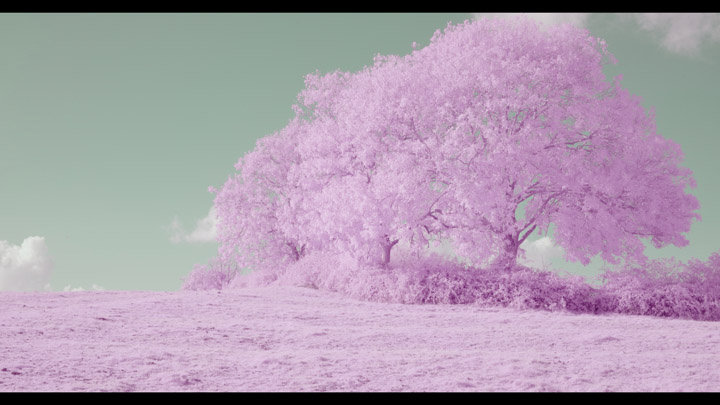
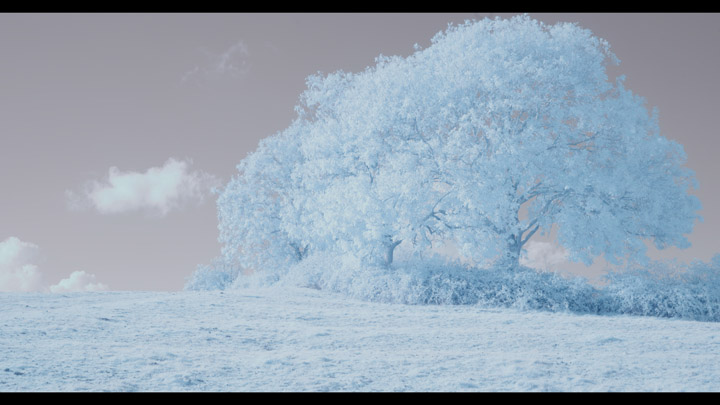
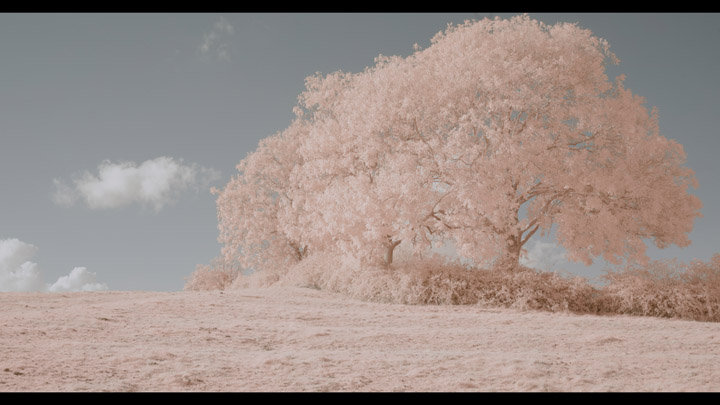
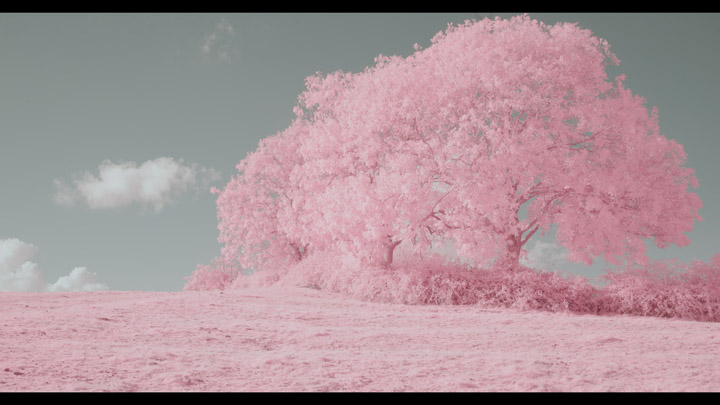
Below is my attempt at candy pink processing with the Lee 101 shot. It seems with video I cannot achieve the same results as I did in with stills in Adobe Camera RAW. Mainly the colours are not as strong in video as I can easily achieve in ACR. This may well be down to my inexperience with video editing rather than an inherent difference between video and stills though.
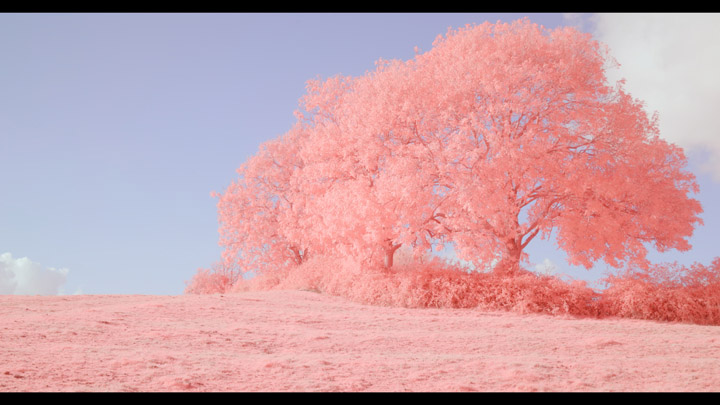
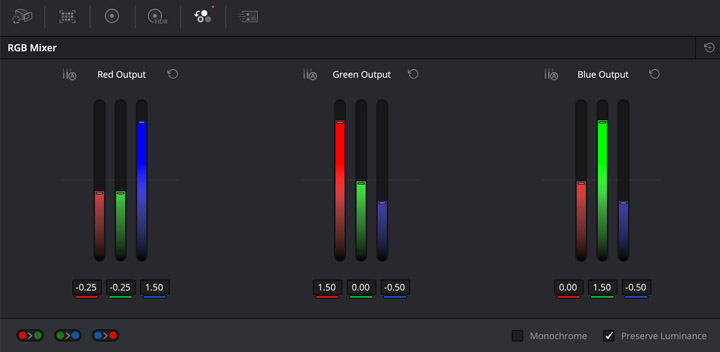
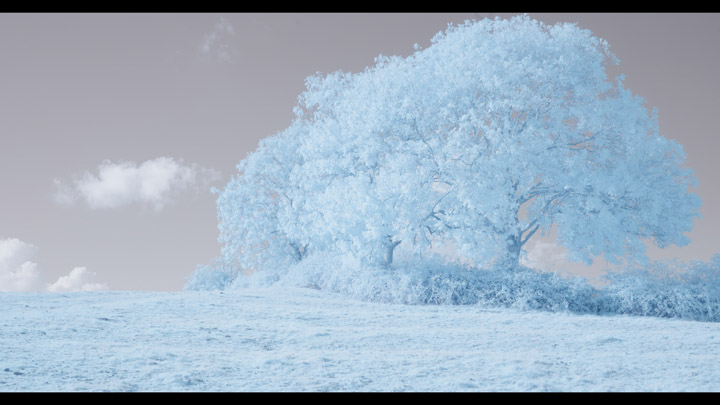
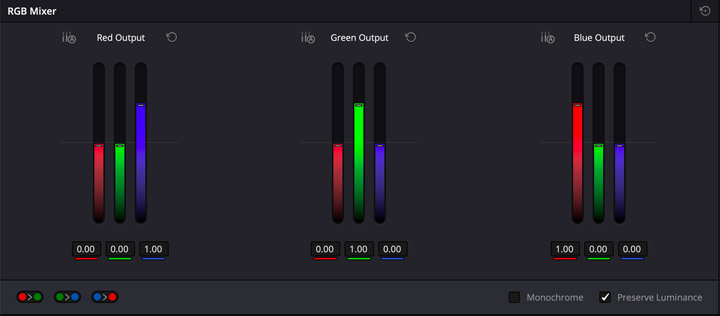
Here I went with a strong EIR channel swap (Red : -25R, -25G, 150B; Green : 150R, 0G, -50B; Blue : 0R, 150G, -50B) and yet the result is very pastel:
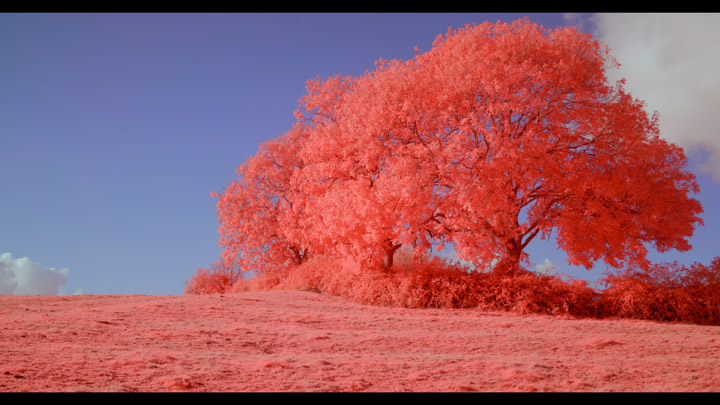
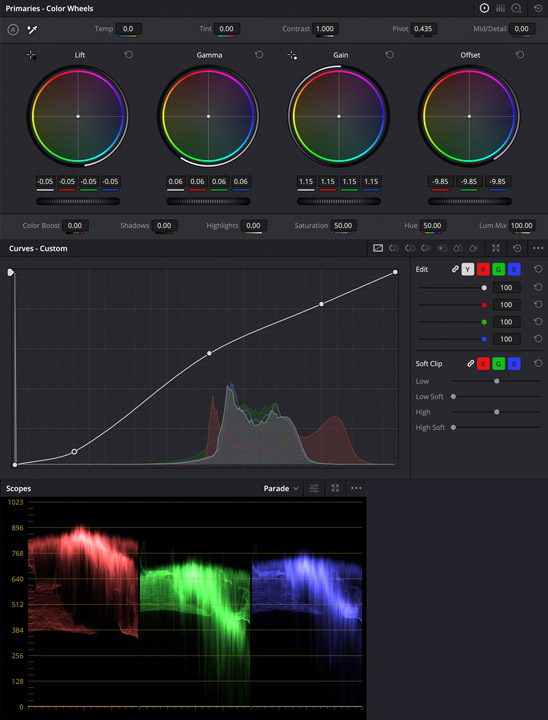
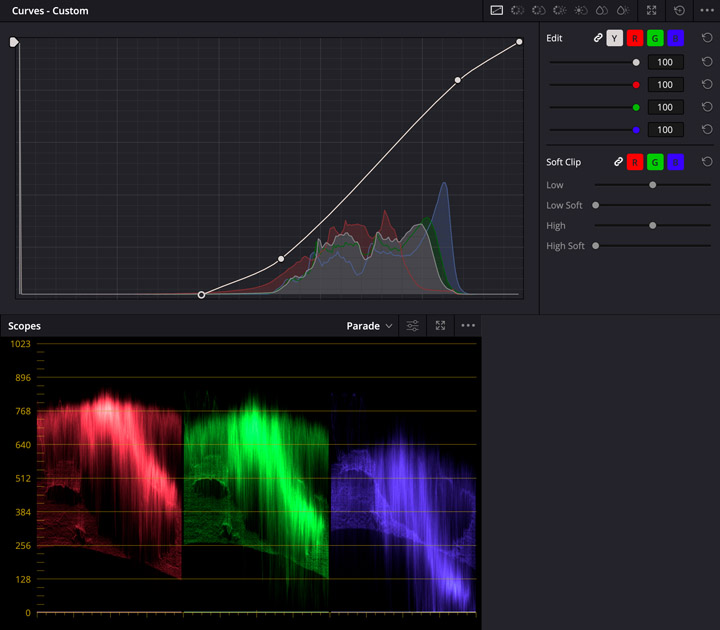
If we play around a bit with the exposure and curves, plus add a small amount of saturation, we can achieve a much stronger colour. Though I would say it is still slightly weaker than what you'd get in a still photo taken with the same filter.
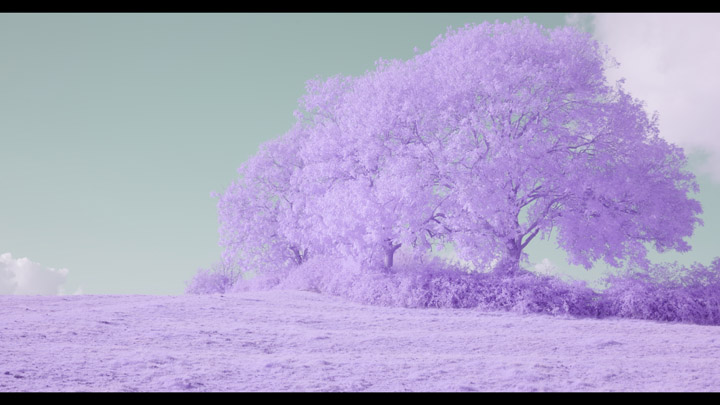
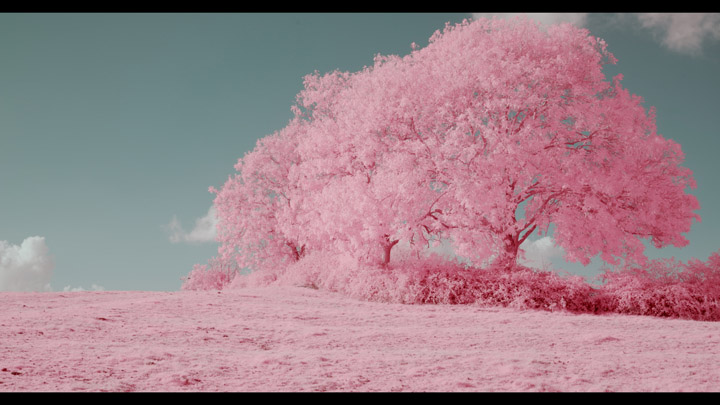
A slightly different hue shift (-36°) combined with a strong EIR channel swap will give pink foliage and a blue sky:
CB565 Orange filter
Moving on to the CB565 Orange filter. Again, a previously created white balance preset image was used for white balance and this initial shot was exposed about one third of a stop before clipping the Histogram. The shot then had the exposure pulled back down in post. If you look at the tops of the clouds you can see parts look pretty blown out despite the Histogram on the camera LCD showing no clipping.
This next shot was exposed about 1 stop below the Histogram clipping, then exposure pulled down in post. The highlights in the clouds look much better to me. So I would say exposing 1 stop before clipping the Histogram is probably best exposure wise when shooting Log.
This is the same shot but in post it has been white balanced on the clouds and a -122° hue shift applied. Again, we are getting very pastel colours.
This is exactly the same clip but without adjusting the WB in post at all:
Same clip again, but this time white balanced on the clouds and a -56° hue shift applied in post. This gives more purple foliage and a cyan sky.
Again, the same clip but with different adjustments in post. This time white balance was set on the clouds, a strong EIR channel swap was applied, a strong curves adjustment, and various exposure adjustments. But no LUT was applied at the end.
Red R1 filter
Next, on to the Red filter. Similar to before, this was exposed about one third of a stop before clipping on the Histogram, then exposure adjusted in post. As you can see, the highlights in the clouds look pretty gone even though the Histogram was not indicating any clipping. It may well be that using better exposure tools on an external monitor would resolve this in terms of being more accurate and larger. But the external monitor I have isn't that great in sunlight so I don't tend to use it.
Exposing one stop below clipping on the histogram gives us a much better result:
This is the same clip as the previous one, but white balance was set on the clouds in post and a Red-Blue channel swap was performed. The image is very low contrast and pastel, as if no LUT had been applied.
If we make exposure changes and remove the LUT we can get a much more contrasty result. But the yellow colour of foliage we expect to see is still very pale:
If we go back to the previous processing but add curves we can get both more contrast and colour. Though the yellow is still quite weak compared to what I'd expect on a still image taken with the same filter and a red blue channel swap applied.
Same video clip, white balanced on the clouds and with a 180° hue shift applied this time:
Finally, with a -135° hue shift we get light pink foliage and a blue sky:
Zomei 720 IR filter
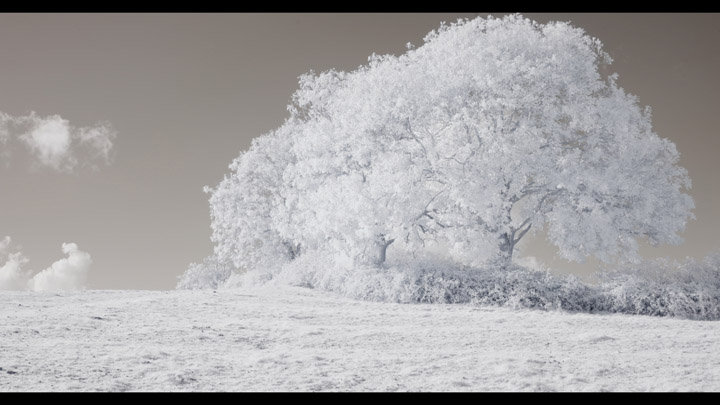
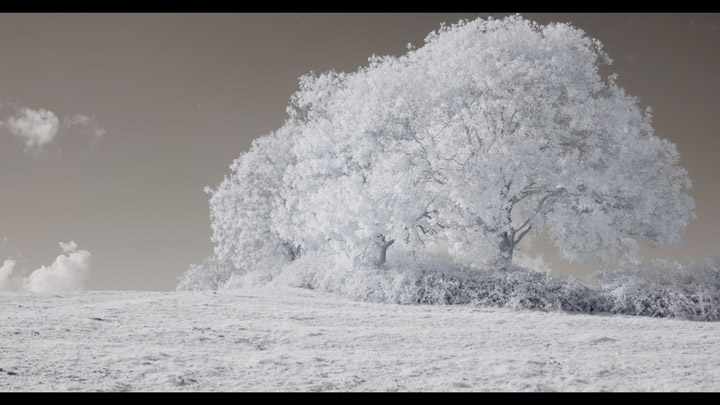
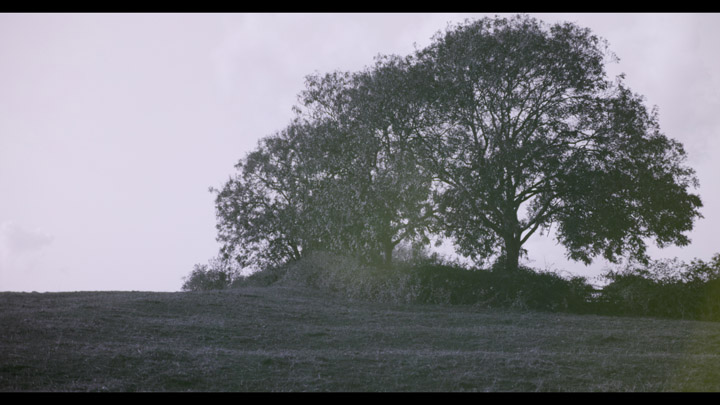
The Zomei 720 filter looks pretty similar in video to what I'd get from it in stills. The image is mainly monochrome with a slight bit of colour. Again, this was exposed about one third of a stop before clipping the Histogram on the camera LCD, resulting in what looked like a very over-exposed image on the screen, then exposure was brought back down in post.
As before I also shot this exposed a stop before clipping the histogram, though for these particular two shots there is not much difference.
Hitech plastic ND0.6 filter
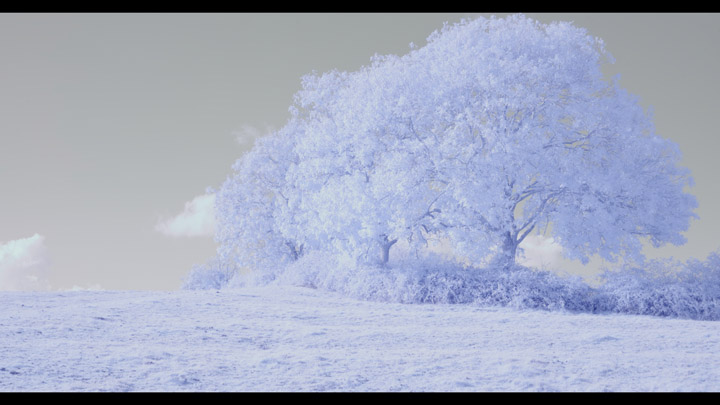
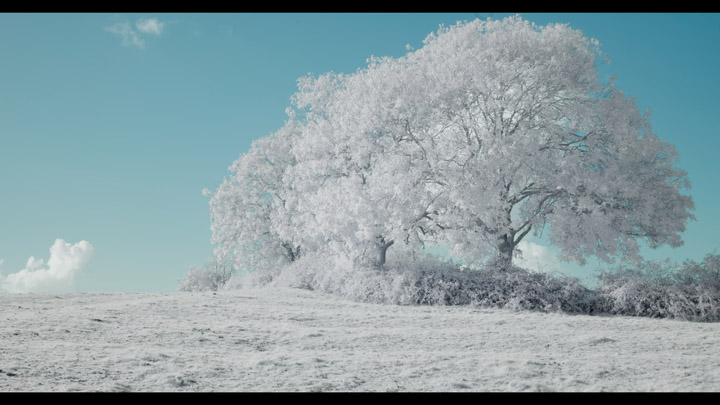
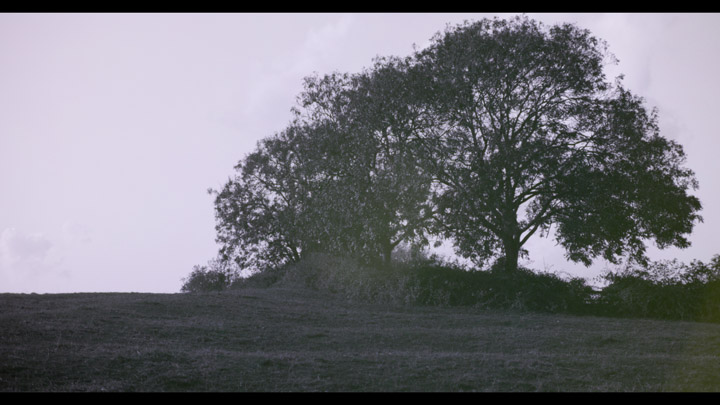
This next one was a happy accident. I forgot to set the white balance before taking this clip with the plastic Hitech ND0.6 filter. So it was still set at the white balance for the Zomei 720nm filter. This gave white foliage and a bright blue sky.
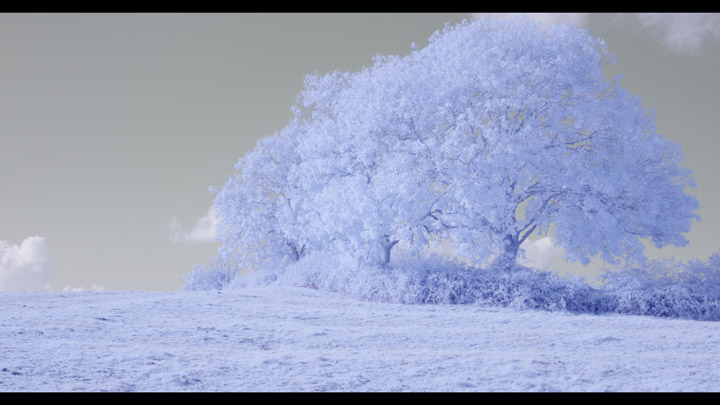
Using the preset white balance image for the filter gives us a more normal blue colour sky and slightly purple foliage. As before, this was exposed just before clipping the highlights using the Histogram in-camera, then exposure brought down in post.
Again, I also shot this one stop away from clipping on the Histogram, but there is not much difference here. It seems the benefit of exposing to leave more space before clipping is greater when using the strongly coloured filters like the Yellow, Orange, and Red.
Lee 139 Primary Green + 1mm GRB3/KG3 'Candy Chrome' filter
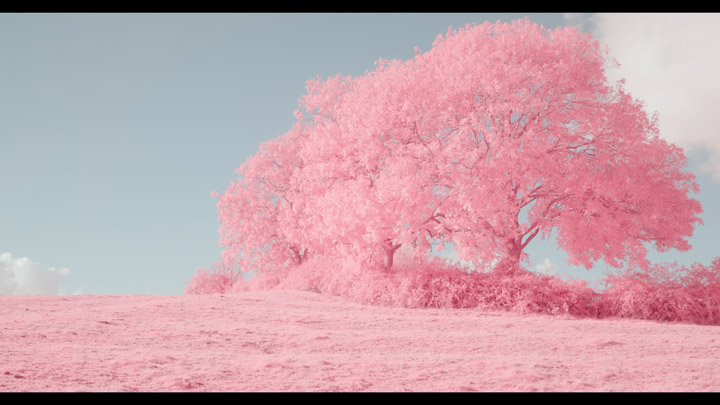
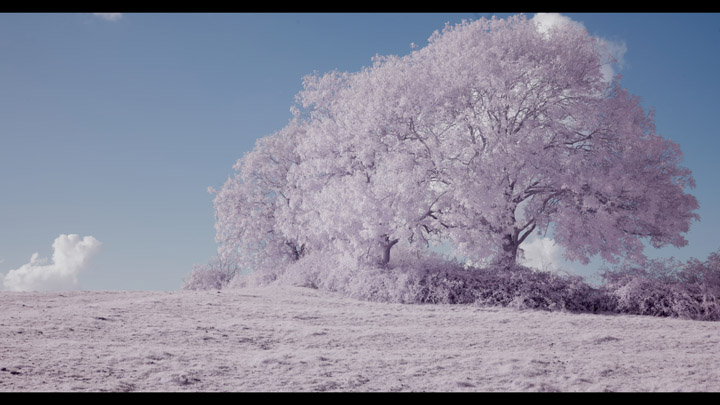
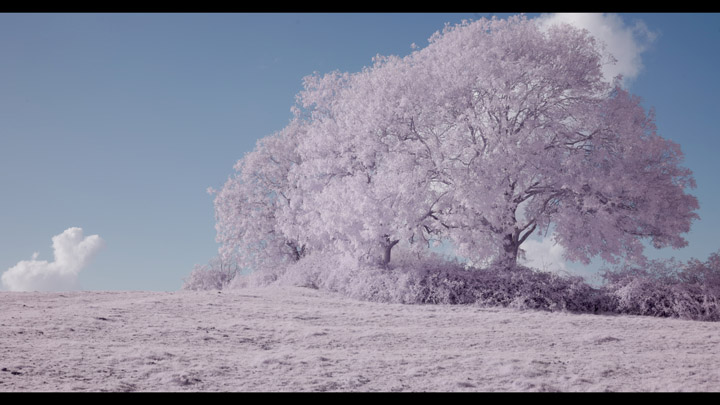
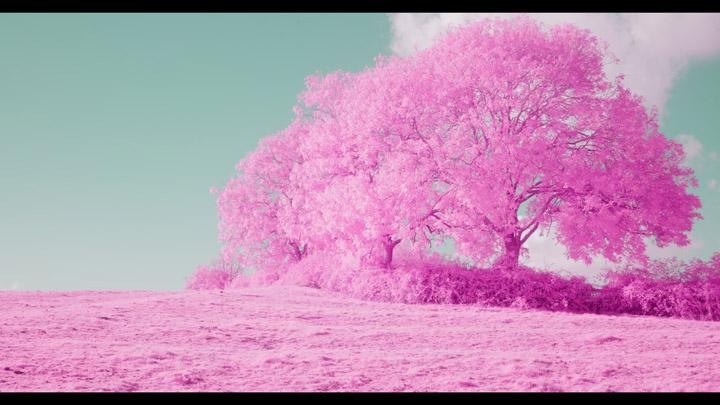
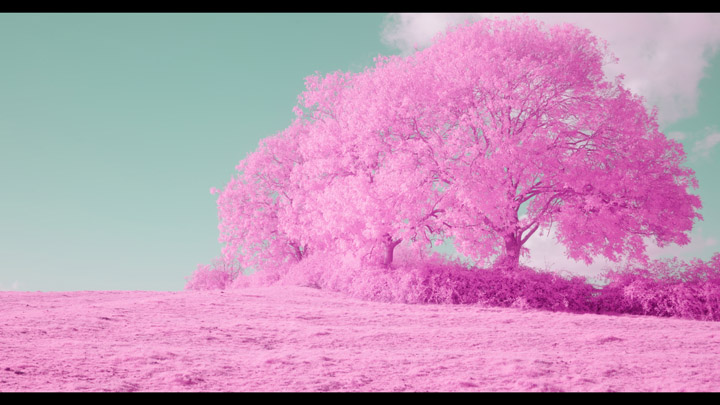
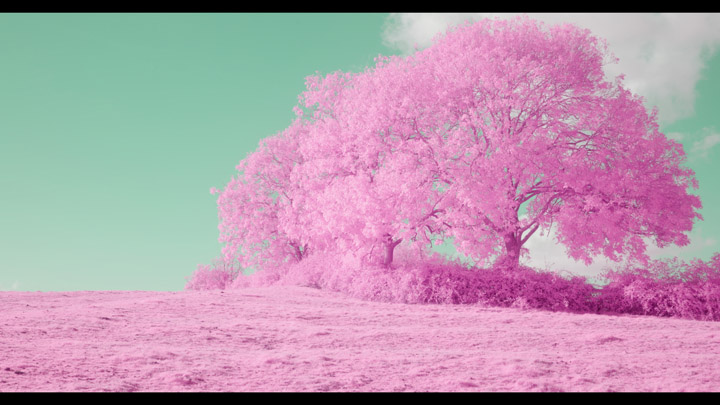
The Lee 139 + 1mm thick GRB3 filter is one that gives us the desired image in-camera without any hue adjustments or channel swaps necessary. It gives candy pink foliage and a cyan sky. The colours are much stronger here than the basic colour filters.
This clip was underexposed in-camera by about 1 stop compared to the previous one, there doesn't seem to be much difference in highlight detail:
And finally the previous clip, but with white balance applied in post on the clouds:
Lee 729 Scuba Blue + 2mm GRB3/KG3 'IR Chrome' filter
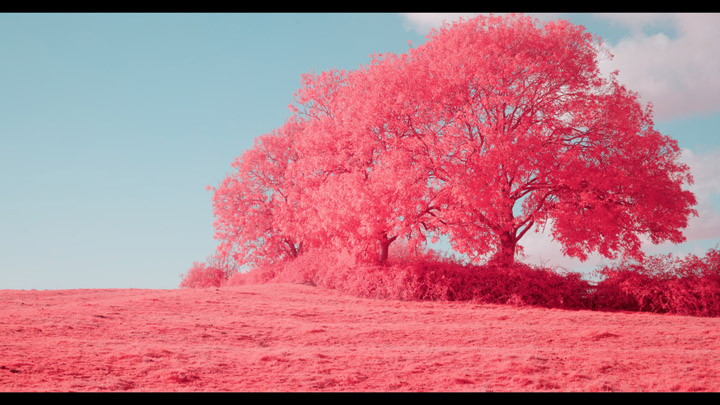
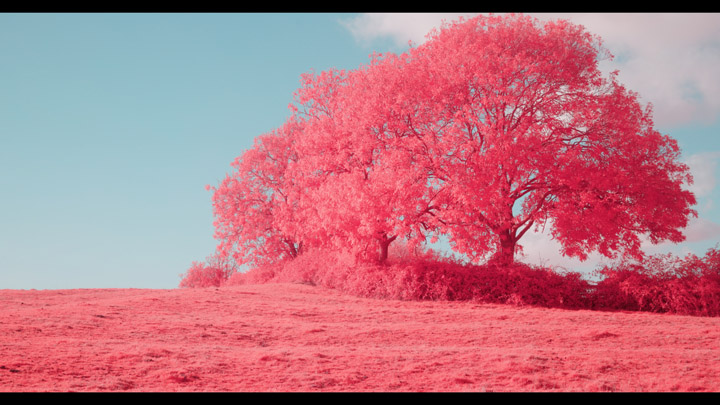
The Lee 729 + 2mm thick GRB3 is meant to give an image similar to Aerochrome with red foliage, and it does that straight out of camera. Again, the colours are much more saturated than with our basic colour filters. As before, this was exposed just before clipping the highlights on the Histogram in-camera then exposure pulled back in post.
Exposing 1 stop before clipping the Histogram doesn't seem to make any difference again:
White balancing on the clouds in post makes less difference here - this is probably because the custom white balance preset image for this filter was shot at a different time to the white balance images used for the other filters. Presumably the lighting at the time this image was shot more closely matched the lighting at the time I was shooting these test videos.
Baader U UV pass filter
Lastly, not an IR filter, but the Baader U UV pass filter. Probably not a great scene for testing this filter (and the lens isn't that great either, this had to be shot at f/4 and ISO 6400). But the fact the image isn't all purple shows that using a white balance preset image with it does work.
Trying to shoot the clip at ISO 3200 and not adjusting the exposure in post (rather than ISO 6400 and reducing exposure in post as above) doesn't make much difference.
Conclusion
In conclusion I would say that if you are relatively unfamiliar with video processing, like me, then it is difficult to achieve the same strong punchy images in video as you can get when shooting infrared stills. The more complex filters like the Lee 139 + GRB3 or Lee 729 + GRB3 (and probably the similar Kolari Vision Candy Chrome and IR Chrome filters), give much nicer results with no real processing required.
That's not to say I don't like the softer pastel colours I got when shooting video - I do. It's just I like having the option to do soft pastel, strong crunchy saturated, and in-between, all without having to tweak a load of settings to achieve each look. And from my testing so far, it seems that's not really possible?
In terms of exposure when shooting Log, at least with CLog2 and using the Histogram on the rear LCD to judge exposure with the Canon R5, I would say it is best to shoot about a stop under clipping on the right of the Histogram. It means you may not be minimising noise as much as you could be, but at least there is less risk of clipping highlights.




Hi David,
I just wanted to say I really like your page – all the tests and comparisons are super helpful. Thanks a lot for sharing your work!
Maybe try using a DB850 – it’s pretty wild how big the difference is when the 700nm range is cut out. Then combine it with different Lee filters, and you’ll get some new looks…
Cheers
Christoph